
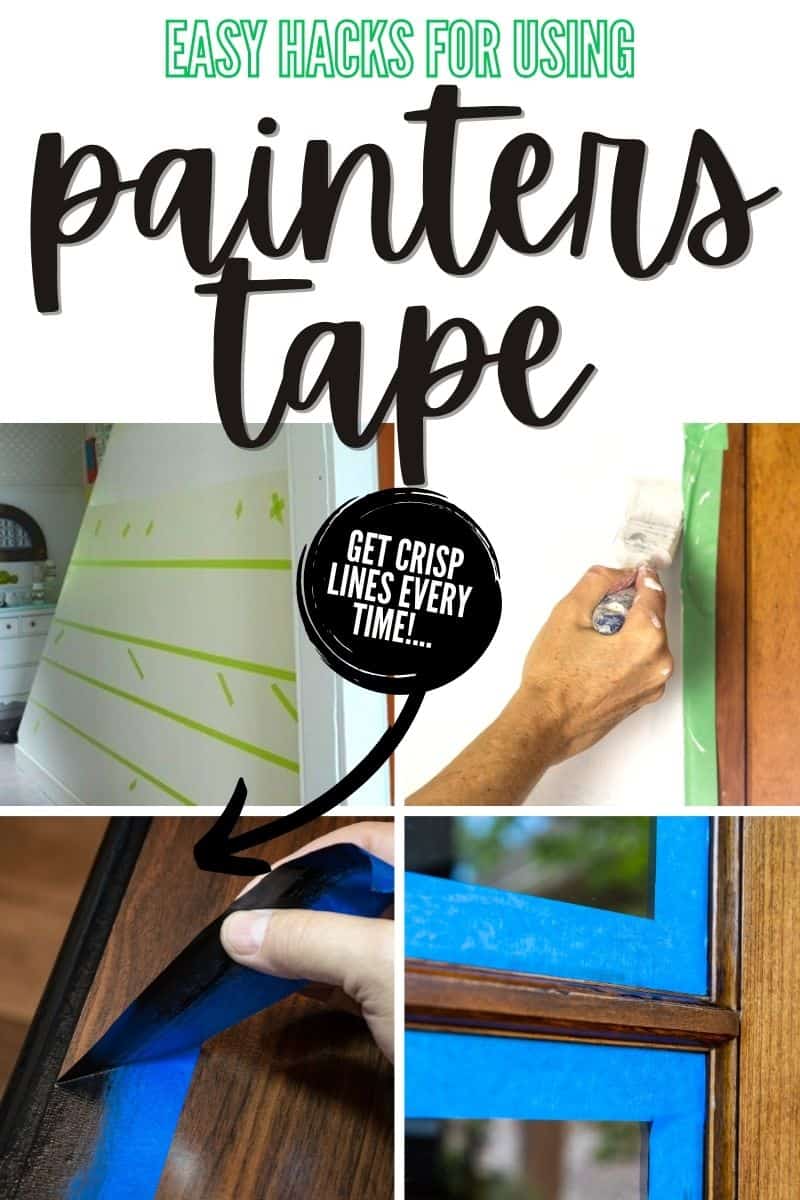
How to Painters Tape Straight & Get Perfect Paint Lines Every Time
The Ultimate Guide to Using Painter’s Tape Like a Pro – Plus Clever Uses Around the House
Have you ever started a painting project thinking it would be quick and easy—only to end up peeling off the painter’s tape and gasping at the jagged mess left behind? You’re not alone!
Getting perfectly straight paint lines with painter’s tape seems simple in theory, but the truth is… there’s a little art to it. And once you know the tricks, you’ll never look back!
Whether you’re painting wall stripes, tackling DIY decor, or just touching up trim, this guide will walk you through how to apply Frog Tape straight, how to get clean paint lines, and even some creative ways to use painter’s tape around the house.

What Is Painter’s Tape and Why Does It Matter?
Disclosure: This post contains affiliate links for your shopping convenience.
Painter’s tape is specially designed to help you create crisp, clean paint lines without damaging surfaces or leaving sticky residue behind. Unlike masking tape, it resists paint seepage and peels off easily when used correctly.
Use it for:
- Painting stripes or geometric shapes
- Creating borders on walls, ceilings, and trim
- Craft projects like artwork and fabric painting
- Delicate areas like window panes and baseboards
The main two things you need to look for in painters tape is its ability to stop seepage of paint and yet be able to pull away easy enough to not damage the surface.
What can go wrong if you don’t use painters tape correctly?
What seems simple in theory all comes unraveled if you pull off the tape and find that paint has seeped under the painters tape. Instead of having the perfectly pristine lines you had imagined, you’re left with jagged line of splotches that look anything but professional.
Or another problem happens if the tape is so sticky, it pulls up the paint finish it is stuck to!
Begin by choosing the best painters tape for the job you’re working on.
With all the painter’s tape options out there, choosing the right one can be confusing. Here’s a quick cheat sheet:
- Blue Painter’s Tape: Great for delicate surfaces and indoor trim. It’s less tacky and ideal for short-term projects. Releases easily.
- Green Painter’s Tape: Works well for craft projects and labelling freezer meals!
- Frog Tape (Green or Yellow): The star of the show! Frog Tape is specially treated to form a seal along the edges as you paint, blocking bleed-through. It’s more expensive, but worth every penny if you want razor-sharp lines.
💡 Pro Tip: Always check the surface type and tape adhesion level before choosing. If in doubt, do a small test patch.
Also note that painters tape comes in various measurements of width. Some is designed very thin (like this) so that you can do decorative treatments that can look like things like floor tile with grout!
How to Apply Frog Tape Straight and Get Perfect Paint Lines
Here are the step by step instructions for best results with painters tape:
- Start with a Clean, Dry SurfaceDirt, dust, or oils will prevent tape from sticking properly.
- Measure and Mark with a Light Pencil Line or Laser Level For stripes or designs, use a level or chalk line to guide your tape placement.
- Apply Tape Carefully and Smooth It Down Firmly Use a credit card or plastic scraper to press down the tape edges—especially the side where the paint will go. This is key to getting clean lines.
- Seal the Edge with the Base Color (Optional but Powerful) Before applying your top color, paint a thin layer of the wall’s base color along the tape edge. Let it dry. This seals the tape so that if anything seeps under, it matches the base.
- Or Try the Caulk Trick Run a super thin bead of paintable caulk along the tape edge. Smooth it out with your finger. Let it dry before painting. This forms a flexible seal that prevents bleed-through.
- Paint Your Top ColorDon’t overload your brush or roller—too much paint encourages seepage.
- Remove Tape While Paint Is Still Tacky Don’t wait until the paint fully dries! Gently peel the tape back at a 45-degree angle while the paint is slightly damp. If needed, score the edge with a craft knife first.
Real-Life Projects Where Painter’s Tape Shined
I’ve used painter’s tape in so many ways over the years! Here are a few fun examples you might enjoy:
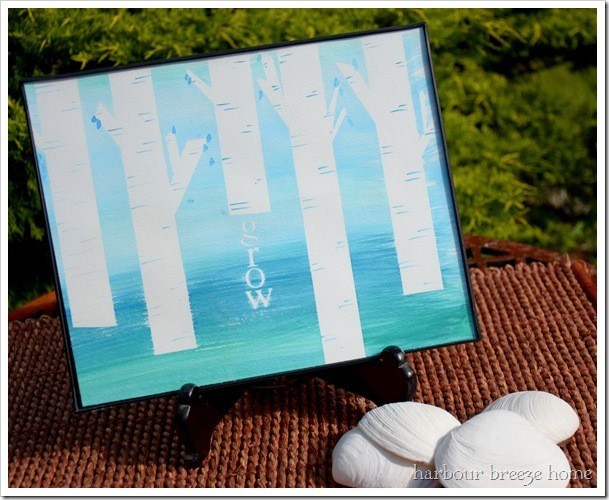
Watercolor Wall Art
Use painter’s tape to create “tree trunks” or geometric shapes plus letter stickers to make words on watercolor paper. After painting and letting it dry, remove the tape for a fun watercolor craft for kids (and adults, too!).

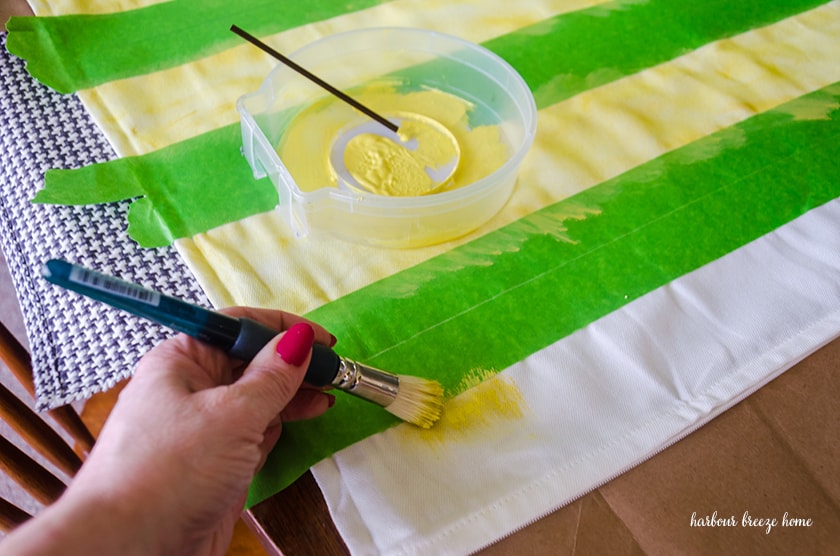
Painted Fabric Pillows
To create striped paint pillows, I used Frog Tape on a plain fabric cover and painted fabric-safe paint between the lines. The result? Crisp, clean stripes—no bleed-through!
Striped Wall Treatment
I had so much fun adding some interest to our former home’s hallway with a DIY striped wall treatment. I could have never done it without painters tape!
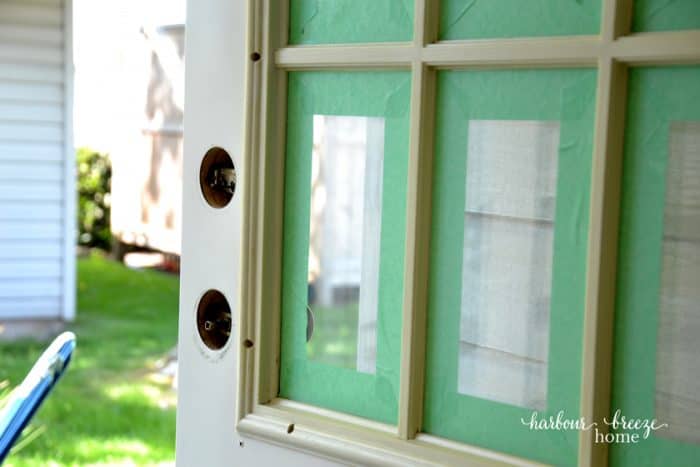
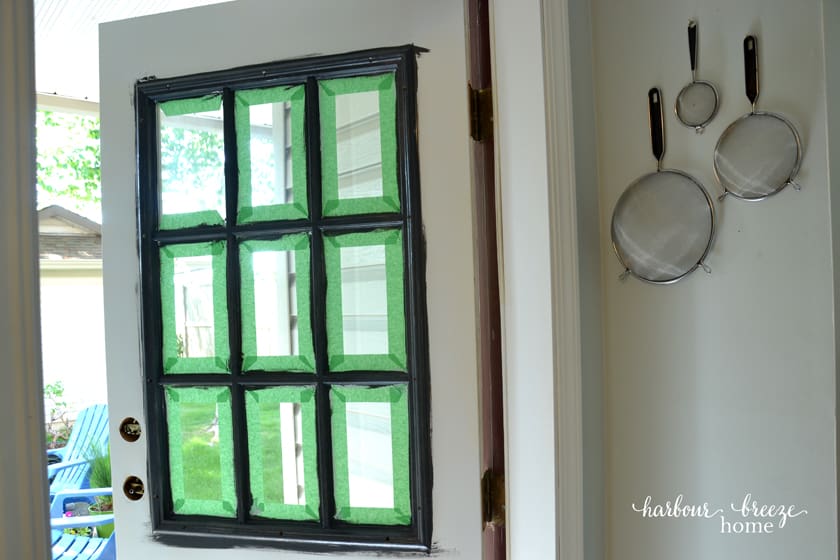
Plastic Window Trim on Metal Doors
Painters tape was the star of the show with the painted metal door with plastic trim project. They turned out so wonderful without lots of trouble.

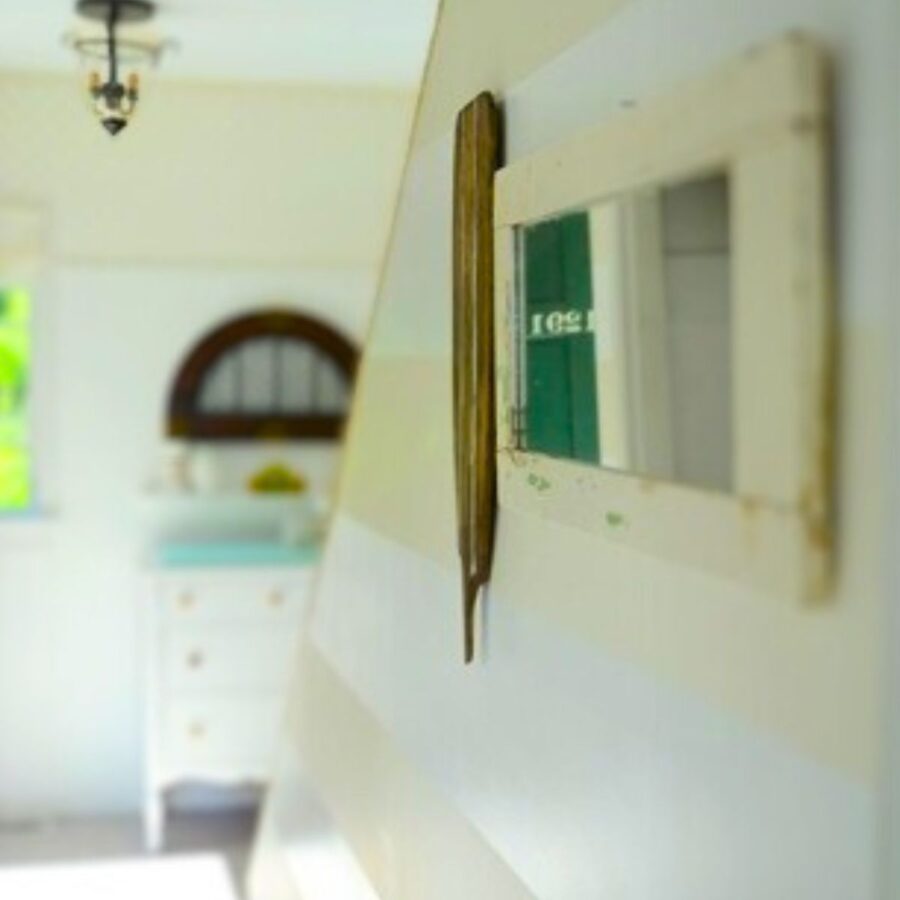
Striped Photo Frame
A bare and boring wall motivated some crafty projects and one of them was a super fun striped photo frame.
Creative Everyday Uses for Painter’s Tape
Painter’s tape isn’t just for painting! Here are a few of my favorite everyday uses around the house:
- Freezer Labels
Stick a strip of tape on a container lid and label it with a Sharpie. It removes easily with no sticky residue—perfect for homemade meals, leftovers, and freezer meals! - Temporary Labels for Decluttering Projects
Sorting bins, donation piles, or garage sale boxes? Painter’s tape + marker makes for quick and changeable labels. - Kids’ Crafts or Homemade Games
Create DIY hopscotch, tic-tac-toe, or art tape resist projects right on the floor or tabletop. - Guidelines for Hanging Wall Art
Use painter’s tape to plan gallery walls or to mark where to place nails and hooks—no damage!
For more tips on house painting:
- Paint a metal door with plastic trim
- Choose paint colors with confidence
- How to paint a vinyl door sweep
- Paint a room
- Painting supplies checklist
Join the VIPS!
Become a Harbour Breeze Home VIP and get ideas for you and your home right to your inbox! Plus, get exclusive access to the free printable library immediately. Click below to join today.


How to Use Painters Tape to Get Perfect Straight Lines
Learn how to apply Frog Tape straight and get perfect paint lines with these pro tips for crisp, clean results every time.
Materials
- Painters Tape
Instructions
Dirt, dust, or oils will prevent tape from sticking properly.
For stripes or designs, use a level or chalk line to guide your tape placement.
Use a credit card or plastic scraper to press down the tape edges—especially the side where the paint will go. This is key to getting clean lines.
Before applying your top color, paint a thin layer of the wall’s base color along the tape edge. Let it dry. This seals the tape so that if anything seeps under, it matches the base.
Run a super thin bead of paintable caulk along the tape edge. Smooth it out with your finger. Let it dry before painting. This forms a flexible seal that prevents bleed-through.
Don’t overload your brush or roller—too much paint encourages seepage.
Don’t wait until the paint fully dries! Gently peel the tape back at a 45-degree angle while the paint is slightly damp. If needed, score the edge with a craft knife first.
DON’T MISS A THING!
Join my list for more ideas for you and your home…