
Indoor Photography – Lighting
(Ewww!! It’s peach!!!)
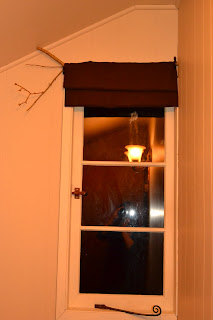
So, my son helped me with an experiment. We took various lamps and flashlights and “flooded” the room with light. I thought we were on to something. But…the pictures were all sort of orange! 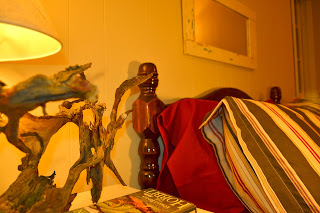
What did I then do? Oh, I’m so glad you asked…:) I set up the camera on the tripod, attached a coffee filter with a rubber band over my pop-up flash (it’s supposed to “diffuse” the light), and set the camera on self-timer with a 2 second time (to eliminate the movement of me physically pushing the shutter button). I focused on the subject while the light was on. Then I turned the lights off! (They have a sort of a yellowy glass over them) I set the camera to “shutter priority” and 4 seconds. The flash flooded the room with light for just a short time, but the slow shutter speed soaked it all it.

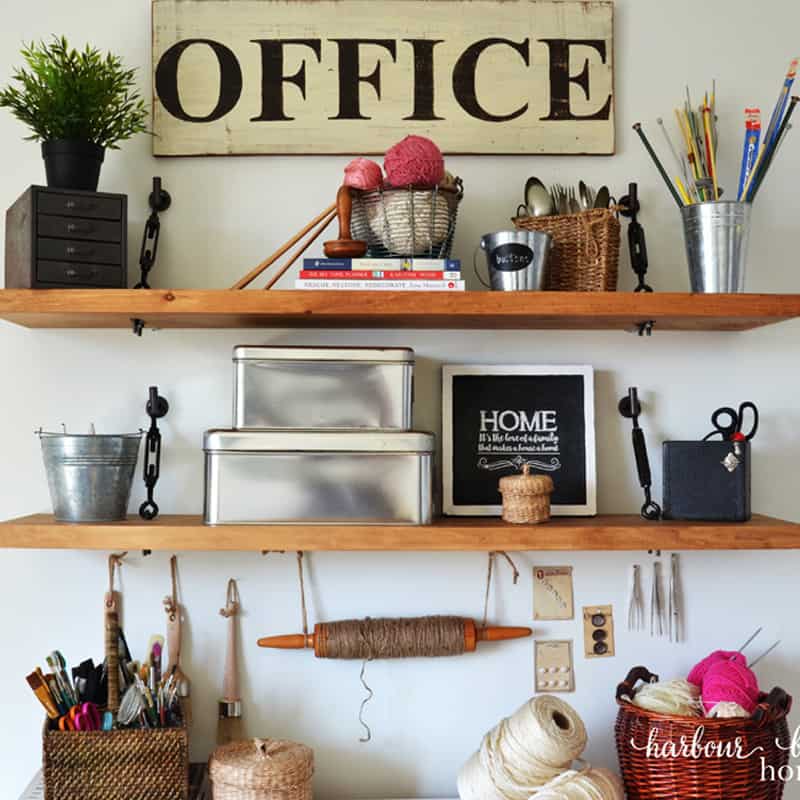
4 sec., f/8.0, ISO:200
Hallelujah! It’s finally the right color! I still had to add some fill light in *Picasa, but at least the room doesn’t look fruit-colored!:)
*Picasa is my current “go to” photo editing program. You can download it free from the internet. It is a simple and quick program that comes in handy as I go through the agony of learning Photoshop!

Wow, this is a really new experiment, so creative, maybe I will have to try it out in my bedroom tonight.
With the coffee filter and the lights turned off, this is the greatest tip. My evening photographs always turn out yellow, so I’m excited to give this a try.
Hi Rita-
This is the best tip – with the coffee filter and turning out the lights. I can't wait to try it as I seem to always get that yellow look in nighttime shots.
Thanks so much for posting it.
My best- Diane
Oh Rita, you are getting way to technical for me! :))
Even so, I still enjoy your posts.
Elaine