
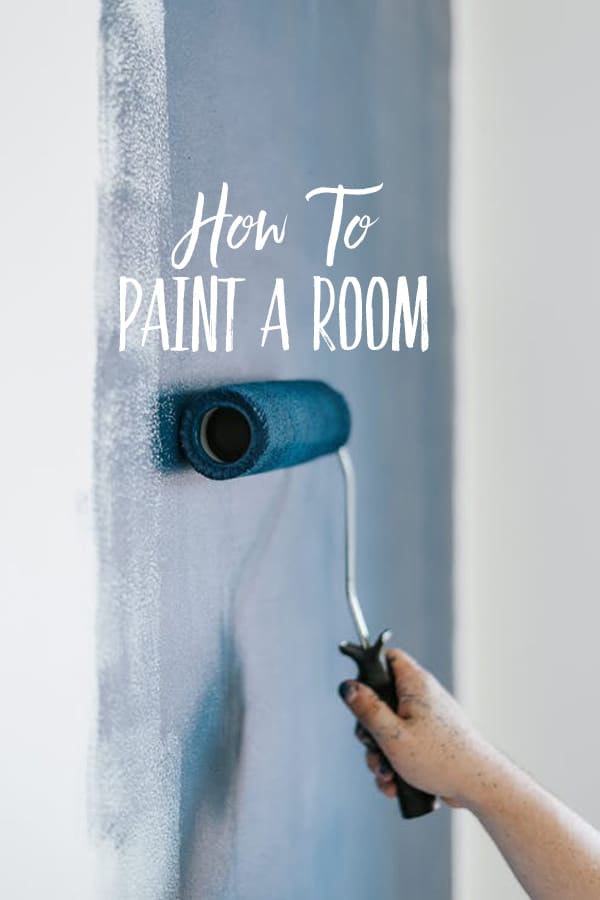
How to Paint a Room
In this article, you’ll find tips and tricks for how to paint a room from start to finish.
I just sat down from finishing the second coat of paint in my most recent wall painting adventure. As I ponder the muscles that are aching from obvious lack of regular use (!), I’ve been reflecting on the incredible power a can of paint can have in a space.
If your makeover budget is slim to none, I suggest painting the walls as my number one tip. It can completely change the look and feel of a space.
If you are a newbie in the world of painting rooms, take my hand and let me guide you. I’ve boldly experimented in this department many times over the years. And, trust me, if I can do this, so can you!
How to Paint a Room
1. Pick a paint color
This is often the overwhelming first step that some people get stuck on. As a chronic over-thinker who loves lots of options, I get it! Here are some suggestions will help you choose a paint color with confidence:
- Start a file with your inspiration pictures.
Head Pinterest or your favorite magazines for this. Look for rooms similar to the one you are working on, and start pinning or marking them. Then look at your collection very closely.
Ask yourself:
- What is similar in each picture?
- What is the feeling that each picture gives?
- Is there a specific designer that put together the rooms? (ie. Joanna Gaines)
Look for things like wall colors, floor colors, lighting. Also, click over to the articles and see if they have the actual name of the paint colors that were used. If so, jot down what the name is.
- Search the specific names of the paint colors you are drawn to
Once you have a few names down as potential ideas from pictures, type those exact names in the search bar. Up will pop up all kinds of pictures with those names! Do you still like it? If not, try another one.
- Look for lists of “whole home paint color schemes” with the colors you like
There are a whole plethora of lists compiled with paint color schemes for the home on Pinterest. (You can find some on my “Paint Color” board on Pinterest.) Many of these have been compiled by interior designers and are a valuable resource as you’re looking for accent colors or colors to coordinate together.
- Have a designer help you choose.
There is no shame in asking for help! If you are really struggling to choose paint colors, ask an interior designer to help. Some paint stores have designers in store that are available to give you direction in colors for free. I’ve utilized that service many times! If you want to do that, be sure to take photos along to help describe what you are painting and the look you’re trying to achieve.
Also, many designers offer an in-home consultant service where they will come to your home and help you with decisions. If you are really stuck, I’d recommend that to help you get the process going.
- Once you’ve narrowed down your color choice, go to the paint store and get the swatches of the colors you like.
DO NOT trust that the color will look the same in your home as it does in the paint store! You must bring the swatches back to the space you will use it in to see a good representation of the color in your space. Lighting (both natural and artificial) affects how a color will read in a space.
- Tape the color swatches up on the wall and observe them during different times of day.
Note what colors you are drawn to both during daylight hours and at nighttime.
- Narrow down your top 3 choices and purchase sample size cans of paint.
It is so hard to pick out a room color based on a tiny square of a paint swatch! Some paint companies have the option of purchasing huge paint swatches, but if they don’t you can make your own with a small sample size can of paint. Here’s how:
Go to the Dollar Store and buy white poster boards and cut them in half. Paint on 2 coats of paint from the sample paint cans and let them dry well. Then, you can tack them on to the wall and move them around to see which ones you like the best.
I used the “giant paint swatch” method when choosing the main paint color for our house. It worked so well! Since our house doesn’t have much natural light, I ended up using a really white white (Simply White) to brighten up the space.
2. Purchase the paint
Now that you have the color chosen, it’s time to pick the paint! Over the years, I’ve tried many different brands of paint. But, I must say, all paint is NOT created equal. Some paint, although it may seem in expensive, may be watered down and require many more coats for full coverage.
Where you choose to shop for paint is ultimately your choice. However, I’ve used the brands Benjamin Moore, Sherwin Williams, and most recently Behr, and found them to all have lines of paint that I like. Some claim to have paint and primer in one (see the primer section below) and tote the line “one coat coverage”. I’ve never found that to be the case, but maybe some people have better luck with different colors than I’ve used recently. It may also be helpful to note that very light colors (like the Simply White color I’m using) might require more coats than a color with more pigment.
Before you go to the store, be aware that you are going to need to choose the sheen of paint you would like to have on your walls. Click here to read how to choose the right finish for your projects.
Also, make sure you know how much square footage you’ll need to cover with your paint so you can calculate the amount to buy. Generally, one gallon of paint should cover 400 square feet of surface.
3. Purchase Primer if necessary
This is where you are going to have to do some detective work for the specific area you are painting. There are many factors to consider when choosing whether or not to use primer. Here are a few examples:
- If you are painting latex (water base) paint over existing latex paint, you probably don’t need primer. You may, however, though want to consider primer if you are painting a color that is dramatically different than the current color (ie. Very dark or very light.)
- If you are painting latex (water base) paint over oil based paint, you MUST use primer first. (Oil based paint is really slick to the touch. If you’re unsure if the paint is latex or oil, test it to be sure.)
- If you are painting over dark stained wood, you must use primer.
- If you are painting over wallpaper, you must use primer.
- If you are painting 70s paneling that is slick, you must use primer.
- If you are painting barker board, you must use primer.
The thing to keep in mind is that the purpose of the primer is to prepare the surface so that your top paint color will adhere well to the surface. If a surface is extremely slippery, it will need some primer to “rough it up” so the new paint will stick.
4. Assemble your supplies
Once you have the paint purchased, you are ready to get the rest of your supplies assembled and start! To get a complete list of all the supplies needed to paint a room, click out this post. To find affiliate links of all my recommended supplies, go to the “Painting Supplies” list in my Amazon Shop.
As a note, I usually wear a painting apron so I don’t need to worry about getting my clothes dirty. Also, I’ve found that old towels work well as drop cloths to protect the floor from stray drips. (They are inevitable!)
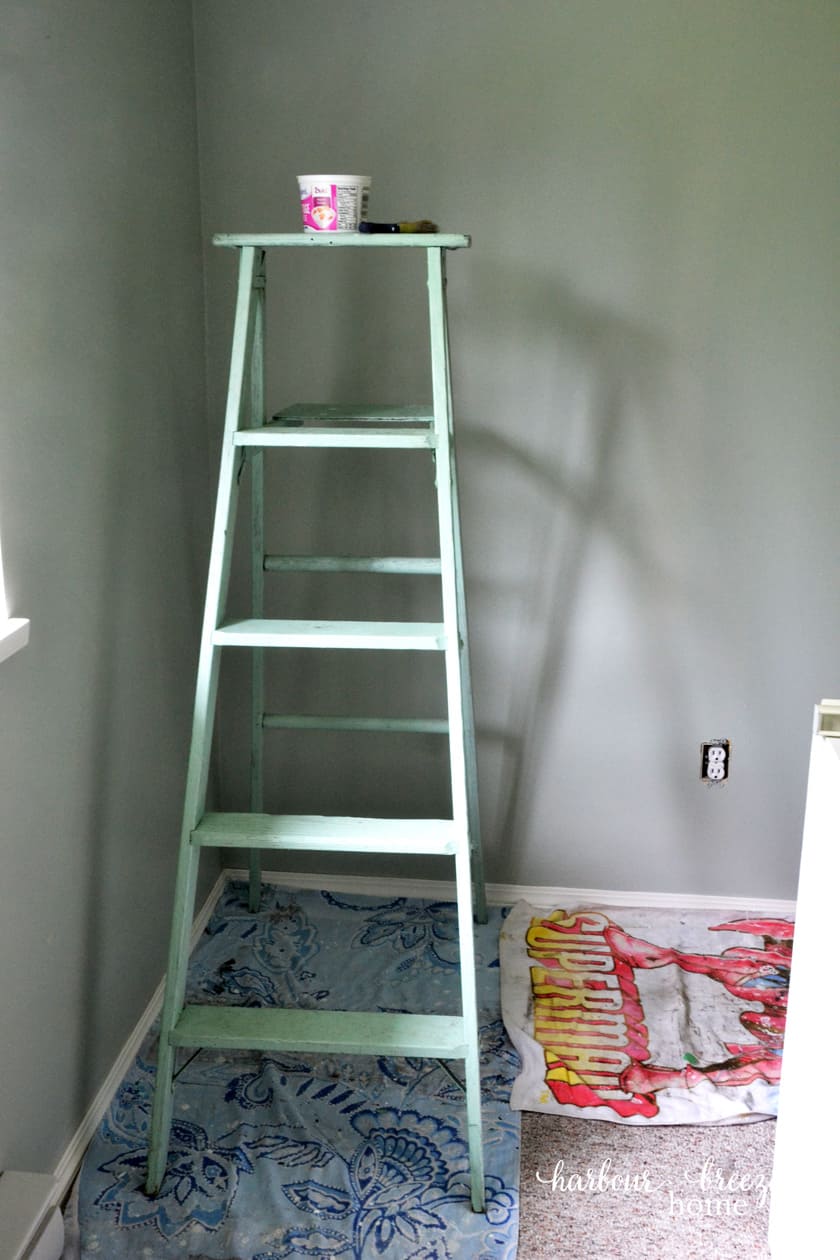
Before beginning to paint, cover the floor surface with drop cloths or towels. Have your step ladder handy as well.
5. How to prep a room for painting
Paint doesn’t like to stick to dirty, greasy, or slippery surfaces. So, it is important to prep your walls to accept the new paint well. Wipe down the walls to remove any dirt. If it is really dirty, I recommend cleaning with TSP cleaner and de-greaser solution. (It can be found in a local hardware store.)
If the previous paint is really glossy or slippery, be sure to check if it is oil based. If it’s not, you may want to quickly rough up the surface by running sandpaper over it.
If you have large holes or dents in the wall, fill them with spackling, let them dry, and sand well before you start painting. If primer isn’t built into the paint you purchase, you’ll need to prime the spackled areas (and let it dry) before beginning to paint.
Remove all light switch covers and plug in covers and store in a safe spot. (So you remember where you put them!;))
If your walls require priming (see above), start with it first. Follow the same steps as below, and paint on one coat of primer. It will not cover well, but that’s ok! The primer’s purpose is to just prepare the surface so the paint will stick. Once it is dry, carry on with the paint color of your choice.
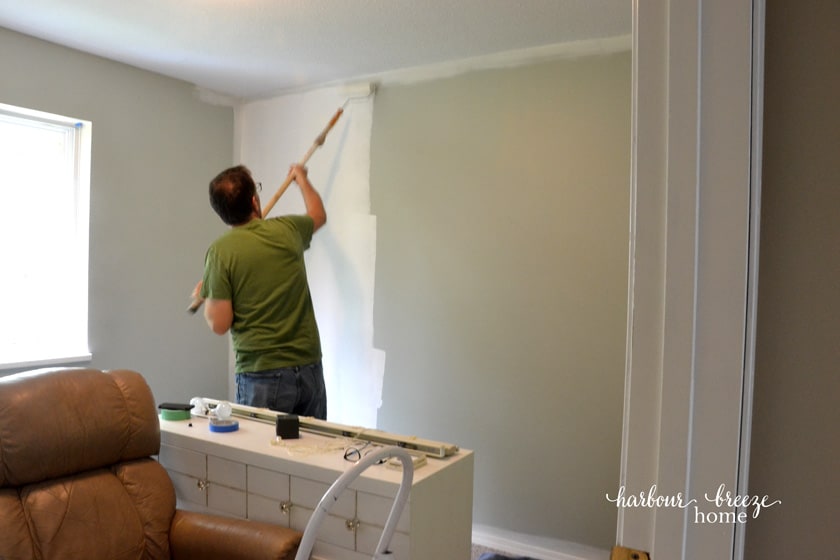
6. Start the painting process by cutting in at the ceiling line
“Cutting in” is the process of using a brush to paint the line up close to the ceiling, in the corners, around the trim, and above the baseboards. It is the trickiest part of painting a room, but don’t be scared of it! Here are a few tips for cutting in:
- Use a Wooster handleless brush. After trying out lots of different brushes over the years, this one is a winner for me! It fits easily in my hand and seems easier to control.
- Stand on a step ladder so that you can see the line break between the wall and ceiling well. Dip your brush about 1 inch into the paint, tap it off, and make sure it is saturated to be generous, but not dripping, amount.
- Place the brush well below the ceiling line and start moving it sideways semi-quickly until you see exactly where the line is. Then keep moving in a straight motion until it runs out of paint.
- Cutting in takes practice, but keep at it and you’ll grow in confidence quickly. The game changer for me was to move quickly! Don’t overthink and just get that paint moving straight.
- Have a wet rag handy so you can quickly wipe up any oops-ies you may have.
Painter’s tape isn’t generally used for cutting in. However, it is very handy for using around trim in multi-paned windows or on the edge of a rug when painting in a stairwell. If you use painter’s tape, be sure to remove the tape before the paint is dry, or the tape may pull the paint fight off the surface you want it on. Another way to avoid that problem is to run an exacto knife along the edge before pulling the tape off.
7. Roll on the paint
Once you have cut into a wall, it’s time for you to start the rolling part. This is where the transformation really starts to show.
Attach an extension pole to a paint roller handle to get the height you need and roll the roller into the paint of the paint tray. Work in long rolling motions from one side to the other, top to bottom, and try to get smooth finish. Check constantly to make sure you catch any drips before they dry that way.
8. Paint on second coat
Once the first coat is dry you can start the process exactly the same way with the second coat. Cut in first and then roll.
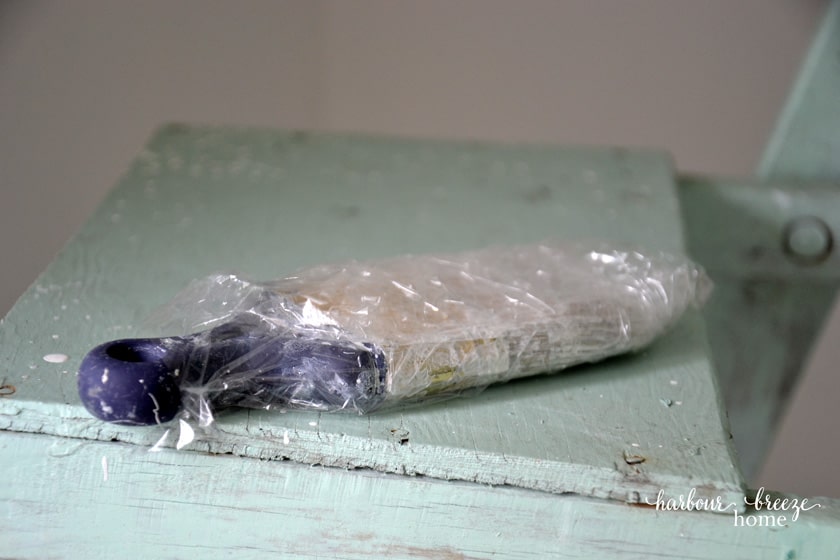
9. How to store your paint overnight
If you don’t quite finish your project, you can tightly wrap your brush and roller in plastic wrap or zip loc bags. Just don’t let the air get to it or you will have problems.
Update: I’ve found this method works fine for a few hours, but if it is going to be overnight, I wash out my brush. It just helps my brush to stay in better condition and it doesn’t get sticky with paint.
10. How to care for your painting supplies
I firmly believe that purchasing good paint brushes and supplies is a good investment. However, you need to take good care of them so they will last a long time. Wash out the brush and roller well after each use. Use a drop of liquid dishsoap and lukewarm water. Rinse until the water runs clear. Let the roller dry by letting it stand upright. Hang the brush up and let it air dry.
Rinse out the paint tray well.
Make sure the paint cans are closed well by tapping the top down firmly with a rubber mallet. Store paint in an area that doesn’t freeze – ideally in temperatures 60-80 degrees.
Yay! You did it!
Now you have your room all painted. Stand back and give yourself a high five!
Other related articles you may find helpful:
- How to Paint a Metal Front Door
- How to Paint a Vinyl Door Sweep
- Simply White and Silver Strand Painted Master Bedroom
- How to Pick a Paint Color You’ll Love
- Choosing Paint Colors for a Small Dark Space
- Small Kitchen Ideas: Paint Color Combinations
For more recipes, crafts & ideas for your home all year round, become a VIP!
Become a VIP newsletter subscriber and get instant access to the library of free printables (including wall art, gift tags, and more!). Click here or the button below to join today.


To paint a room, start by prepping walls, filling any holes, and taping off edges. Prime the surface, then apply your chosen paint color evenly with a roller and brush. Allow drying time between coats for a flawless finish.