How to Use Spray Paint for a Metal Cart Makeover
Turn a rusty piece of furniture into a beautiful & useful furniture item with this step by step guide on how to use spray paint for a metal cart makeover. This 3 tier rolling cart got a whole new look with spray paint for metal!

Tucked away in my storage area was this old beauty in the rough ~ a vintage metal cart.

She had survived multiple purging escapades despite her very rusty shelves and crazy rubber covered legs.
Common sense whispered gently in my ear years ago that I should just get rid of it. But my heart just couldn’t let it go.
You see, it was my mom’s. I remember it sitting proudly in the dining room at the farm perched under the windows and holding the latest plants Mom was trying desperately to keep alive. I seem to recall that at one time it also ended up in the kitchen with yellow daisy contact paper…
I’ve always dreamed of someday restoring it to it’s former glory and turning it into a “party cart”.
That someday finally arrived!
After pondering it for so many years, it’s funny to discover that it didn’t take long at all. Why, oh, why didn’t I do this before? Here’s the step by step process.
How to use Spray Paint on Metal for a Vintage Cart Makeover
Disclosure: This post contains affiliate links. Harbour Breeze Home is a participant in the Amazon Services LLC Associates Program, an affiliate advertising program designed to provide a means for sites to earn advertising fees by advertising and linking to Amazon.com.
Gather Supplies:
- Random orbital sander and sandpaper
- Safety goggles
- Spray paint primer
- Spray paint in color of your choice
- Screwdriver.
Step by Step Instructions
1.Dismantle the shelves from the handles by unscrewing the screws on the sides.
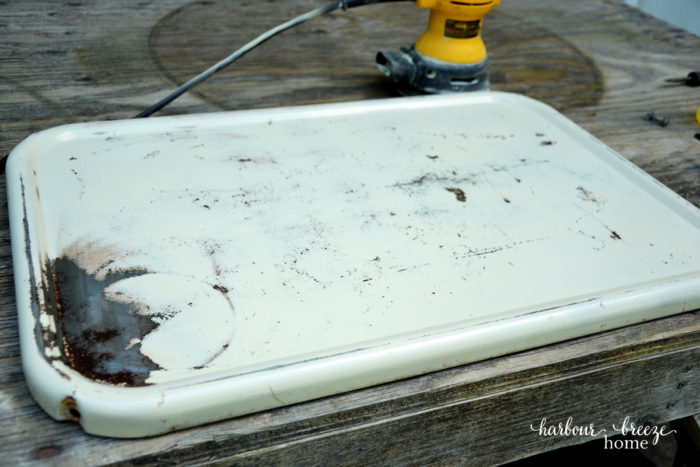
2.Lay each shelf on the workbench and sand off the rust with the random orbital sander.
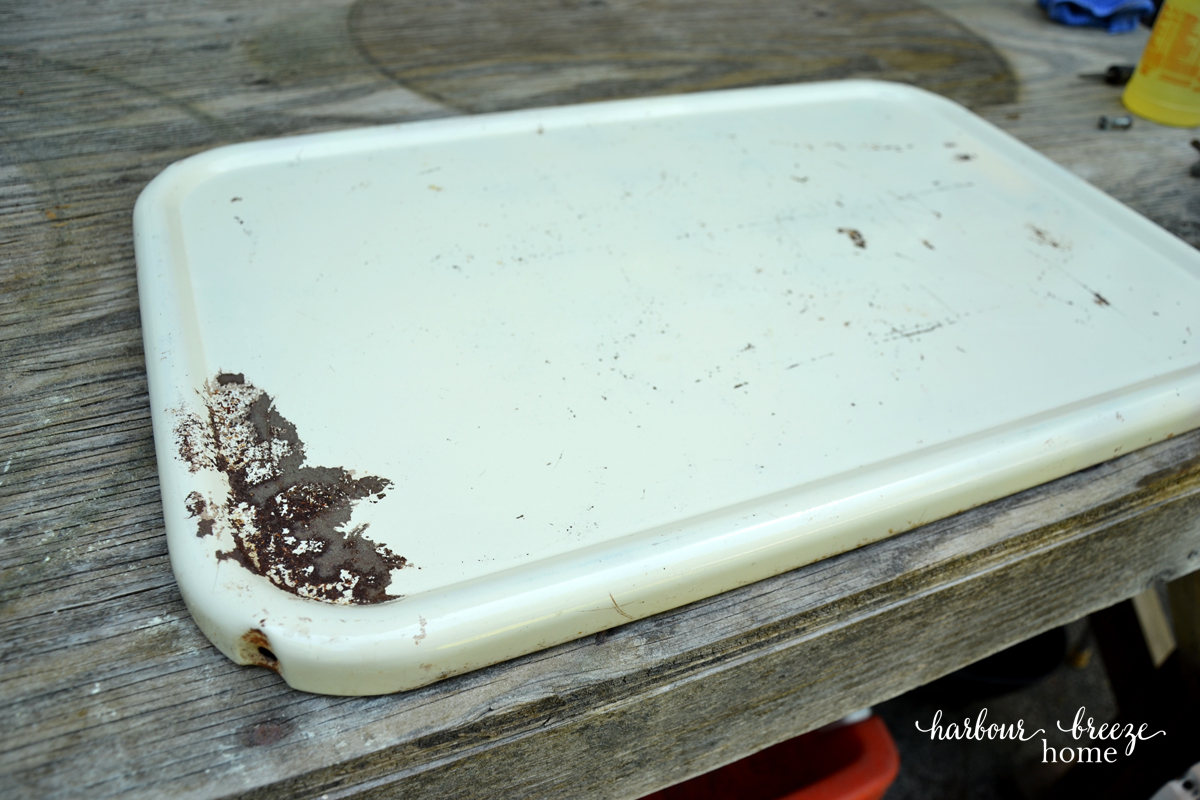
I read the key to spray painting over rusty metal is to sand off all the rust first. For some reason I was really scared about this step. But, it ended up being quick and painless. The key is to get all the bumpy and rough spots off the metal and make sure it’s perfectly smooth with no loose paint.
Whenever I use a random orbital sander, I like to use safety goggles. I don’t want any little bits of things flying in my eyes!
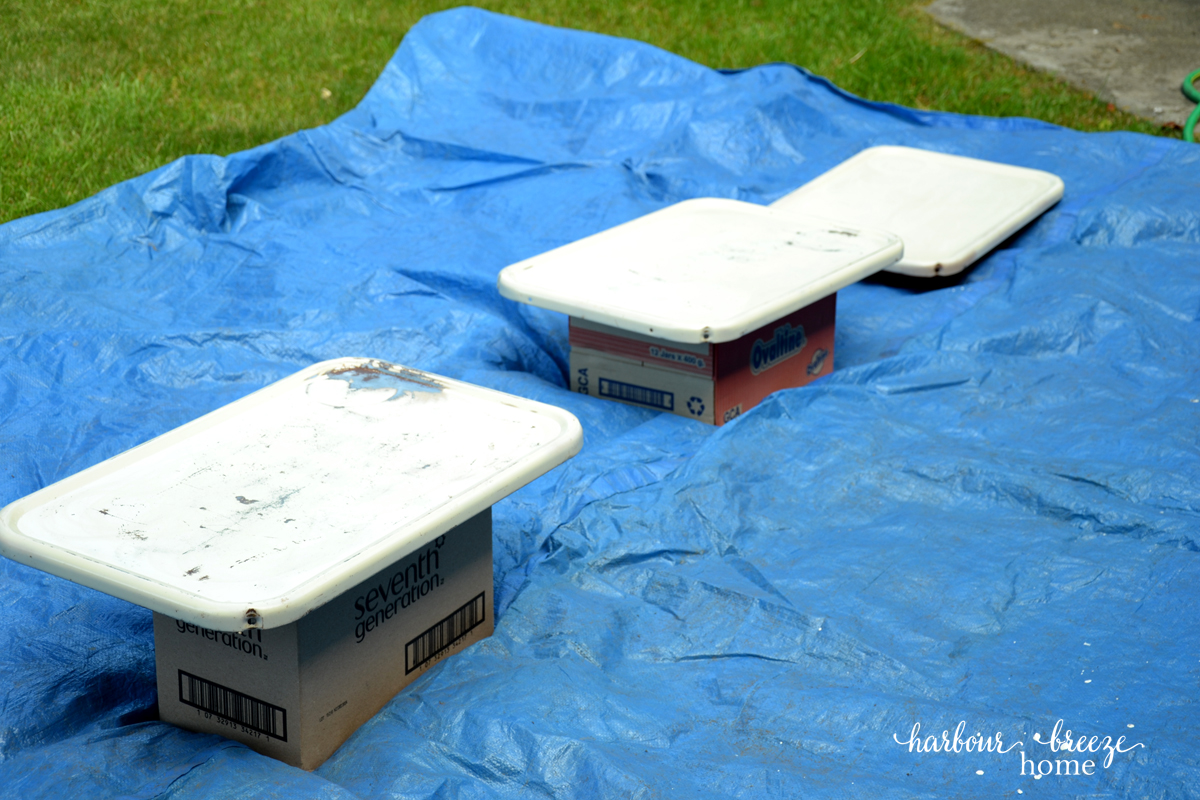
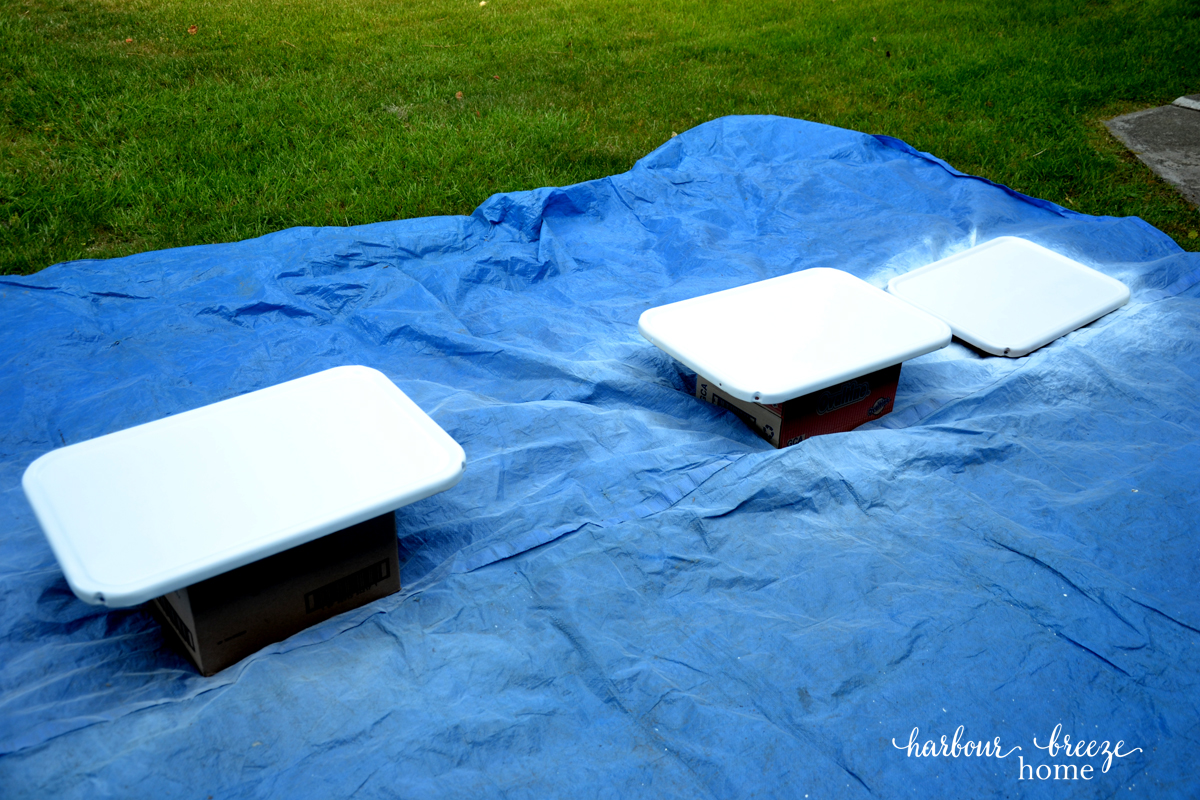
3. Once sanded well, lay them in a well ventilated area (or outside) and protect adjoining areas from overspray.
You’ll want to protect surfaces from the overspray of spray paint, so be sure to prep accordingly. I didn’t have anything fancy ~ just a tarp and some boxes.
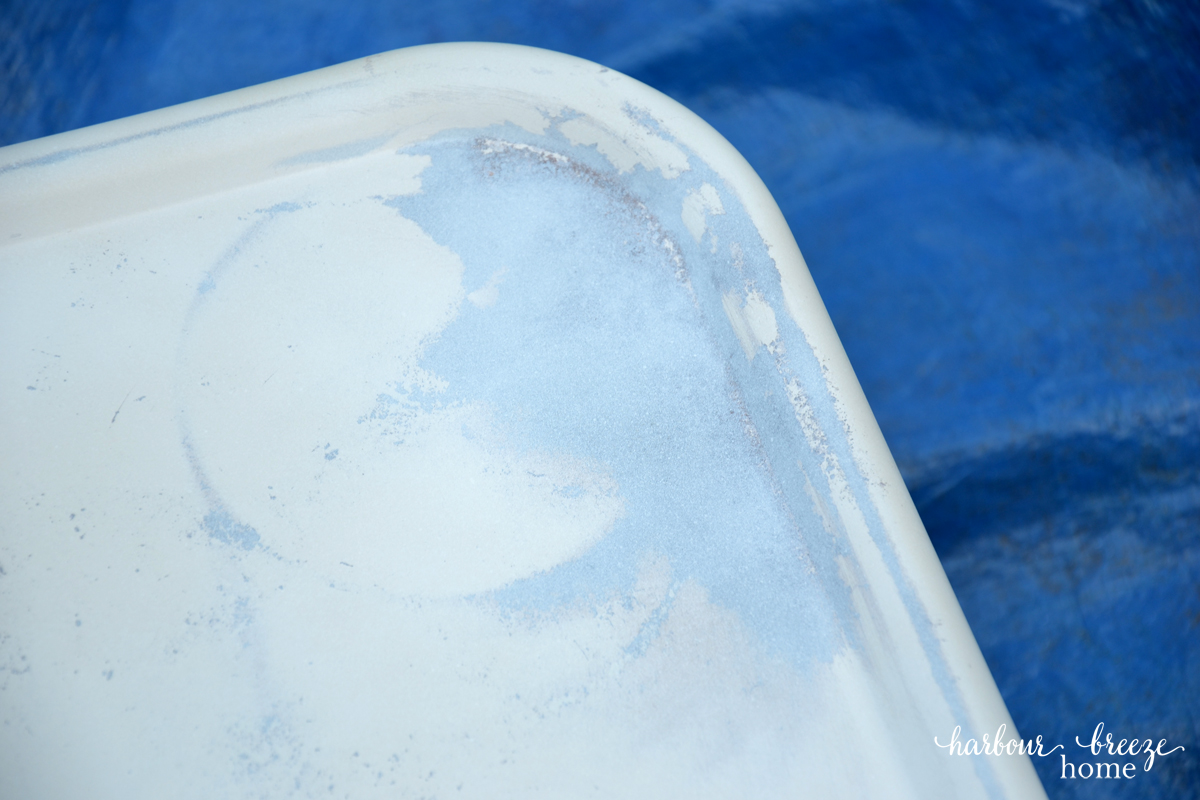
4. Following the directions on the spray paint can, prime the pieces with a few thin coats of spray primer.
The directions on the spray paint can will instruct you to shake the can well before starting. This is very important.
Once it is shaken well, spray on the primer in a thin, fine layer – moving your arm steadily and quickly from one side to the other.
The sanded off spots may show through the primer, but since the primer’s job is to just help the top coat stick better, you don’t need to worry about that.
5. Using the color of choice, spray on thin layers of paint ~ waiting a few minutes (about 8) in between coats.
I used white satin spray paint for this project, and sprayed it on in thin layers.
Again, follow the directions on the spray paint for specific instructions regarding how long to wait between coats. Little by little it will coverup nicely until it becomes a new, fresh color.
6.Wash the chrome handles with baking soda and vinegar and then re-assembled it all back together again once it is completely dry.
Now it’s all ready for its new life as a “party cart”!
What’s a party cart, you ask?
Well, it’s a cart that helps you when you’re entertaining guests.
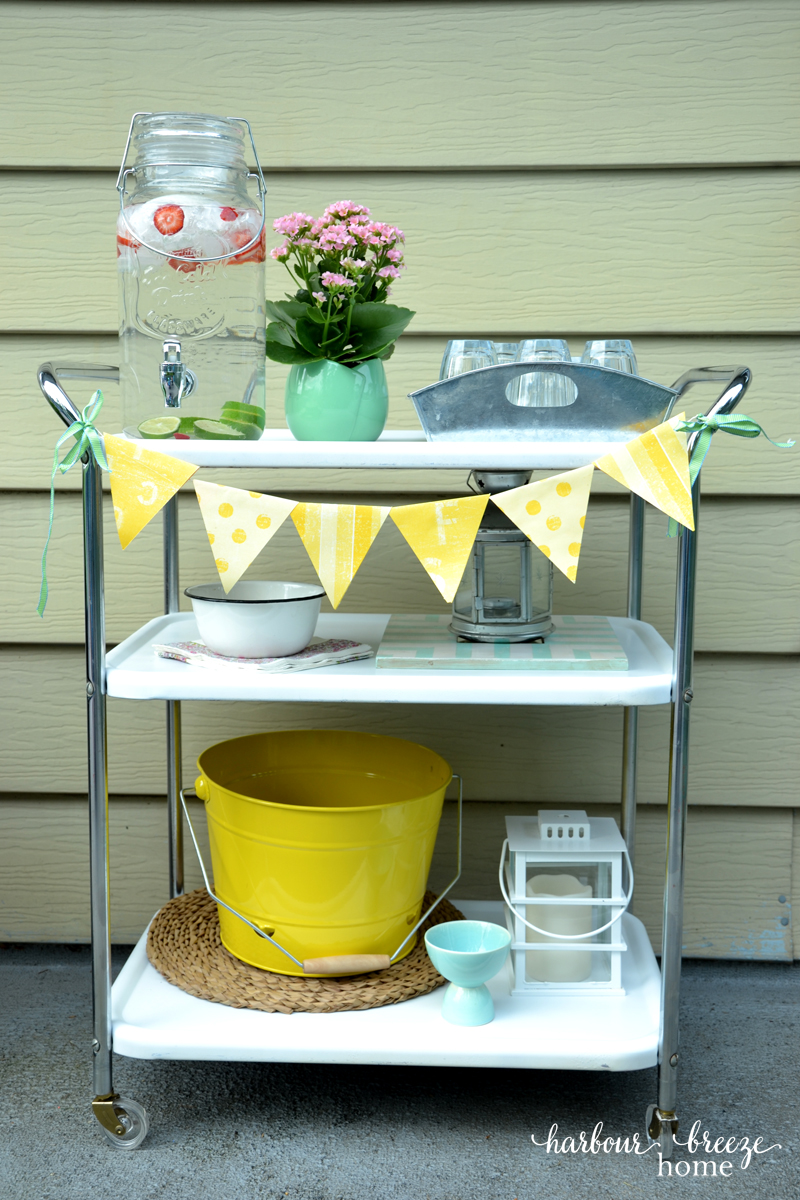
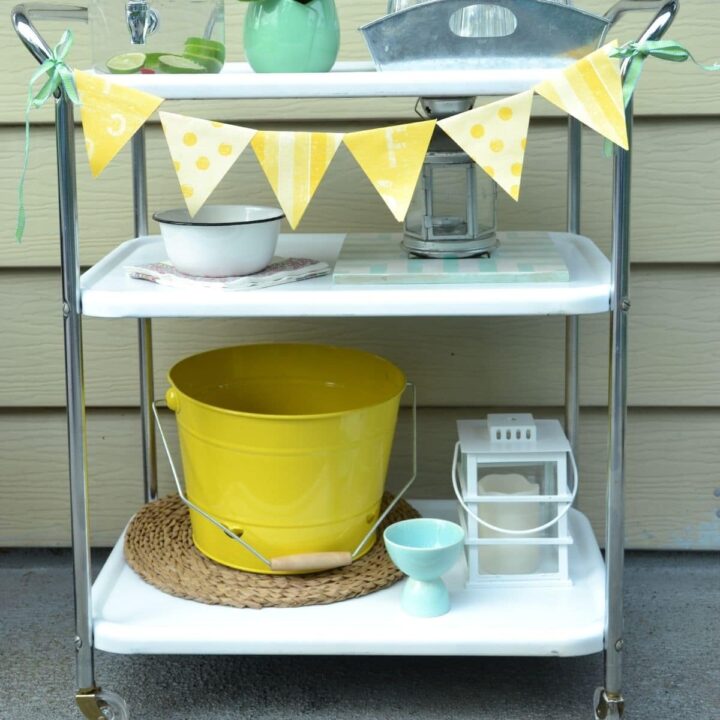
In the summer time it can be wheeled out on the deck when you’re having a barbecue to hold all the cold drinks ~ You can even add a fun paper bunting banner to it if you’d like.
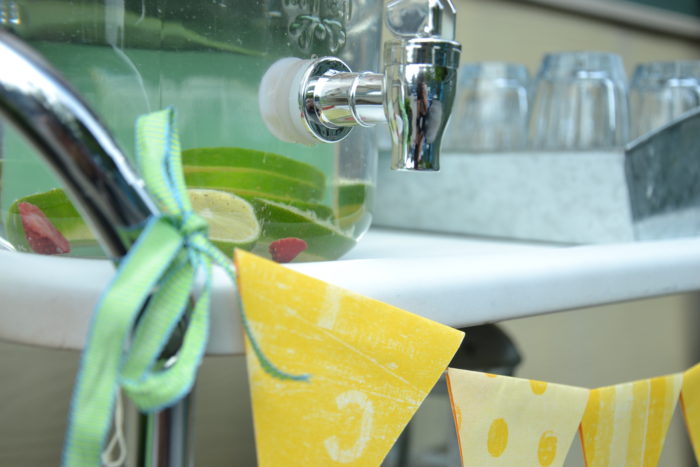
Like some fruit infused ice water and a bucket of ice with cans of pop.
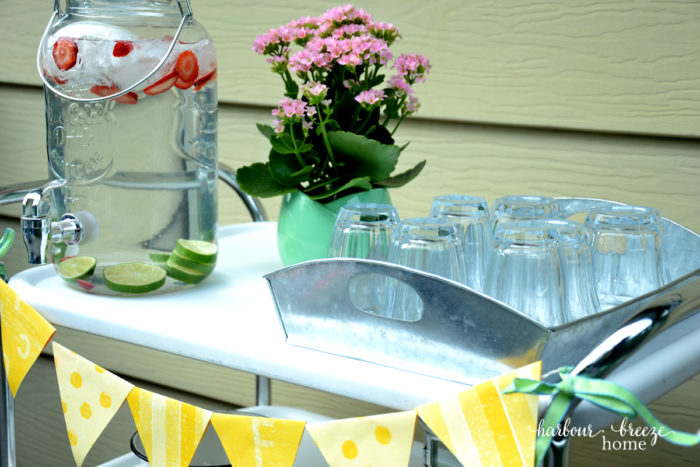
You can add pretty flowers,
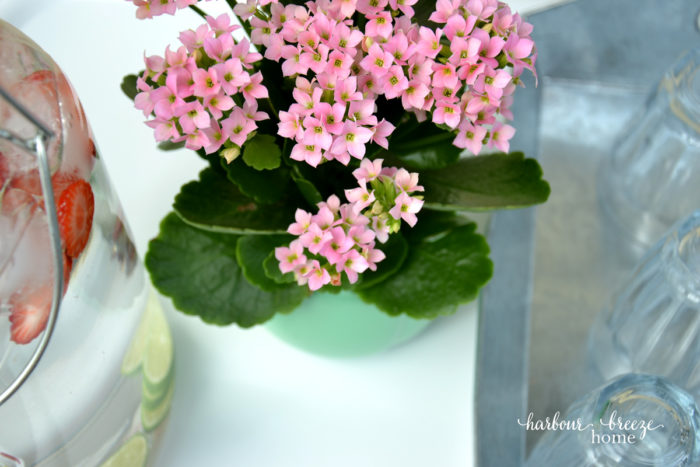
and put whatever on in that might save you from making a 100 trips back into the kitchen ~ things like silverware in metal buckets or napkins held down from the breeze by a cute enamelware bowl.
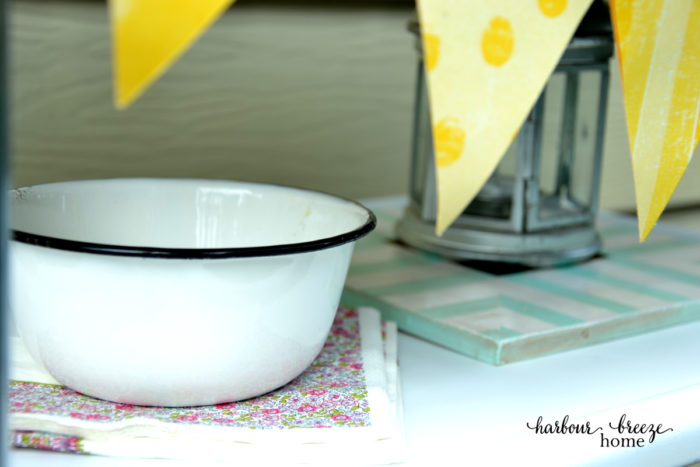
Then when you’re finished with it, you can wheel it back into your house and it can hold whatever floats your boat ~ like perhaps some houseplants that you’re trying desperately to keep alive!:)
In the winter time, I’ve seen these made into really cute hot drink carts, too ~ think of hot chocolate, coffee and tea.
For more spray paint projects, you may want to check out:
- Spray Painted Pendant Light
- Spray Painted Industrial Wire Basket with Fabric Liner
- Painted Lamp Makeover

I can’t wait to put this little party cart to use.:)
How to Use Spray Paint for a Metal Cart Makeover
Transform an old, rusty vintage metal cart by using spray paint. Learn the basics of how to prime and paint metal with spray paint.
Tools
- Random orbital sander
- Sandpaper
- Safety goggles
- Spray paint primer
- Spray paint in color of your choice
- Screwdriver.
Instructions
1.Dismantle the shelves from the handles by unscrewing the screws on the sides.
2.Lay each shelf on the workbench and sand off the rust with the random orbital sander.
3. Once sanded well, lay them in a well ventilated area (or outside) and protect adjoining areas from overspray.
4. Following the directions on the spray paint can, prime the pieces with a few thin coats of spray primer.
5. Using the color of choice, spray on thin layers of paint ~ waiting a few minutes (about 8) in between coats.
6.Wash the chrome handles with baking soda and vinegar and then re-assembled it all back together again once it is completely dry.
For more recipes, crafts & ideas for your home all year round, become a VIP!
Become a VIP newsletter subscriber and get instant access to the library of free printables (including wall art, gift tags, and more!). Click here or the button below to join today.
Original post written May, 2016. Updated with more information on February 14, 2022.



Love it! Did you keep the rubber feet or put castors on? If so where’d you find the castors?
We put some castors on it. I love them! Honestly, we can’t remember where they came from. They’re old though ~ the clear vintage kind.
Wow! Beautiful transformation!!
Thanks, Heather! It’s fun to have it pretty and useful again. When it’s not out on my deck ready for a party, I have it “parked” by my kitchen island. It’s pretty handy there, too!:)
Rita, it looks like new! You inspire me.
Aww…thanks, Bev!:)
Many thanks for sharing this neat web site
Love it!! I have been watching for one of these. Great job!!
This looks brand spanking new and I love the yellow and white color scheme. That banner really makes it look festive, perfect for a party!
Carrie
curlycraftymom.com
I love that you linked this on Tuesday Turn About… this way I get to see a diy from you that I haven’t seen before!
What grit sandpaper did you use? I have a similar cart to refinish!
If the chrome legs were rusted- discolored, would you use chrome spray paint on them. Does spray pain with primer work as well as primer and then paint? So glad to find this and get the directions,!!!!
I love this so much! I really want to find a vintage cart now. How fun would it be decorated for 4th if July! Great job Rita.
It’s so neat to have something like that of your Moms! My mom had one too just inside the kitchen door. One thing on it was sometimes the needles my Dad used for the cattle! Only on a farm..
Thanks for the tip to lay them out once they’re sanded. That is a great idea to make sure it all looks good. I’ll need to get some sanding material though.
Love this little cart. I remember my mom having one and it was covered by 70’s tacky contact paper. I wonder if it still exsists. The cart, not that tacky contact paper.
This looks fantastic! So glad you made use of something that was your Mom’s and you can think of her whenever you use it. ♥