
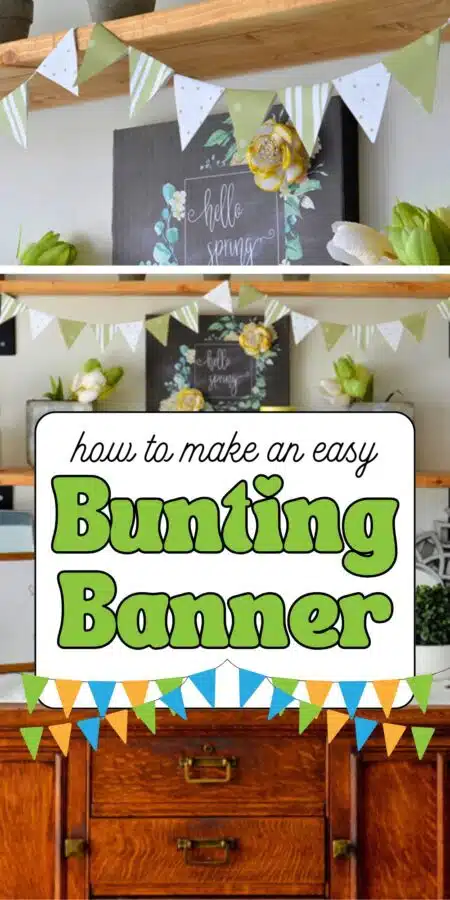
DIY Paper Triangle Bunting Banner
Freshen up your decor with a handmade paper triangle bunting banner. This simple tutorial is perfect for using up scrapbook paper and adding instant joy to any room.
If you’re like me, you might remember the scrapbook craze—when we were all searching for coordinating patterned paper, stamps, and cute embellishments. It was such a fun trend, and if you’re anything like me, you still have boxes of beautiful paper tucked away in a closet somewhere.
Here’s a fun way to breathe new life into all that pretty paper by turning it into a paper triangle bunting banner. It’s a super quick project that adds instant festive charm to any space—and you can make it in about 10 minutes.

Supplies You’ll Need for this DIY Paper Bunting
Disclaimer: This post contains affiliate links for your shopping convenience.
- Patterned Paper in coordinating designs and colors (This is a cute Spring set.)
- String or jute (I think colored baker’s twine is so cute for this project.)
- Ruler
- Scissors
- Glue stick
- Paper Cutter (This is my FAVORITE type of paper cutter. I’ve used it for years, and just replace the paper cutter blade when it gets dull.)
How to Make a Paper Bunting Step by Step
There is a printable card below this post with the steps for your convenience.
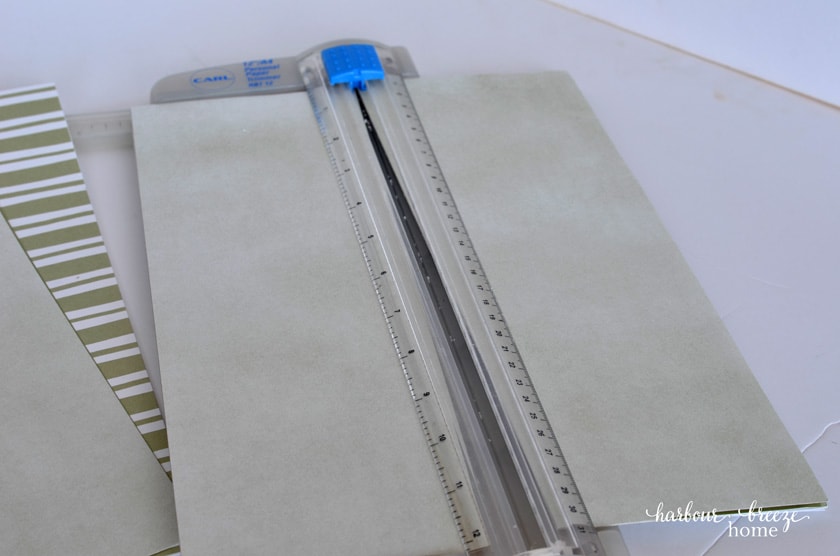
Step 1: Cut the paper into strips
Start with 12” x 12” scrapbook paper.
Cut each sheet into 3 strips that are 4 inches wide.
📌 Tip: For a 6-foot banner, you’ll want about 12–15 triangles, so plan for 4–5 sheets of paper depending on how many colors/patterns you want.

Step 2: Fold and Mark the Triangles
Fold each strip in half, right sides together, so the pattern is on the inside.
To make the triangle markings:
- Mark the top edge every 2 inches, starting at 0
- Mark the bottom edge every 2 inches, starting at 1
This offset creates the triangle points.
You can speed this up by folding three strips together and marking them at once.
📌 Optional: If you’re making several banners, make a cardstock template of the markings so you can quickly trace them onto future strips.
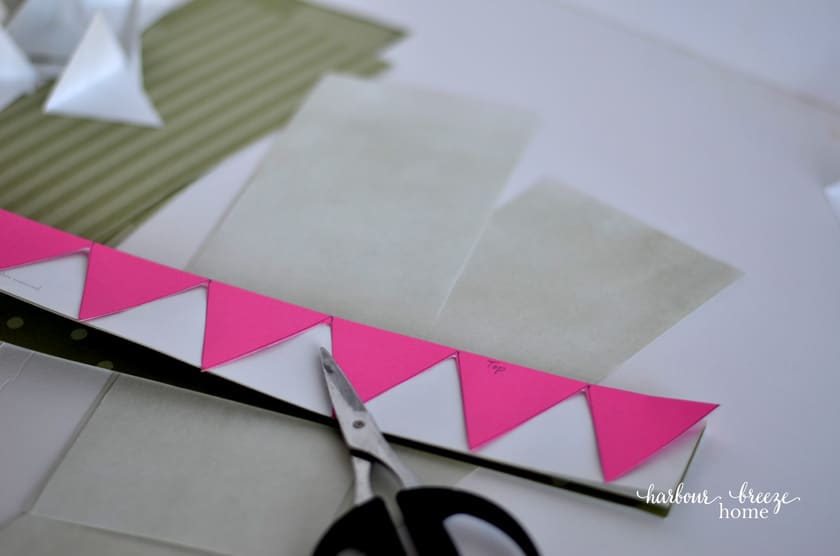
Step 3: Cut the Triangles
Use your pencil marks as a guide to cut triangles.
If you’re using a template, be sure not to cut all the way through the top of your template, or you’ll cut your template apart.
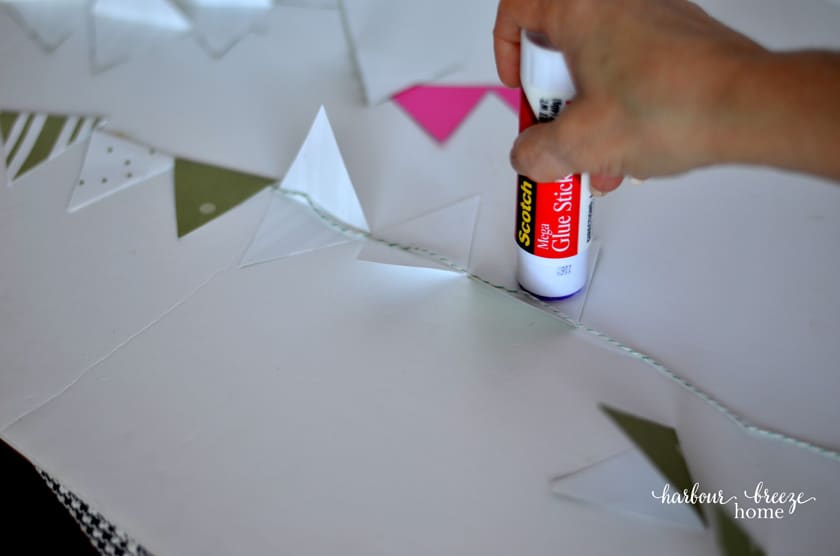
Step 4: Add the String
Measure your string to the desired length and lay it flat.
Fold each triangle over the string with the fold at the top.
Apply glue stick to one side and press it down.
Arrange the triangles in the order you like, spacing them evenly.
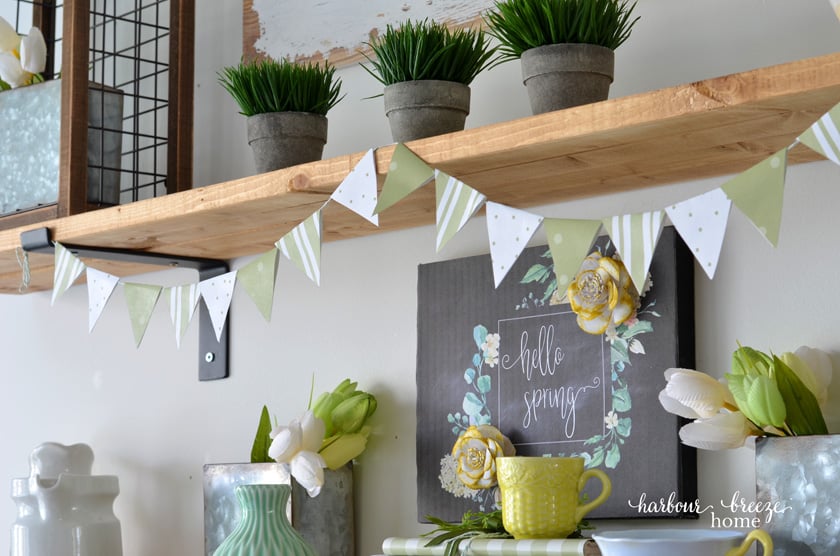
Step 5: Hang it up!
Tie small loops at each end of the string to hang.
This time, I draped mine over the shelf brackets, and a small piece of scotch tape in the middle gave it a swag in the middle.
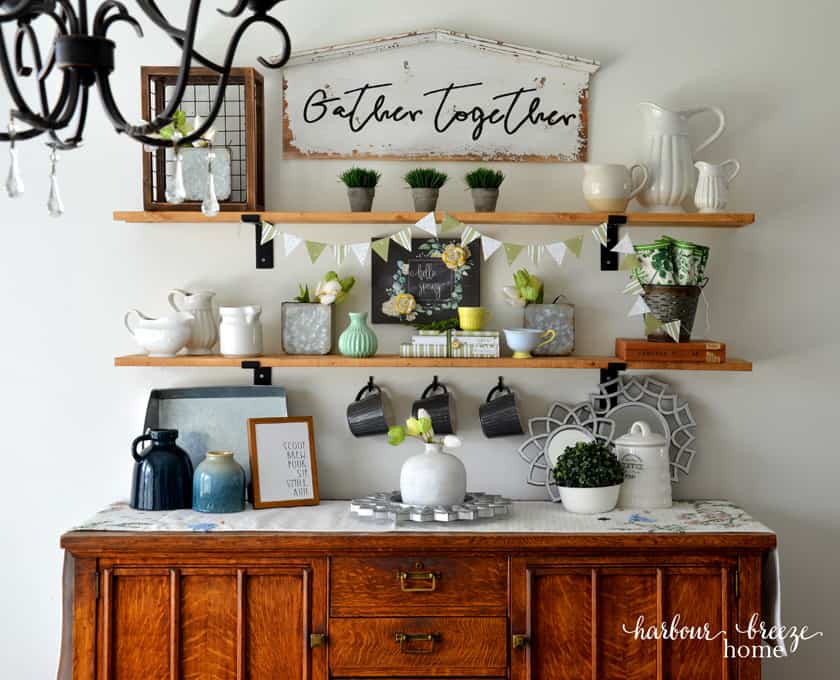
Turn it into a celebration with a paper bunting banner!
I think bunting banners are one of the most festive and happy decor items out there. You can whip one up to be used in all different situations or occasions:
- Attach one to the front of the gift table for a bridal shower.
- Drape one over the handles of a vintage drink cart at a backyard party
- Hang a brightly colored banner from an old window for a Spring vignette above a dresser
- Use old book pages for a farmhouse look and hang it in your office window, the Christmas tree, or fireplace mantel.
- Add some letters to the front of each one for a welcoming message in your entryway
Other Ways to Use Paper in Decor
Paper is one of my favorite seasonal decor tools because it’s affordable, easy to switch out, and it adds instant color and personality to a space. If you have a stash of beautiful scrapbook paper or printables, here are a few fun ways to use them beyond garlands:
- Turn printables into iron-on transfers for throw pillows
- Use old book pages for a farmhouse book page bunting garland that can even be used on the Christmas tree!
- Create pretty paper covered books to create a coordinated shelf display
- Make paper placemats and a paper table runner for a festive table. You can see it on my Easter tablescape here.)
- Make paper feathers to put in a vase.
- Create simple paper flowers or paper rosettes for a quick pop of decor
- Use paper to line shelves or drawer bottoms for a pretty surprise
- Make paper confetti for party decor or gift wrapping
- Create DIY wall art by framing patterned paper or paper collages
Pin this to remember it later!
Pin this on your favorite craft board to find it later!

Paper Triangle Bunting Banner
Turn your leftover scrapbook paper into a cheerful DIY paper triangle bunting banner. This quick 10-minute craft is perfect for seasonal decor or celebrations.
Materials
- Patterned paper (12” x 12”)
- String, jute, or baker’s twine
- Ruler
- Pencil
- Scissors or paper cutter
- Glue stick
Instructions
- Cut 12” x 12” paper into 3 strips that are 4 inches wide.
- Fold each strip in half -right sides together with the pattern facing inward, so that your cut lines won't be on the patterned side of the paper.
- Mark the top edge every 2 inches starting at 0.
- Mark the bottom edge every 2 inches starting at 1. (Refer to the pictures above in the post to illustrate the process.)
- Cut triangles along your markings.
- Fold each triangle over the string and glue in place.
- Hang your banner and enjoy!

This craft is so cute and adorable. I love your shelves as well. Such a pretty arrangement
Love your banner Rita. They have been a long time love of mine and such an easy thing to add a little something to your decor
This is SO pretty, and I love the green paper you used. Green is always a head-turner for me! Pinned!
So cute!! Thanks for sharing.