
10 Minute Spring Throw Pillows Using Iron On Transfer Paper
Learn how to make Spring throw pillows in under 10 minutes using free printables and iron on transfer paper. This project is quick, easy, and so much fun!
Last week, I got bit by the Spring bug. You know, the one that makes you want to clean all the things and make the house fresh and pretty again!
I cleaned and swept and rearranged and got to the part where you fluff the pillows on the couch.
I needed something new to fluff.
But, alas, I just couldn’t find anything I wanted in town. AND, now that we’ve downsized dramatically, I decided I only want to use pillow covers from now on. I just don’t have room for 4 seasons of pillows in my limited storage space!
So, I put my creative on and tried to figure out how to make some. Here’s what I came up with.

How to Make Spring Throw Pillows in Under 10 Minutes using Free Printables
Disclosure: This post contains affiliate links for your shopping convenience.
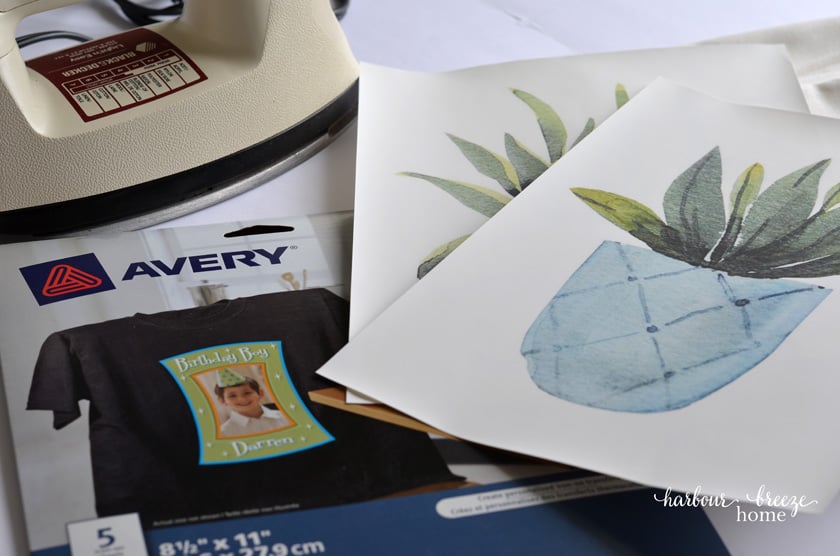
Supplies Needed for iron on transfer paper pillows
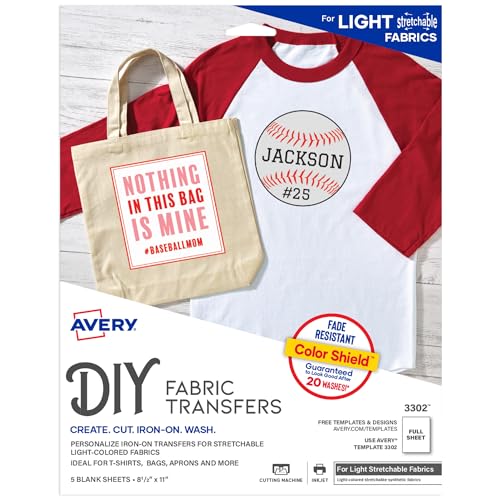
- Avery Iron On Transfers (I used Avery Iron on Transfers for dark fabric #3279 because that’s all I could find locally. It worked fine, but they do have transfer paper specifically for light colored fabric, too.)
- Printer (This is ours)
- White Pillow Covers – (I got 2 20 x 20 inch Ikea “Gurli” pillow covers for $4.99 at the store, but you can find it here. I’m not sure why it’s so much more expensive online?)
- Iron
- Free Printables (Become a VIP and get access to my whole free printables library!)
Step By Step Instructions for Spring Pillow Covers Using Transfer Paper.
- Print off the design you want (the free printables I used are below) using Avery iron on transfer paper.

Unlike many of the iron on transfer crafts that you see, you don’t need a cricket machine for this! Instead, using just your home printer, print off the design of choice using the Avery iron on transfer paper.
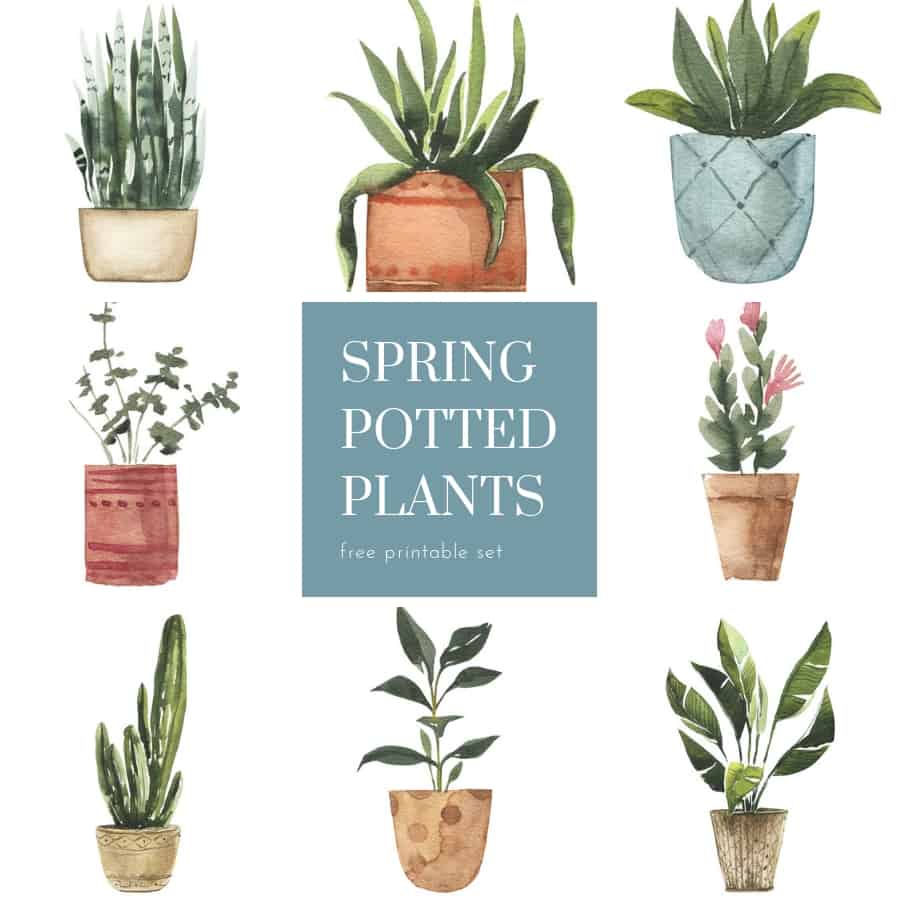
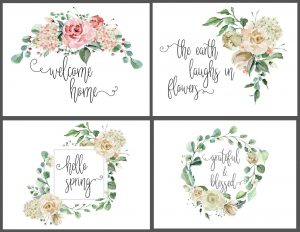
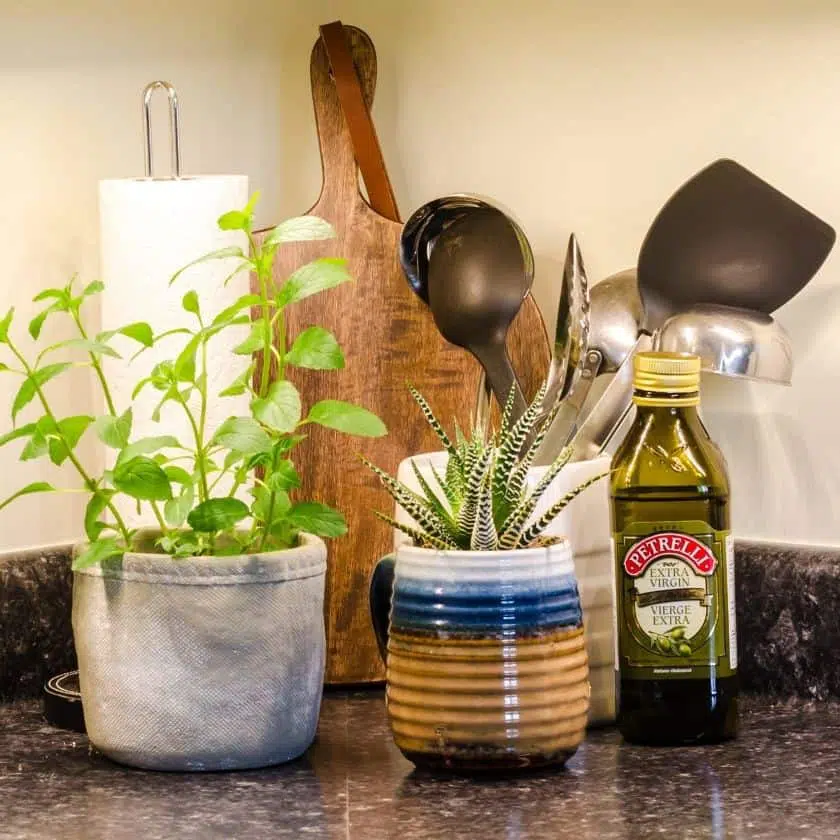
I had fun putting together a set of potted plant free printables with this project in mind. You can access it and all the other free printables in the VIP Printable Resource Library by clicking here. (If you’re not a VIP yet, click here to become one!!)
- Trim around the design and peel off the backing of the iron on transfer paper.
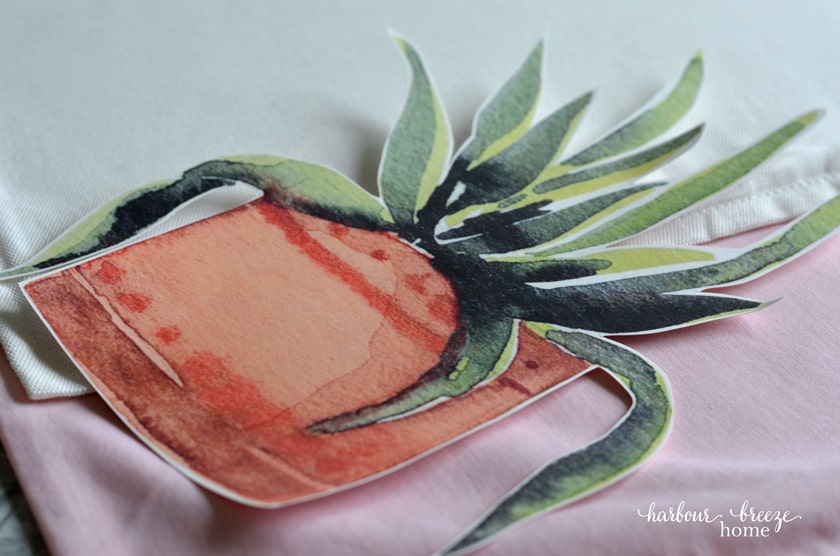
You’ll want to trim closely around the edge of the design so that there isn’t much white showing. That way it will blend nicely into the white pillow.
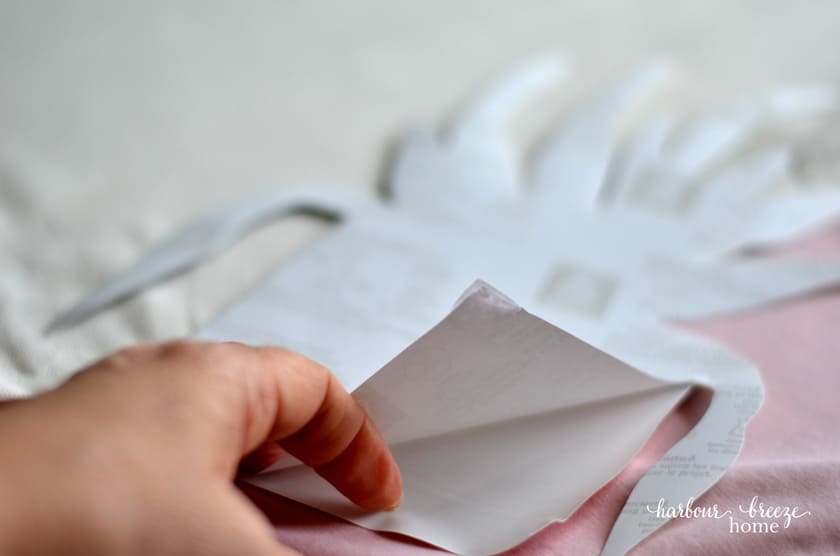
Once trimmed, peel off the backing paper. I found this very challenging, until I read that you just need to tear a bit of the edge to get it started. Once I did that, it peeled off fine.
- Heat set the transfer image with an iron.
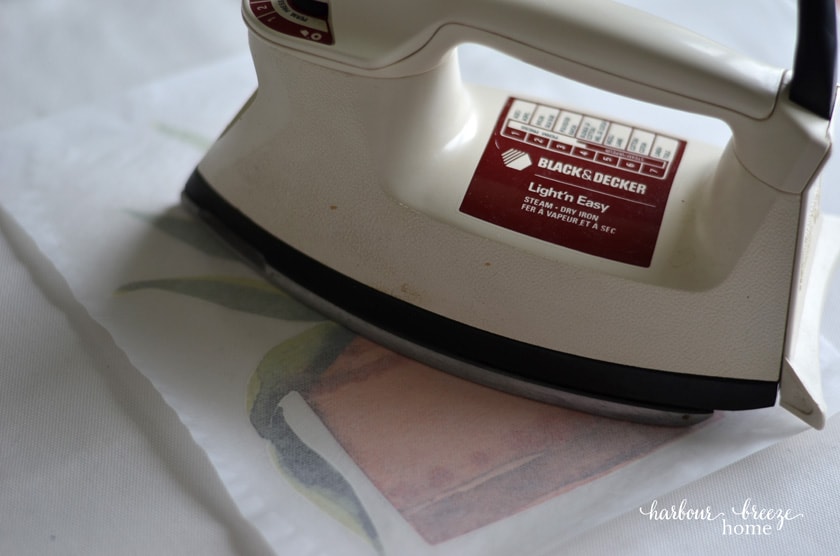
Following the manufacturer’s directions, use a hard surface with a pillowcase underneath (not an ironing board!) to iron on the transfer. Set the iron on high heat setting and make sure the steam is turned off.
Iron out all the wrinkles from the pillow cover and center the transfer onto the middle of the pillow.
Place the transfer setting tissue paper on top of the transfer, and press down firmly on the design, moving the iron slowly over the whole design. I kept the heat on these transfers for about 2 minutes.
- Let the design cool for 2 minutes before touching it.

Once the design has been heated for the recommended time, lift off the iron and let it cool for about 2 minutes.

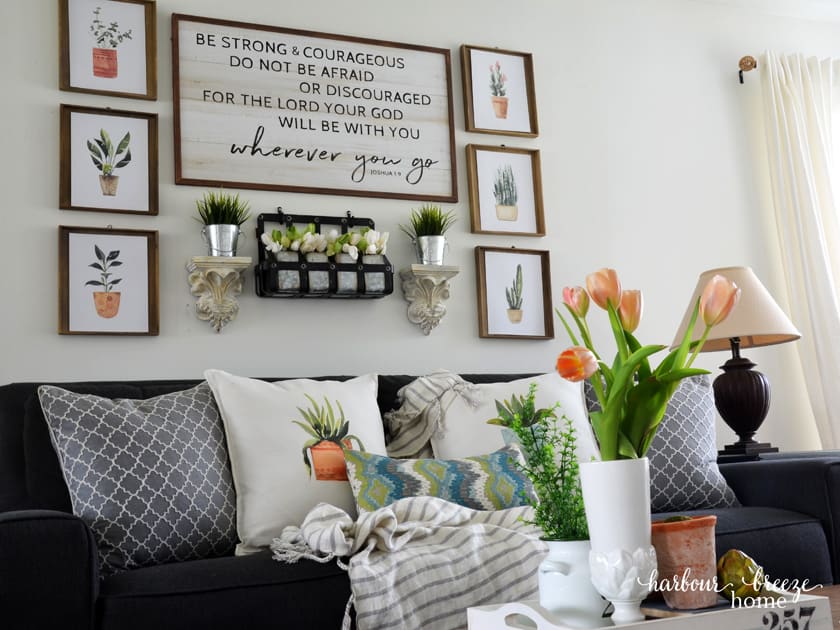
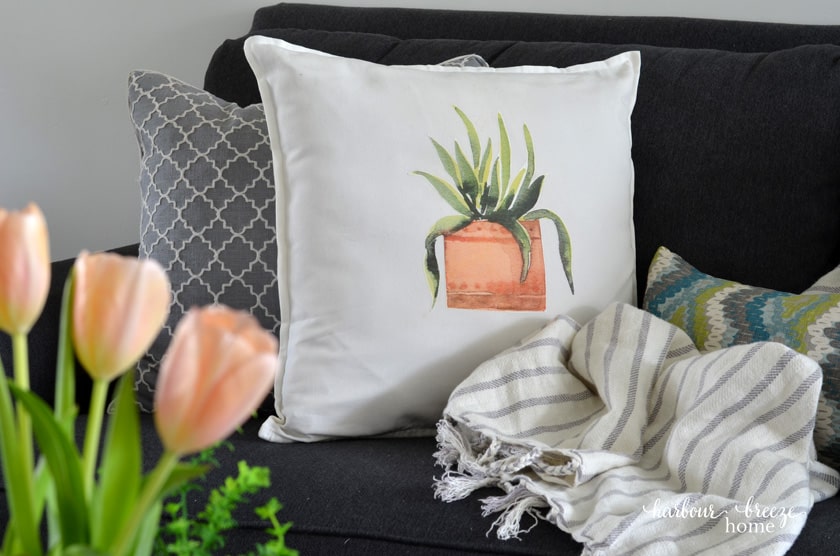
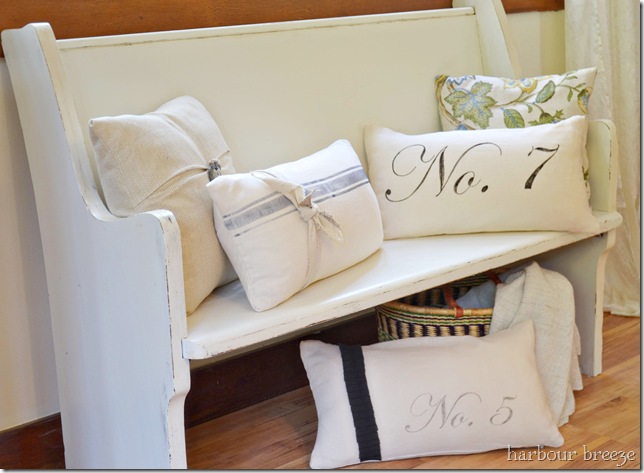
- Peel off the tissue top and it’s finished!
Enjoy your newly crafted Spring pillow masterpiece!
This quick and easy method could be used with any free printables you can find online. I’ve done free printable round-ups for all seasons. Here they are:
- Modern Farmhouse Printables for Spring
- Botanical Printable Sets
- Free Printables for Christmas
- Farmhouse Printables for Fall
I’ve recently added some other new Spring printable sets into my VIP printable resource library, too, so you can access both of the sets below by becoming a VIP here.

Oh, the possibilities…
Now that I’ve discovered this super fun and easy transfer method using iron on transfers, I’ve been thinking that this would be great for other projects, too! Like:
- Canvas shopping bags
- Table runners
- T-shirts
- Dishtowels
Other couch pillow projects you may want to try:
- This super cute Christmas tree pillow cover doesn’t require any sewing either!
- These faux leather pillows with a zipper closure look great in farmhouse or boho style rooms.
- Paint pillows with words for whatever saying you’d like!

How to Use Iron On Transfers to Make Spring Throw Pillow Covers
Learn how to make Spring throw pillows in under 10 minutes using free printables and iron on transfer paper. This project is quick, easy, and so much fun!
Materials
- Avery Iron On Transfers (I used Avery Iron on Transfers for dark fabric #3279)
- Printer (This is ours)
- White Pillow Covers – (I got 2 20 x 20 inch Ikea “Gurli” pillow covers for $4.99 at the store, but you can find it here. I’m not sure why it’s so much more expensive online?)
- Iron
- Free Printables (Become a VIP and get access to my whole free printables library!)
Instructions
- Print off the design you want (the free printables I used are below) using Avery iron on transfer paper.
- Print off the design you want (the free printables I used are below) using Avery iron on transfer paper.
- Heat set the transfer image with an iron.
- Peel off the tissue top and it’s finished!
- Let the design cool for 2 minutes before touching it.
Recommended Products
As an Amazon Associate and member of other affiliate programs, I earn from qualifying purchases.
You’ve got me singing, “A whole new world…!” Thanks for this great idea! I offer free printables, too, and I never realized I could turn them into transfers on my home computer! Brilliant! I also love your potted plant ones, BTW. Popped over from Homestyle Gathering:)
LOVE these pillows and tutorials! I see these in my future! Thanks for sharing on Homestyle Gathering… wish I was the host this week! 😉
What a super cute idea! Thanks for sharing, Rita. I really like the plants you chose. They’re definitely giving me all the Spring feels! 🙂 Hugs!
Thanks for sharing Rita! They look fabulous, fresh and all things Spring! Enjoy!
Rita, your pillows really look good. The pattern transferred so clearly. I may have to try it.