
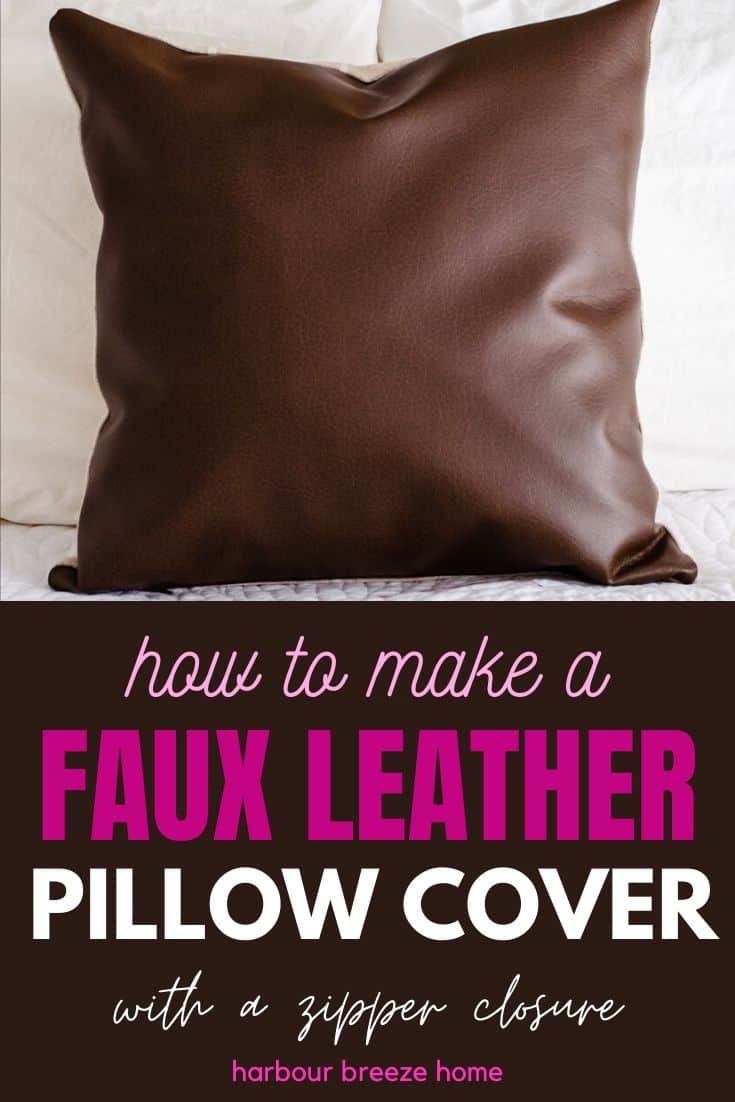
How to Make Faux Leather Pillow Covers with Zipper Closures

Follow this simple step by step guide to learn how to make faux leather pillow covers with zipper closures.
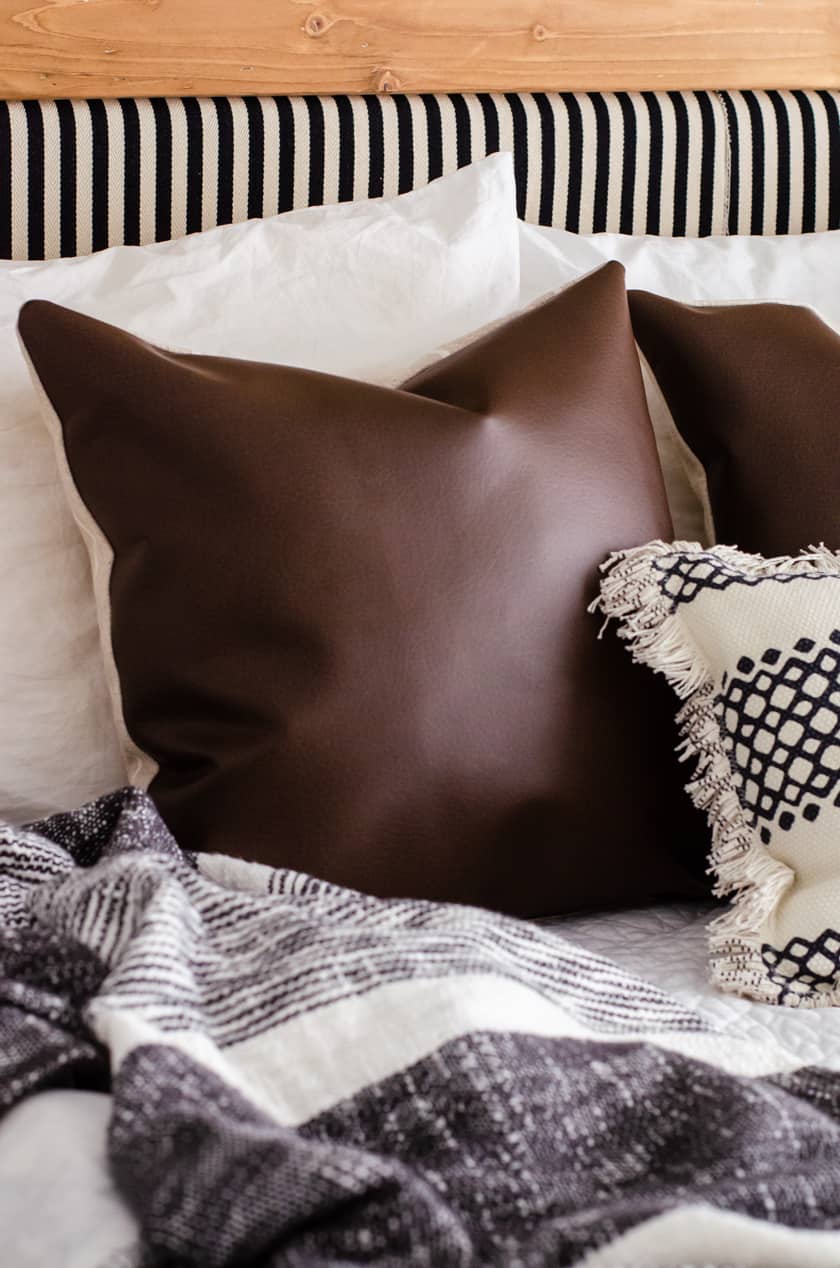
Making faux leather pillow covers with zipper closures isn’t hard to do!
It was a pleasant discovery as I was finishing up the Modern Farmhouse Boho Bedroom makeover. I was on the hunt for the perfect finishing touch – throw pillows.
Specifically, I was on the hunt for throw pillow covers.
Storage space in our downsized home is limited, so pillow covers are a huge space saving solution.
The problem was, I just couldn’t find what I was really looking for.
Although I have done easy sewing projects in the past, this was my first attempt at sewing in zippers. It was a success, and trust me – you can do it, too! Here’s how.
The Easy way to Make Faux Leather Pillow Covers with Zipper Closures
Disclosure: This post contains affiliate links for your shopping convenience.
Supplies you’ll need:
- 18 inch pillow insert
- 1/2 meters of faux leather (enough for 2 pillow cover fronts)
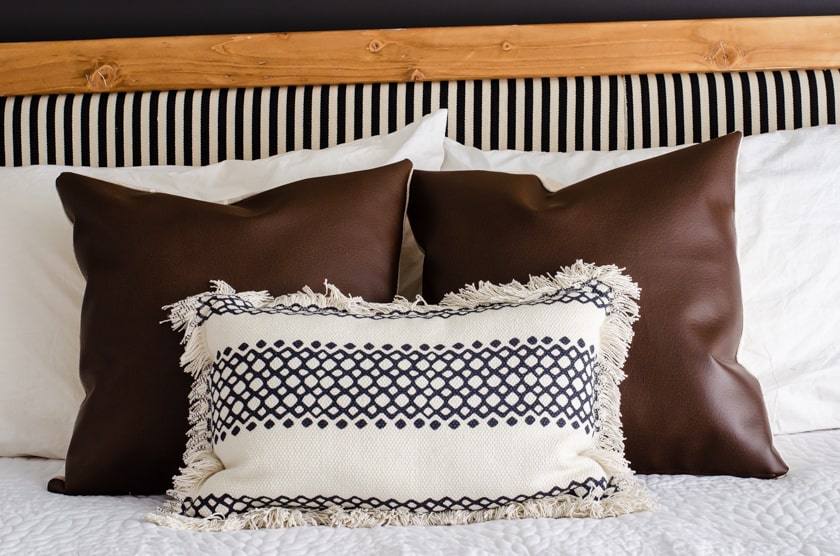
- 1/2 meter of contrasting fabric for the pillow backs (I used fabric I had on hand for the backs. One is striped canvas and the other in linen.)
- 2 – 14 inch zippers
- Leather needle for sewing machine
- Sewing machine
- Seam ripper
- Sewing pins
- Fabric Scissors
- Cutting Mat (totally optional, but makes cutting a snap!)
- Rotary Cutter (also optional)
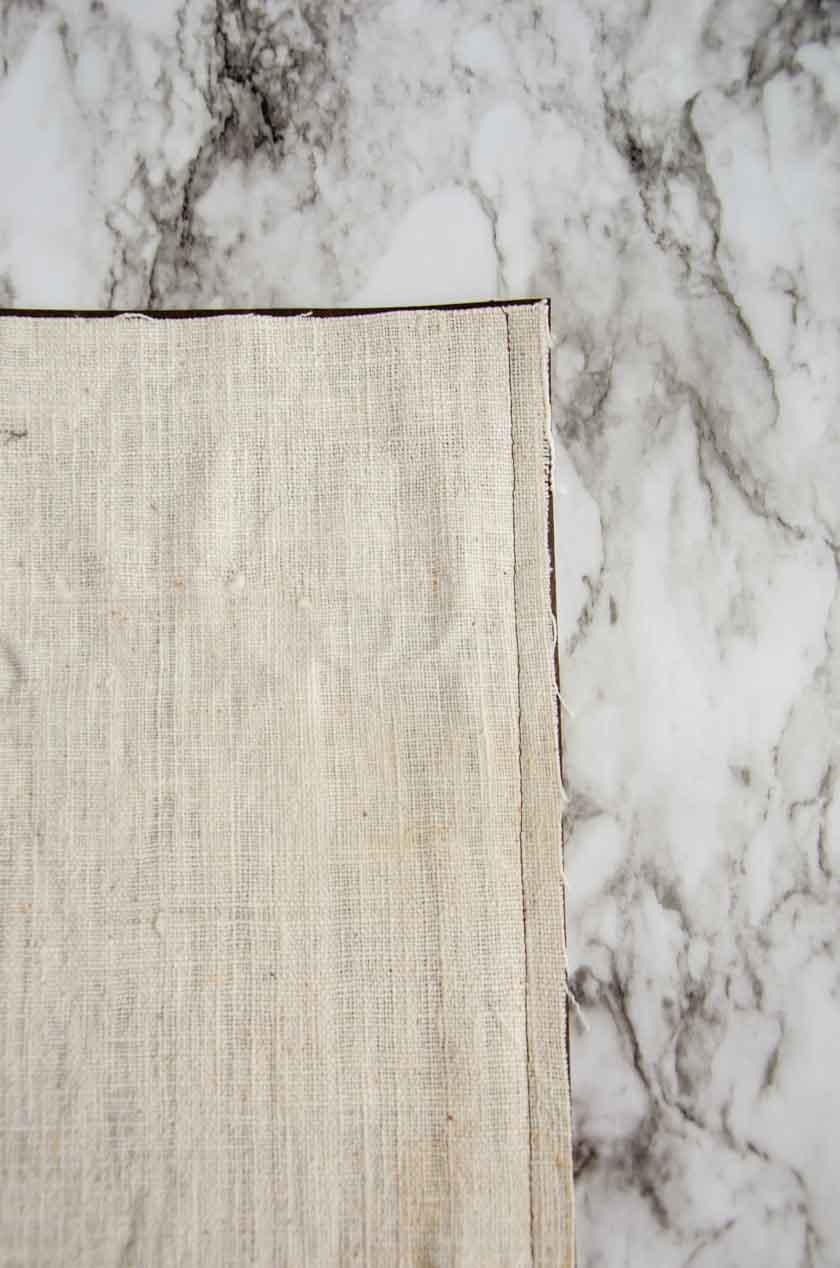
Step one: Cut out the decorative pillow fronts and backs.
You’ll want to make these cuts as precise as possible so you have really nice straight lines to work with. When we were working on our bedroom makeover, I discovered a quilter’s cutting mat stored under our bed that I totally forgot I had!! I dug it out and used it with the rotary cutter for this project, and discovered how wonderful it is to use…
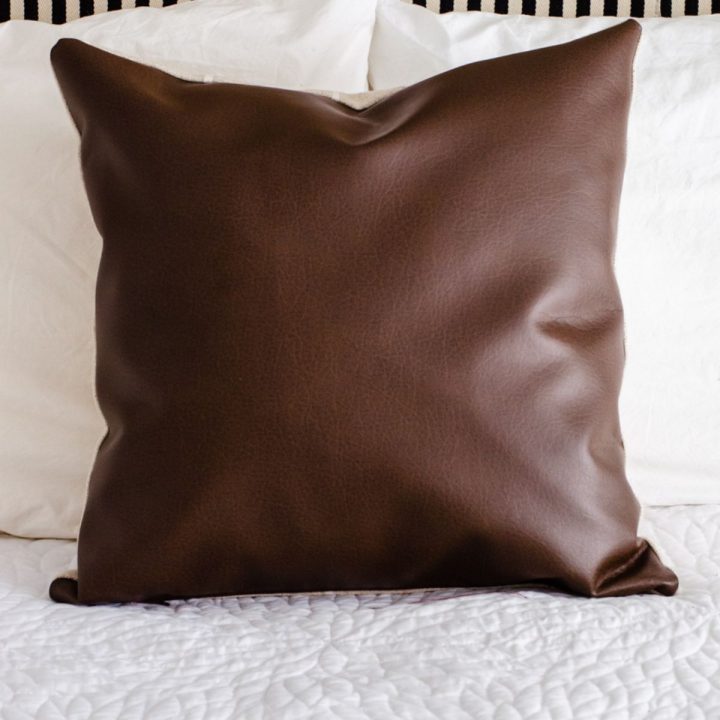
I wanted these pillows to feel a little “sloppy” on the bed, rather than firm and full, so I cut the fabric in a generous proportion – 19 1/2 inches square. That measurement gives a little wiggle room to the finished cover as well as figures in the 1/2 inch seam allowance.
Step 2: With right sides together, sew the bottom of the pillow cover with a 1/2 inch seam.
Once sewn, iron the seam open as best as you can. FYI, faux leather does NOT like to be ironed! The backing material will iron down nicely, but you might just need to leave that faux leather alone…
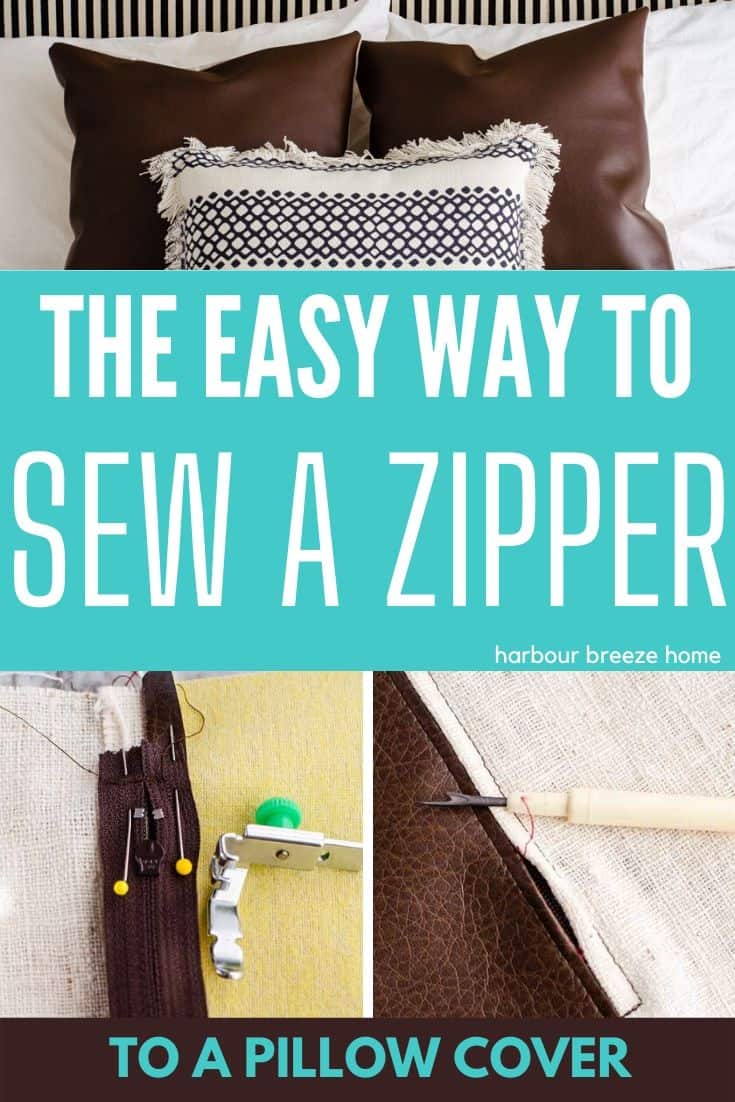
Step 3: Put in the zipper closure.
I have a confession to make. I was absolutely terrified to put in a zipper. Somehow I thought it was going to be so hard. But, let me reassure you – it’s not rocket science, and you can do it. It’s actually really simple.
How to add a zipper to a pillow cover
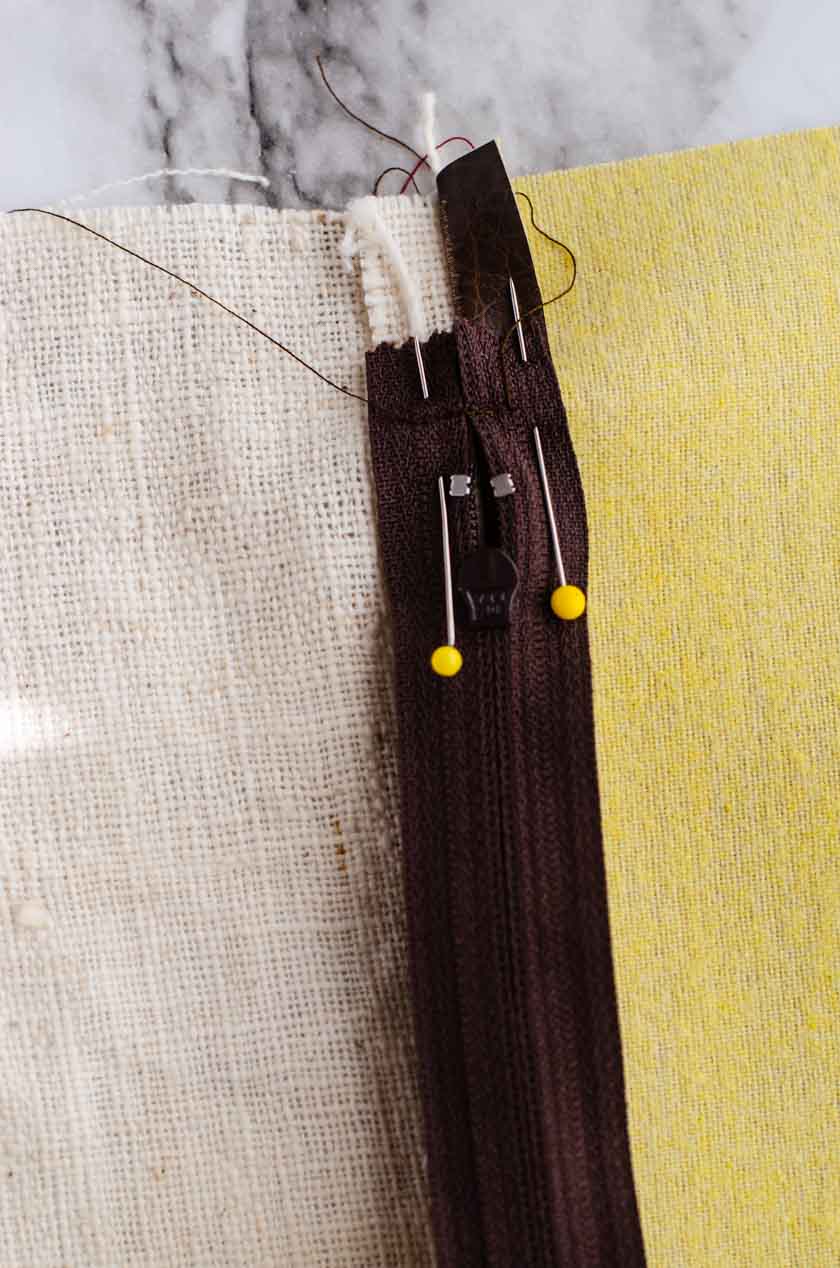
Step 1: Lay the zipper face down onto the ironed down seam, with the zipper directly on top of the seam. Pin in place and tack down the top of the zipper with a seam.
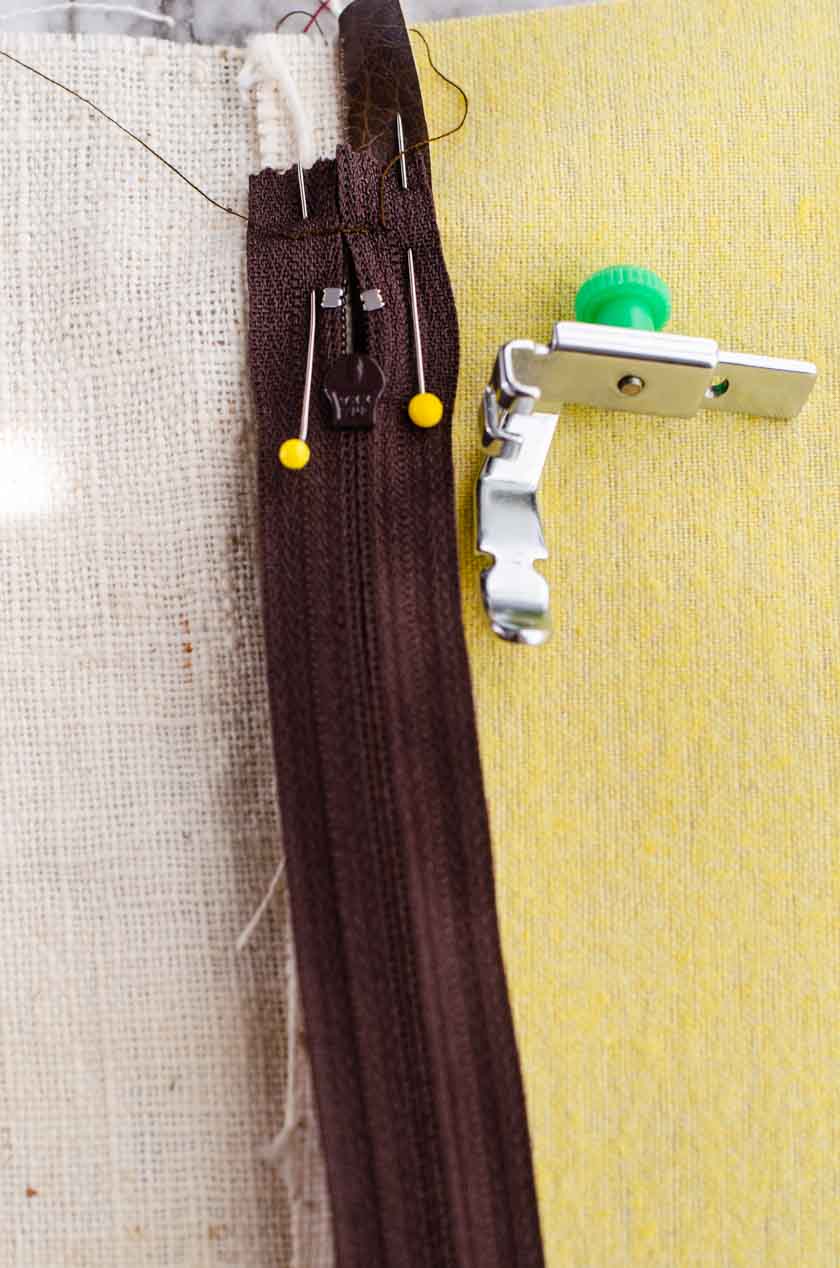
Step 2: Look in your sewing machine manual and find the directions for inserting the zipper foot to your machine. It’s super easy and allows you to sew closely to the zipper without hitting it.
Step 3: Using the zipper foot, sew down both sides of the zipper and tack down the bottom like you did the top.
Turn the fabric over.
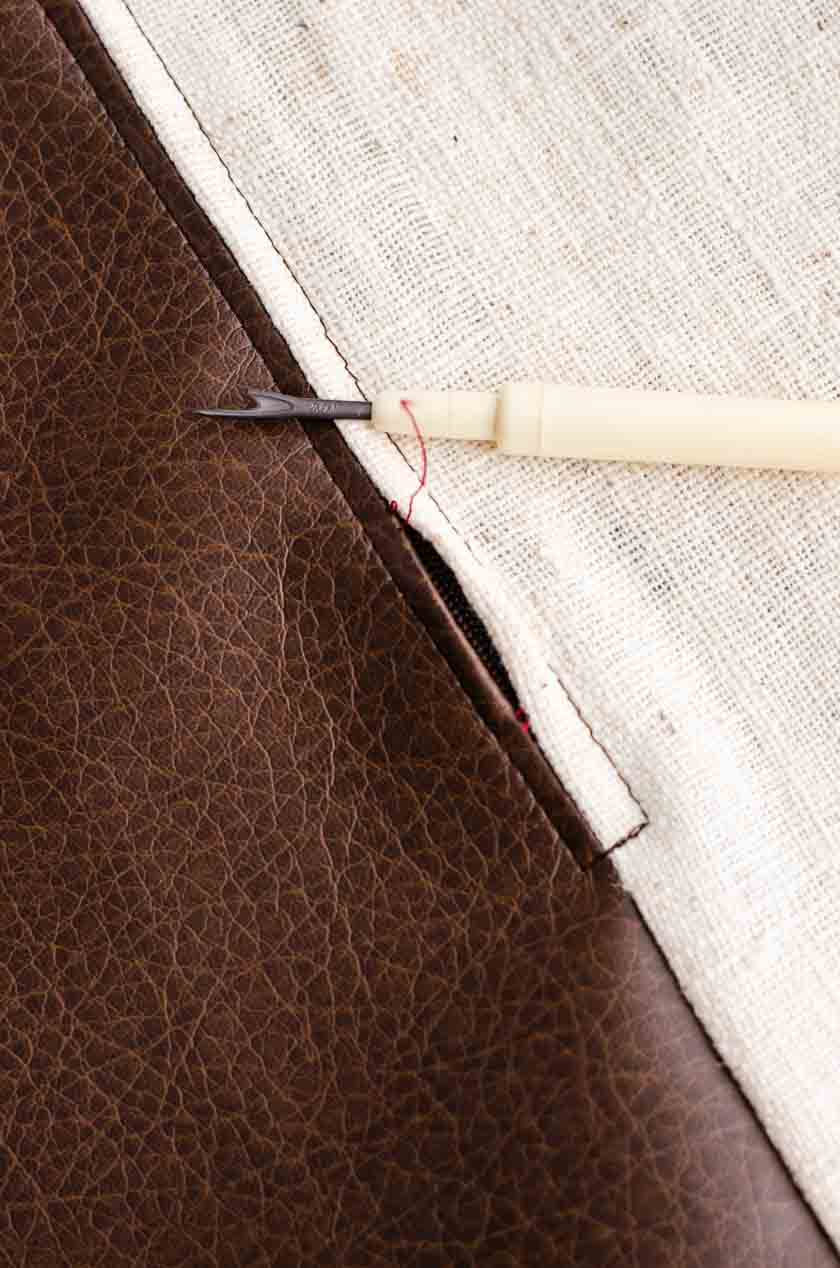
Step 4: Using a seam ripper, undo the initial seam you made that is now on top of the zipper. Continue ripping out the seam until you’ve opened it up from one end of the tacked zipper to the other.
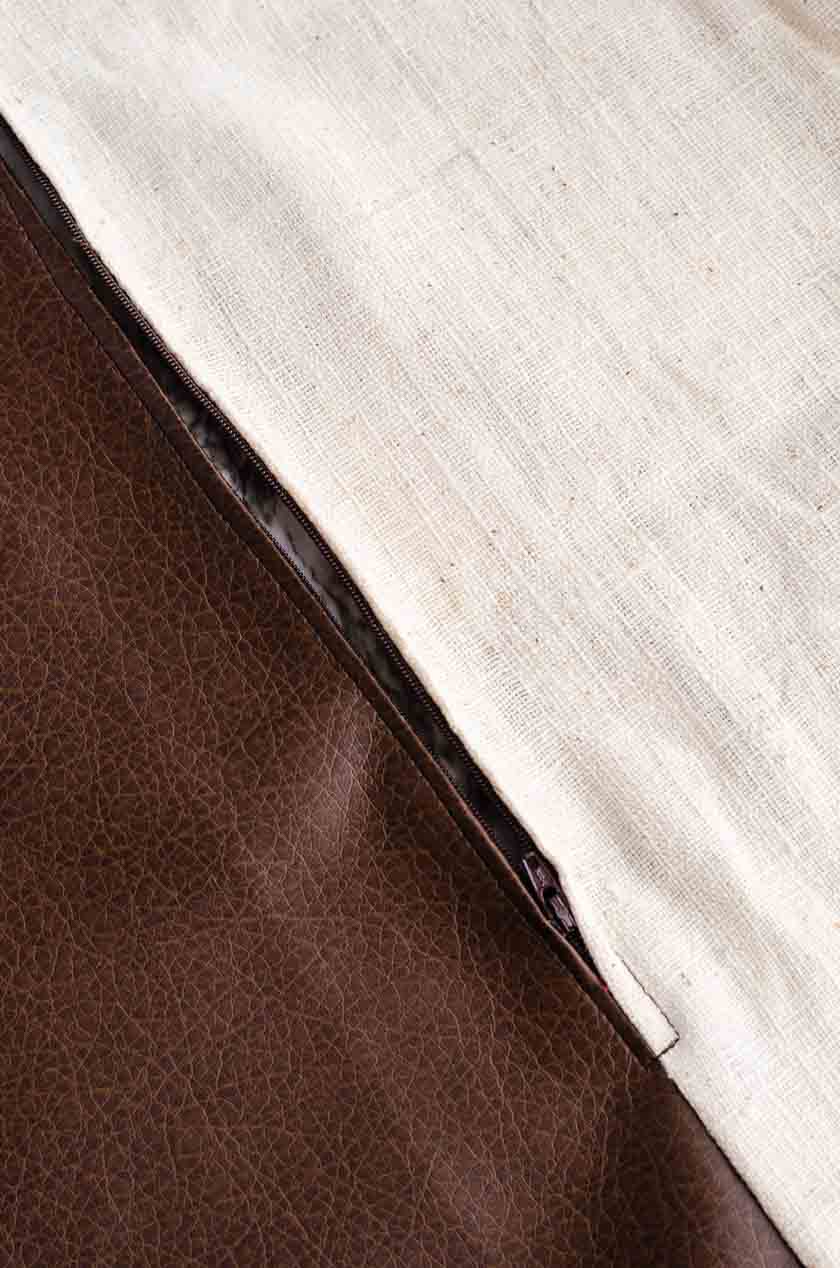
And, like magic! – you now have a zipper closure!
Step 4: Sew the remaining 3 sides of the pillow
With right sides together, sew up the remaining 3 sides of the pillow using a 1/2 inch seam.
**Tip: Be sure to open up the zipper at least partway before you sew up the last 3 seams. I found out the hard way that it’s hard to turn your pillow right side out when the zipper is closed!;)
Step 5: Add the pillow insert
And, you’re done!
To find more pillow tutorials (that don’t require putting in zippers) check out:
- 7 DIY throw pillows you can make for your home
- How to make throw pillows using free printables & iron on transfers
- How to make a striped pillow with paint
For more recipes, crafts & ideas for your home all year round, become a VIP!
Become a VIP newsletter subscriber and get instant access to the library of free printables (including wall art, gift tags, and more!). Click here or the button below to join today.

How to Sew Zippered (Faux) Leather Pillow Covers
Follow this simple step by step guide to learn how to make faux leather pillow covers with zipper closures.
Materials
- 18 inch pillow insert
- 1/2 meters of faux leather (enough for 2 pillow cover fronts)
- 1/2 meter of contrasting fabric for the pillow backs (I used fabric I had on hand for the backs. One is striped canvas and the other in linen.)
- 2 – 14 inch zippers
Tools
- Leather needle for sewing machine
- Sewing machine
- Seam ripper
- Sewing pins
- Fabric Scissors
- Cutting Mat (totally optional, but makes cutting a snap!)
- Rotary Cutter (also optional)
Instructions
Step one: Cut out the decorative pillow fronts and backs. - For an 18 inch pillow cover, cut each piece to be 19 1/2 inches square.
Step 2: With right sides together, sew the bottom of the pillow cover with a 1/2 inch seam.
Step 3: Put in the zipper closure:
- Step 1: Lay the zipper face down onto the ironed down seam, with the zipper directly on top of the seam. Pin in place and tack down the top of the zipper with a seam.
- Step 2: Look in your sewing machine manual and find the directions for inserting the zipper foot to your machine. It’s super easy and allows you to sew closely to the zipper without hitting it.
- Step 3: Using the zipper foot, sew down both sides of the zipper and tack down the bottom like you did the top.
- Turn the fabric over.
- Step 4: Using a seam ripper, undo the initial seam you made that is now on top of the zipper. Continue ripping out the seam until you’ve opened it up from one end of the tacked zipper to the other.Step 4: Sew the remaining 3 sides of the pillow
- With right sides together, sew up the remaining 3 sides of the pillow using a 1/2 inch seam.
- **Tip: Be sure to open up the zipper at least partway before you sew up the last 3 seams. I found out the hard way that it’s hard to turn your pillow right side out when the zipper is closed!;)

VidMate APK is an application built for Android devices. In this app, you can download a variety of content from various sources of your choice.
Delta Executor Apk is a free Roblox script executor for Android, iOS, and PC with fast Lua script execution and strong anti-ban support.
This faux-leather pillow cover tutorial is super useful, creative and easy to follow — perfect for stylish home decor!
Thank you for the how-to! Throw pillow covers that have a zipper is so much more practical so it can be washed when the time comes. Thank you!
Okay! That’s the easiest “inserting a zipper to make a pillow cover” tutorial I’ve ever seen. You have just inspired me to make new covers for my couch pillows! Thank you!