
How to Make Your Own Gallery Wall Template
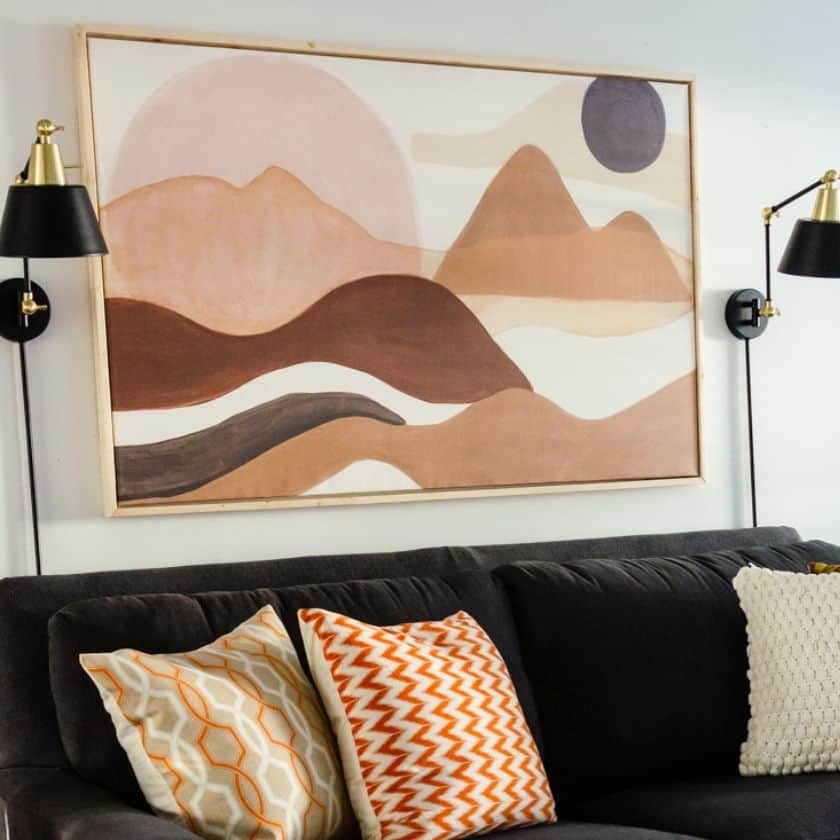
In this article: Above sofa wall art can be tricky! Learn how to hang a gallery wall above a couch by yourself by making your own gallery wall template. It doesn’t have to be a scary or complicated process. With this simple technique, you’ll have it done perfectly ~ with no misplaced nail holes!
I confess.
I play pretty fast and loose when it comes to hanging things on walls. Perhaps my lack of fear is thanks to the bizarre walls of our houses’ past. No thought was given to a misplaced nail on dated 70s paneling or stained plywood. After all, any hole can be easily patched or covered with a picture!;)
If I’m honest, my favorite way to hang pictures on a wall is with a partner. One person holds it up and the other stands back and tells where to move it until it’s in its perfect location. Then, a quick hammer of a nail in that spot, and voila! it’s done.
However, the other day, I needed to hang a gallery wall above our couch. It should have been no big deal ~ but I was home alone. AND, this time, the placement needed to be spot on.

I pulled out this idea from my bag of tricks and it worked perfectly.
How to Make Your own Gallery Wall Template
Supplies needed:
- roll of large paper – like wrapping paper or brown packing paper
- tape – (I used painter’s tape)
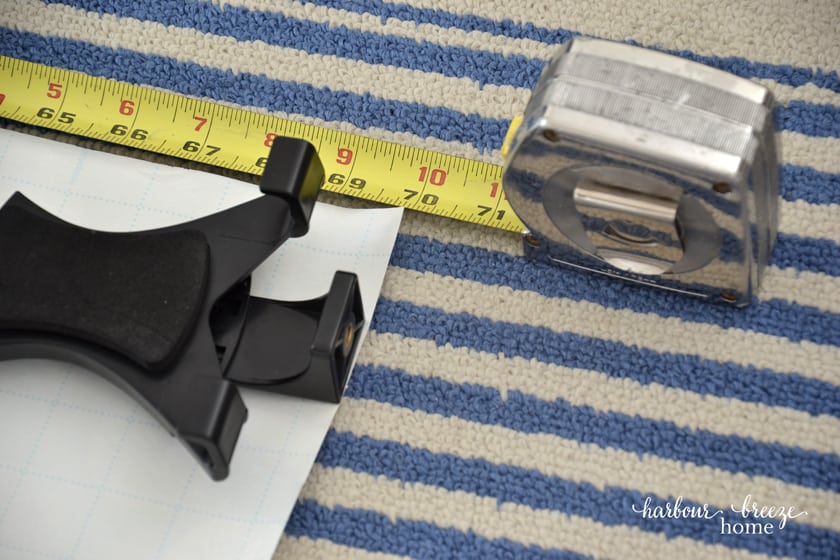
- measuring tape
- pen
- hammer
- nails or picture hangers
1. Measure the surface above your couch that you’d like to cover with pictures.
I wanted a large space above the couch to be covered so that it would be a “statement” area in our living room. My measurements came to 70 inches wide by 45 inches tall.
2. Use a roll of paper and cut out a template to measure the size of the finished arrangement. (Which you just did in step one.)
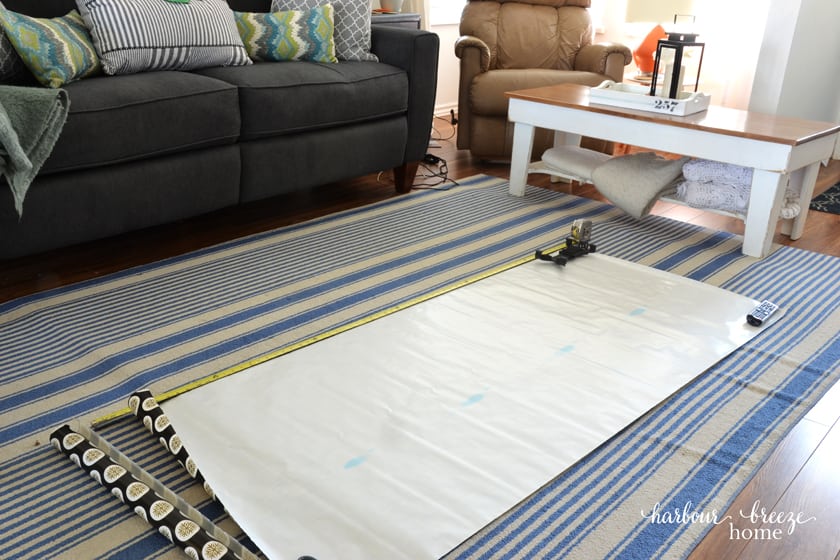
Any kind of rolled paper will do. I happened to have some bargain Christmas wrapping paper in the closet, so I used it. I had to tape together two pieces to make it the height it needed to be.
3. Tape the paper on the wall to confirm it is the finished size you like.
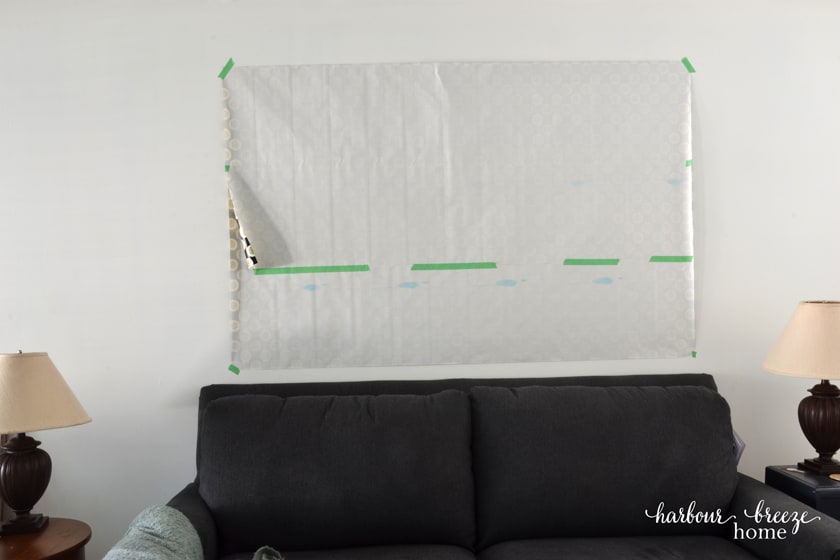
This step is optional, but I made the effort to do it to ensure I was happy with the finished size. I was, so I proceeded on.
4. Lay out items on the paper and arrange them until you like the look.
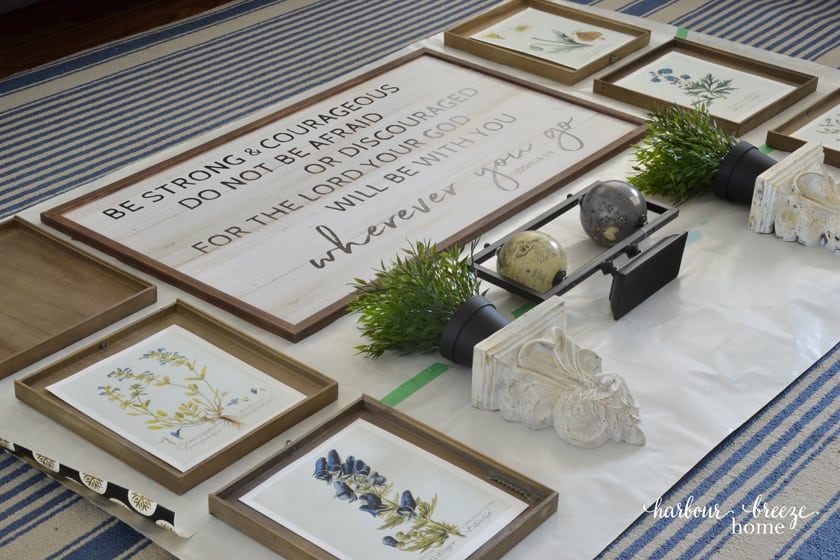
This is the fun part! Since the surface is easy to reach and no nails are required yet, you can move around pictures and options to your heart’s content.
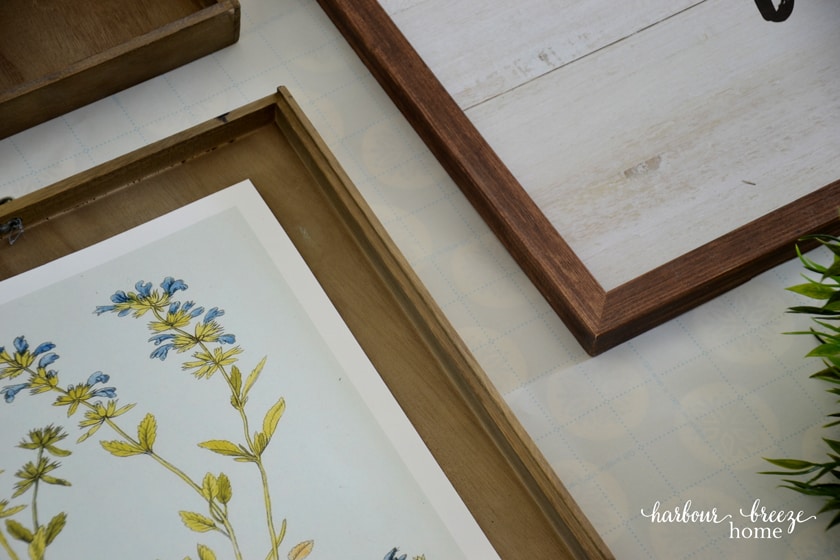
The bonus part of using this particular wrapping paper as a template was that it had grid marks. I wanted the arrangement to be symmetrical, and that feature really helped me keep the lines straight.
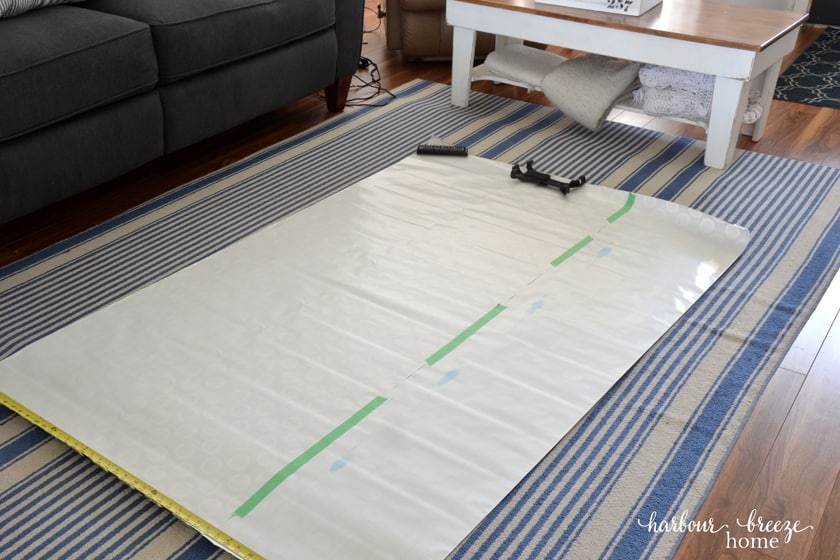
5. Mark where each picture should go on the template.

I marked both the top of the pictures, and then the exact location of where the nail should go.

Each picture will have a different location of hanger, so mark an “x” exactly where the hanger is. You may need to use a ruler for this step.
6. Tape the template on the wall, and nail where you marked the “x”s.

I started in the middle with the largest picture,

and worked my way around.

It’s fun to see your design come together on the wall.
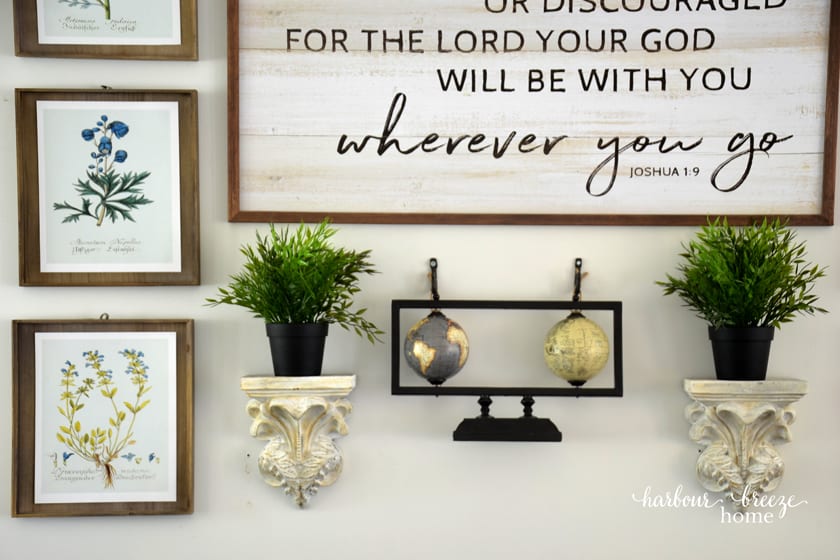
7. Once all the nails are up, remove the pictures, take off the template, and hang the pictures back up again!

And there you have it ~ a perfect gallery wall customized by you!
Sources:
- Verse print sign: Hobby Lobby (when I found the amazing sale!. I bought this print with the 40% coupon)
- Free Printable Botanical Art Prints are found here
- Globe decor: Hobby Lobby
- Faux plants: Ikea
- Shelves: Very old, perhaps from Winners?
For more above sofa wall art ideas
- You might want to try a DIY canvas with floating frame
- This christmas canvas art lights up!
- Modern Farmhouse Printables for Fall (with a video on how to use free printables)
- How to Hang a Gallery Wall the Easy Peasy Way
- 4 Tricks for Hanging a Gallery Wall from Southern Living
Want to remember this for later? Pin the image below:
 #diy #farmhouse #diyhomedecor")
Awesome idea! Can’t wait to give my room a change that’s easy to do.