
The Powder Room Makeover Begins & How to Patch Vinyl Sheet Flooring
After staring at our sad little townhouse powder room bathroom, my husband and I decided to finally take the plunge and give it a room makeover
As with any great room makeover story, the first part is to show the why-we’re-doing-this-makeover before pictures.
Most of the time, I try hard to get good pictures to show the reality. But, I need to tell you from the get go, this room is super duper hard to photograph!
Note that these awesome befores were taken with my iPad propped on a shelf. There isn’t room in there for me, too!:)
The Powder Room Makeover Begins
Define what is working and what isn’t.
As far as functionality goes, our powder room “worked” just fine.
It was how it looked that wasn’t working for us!
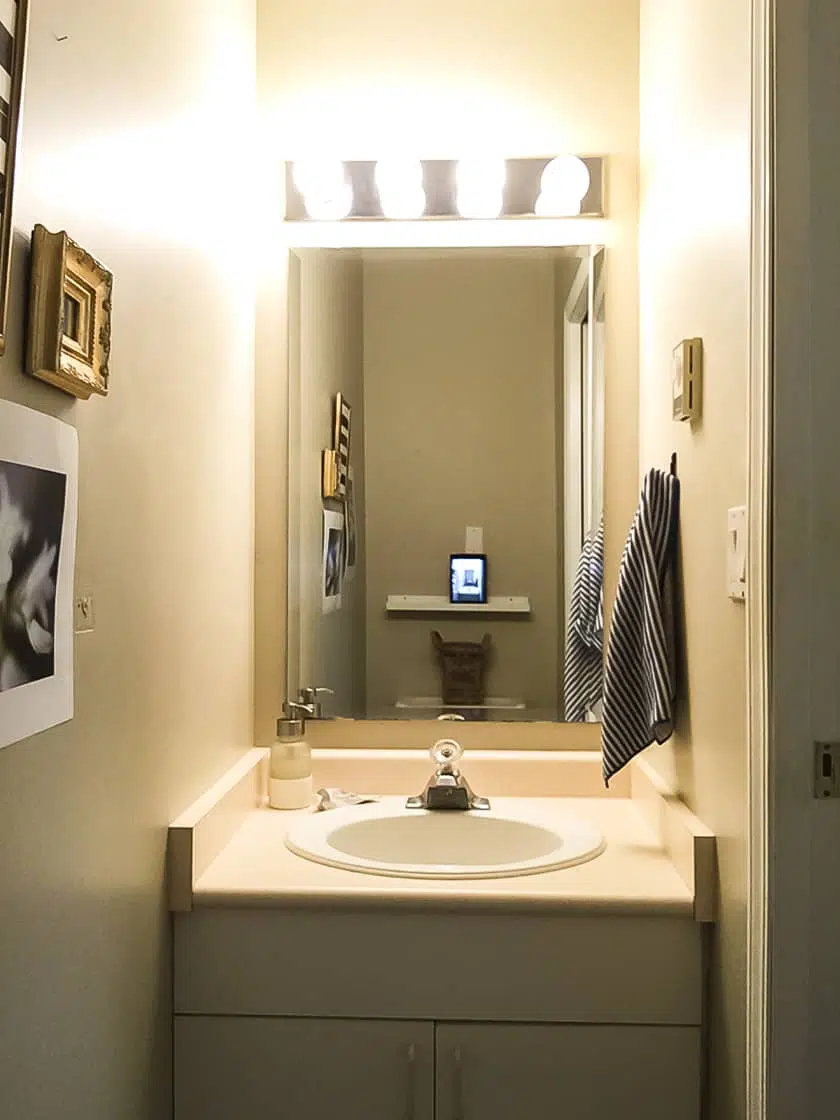
The vanity area consisted of a vanity that seemed to have been pieced together with countertop and cabinet scraps. A dated mirror and row of spotlight style light bulbs finished off the area with “I’m from the 90s” screaming style.
Our biggest hesitation in starting this makeover was the flooring under this vanity space. We were quite certain the new(er) vinyl flooring wouldn’t be under it. (We weren’t wrong there.)
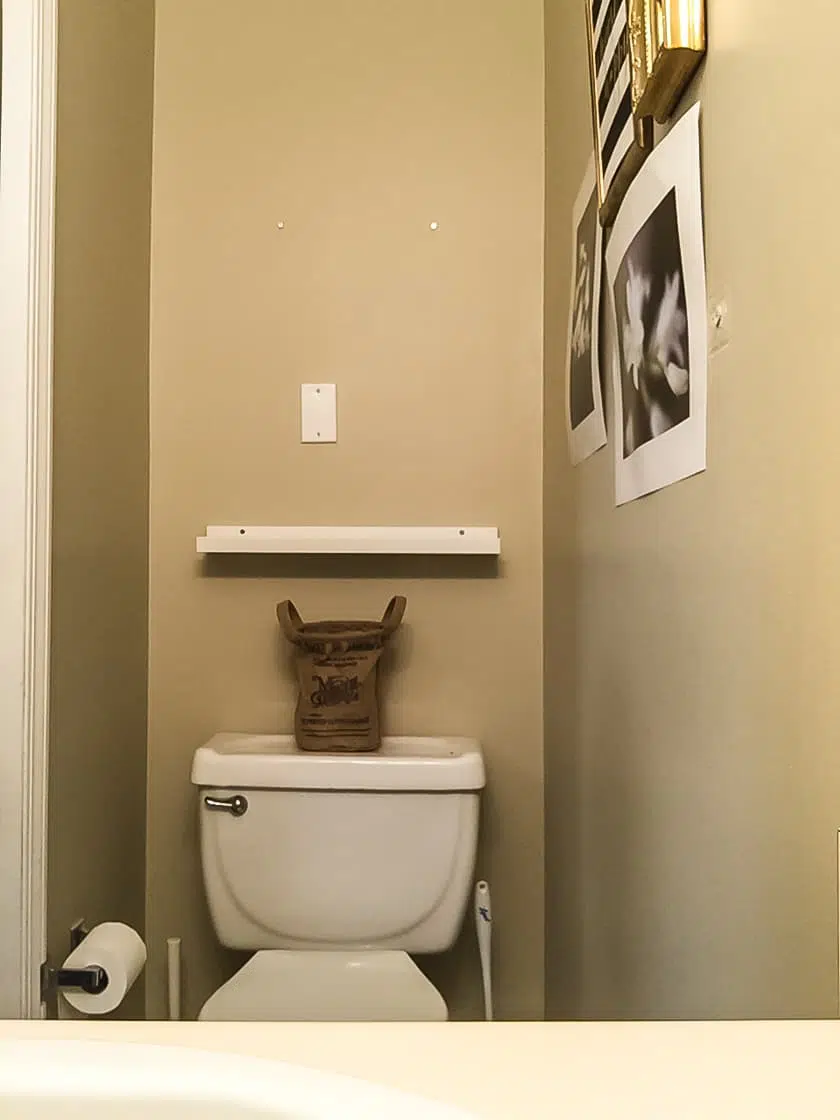
Directly across from the vanity is the toilet wall.
Notice the walls were all painted in the same basic boring beige color that came with our house.
And, thus ends the entire tour of our powder room.
So, in a nutshell? The purpose of this room makeover was to give it a more updated look without spending a fortune.
Step 1: Collect ideas and determine a plan
To be honest, I’ve been thinking over this powder room makeover for years. I recently put together a post with powder room ideas that I had been pondering.
Some people put together mood boards and intricately lay out all the details beforehand.
This time, the “mood board” was firmly planted in my head.
It included: new paint color, new vanity, mirror, lights, wall treatment, shelves above the toilet, and decor to help bring it all together.
Step 2: Demo what needs to go
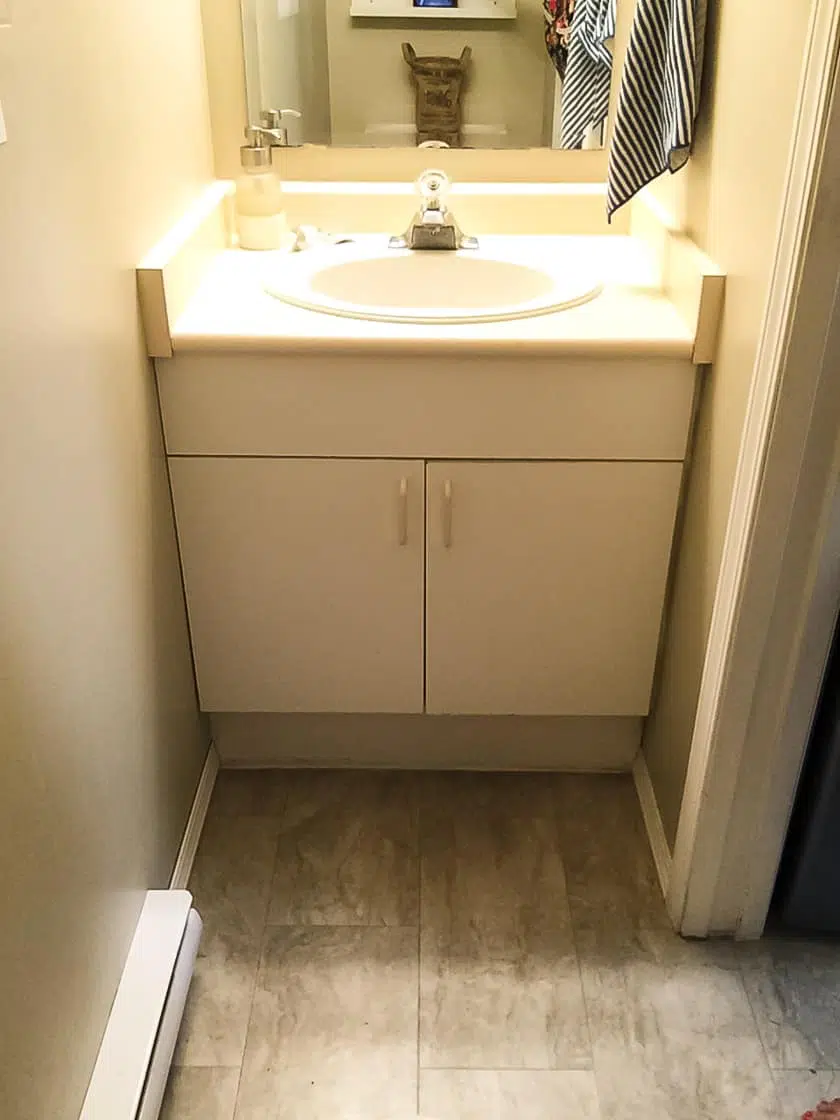
The first hands-on step for us was removing the vanity.
We were concerned that it would be stuck terribly to the wall and would damage the drywall when we pulled it away.
Surprisingly, it came off relatively easy, and it was out the door in less than 30 minutes!
Step 3: Figure out what to do with the floor
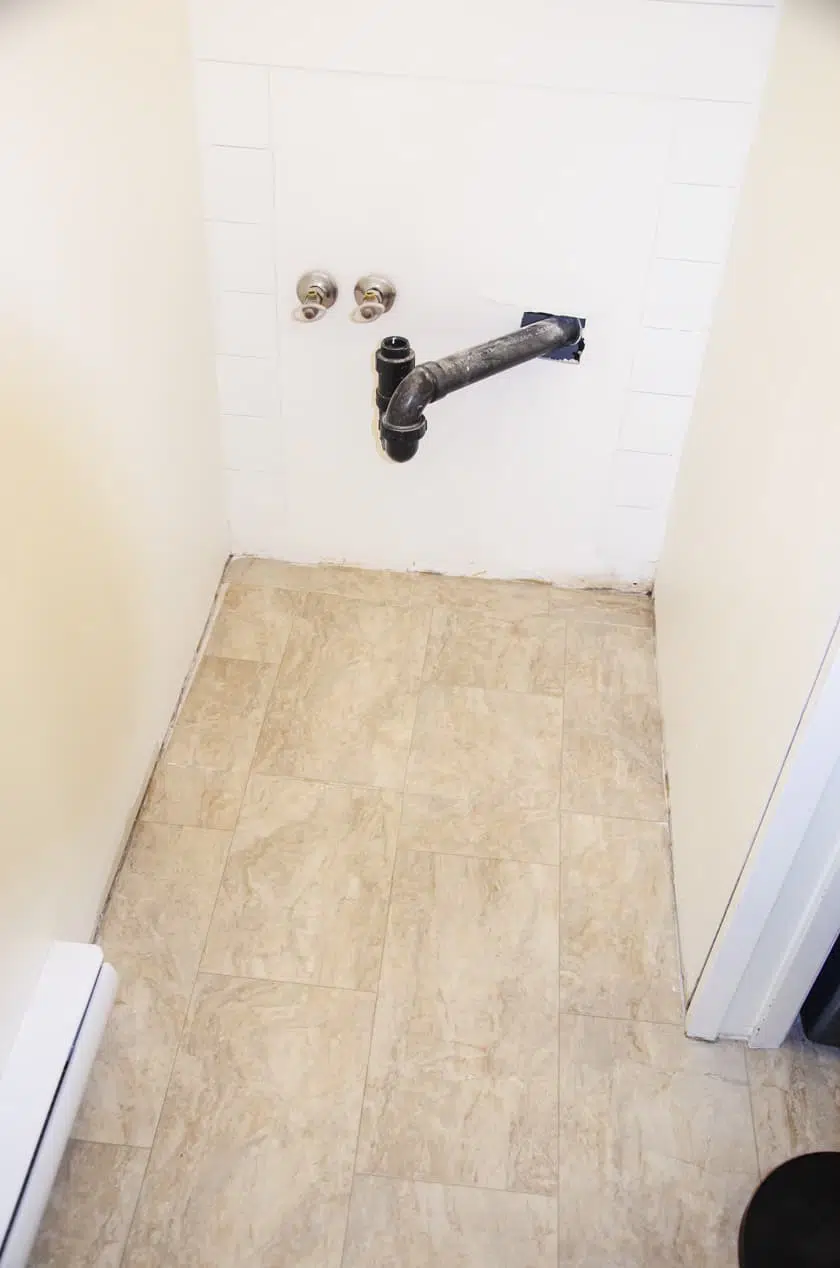
Once the vanity was removed, we knew our first step was to deal with the floor. The new(er) vinyl flooring that had been installed after the original, did not go underneath the vanity.
Since our new vanity (more on that later) sat up off the floor a bit, we needed to fix that problem.
We had 2 options. Option 1: Iinstall all new flooring in the powder room and adjacent laundry room, or, Option 2: Patch it with a remant that came with the house.
We chose to patch it – saving both time & money.

Disclosure: This tutorial includes affiliate links for your shopping convenience.
Watch the video of the powder room before & how to patch vinyl flooring
If you would rather watch than read, here is a little tour of the powder room before and some snippets of the process of patching the vinyl flooring.
Step 4: How to install sheet vinyl flooring
Before I begin this little step by step tutorial for how to patch and install sheet vinyl flooring, you should know that we have never done this before!
We did, however, consult some experts on YouTube and followed their suggestions.
Here’s how we did it:
-
Cut the vinyl floor remant to the right width using a heavy duty utility knife with a sharp blade.
-
Overlap the area where the old and new vinyl will meet and cut through both the new and old piece using a straight edge (like a metal square) and a heavy duty utility knife with sharp blade. (We found this step to be difficult, as the top piece of vinyl slipped a lot. A solution I just now saw was to tape it down with duct tape first. That’s a great idea!)
For some expert instruction on the steps of how to cut a seam in sheet vinyl, we watched this helpful video:
3. Glue down the vinyl with adhesive. We used Roberts Multipurpose Adhesive with a v-notched trowel.
After all was said and done, this is how our floor looked after we patched in the vinyl.
Is it perfect? Nope! But, we were pretty happy with our first attempt at patching vinyl sheet flooring. And the bonus is that the new vanity will cover up most of it!
Now that we got that silly floor detail taken care of, we can start doing some of the fun stuff on the walls!
More Powder Room Posts from the past:
- Here was our powder room before and after (before we began this one!)
Get my secret formula for budget Room Makeovers!
Over the years, I’ve done dozens of super budget friendly room makeovers.
I’ve followed the same simple formula for each of them. I put together all the steps in a handy guide along with a FREE printable worksheets.
Click here or the button below for immediate access.


I can’t wait to see the transformation! BTW I love your new blog design. It is beautiful!