Easy DIY Picture Frame for Art or Posters
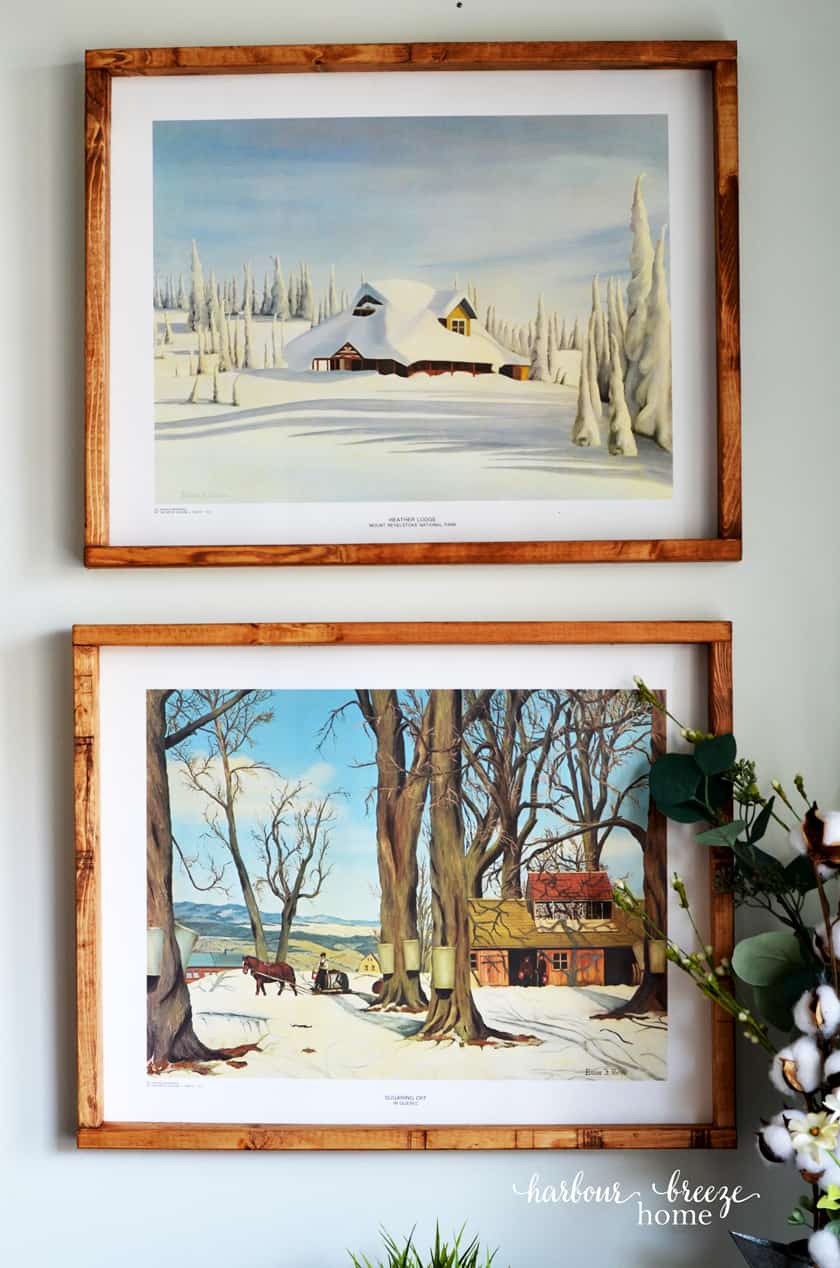
This DIY picture frame is an easy and cheap solution for framing large art prints or posters. It’s simple, rustic look is perfect for the farmhouse or cottage style.
Not long ago I scored 2 lovely art prints from a thrift store. I’d been looking for art for a specific spot, and they were just perfect!
Except, they weren’t framed.
Custom picture frames can be very pricey, so we tried out a quick and easy diy picture frame using inexpensive 1 x 2 boards. It’s was the perfect solution!

How to make a DIY Picture Frame for Art or Posters
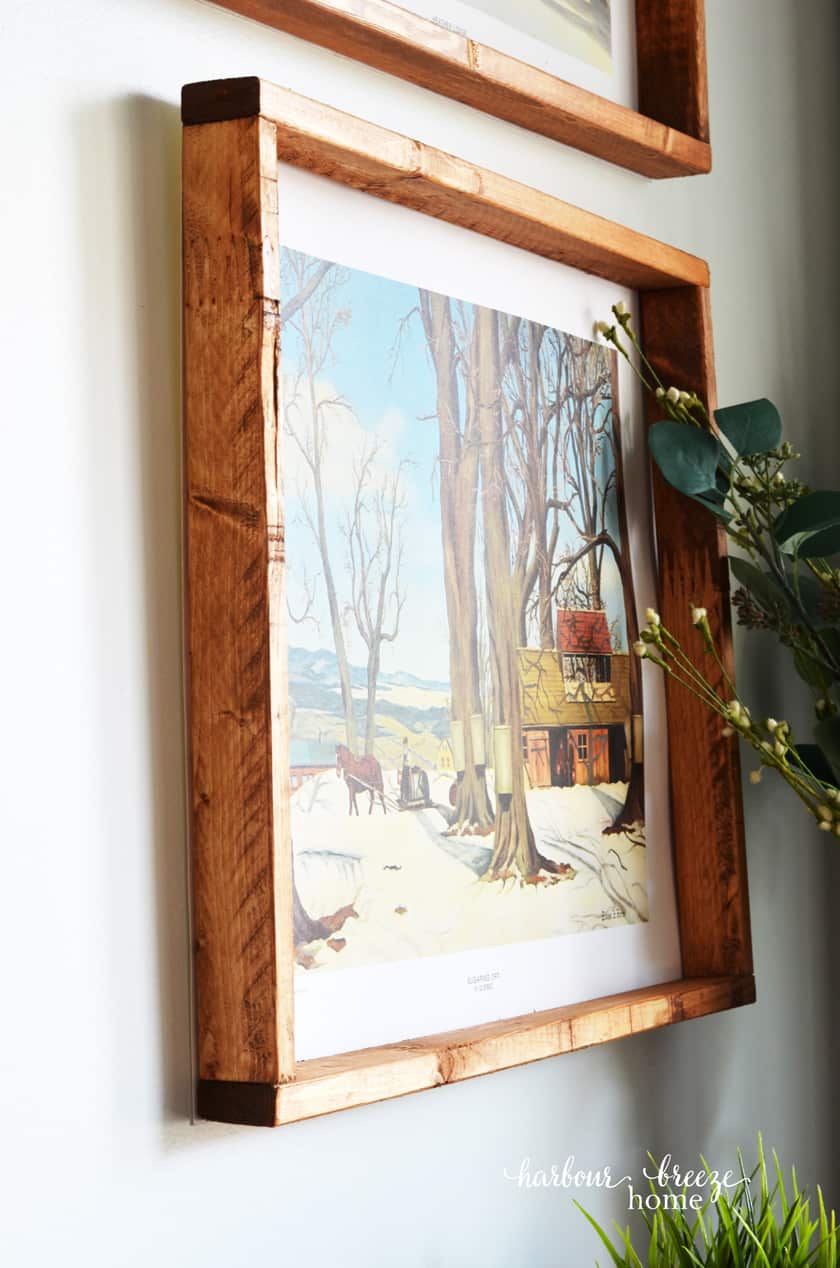
Supplies you’ll need for this homemade picture frame:
- 1x 2 boards – the length of the circumference of your art print.
- Miter saw (Or if you measure carefully, you can have it cut at your local hardware store.
- Air Brad Nail Gun
- Wood Stain (I used the color provincial)
- Foam brush
- Rag
- Staple Gun
- Sawtooth hanger
1. Measure the length of the top and bottom of your art print.
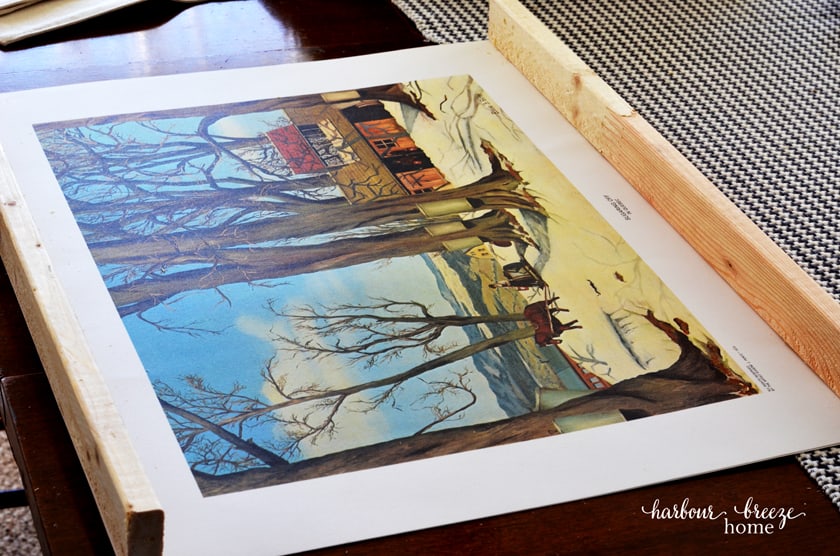
Using the miter saw, cut 2 pieces out the length of the measurement you calculated.
2. Measure for the side pieces by placing the top and bottom rails on top of the art print.
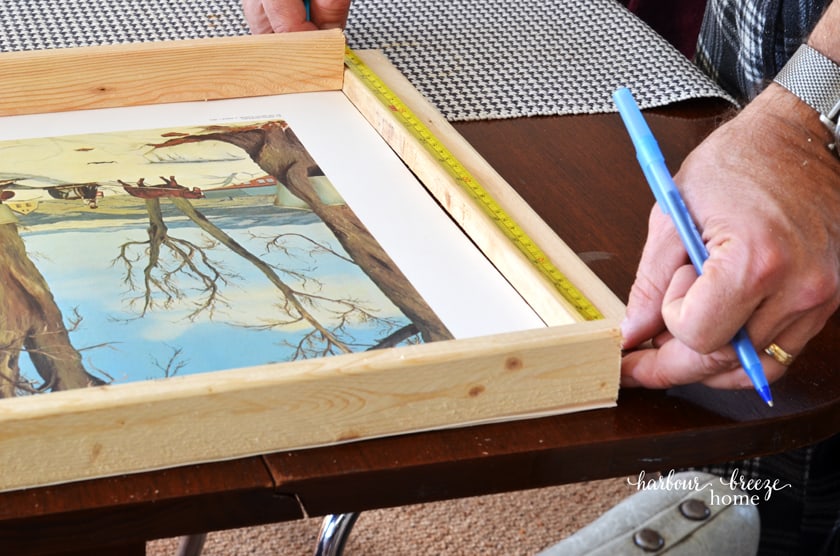
The length of the side pieces will be the distance between the top and bottom rails. Cut 2 pieces that length.
3. Attach the 4 rail pieces together at the corners with a brad nailer.
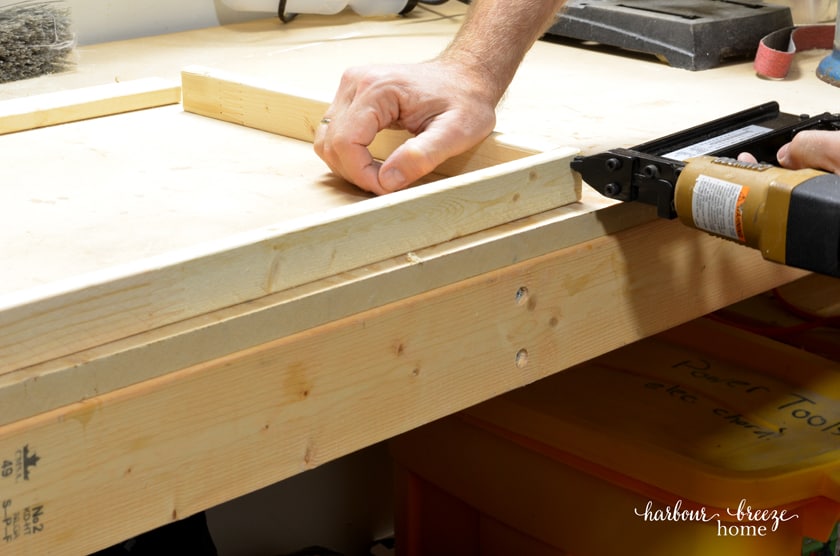
The brads will be located on the top and bottom corners of the frame, so they’ll be hidden when it is hung up.
4. Finish the frame with stain or paint.
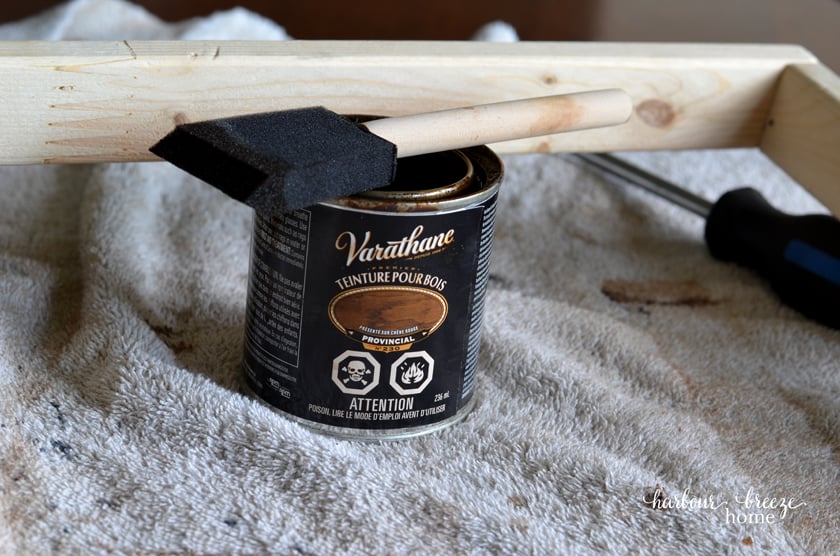
You can finish the frame in whatever finish you’d prefer – or even just leave it as raw wood.
I stained ours in Minwax Providence Stain.
Tips for staining wood projects:
- Stir the wood stain well with a stir stick.
- Apply stain to the wood with a foam brush or rag.
- After applying, rub off the excess stain with a lint free rag.
- If you would like a lighter application of stain, apply with a rag and built it up with additional coats if desired.
- If you would like a darker application of stain, let the stain sit on the surface for a few minutes before wiping off.
5. Secure the art print or poster to the back of the frame with a staple gun.
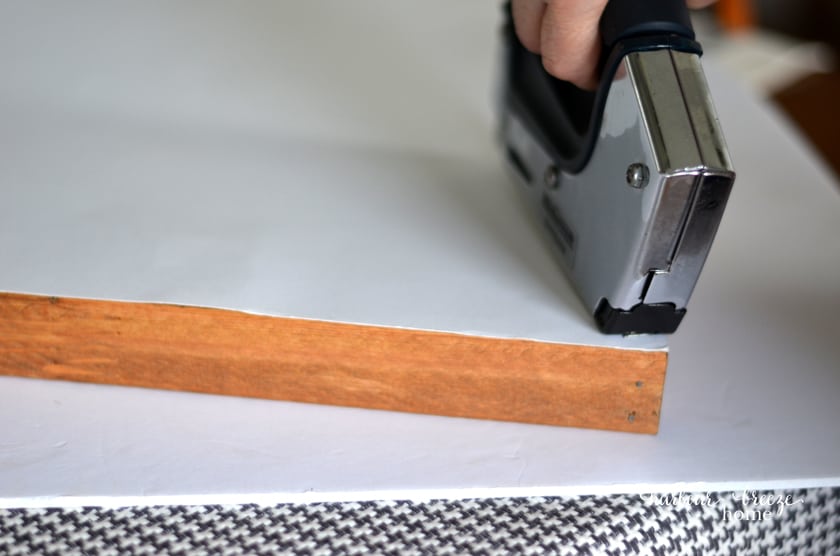
6. Position a sawtooth hanger in the center of the top rail on the back of the frame and nail it on.
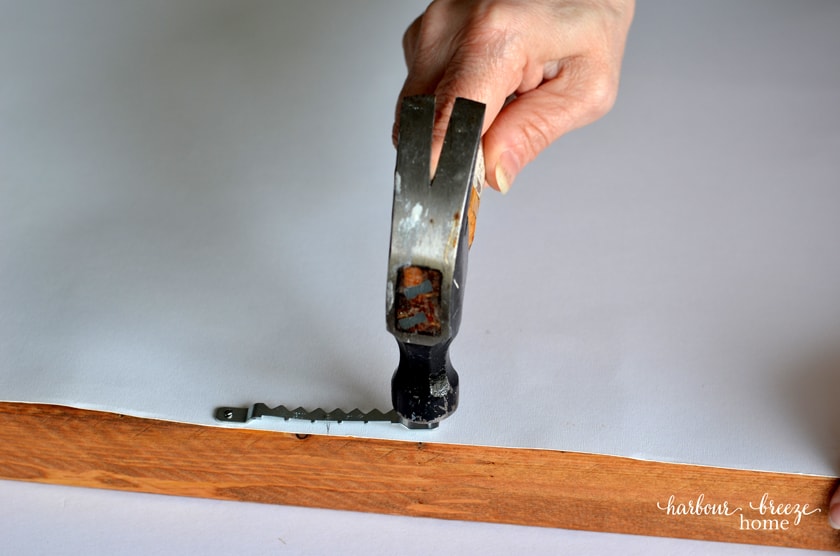
Since these frames are relatively light, I just attached one sawtooth hanger on the back of these. However, if your frame is even larger, you may want to put one on both the left and right top corners of the frame.
More DIY picture or poster frame ideas:
- This DIY large wall art |How to frame and Engineer Print
- Learning how to mount photos on foam board is also another quick and easy way to finish off a photo or art print to hang on the wall.
For more home decor ideas for your walls, check out my Wall Decor Pinterest Board here.



I love the frames you made. And it doesn’t seem like a hard project to start, especially since I am just getting into DIY projects.
The frames turned out great! I love your new prints!
Great idea! Framing is so expensive and it’s nice to have an easy DIY solution. I like the prints that you framed!
Great tutorial! My daughters like to do big jigsaw puzzles together so this will come in handy.
Gorgeous and easy diy frames! These are so pretty, and can be made for so many different art pieces, including printables! I’m thinking painting some white or black would be so pretty, too! Pinned!
what air brad nail gun do you own?
and would you recommend using a electric cordless one?