
How to Frame An Engineer Print ~ A DIY Large Art Project
In this article: Learn how to frame an engineer print from Staples with this budget friendly large art project.
Filling up large wall spaces can be a conundrum. I’m always on the lookout for budget friendly ways to add style to a space ~ at an affordable price.
A few previous projects that also solve this large empty wall problem are :
- A gallery wall like this,
- Using free printables as art in your home (like some from this big collection),
- and Mounting Large prints on foam core board
Today’s project involves framing a large engineering print from Staples.
I’ve been watching blogging friends use this technique for ages, but just tried it myself recently.
Here’s all the details if you’d like to give it a whirl, too:

HOW TO FRAME AN ENGINEER PRINT
Disclosure: This post contains affiliate links. Which means, if you click on a link and purchase an item, I will get a small commission at no extra charge to you.
What an engineer print is
Before we get down to the tutorial, I first want to explain what an engineer print is. Basically, it is a print of a digital photo done at a copy center (like Staples or Office Depot). It was designed for line drawings (like blueprints engineers would make) and comes in these large sizes: 18 x24; 24×36; and 36×48.
The thing to note is that the paper is thin and delicate ~ like normal printer paper. It used to come only in black and white, but in doing the research for this article, I just discovered it now comes in color, too.
The print quality of engineer prints is amazing ~ and the price is incredibly affordable. The size I used only cost $2!
How and Where to get an engineer print printed
There are 2 ways to get an engineer print printed:
- Go online and send your order in to your local copy & print center (like Staples blueprints or Office Depot) and go pick it up when it’s ready.
- Download your print onto a memory stick and take it into your local print store for processing.
I chose the second option. It’s nice to have the associate’s assistance when doing large printing jobs like this. They can check to make sure the photo is high enough resolution to print out clearly, and that it is scaled properly for the printing.
**Update: Since I originally posted this article, some of the print shops will no longer print anything but line drawings as engineer prints. It would be wish to contact the print shop first to confirm whether they are able to print images as engineer prints (in black & white or color).
How to mount an engineer print
Supplies needed:

- Engineer Print (This one was 24X36)
- 1/2″ Mdf board cut to finished size (This one was 22×34)
- Scotch Tape
- Scissors
- Clear Packing Tape
- 1×2 unfinished pine board for frame
- Varathane Wood Stain
- Brad Nailer with 1 1/2 inch brads
- Picture Hanger Kit
How to Mount the Engineer Print
1. Lay the print face down on the table and place the mdf board on top.

Make sure the board is centered on the print so all sides will fold up equally.
2. Clip the corners
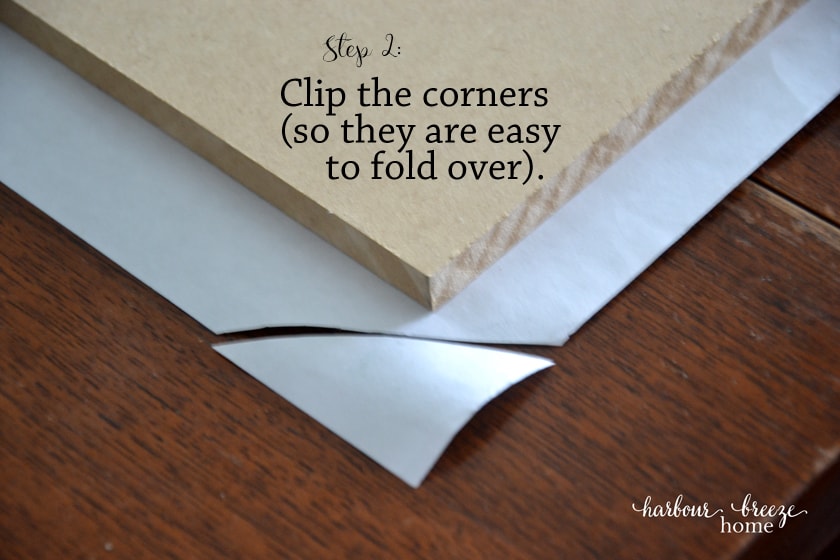
I approached this project similar to an upholstery project, and used the same thinking. The corners are always the trickiest, so I trimmed them to make them fold over nice without bunching up.
3. ~ Fold the sides around the edges and tack down with scotch tape.
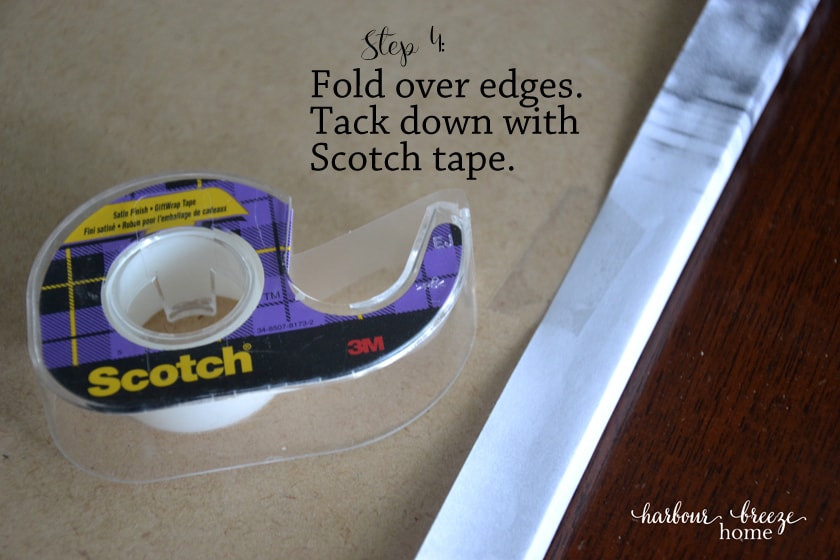
Just like in upholstery, I folded the edges over tightly (but carefully! I didn’t want to rip the paper.), and tacked the paper down with tape. I did the middle of each side first and then moved to the corners.
4. Tape the edges down with clear packing tape.
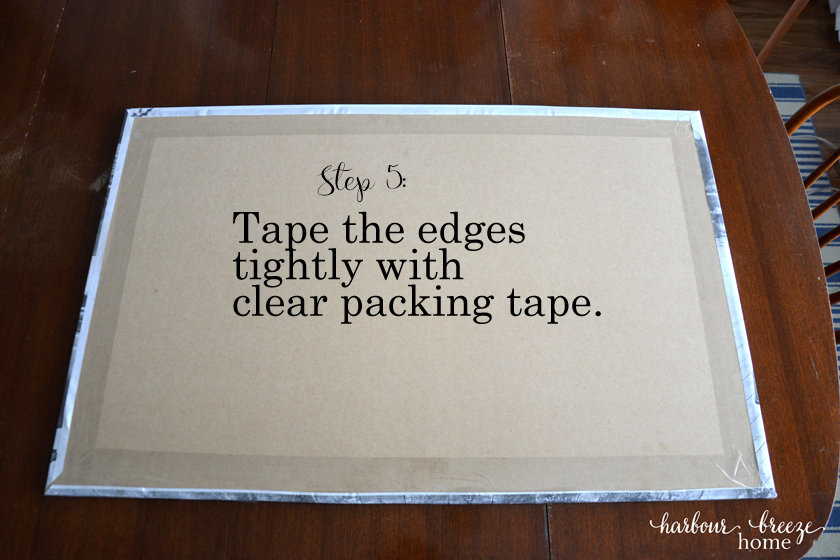
After you have the edges folded and tacked with scotch tape, the clear packing tape is just the finishing touch and ensures the print it attached firmly to the board.
*Note: Some people use spray adhesive to mount engineer prints. However, there are mixed reviews as to how that method works over the long haul. Some people mentioned that the paper bubbled, and others mentioned that it started to fall off over time.
How to Frame the Mounted Engineer Print
Adding a frame is the icing on the cake for this project!
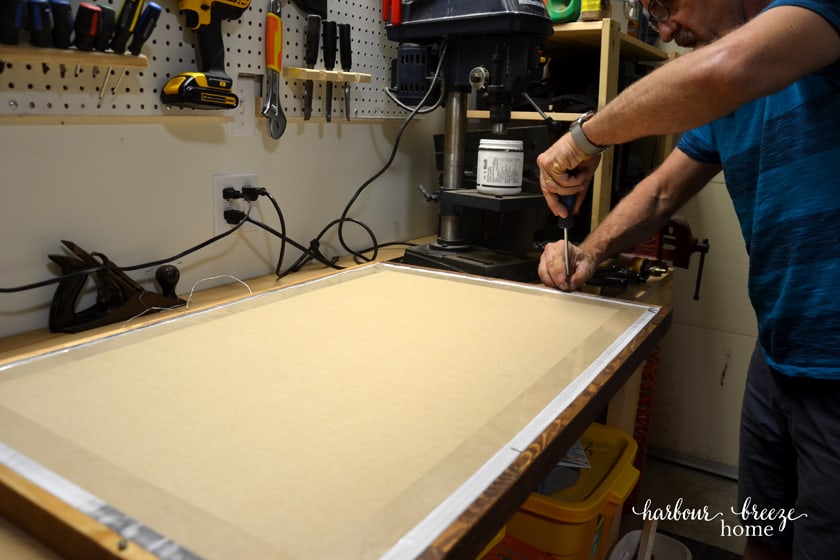
1. Measure the mounted print board, and cut 2 frame pieces for the sides, plus one for the top and one for the bottom.

The side pieces will be the exact size of the board size (in our case, 22 inches) and the top and bottom pieces will be like “caps” measuring the length of the board plus the additional width of the 2 side frame pieces. My husband does this step for me, and always dry fits the pieces~ measuring and marking exactly where the cuts need to go.
Once the pieces are cut, sand the rough edges and stain with your favorite wood stain color. Let the stain dry completely before you attach it to the print or it may smudge onto the print. (Speaking from experience here.;))
2. Attach the frame to mdf board with a brad nail gun.

Be careful to line up the edges well and shoot the nails straight down. Attach the sides first, then bottom, and finish with the top.
I did a facebook live showing this project, so if you’d like to hear more details and see how the frame was attached, you may want to watch this video.
3. Attach a hanging system to the back.

We used the wire from a picture hanging kit (like this) and strung it from 2 screws on the sides.
And, there you have it! A lovely, large art piece made with your own print!
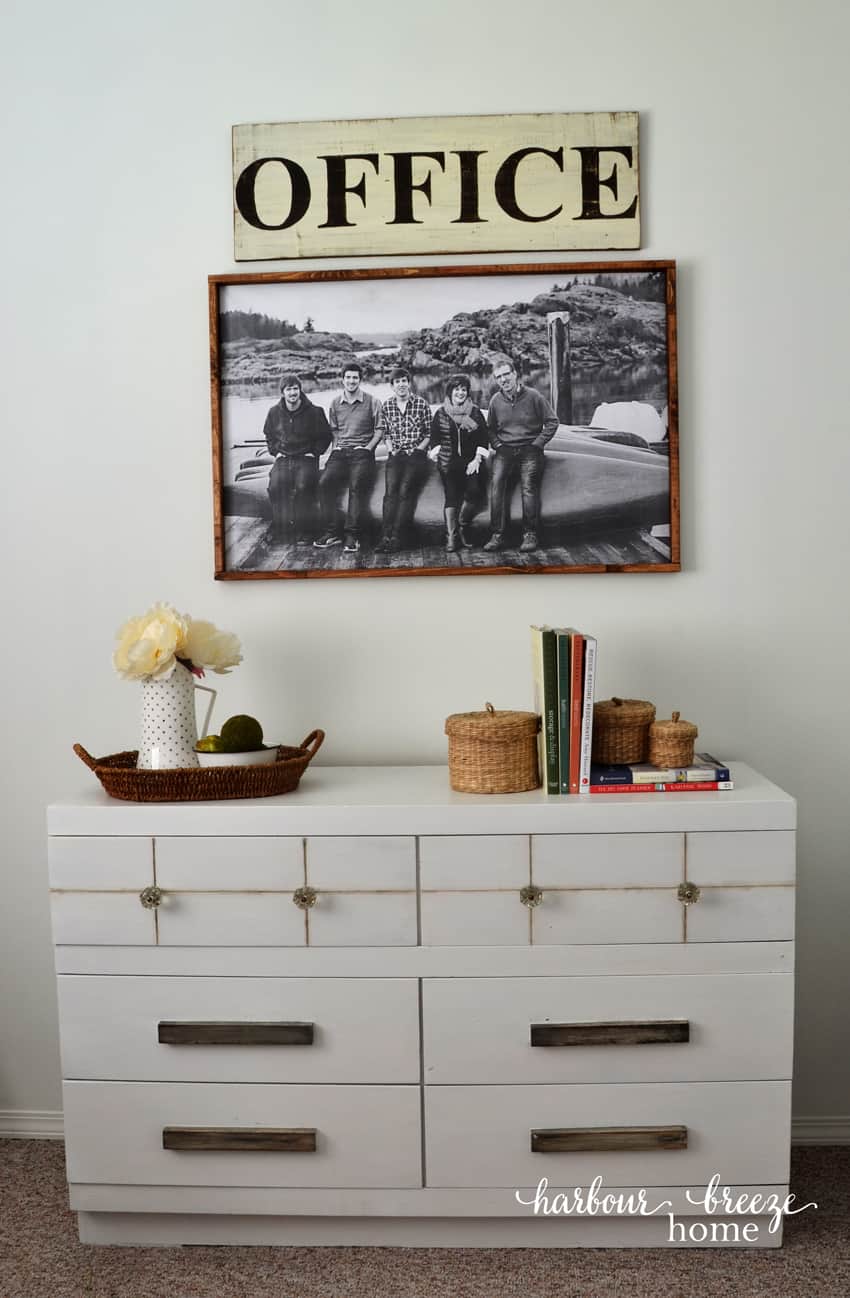
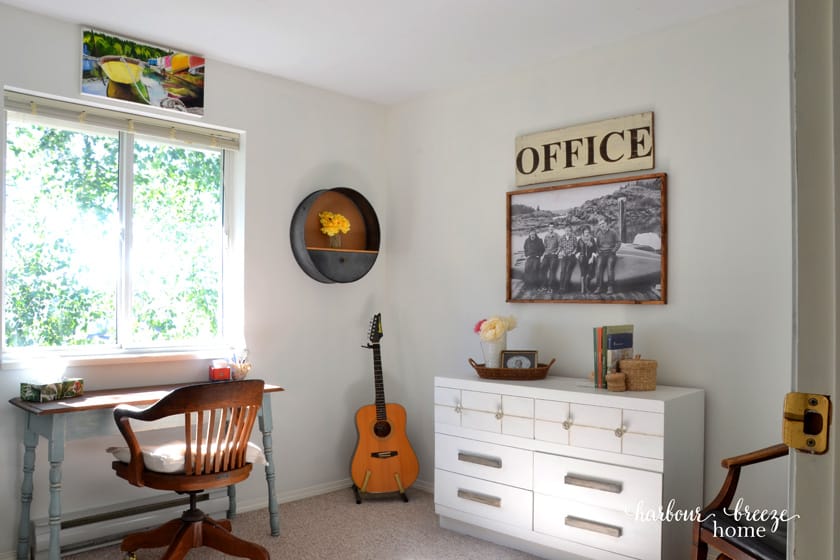
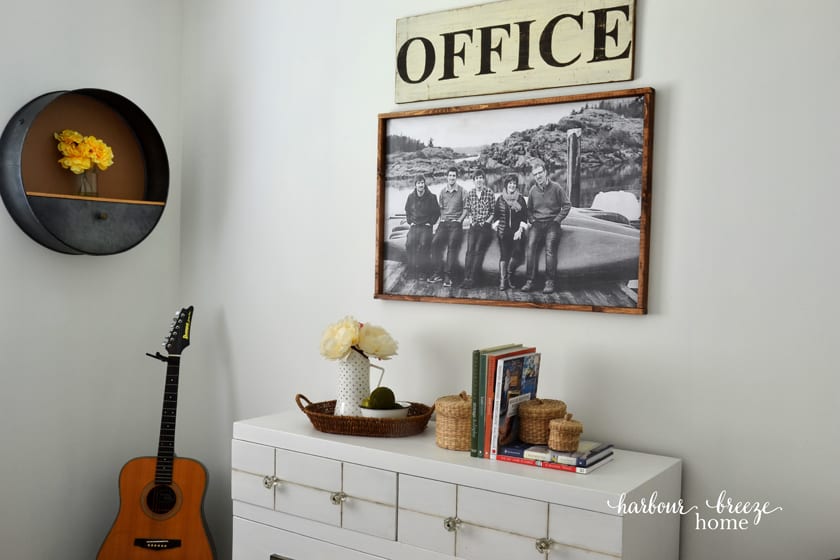
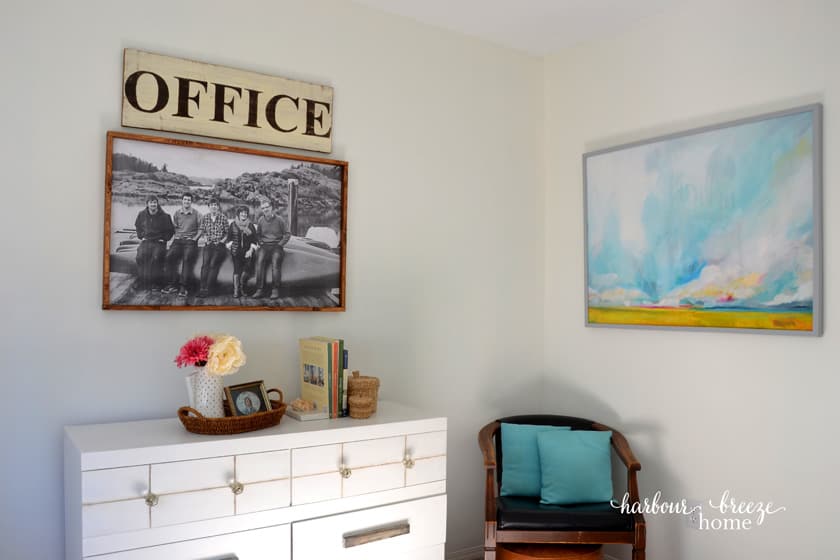
This particular print ended up in my new office space.
Now that I’ve done this one, I have a few ideas for some other ones. Have you ever used an engineer print in your decor?
Other posts with DIY large wall art:
- How to make a DIY frame for posters or large art
- How to mount a photo to foam board
- Gallery wall above couch – the easy way!


I never realized that it would be so simple. I would just take my time and I know I could frame a photo like this.
Love how your framed print turned out! And it was so easy to mount to the MDF backer board. Nice of your husband to put the frame together for you. <3 Happily pinned to several of my boards for future reference and for our readers.
Have a great rest of your week,
Hugs,
Barb 🙂
I do want to do this! Thanks for the detailed information.
🙂 gwingal
It looks gorgeous and amazing and I am TOTALLY going to remember that tip for cutting the corners for a project I have coming up! You are sooooo smart!
Great tutorial, Rita, and easy to understand. Would have never thought to clip the corners!