
Easy DIY Picture Frame for Large Art or Posters (Cheap 1×2 Wood Frame)
Make an easy DIY picture frame for large art or posters with cheap 1×2 boards and stain. A simple rustic frame, step by step, for far less than custom framing.
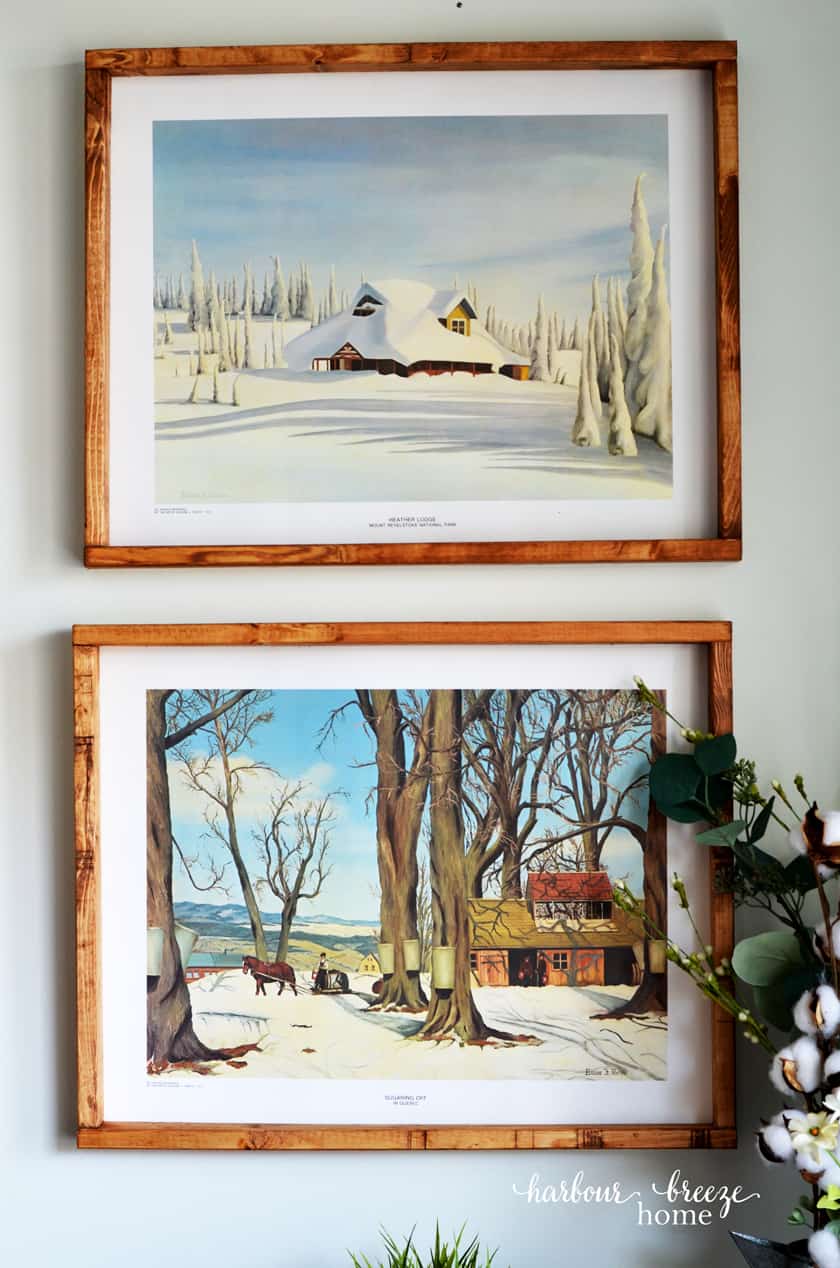
Not long ago I scored 2 lovely art prints from a thrift store. I’d been looking for art for a specific spot, and they were just perfect!
Except, they weren’t framed.
Custom picture frames can be very pricey, so we tried out a quick and easy diy picture frame using inexpensive 1 x 2 boards. It was the perfect solution!

How to make a DIY Picture Frame for Art or Posters
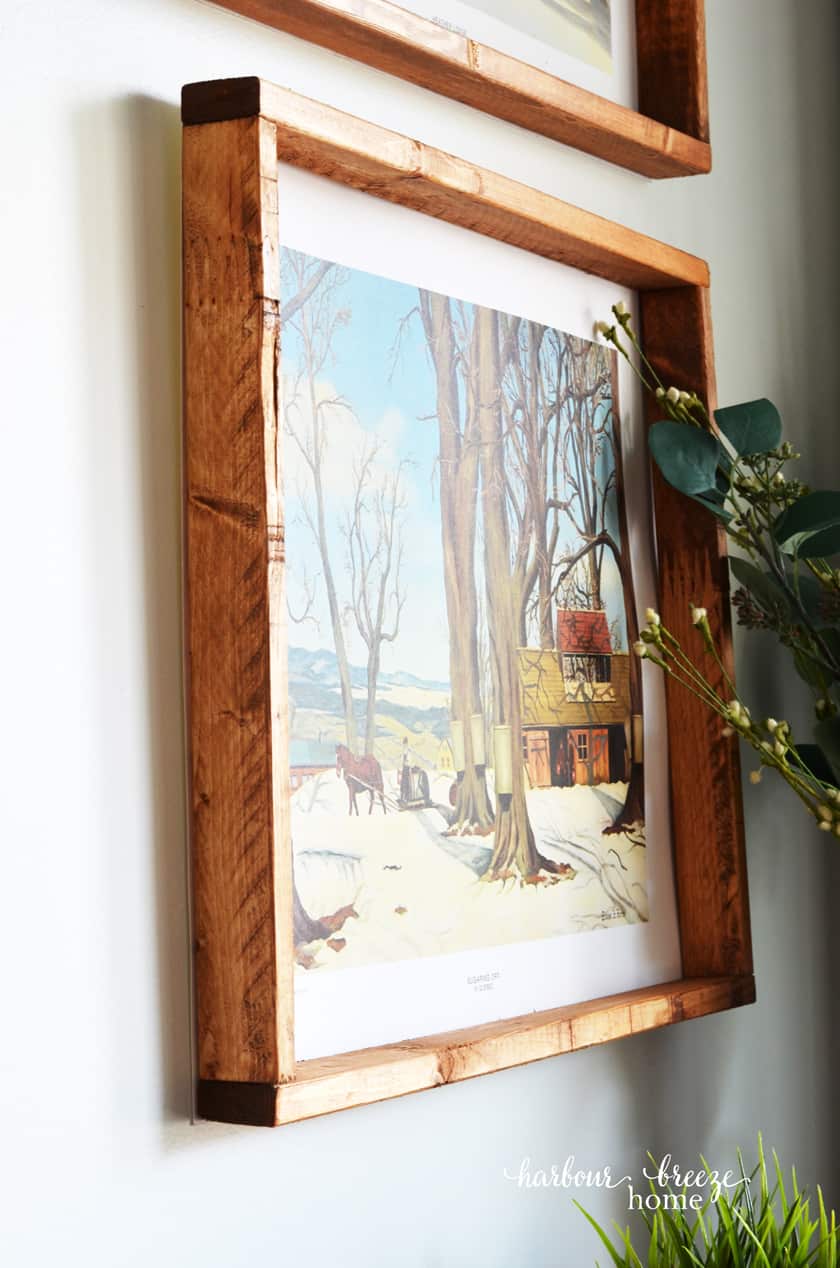
Supplies you’ll need for this homemade picture frame:
- 1x 2 boards – enough to go all the way around your art print (plus a little extra)
- Miter saw (Or if you measure carefully, you can have it cut at your local hardware store.)
- Air Brad Nail Gun
- Wood Stain (I stained ours in Minwax Provincial.)
- Foam brush
- Rag
- Staple Gun
- Sawtooth hanger
1. Measure the length of the top and bottom of your art print.
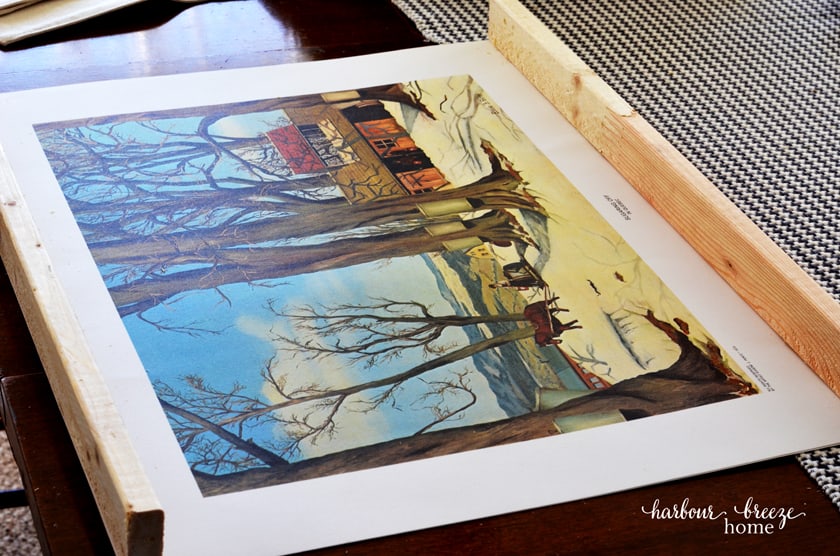
Using the miter saw, cut 2 pieces out the length of the measurement you calculated.
2. Measure for the side pieces by placing the top and bottom rails on top of the art print.
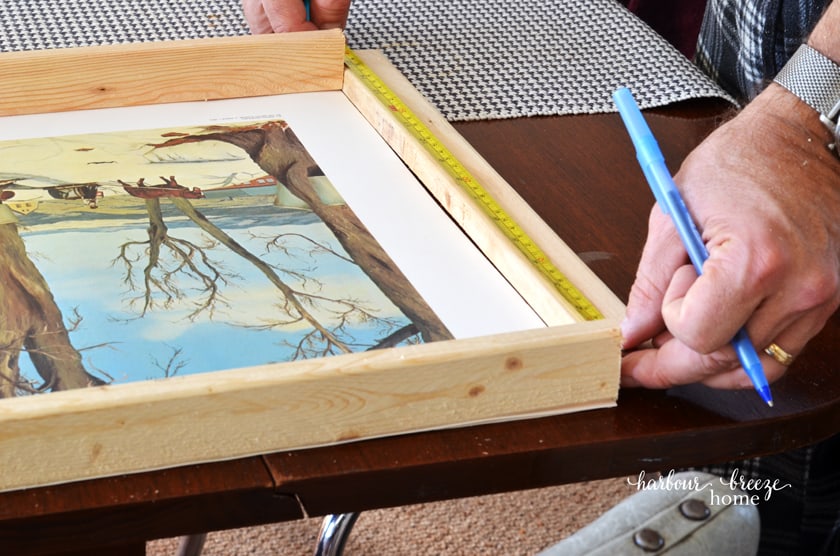
The length of the side pieces will be the distance between the top and bottom rails. Cut 2 pieces that length.
3. Attach the 4 rail pieces together at the corners with a brad nailer.
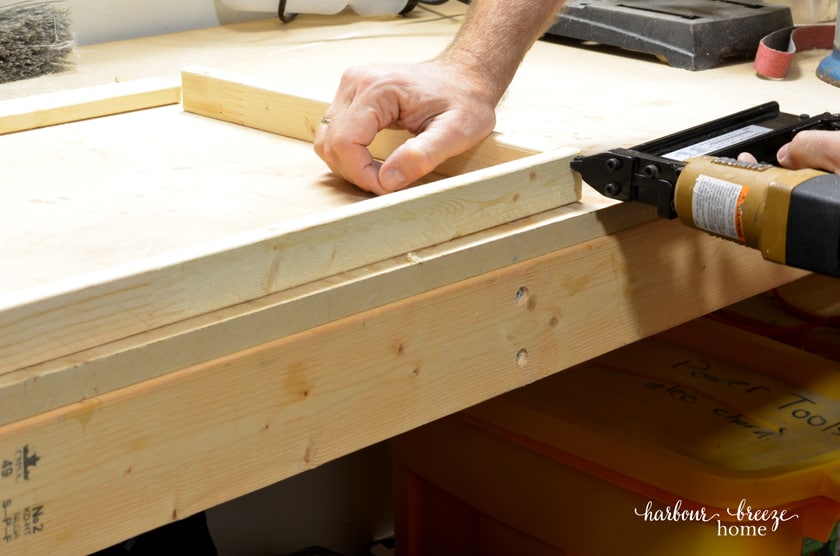
The brads will be located on the top and bottom corners of the frame, so they’ll be hidden when it is hung up.
4. Finish the frame with stain or paint.
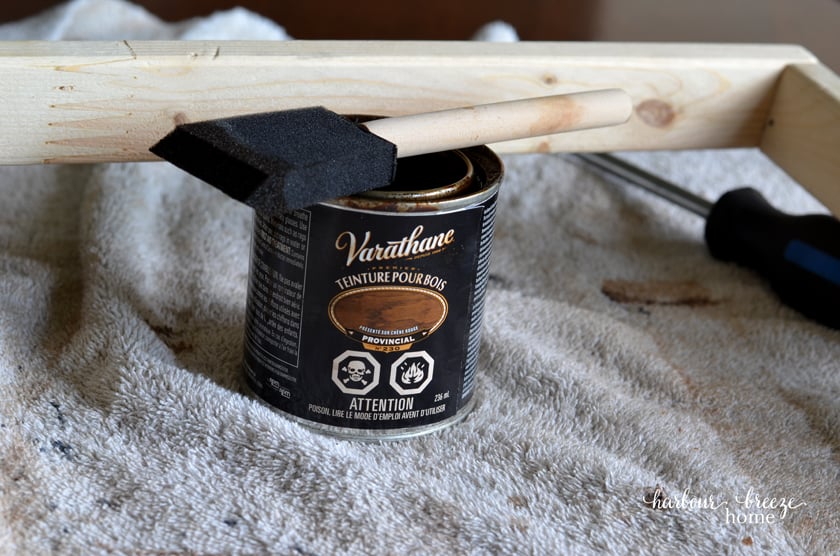
You can finish the frame in whatever finish you’d prefer – or even just leave it as raw wood.
I stained ours in Minwax Providence Stain.
Tips for staining wood projects:
- Stir the wood stain well with a stir stick.
- Apply stain to the wood with a foam brush or rag.
- After applying, rub off the excess stain with a lint free rag.
- If you would like a lighter application of stain, apply with a rag and built it up with additional coats if desired.
- If you would like a darker application of stain, let the stain sit on the surface for a few minutes before wiping off.
5. Secure the art print or poster to the back of the frame with a staple gun.
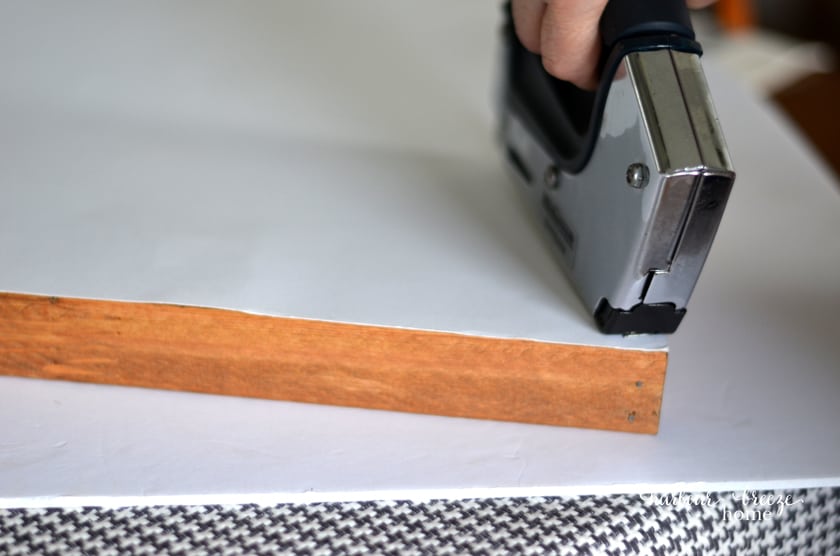
6. Position a sawtooth hanger in the center of the top rail on the back of the frame and nail it on.
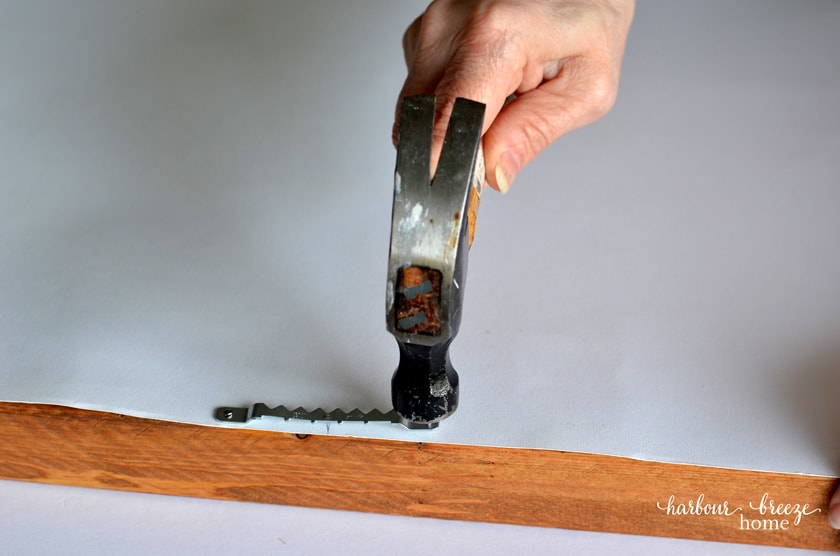
Since these frames are relatively light, I just attached one sawtooth hanger on the back of these. However, if your frame is even larger, you may want to put one on both the left and right top corners of the frame.
Frequently Asked Questions about DIY Large Frames
How much wood do I need?
Measure all four sides of your art and add them together, then add about a foot extra for cutting. One 8-foot 1×2 board is usually plenty for a medium poster.
Can I put glass in this frame?
This is an open, rustic frame with the art stapled to the back, so it doesn’t hold glass. If you want protection, a sheet of acrylic cut to size can be stapled in behind the frame with the print.
Can I use this for a canvas painting?
Yes! For a stretched canvas, build the frame just slightly larger than the canvas and attach it from the back with small screws instead of staples.
More DIY picture or poster frame ideas:
- This DIY large wall art |How to frame an Engineer Print
- Learning how to mount photos on foam board is also another quick and easy way to finish off a photo or art print to hang on the wall.
Free Printable Art to Frame
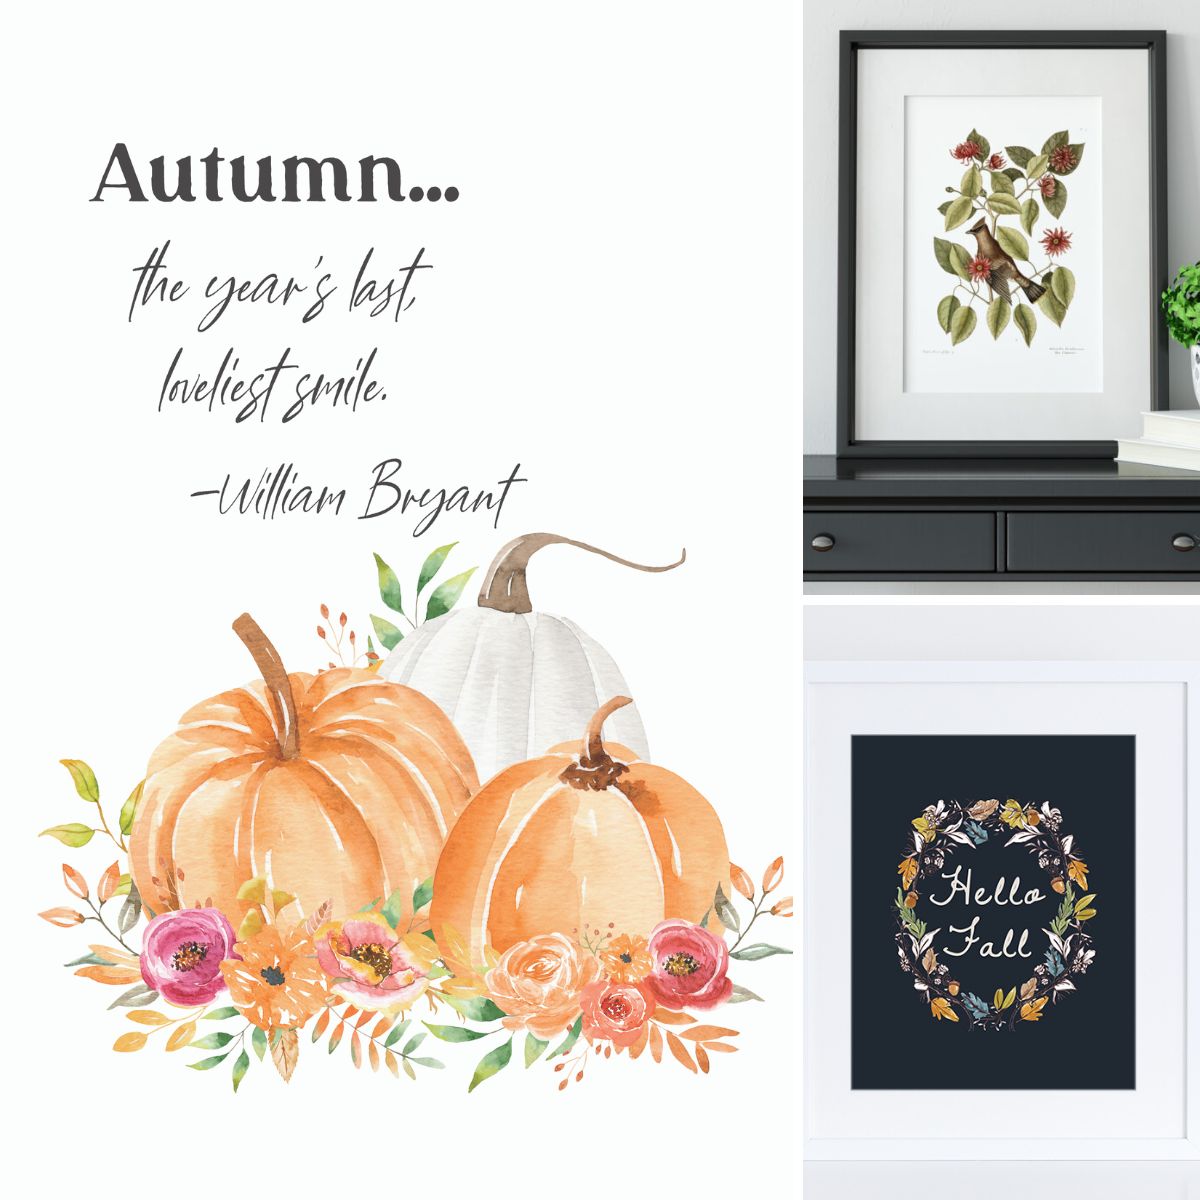
Now that you know how easy it is to make your own frame, you need something pretty to put in it! I’ve designed a whole collection of free printables for the home, from soft botanicals to seasonal art, and they look lovely in a simple wood frame like this one.
If you love a botanical look, start with one of my free botanical art print sets. Then pop your email in below and I’ll send you my free winter landscape art print, plus instant access to my library of over 100 free printables for your home. It’s the easiest way I know to dress up a bare wall for (almost) nothing.
For more home decor ideas for your walls, check out my Wall Decor Pinterest Board here.

I love this DIY picture frame idea! It looks so simple yet elegant. I can’t wait to try it out for my art collection. Thanks for sharing the steps!
This DIY picture frame idea is fantastic! I love how simple and affordable it is. Can’t wait to try it out for my poster collection! Thanks for sharing!