
How to Make a Simple and Affordable Small Faux Boxwood Wreath
I’ve long admired boxwood wreaths in home decor, and have been on the lookout for them for quite some time. I specifically wanted 2 small faux boxwood wreaths for the doors of my entryway closet.
As I’ve been searching for half of forever, it seems, I’ve discovered 2 things.
- Boxwood wreaths can be VERY expensive if found at all, and,
- I couldn’t find any of the small variety at all!
My search eventually led to a “make it yourself” situation. It ended up being such a quick and fun little project.

How to Make a Simple and Affordable Small Faux Boxwood Wreath
Supplies needed:
- Faux boxwood leaves
- Foam Wreath Form (I found mine at Dollar Tree.)
- Glue Gun
- Wire Cutters
- A long metal “stick” – like a knitting needle or chopstick (to prevent burning your fingers on the hot glue)
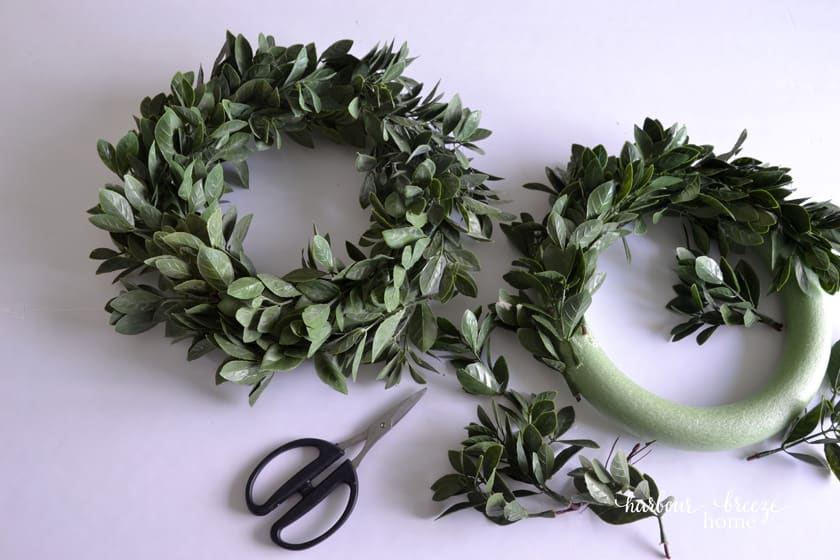 Step 1: Prepare the faux boxwood leaves by washing them and cutting them into small, individual branches.
After searching high and low for affordable faux boxwood greenery, I finally found it on a large ready-made wreath on a huge after Christmas clearance sale! (It was only $6!.) To use it for my purposes, I ripped out each bundle of boxwood and rinsed it off in a sink full of water with a little dish soap and vinegar.
Then, using wire cutters, I snipped apart each boxwood branch into individual pieces. I found I could hand place them better individually than trying to tame a larger floral pick.
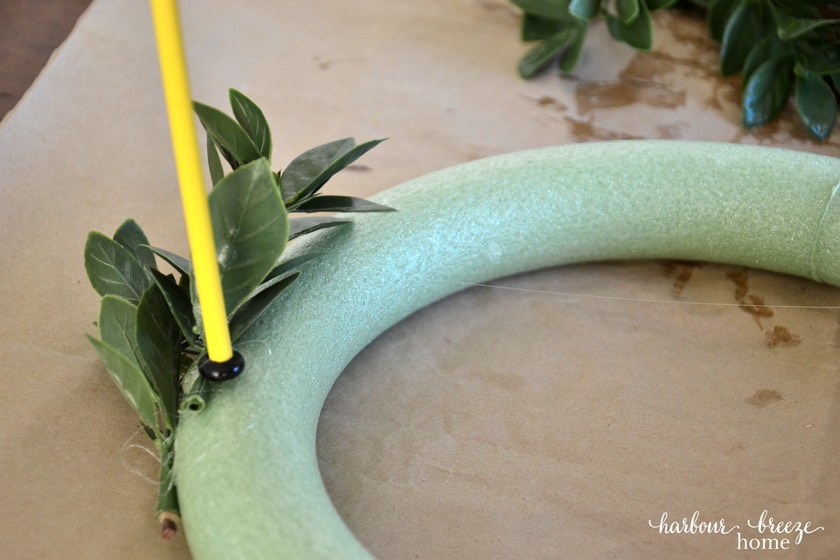
Step 2: Glue the boxwood leaves onto the foam wreath form so that all the leaves are pointing in the same direction.
I’m not experienced at working with florals, so I was unsure how difficult this would be. I found it to be quite simple and very enjoyable! Starting on the outer edge of the wreath form, I would lay a piece of greenery on the edge until it looked like it fit right. Then, I ran a bead of hot glue onto the form, placed the greenery down, and pressed it firmly with the end of a long knitting needle. (That helps prevent burning your fingertips on the hot glue.)
Many boxwood wreaths are done using grapevine wreath forms, which are really pretty, too. However, I couldn’t easily find them in my town, so foam forms at the Dollar Tree were my answer. I was worried that the glue would melt the foam a bit. However, it didn’t.

Step 3: Keep gluing all the way around until the front and sides of the wreath form are completely covered.
I found it helpful to hold the wreath up from time to time to make sure the leaves were symmetrical around the form. If it looked sparse in one area, I would just add more glue and greenery. Keep filling it until it is the desired full look you’d like.
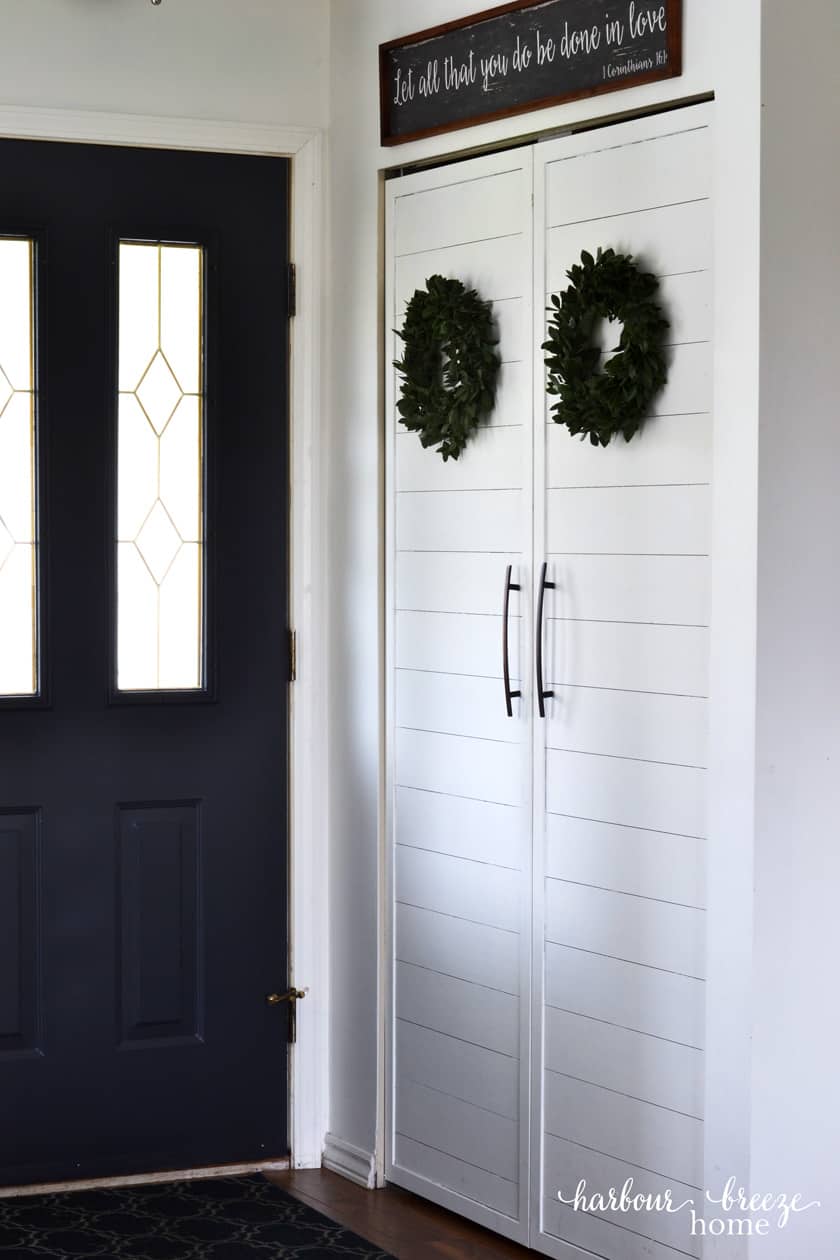
Step 5: Hang them up!
Once the wreaths are completed, the final step is just to hang them up and enjoy! Since these were made out of foam, I simply hammered a nail into the closet door and pressed the wreath into it at the desired height. The nail punctures the foam and holds tightly to it. Easy peasy!
Optional ideas:
These wreaths would also work well for a front door. A big burlap or linen ribbon could loop over it and be hung from a hook. It would look great!
Other Wreath Tutorials:


What size was your foam wreath ?
Is there a tutorial on how to do the doors?
Really cute little wreath! I am going to make one of those! Thanks for sharing!
I love greenery, and wreaths, and diy projects! Great tutorial Rita. Pinning!
Those wreaths turned out beautifully…and yes, I will have to try the knitting needle tactic! I have burned my fingers with hot glue more than I could ever tally or count!