
How to Install a Shiplap Accent Wall in a Bathroom
Add interest to your space and install a shiplap accent wall in a bathroom powder room with this diy step by step guide.
Our townhouse powder room bathroom is very tiny.
As we researched powder room ideas with farmhouse style, there was one thing I absolutely wanted to have from the get go.
Shiplap walls.
We’re not strangers to shiplap around here.
We’ve added shiplap closet doors and a farmhouse shiplap walls feature in our living room.
This is, however, the first time we’ve added a shiplap accent wall in a bathroom.
Simple Steps for Adding a Shiplap Accent Wall to a Powder Room
Disclosure: This post contains affiliate links for your shopping convenience.
What is shiplap?
Authentic shiplap is “wooden sheathing in which the boards are rabbeted so that the edges of each board lap over the edges of adjacent boards to make a flush joint”, according to Webster’s dictionary.
Shiplap can be installed in different ways for different looks.
Horizontal shiplap is installed horizontally on the wall – like we did here in our powder bathroom makeover.
It can also be installed the opposite direction – creating a vertical shiplap wall.
Today’s project is a faux shiplap wall, using thin plywood cut in strips to achieve the shiplap look without the expense of real shiplap boards.
Supplies List for this Faux Shiplap Wall
- measuring tape
- 1/8 inch rotary mahogany plywood sheets cut to the width and length for your wall (sometimes referred to as “doorskin plywood”)
- nail gun (brad nailer)
- brad nails (1/2 inch brad nails)
- pennies for spacers
- wall finish paint
- wall primer paint
- paint roller
- mitre saw
- drywall compound
- putty knife
Step by Step Instructions for How to Install Shiplap Wall
1. Calculate how much wood you will need
The process of doing a shiplap wall always starts with math.
But, don’t be afraid, it’s not that hard!
Measure the height of the wall first and determine how many inches wide you would like the shiplap boards. Then measure the width of the wall you’re covering.
I always like to get out a piece of paper and sketch out the dimensions. Then I take that with me to the hardware store where we get the wood.
2. Purchase the wood and have it cut in strips to create faux shiplap
Since we don’t have the right saw to cut large sheets of plywood into strips, we purchase it from a store that has a cutting service. (It’s our local Windsor Plywood. I’ve heard that it can be done at Lowe’s and Home Depot as well.)
We had a 4 x 8 sheet of 1/8 inch rotary mahogany plywood cut into 30 inch strips 4 1/8 inches wide. The total cost of the wood and cutting service was only $25.90.
Then, my husband used his mitre saw to cut the plywood strips into the proper length to span the accent wall.
3. Paint the wall behind the shiplap
We’ve learned this the hard way! If you don’t want the space between the (faux) shiplap pieces to be contrasting, paint it the same color as what you will paint the shiplap. It’s very hard to paint in between those tiny cracks once the shiplap is up!
In our case, we primed the walls with a good all purpose primer, and then painted the walls Simply White.
Let it dry completely before attaching the faux shiplap to the wall.
4. Paint the edges of the shiplap before you put it on the wall.
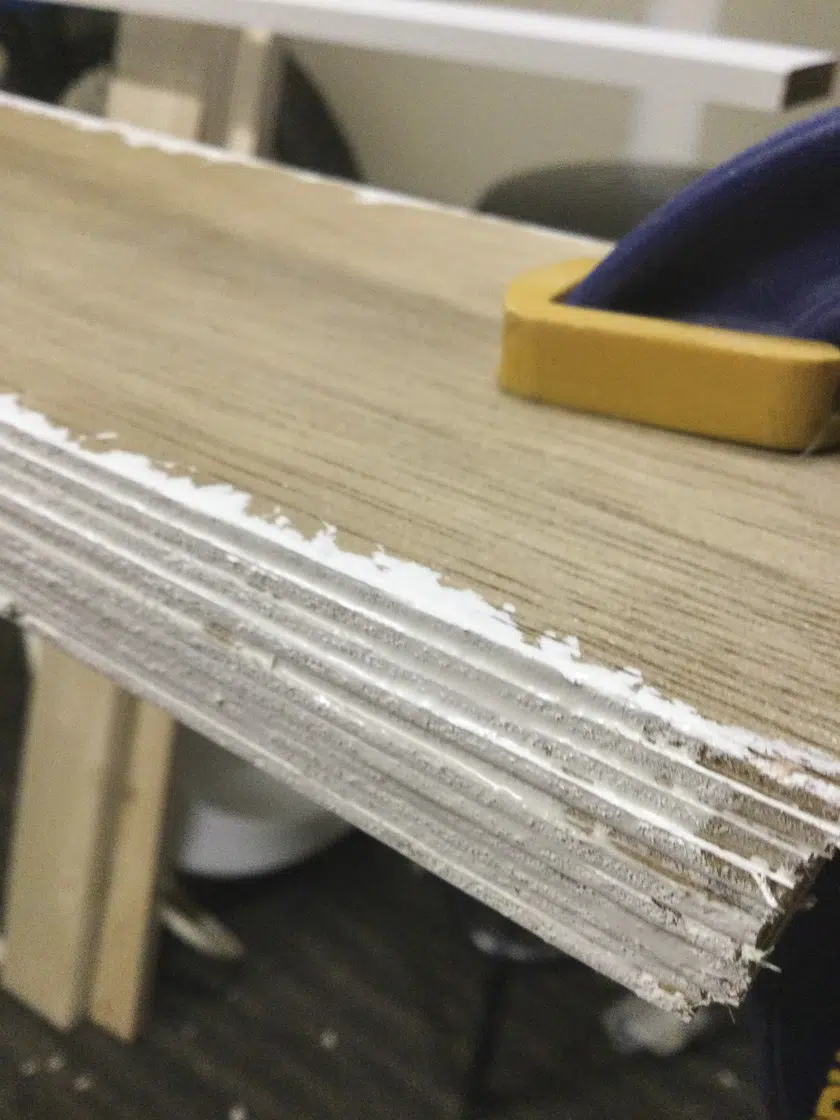
We also learned this handy dandy trick from doing shiplap projects before. Stack up the slices of shiplap plywood and clamp them together. Then, use a roller and paint the edges all together.
Pull them apart to dry and then cut them to fit the length of the wall you are working on.
5.Use a stud finder to mark where the studs are on the wall, and mark them lightly with a pencil
6.Attach the shiplap pieces to the wall using a nail gun
Once you have the shiplap cut to length, it’s quite easy to tack them to the wall using a brad nail gun and brad nails.
A good starting point is at the top of the wall. Line up the first board with the outside corner of the wall and ceiling. Tack it in place with the nail gun, using the stud finder markings as your guide for placement.
Take the next board and lay it underneath the top board, placing a few pennies in between as spacers to leave a small gap between boards. Tack it in place with the nail gun.
Continue working your way down to the bottom of the wall.
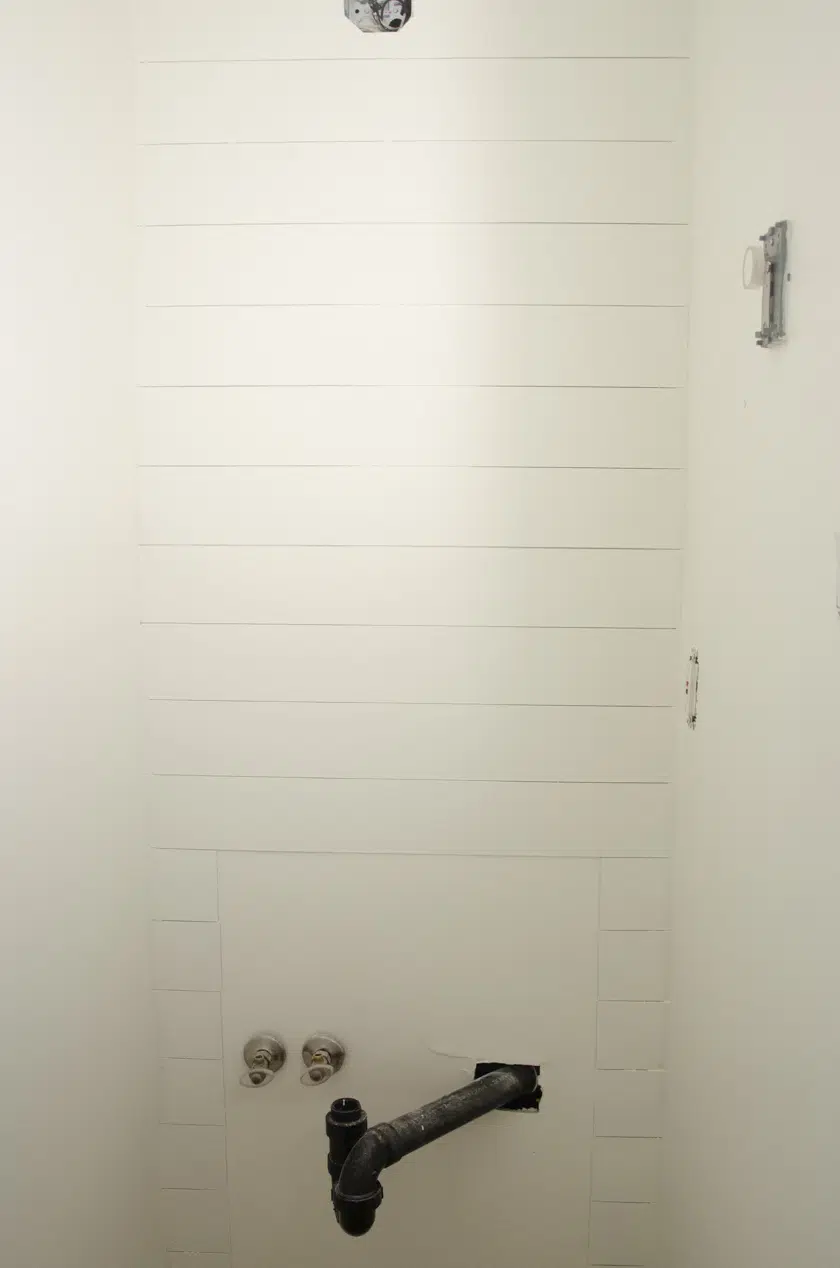
You may need to custom cut some boards to fit around electrical outlets. (In our case, it was a telephone cable outlet.)

Once the shiplap is attached to the wall, fill the nail holes and paint
Getting the shiplap behind the toilet was a bit tricky, but the narrow pieces slid nicely behind the toilet tank.
We filled the nail holes with drywall compound, and then painted it with primer and the final paint color (2 coats of Benjamin Moore’s Simply White.)
Make sure you use the proper initial sealing paint (ask your trusted paint store for what primer you should use), so that the end result is a nice white shiplap. If not sealed properly, the oils of the plywood can seep through the paint and discolor it.
Add 2 shiplap accent walls if you want to!
Since we had enough shiplap left over, we went ahead and shiplapped the wall where the vanity will go, too.
This faux shiplap method made a wonderful accent wall treatment for a powder room for under $30. We love it!
Watch the video to see how to install an accent shiplap wall in a bathroom!
I recorded some video footage of this process for my Instagram stories, and thought you might like to see it in action.
Click here to watch the video on YouTube.
Want to see the before pictures of this powder room makeover?
The powder room before post gives all the details!
Get my secret formula for budget Room Makeovers!
Over the years, I’ve done dozens of super budget friendly room makeovers.
I’ve followed the same simple formula for each of them. I put together all the steps in a handy guide along with a FREE printable worksheets.
Click here or the button below for immediate access.

This sounds like such a fun DIY project! I love the idea of adding a shiplap accent wall to a bathroom for extra interest. It’s awesome that the guide includes a supplies list and a video of the steps.
I loved this tutorial! The step-by-step instructions were super clear, and I appreciate the tips on choosing the right paint. Can’t wait to try this in my own bathroom!
I absolutely love the idea of a shiplap accent wall in a bathroom! It adds so much character and warmth. Your step-by-step instructions are super helpful—can’t wait to try this out in my own space. Thanks for the inspiration!