
How to Hang a Picture on Drywall with 2 Hooks — The Easiest Method Ever!

Here’s the easiest way to hang a picture on drywall with 2 hooks — use painters tape to mark the exact nail spots right from the back of the frame. Perfect placement, zero frustration, done in minutes!
Oh my stars — can I tell you how many times I found the most perfect piece of art, flipped it over, and groaned when I saw TWO sawtooth hangers on the back?
All that measuring. All that second-guessing. And somehow one nail always ended up just a teensy bit off. Grrr!

Sweet friend, I finally found the trick — and it involves nothing more than a little painters tape. No measuring, no math, no crooked frames. Ever again!
Let me show you.
The Easiest Way Ever to Hang a Picture on Drywall (when it has 2 hangers on the back)
Disclosure: This post contains affiliate links for your shopping convenience.
Supplies You’ll Need:
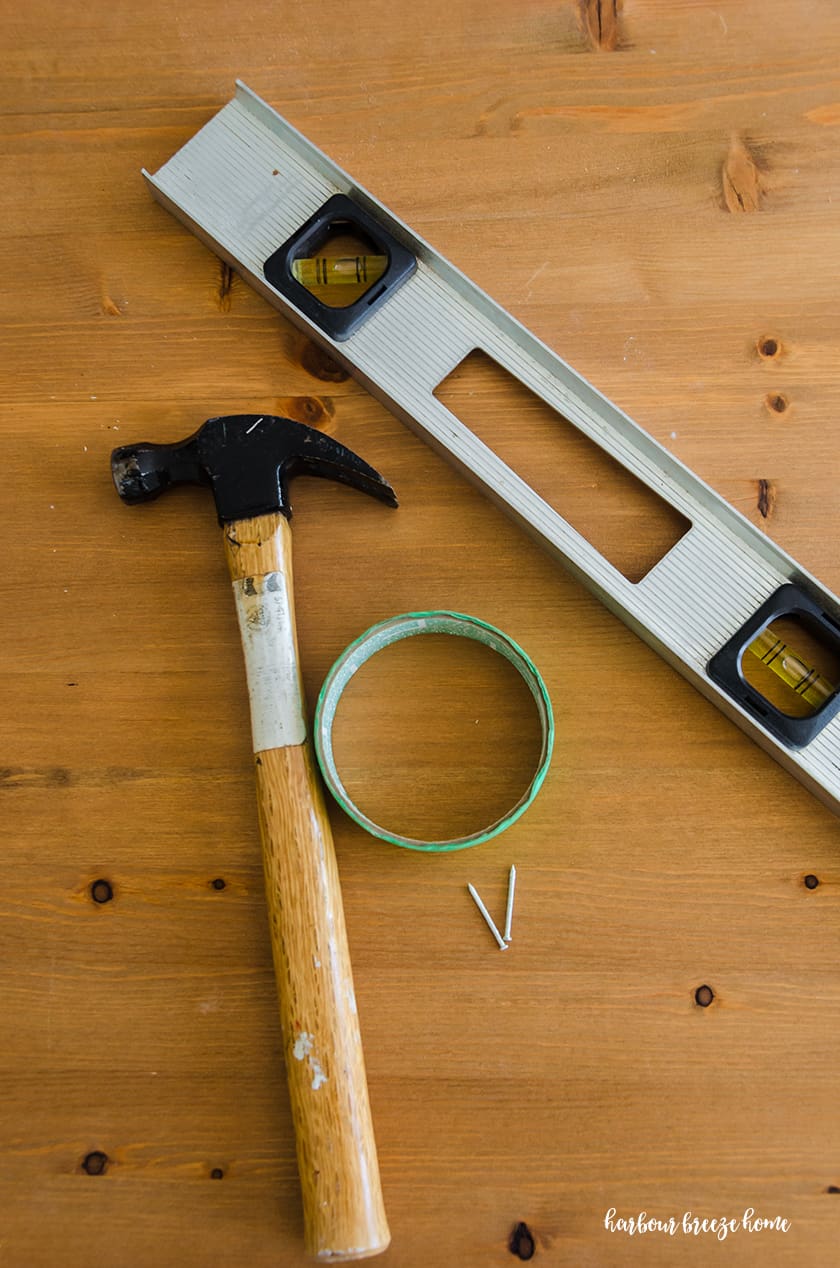
- Painters Tape (This is similar to what I use.
- 2 nails (These 1 inch white panel nails are my absolute favorite for hanging almost all pictures in our house.)
- Level
- Hammer
- Pencil
Step 1: Position a piece of painters tape across the top of the frame, covering the sawtooth hangers.
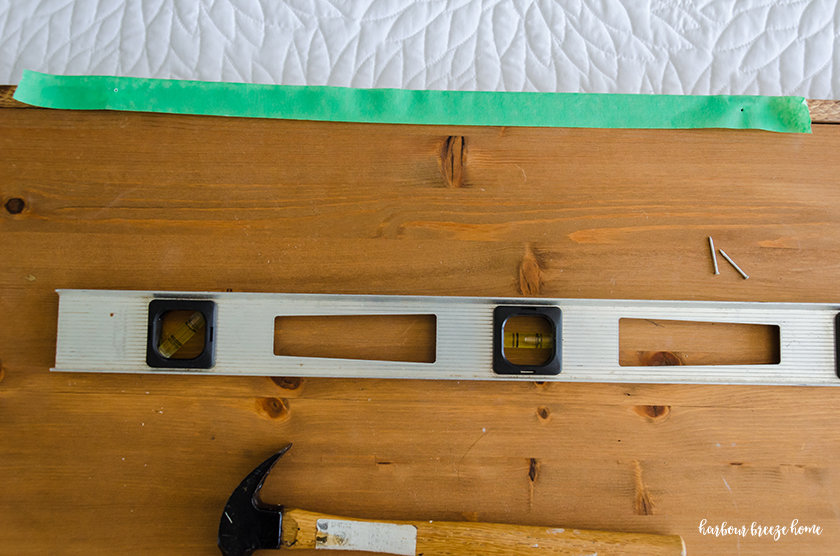
Make sure it is straight with the top edge of the picture.
Step 2: Using a nail, poke a hole where you would like the nails to be positioned on the hangers.
I use the exact center of each saw-tooth hanger. (You can see the holes I poked into the painters tape in the picture above.)
Step 3: Find the center of the picture and center of the painters tape, and mark it with a pencil.
Hold the picture up to the wall at the height you desire, and lightly mark the center point on the wall with your pencil.
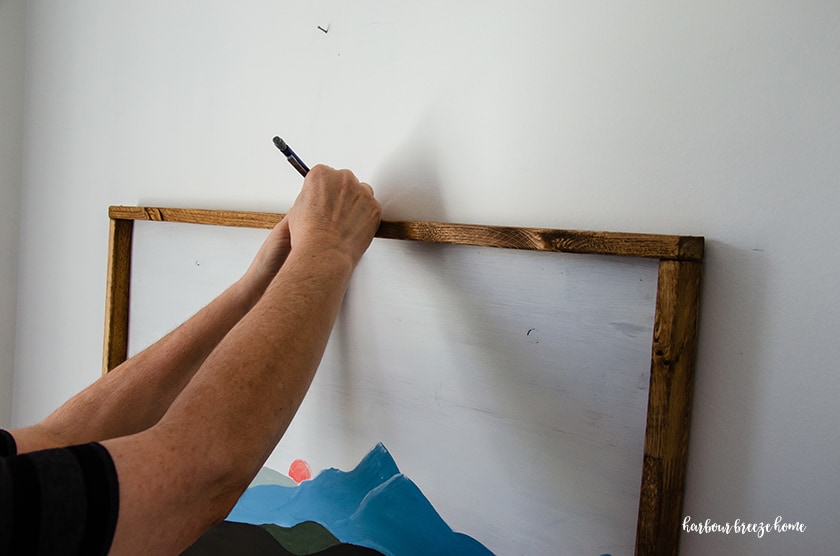
Step 4: Remove the painters tape from the back of the picture and match up the center with the center mark you just placed on the wall.
Use a level to ensure the painters tape is straight and level.
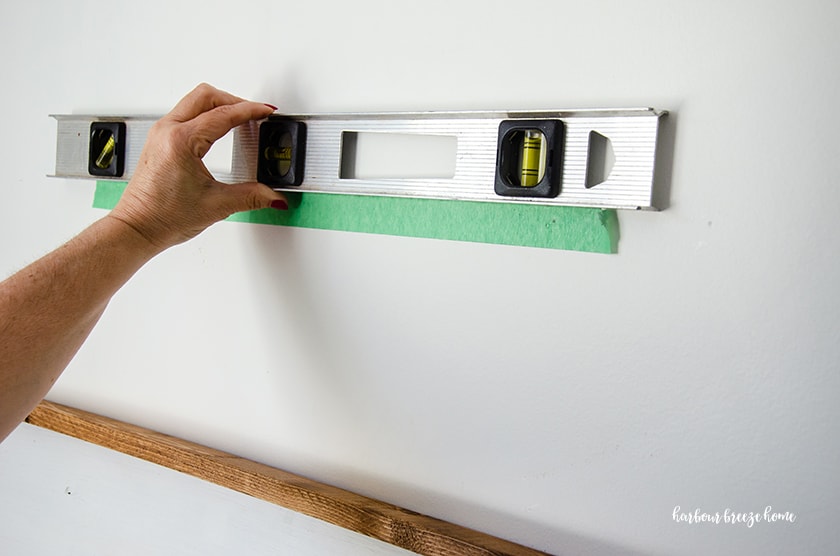
Step 5: Nail a 1 inch panel nail into each hole you created in the painters tape.
**Important Note: If the picture or object you’re hanging is heavy, you will need to use a sturdier fastening system than these 1 inch nails. For heavy objects in drywall, I recommend using a drywall anchor and screw system.
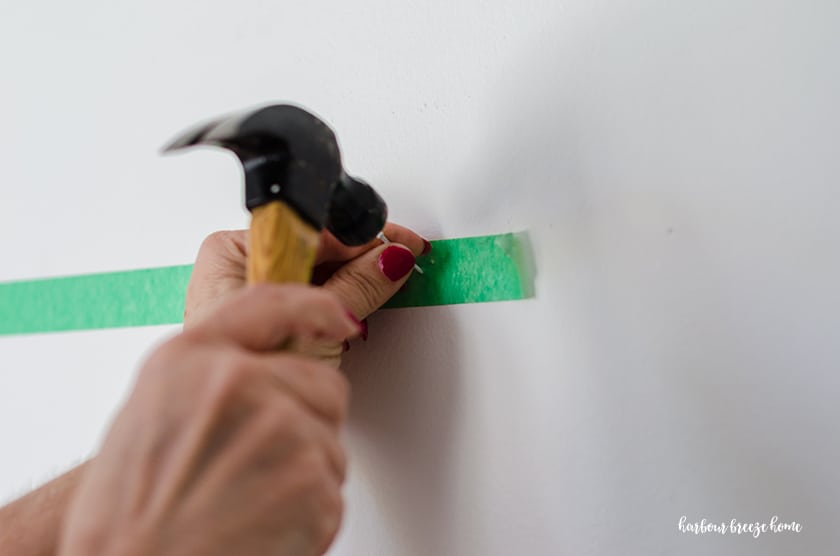
Step 6: Remove the tape from the wall and hang up your picture!
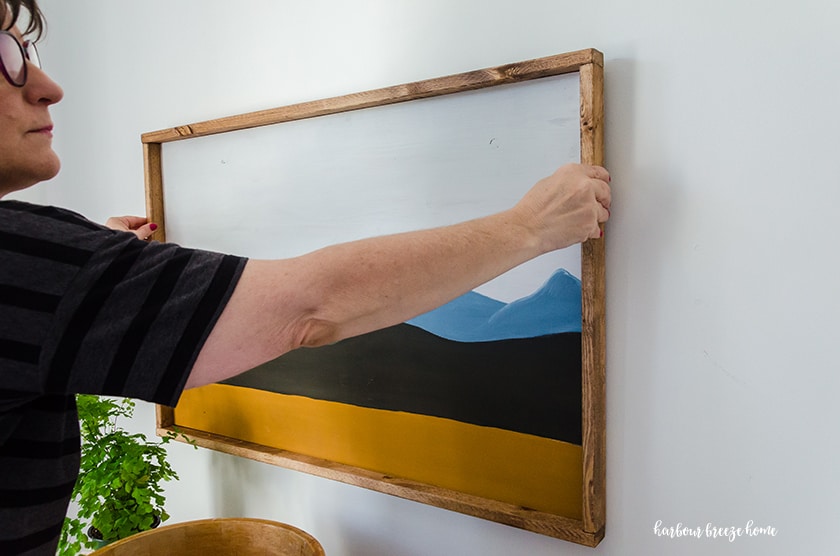
You will be amazed how quick and easy this method is for hanging large art with 2 hangers on the back!
DIY Large Wall Art:
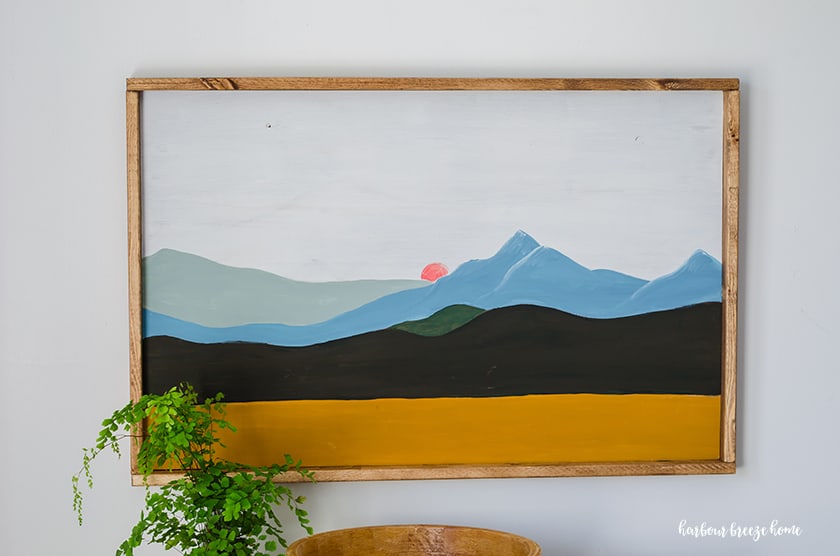
The picture that I hung as an example here is part of our Master Bedroom makeover that we did. You can see the step by step process of this DIY Boho Mountain Art here.
To See More Picture Hanging Tips:
- How to hang a picture on the wall (with only one hook) – This trick is amazing!
- Above couch gallery wall (with an easy way to make a custom template) – See this method used in real life at my sister Becky’s house in this how to hang a gallery wall post.
For more recipes, crafts & ideas for your home all year round, become a VIP!
Become a VIP newsletter subscriber and get instant access to the library of free printables (including wall art, gift tags, and more!). Click here or the button below to join today.


How to Hang a Picture with 2 Sawtooth Hangers
Get perfect placement of hanging art ever with this easiest trick ever to hang a picture on drywall – even when it has 2 sawtooth hangers on the back!
Materials
- Painters Tape
- 2 nails
- Level
- Hammer
- Pencil
Instructions
1. Position a piece of painters tape across the top of the frame, covering the sawtooth hangers.
Step 2: Using a nail, poke a hole where you would like the nails to be positioned on the hangers.
I use the exact center of each saw-tooth hanger. (You can see the holes I poked into the painters tape in the picture above.)
Step 3: Find the center of the picture and center of the painters tape, and mark it with a pencil.
Hold the picture up to the wall at the height you desire, and lightly mark the center point on the wall with your pencil.
Step 4: Remove the painters tape from the back of the picture and match up the center with the center mark you just placed on the wall.
Use a level to ensure the painters tape is straight and level.
Step 5: Nail a 1 inch panel nail into each hole you created in the painters tape.
Step 6: Remove the tape from the wall and hang up your picture!
**Important Note: If the picture or object you’re hanging is heavy, you will need to use a sturdier fastening system than these 1 inch nails. For heavy objects in drywall, I recommend using a drywall anchor and screw system.


This caught my eye because I’ve been procrastinating about hanging some frames due to the two hangers! Thanks you! Pinned!
Shelley
Thank you! I can finally stop avoiding buying pictures, etc. with 2 hangers! My walls always looked as though there was a shoot out!
Thanks for this great tip!
What a great idea! I am going to use this! Pinned!!
What a great tip, Rita! Another good use for painter’s tape, too. Thanks for sharing. Pinned!