DIY Boho Easy Mountain Painting
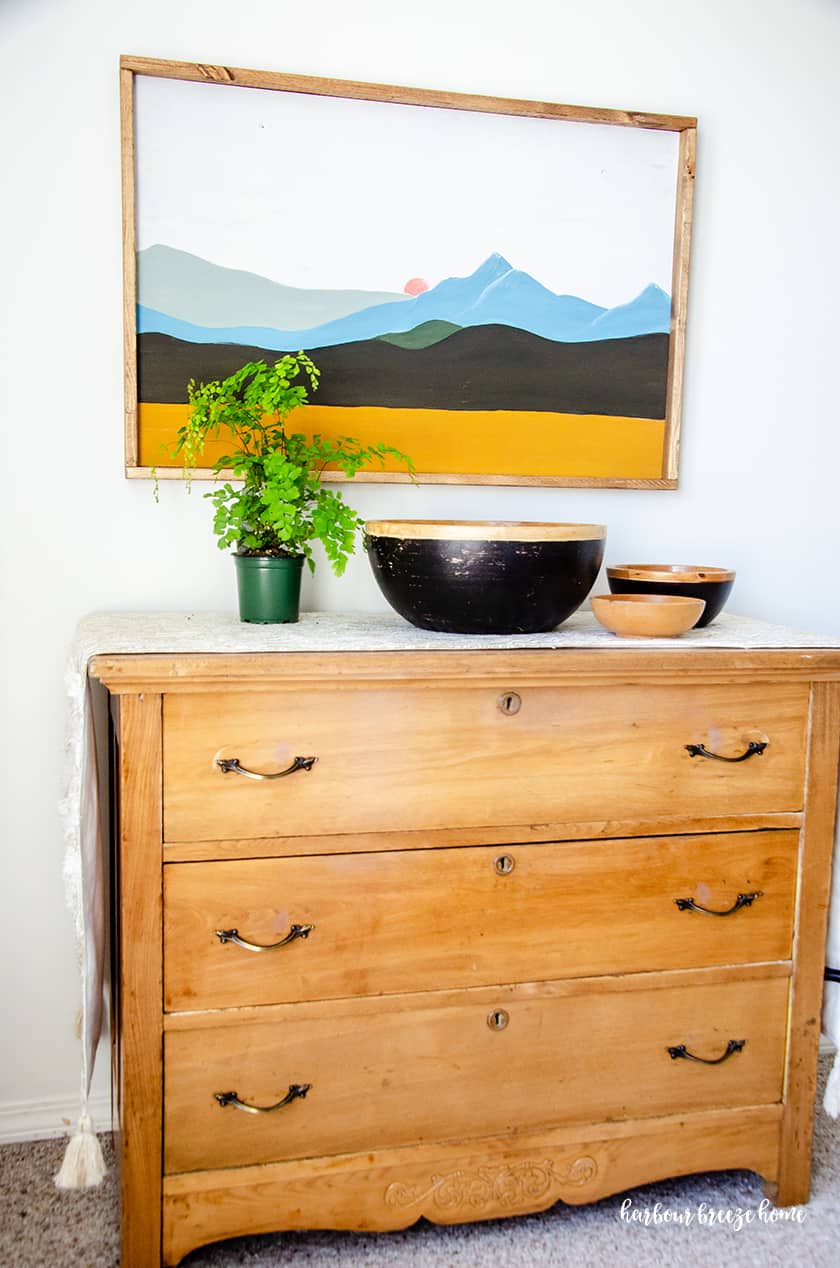
Dress up a bare wall with this simple DIY boho landscape (easy mountain) painting.
When I chose “boho” as part of my Master Bedroom makeover style, I didn’t even know what it really meant. I just now looked up the word and found out that it “typifies a style of dress inspired by the lifestyle of free spirits and hippies of the 1960s and 1970s”.
Hmm…I’m not sure that I’m really of the free spirit “hippie” type…but there are sure a lot of things about boho that I like!
While searching for bedroom decor ideas, I found some art on Pinterest that I fell in love with. It was described as “boho”.
Its simple, clean lines and color blocks made me decide to try painting one myself.
I found it to be a really simple and fun project.
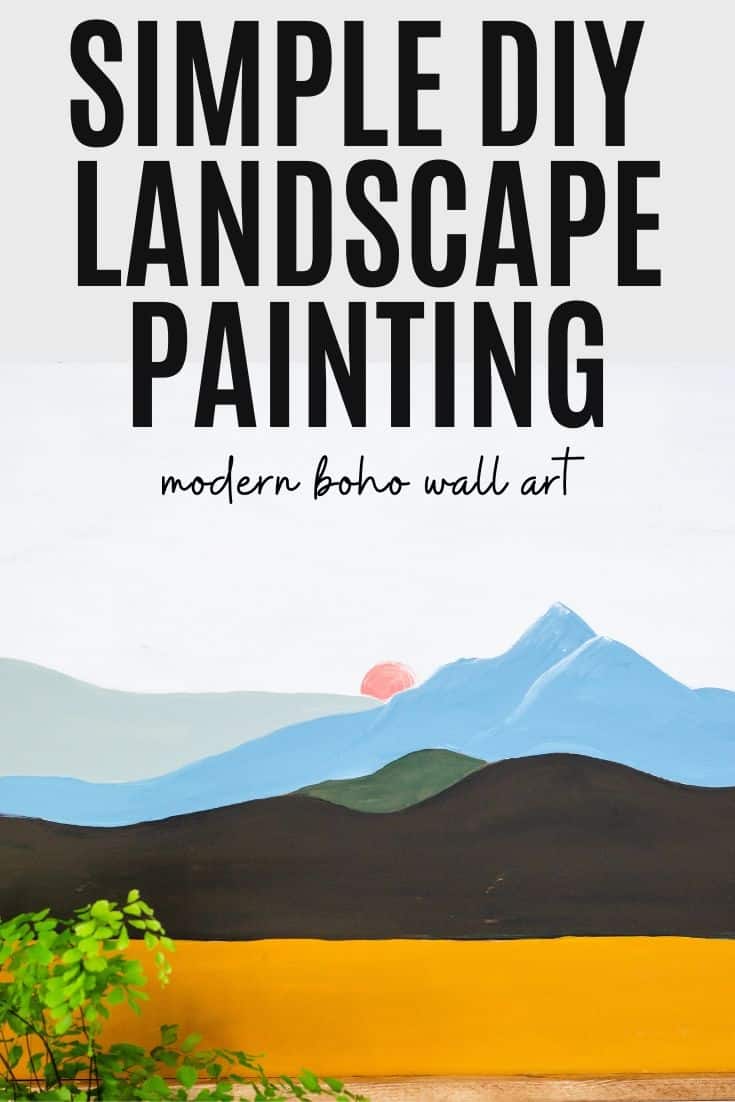
How to Make a Simple Boho Landscape Painting
Supplies used for this DIY Wall Art:
Since one of our goals for our Master Bedroom One Room Challenge makeover was to use things we already owned, this painting was a totally recycled project!
The base of the sign is actually a wooden sign I made years ago out of mdf plywood. (Size 31.5 inches wide by 20 inches tall.) You can see it in the closet “before pictures” in our small closet organization reveal.
The only other supplies needed are:
- Acrylic craft paints
- House paint or craft paint for the base coat
- Craft paint brushes
- 1 x 2 inch boards for the frame
- Stain for the frame
Find your inspiration
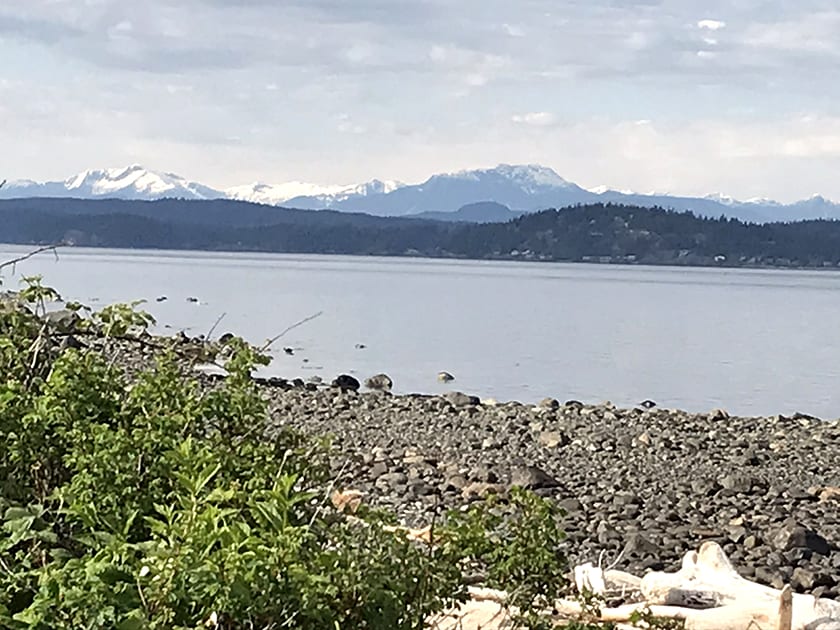
I wanted this picture to be something that had meaning and connection for us. So, when we were out for one of our evening walks, I snapped a few phone pictures of the mountain landscape and ocean.
This picture became my inspiration guide as I designed the pattern for this easy mountain painting:
All those layers of mountains were the inspiration as I started out my DIY Boho Art Painting.
Unfortunately, I didn’t remember to take pictures of the painting process, but I did video it for my Instagram stories. You can find it in the highlights there.
Step 1: Base coat the wood with white paint.
I used leftover sample white house paint and painted on 2 coats. It needs to dry completely before starting the next steps. (A blow dryer can help speed up the drying time.)
Step 2: Lightly pencil in the lines of your color block layers.
I used my inspiration picture to help as a guide as I drew in layers of the landscape.
Step 3: Start at the bottom and paint each landscape layer a different color.
This is the part that I found most challenging. Not exactly the painting part, but the choosing of the colors!! I had a hard time figuring out which colors worked best. I ended up mixing custom colors for each layer using acrylic paint colors I had on hand.
Step 4: Finish off your picture by adding a wood frame.
We used the same simple framing method that we used for this DIY frame for large art.
Step 5: Hang it up!
Once it’s all finished, it’s time to hang it up and enjoy it. I used this super simple trick for hanging up pictures that made this final step so easy.
Looking for more boho wall art? Check out these related posts:
- These free boho printables are a budget friendly way to get modern art on your walls!
- This rainbow printable has boho style perfect for any room


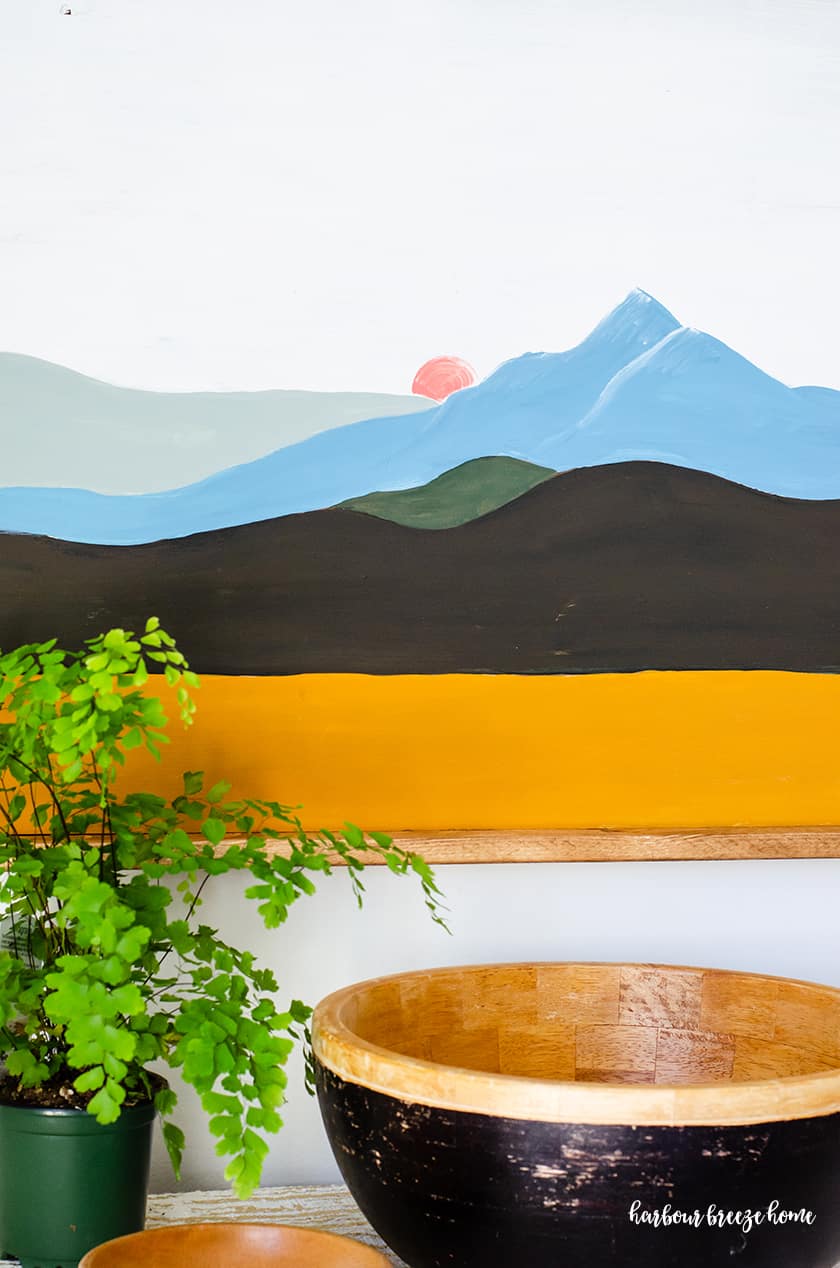
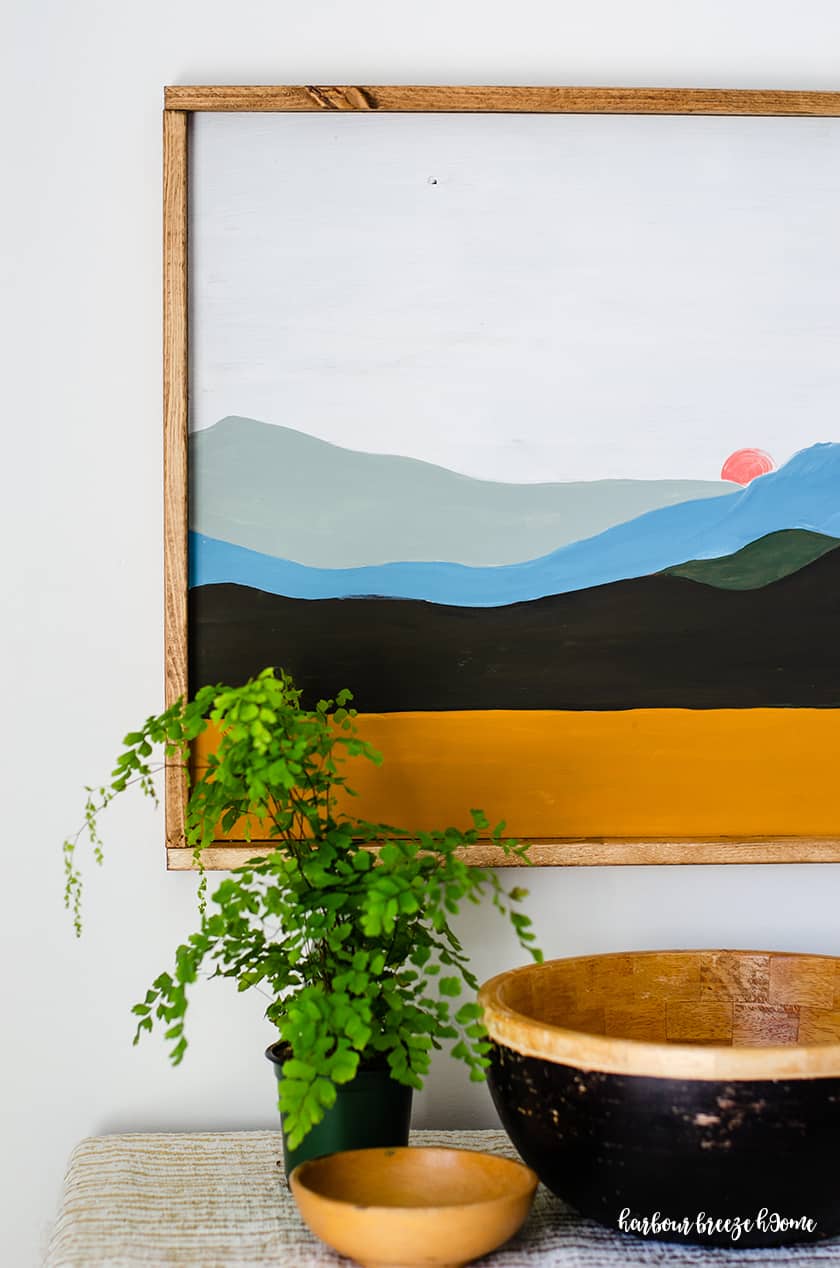

Well done, Rita! I love the final result.
Look at you getting all artistic with your DIY boho landscape! Good for you! It came out great!
Rita I love your DIY boho art for your bedroom makeover. You are so talented, love the new space.
You did a great job on your boho art for your bedroom makeover. I really like the bright colors that you used.
You are so talented, Rita! I love your DIY Boho painting! I am looking forward to seeing your bedroom makeover come together. Pinned!
Love how your painting turned out. Beautiful!
You did a great job on that! Love it
I’m in love with your landscape painting and the colors you picked. You’re giving me some great ideas. Thanks Rita!
You really nailed the boho look, Rita! Those colors are definitely reminiscent of the 60’s and 70’s. You did a great job painting it yourself! I love how you styled it with the bowls and plant, too. Pinned!