
Quick & Easy DIY Floating Bedside Tables


Follow this step by step guide to make easy DIY floating bedside tables. They free up floor space in a small bedroom and offer a practical and stylish solution.
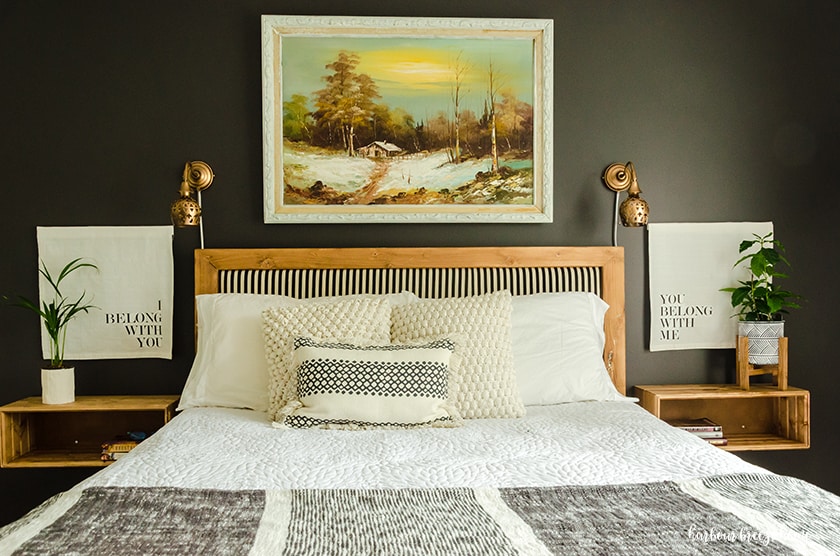
One of our main goals for our Modern Farmhouse Boho Bedroom makeover was to address the end table issue.
We were tired of the current situation in our small room:
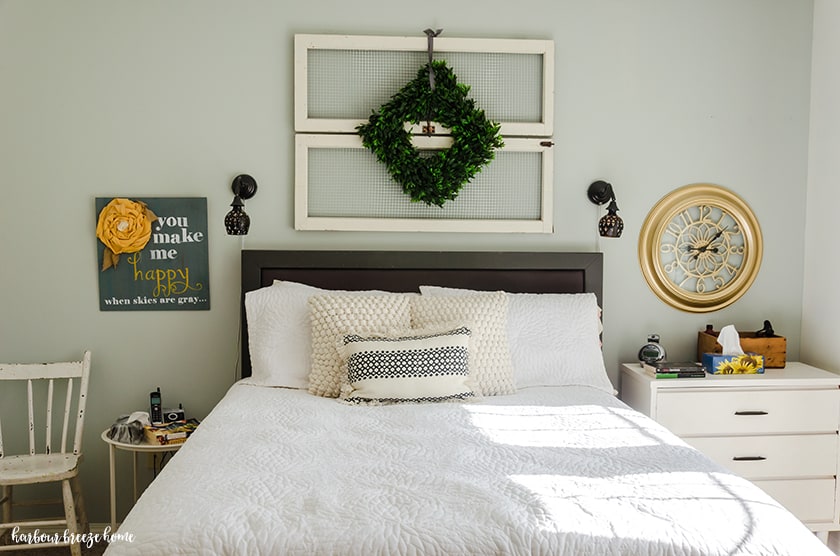
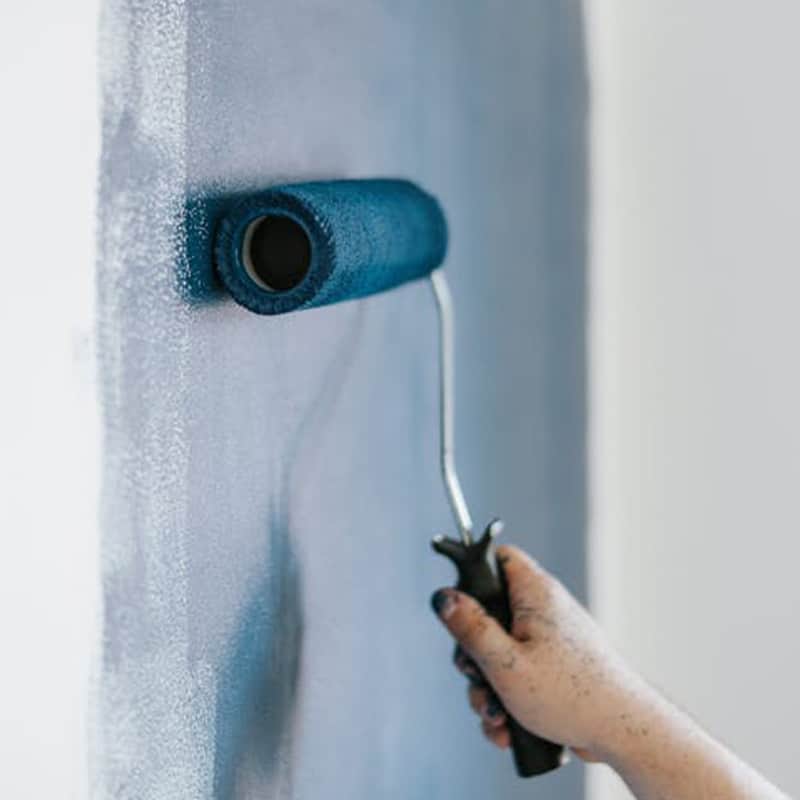
After we dealt with our small closet organization and painted a black feature wall, we were ready to tackle some simple DIY floating end tables.
And, by “we”, I mean my husband.;) He whipped these quick and easy bedroom furniture pieces together while I painted and organized the closet.
I did step in to take a few photographs and ooo and ahhh at the right times, but really, these were all his doing, and I absolutely LOVE them!
If you, too, are looking for a simple and inexpensive floating beside table idea, this might be the answer to your dilemmas.
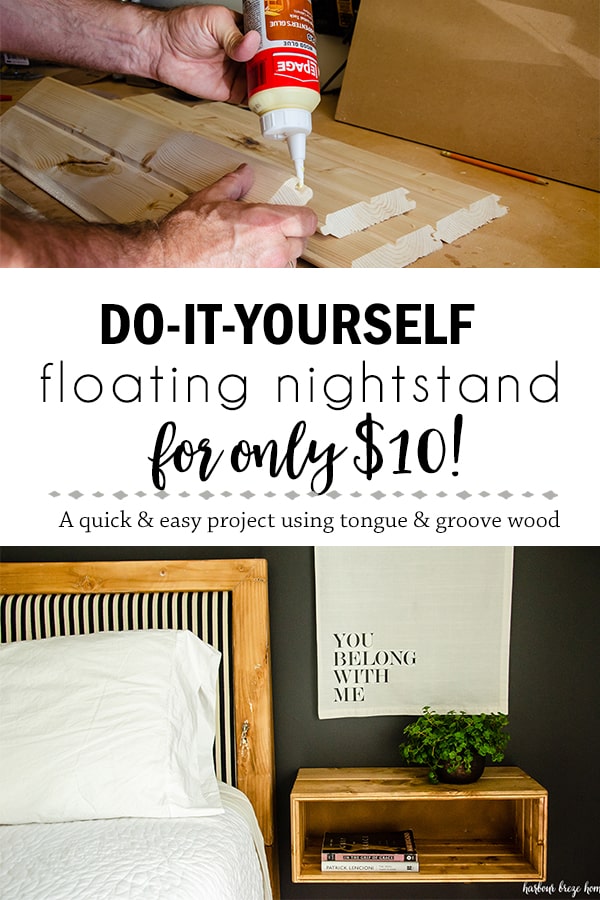
How to Make DIY Floating Bedside Tables
Disclosure: This post contains affiliate links for your shopping convenience.
Supplies You’ll Needed for these Floating Bedside Tables:
- 2 – 1×6 inch tongue and groove pine board 8 feet long (which makes 2 floating nightstands)
- Wood Glue
- Brad Nail Gun (my husband’s is an off-brand, but this is his dream nail gun.)
- Compound Miter Saw (similar)
- MDF board for backing
- Clamps
- Screws and screwdriver
- Stud Finder
- Wall Anchors
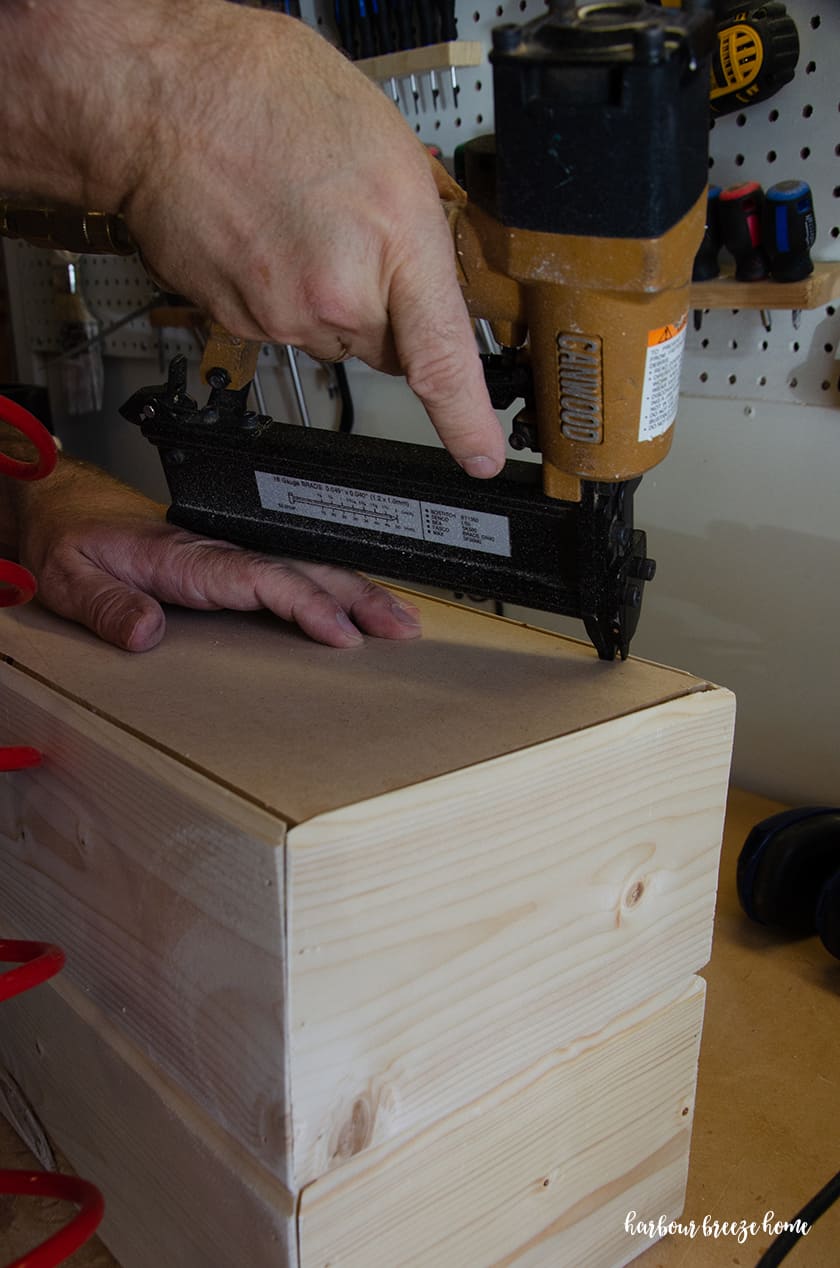
Cut and glue together the tongue and groove board pieces that will become the “box” of the floating table.
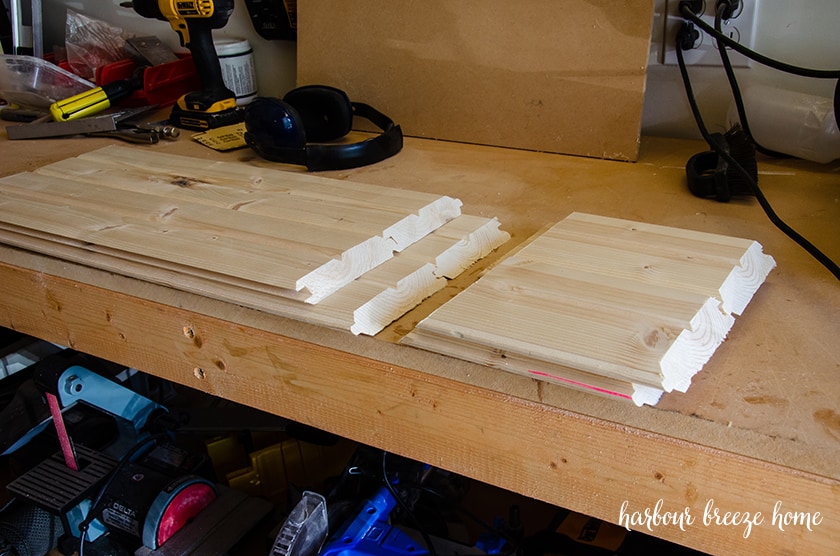
Each floating end table “box” consists of the following pieces:
4 pieces cut at 22″ (on the 45 degree angle on each end – as shown above)
4 pieces cut at 8″ (with 45 degree angles on each end – as shown above)
Step 1: Glue together the side pieces to the nightstand bottom.

and attach the pieces together with an air nailer.
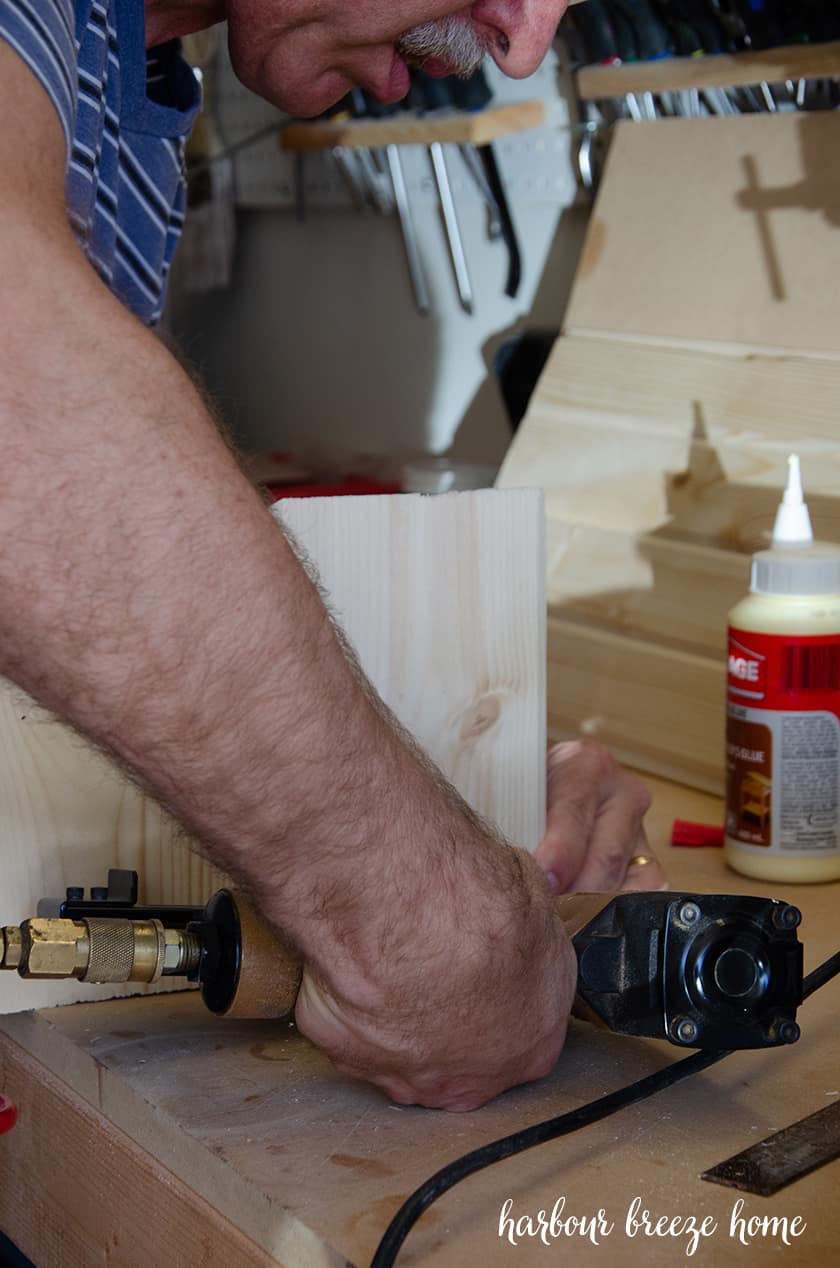
Repeat the same steps for the other side of the table.
Step 2: Glue and attach the top to the nightstand with glue and an air nail gun.

Step 4: Attach the mdf back to the back of the shelf using glue and air gun brads.
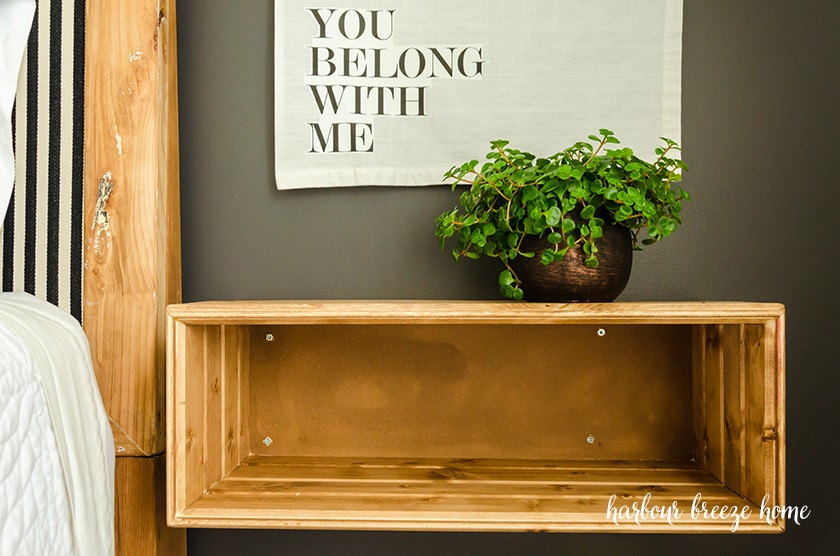
Step 5: Sand the surface well and finish in the stain or paint color of your choice.
We chose to stain ours with Early American Stain by Minwax. Note that the MDF doesn’t take the stain in the same manner that the pine wood does. However, I liked how the stain made the back appear like suede -which I really liked.
Another option for finishing off a floating nightstand is to paint or wallpaper the back in a contrasting color.
Step 6: How to hang a floating nightstand on the wall.
Once the nightstand is finished, it’s time to hang it on the wall! Here’s the steps to do so:
- Use a stud finder to determine where the studs are located on the wall. Mark lightly with a pencil or a piece of painters tape. It is recommended to have at least one side of the stand firmly screwed into a wall stud if possible.
- Determine the height you’d like your nightstand to be. We wanted ours to be about the same height as the top of our mattress.
- If you cannot locate 2 studs to screw the nightstand into, determine where you want the 2nd set of screws to be.
- Use a level to make sure your nightstand is level.
- Attach the nightstand to the studs using screws and a drill driver.
- Using a drill, determine where you want the 2nd set of screws to be and drill a small hole through the nightstand and into the wall. This will mark where you need to set the drywall anchors.
- Remove the nightstand and set the drywall anchors.
- Screw the nightstand back into the studs and screw screws into the drywall anchors.
If you want to cover over the screws with screw plugs, you can certainly so so. But, most people won’t be this up close and personal with the backside of your floating nightstand!;)
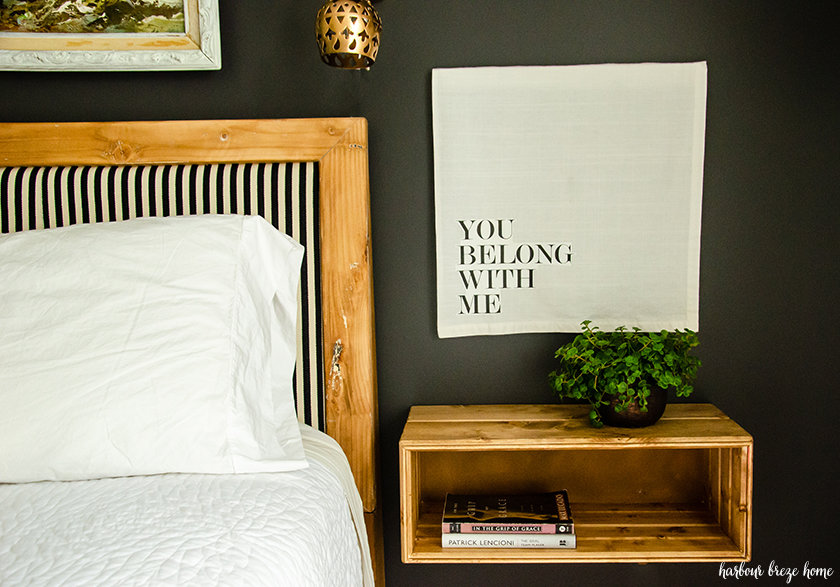
We love how simple and easy these were to make, and they function amazingly!
Cost of these DIY Floating Endtables:
- 2 tongue and groove pine board at 8 feet (Which made both end tables) – $20
All other supplies used we already had on hand.
One Room Challenge, Week 5 Cancelled due to world events
This post is part of the One Room Challenge makeover series hosted by Calling it Home and Better Homes and Gardens. If you’d like to catch up on the previous posts, here they are:
- Week 1: Inspired by Black Bedroom Walls
- Week 2: The Modern Farmhouse Boho Bedroom Mood Board
- Week 3: Small Closet Organization Reveal
- Week 4: Budget Bedroom Decorating: Painted Wall

To see how all the other rooms are coming along, head on over to the One Room Challenge site next week and check out all the progress.
Apparently no one on your replays have followed your guidelines otherwise they would have known your measurement’s on the materials do not calculate correctly. You sate I will need 2 1 x 6 8ft long which is 192 inches total in length. Then you say cut 4 pieces 22 inches long and 4 pieces 8 inches long. Which you will double to create 2 side tables with a total of 240 inches. So please explain how I find the other 48 inches.?
The project seems exciting & fun. Those visuals complement the content. Looking forward to more such posts.
Love this project! Congrats on your Thistlekeeping feature!!
These are amazing, my friend! And I’m excited about your feature… on THISTLEKEEPING!!!!