
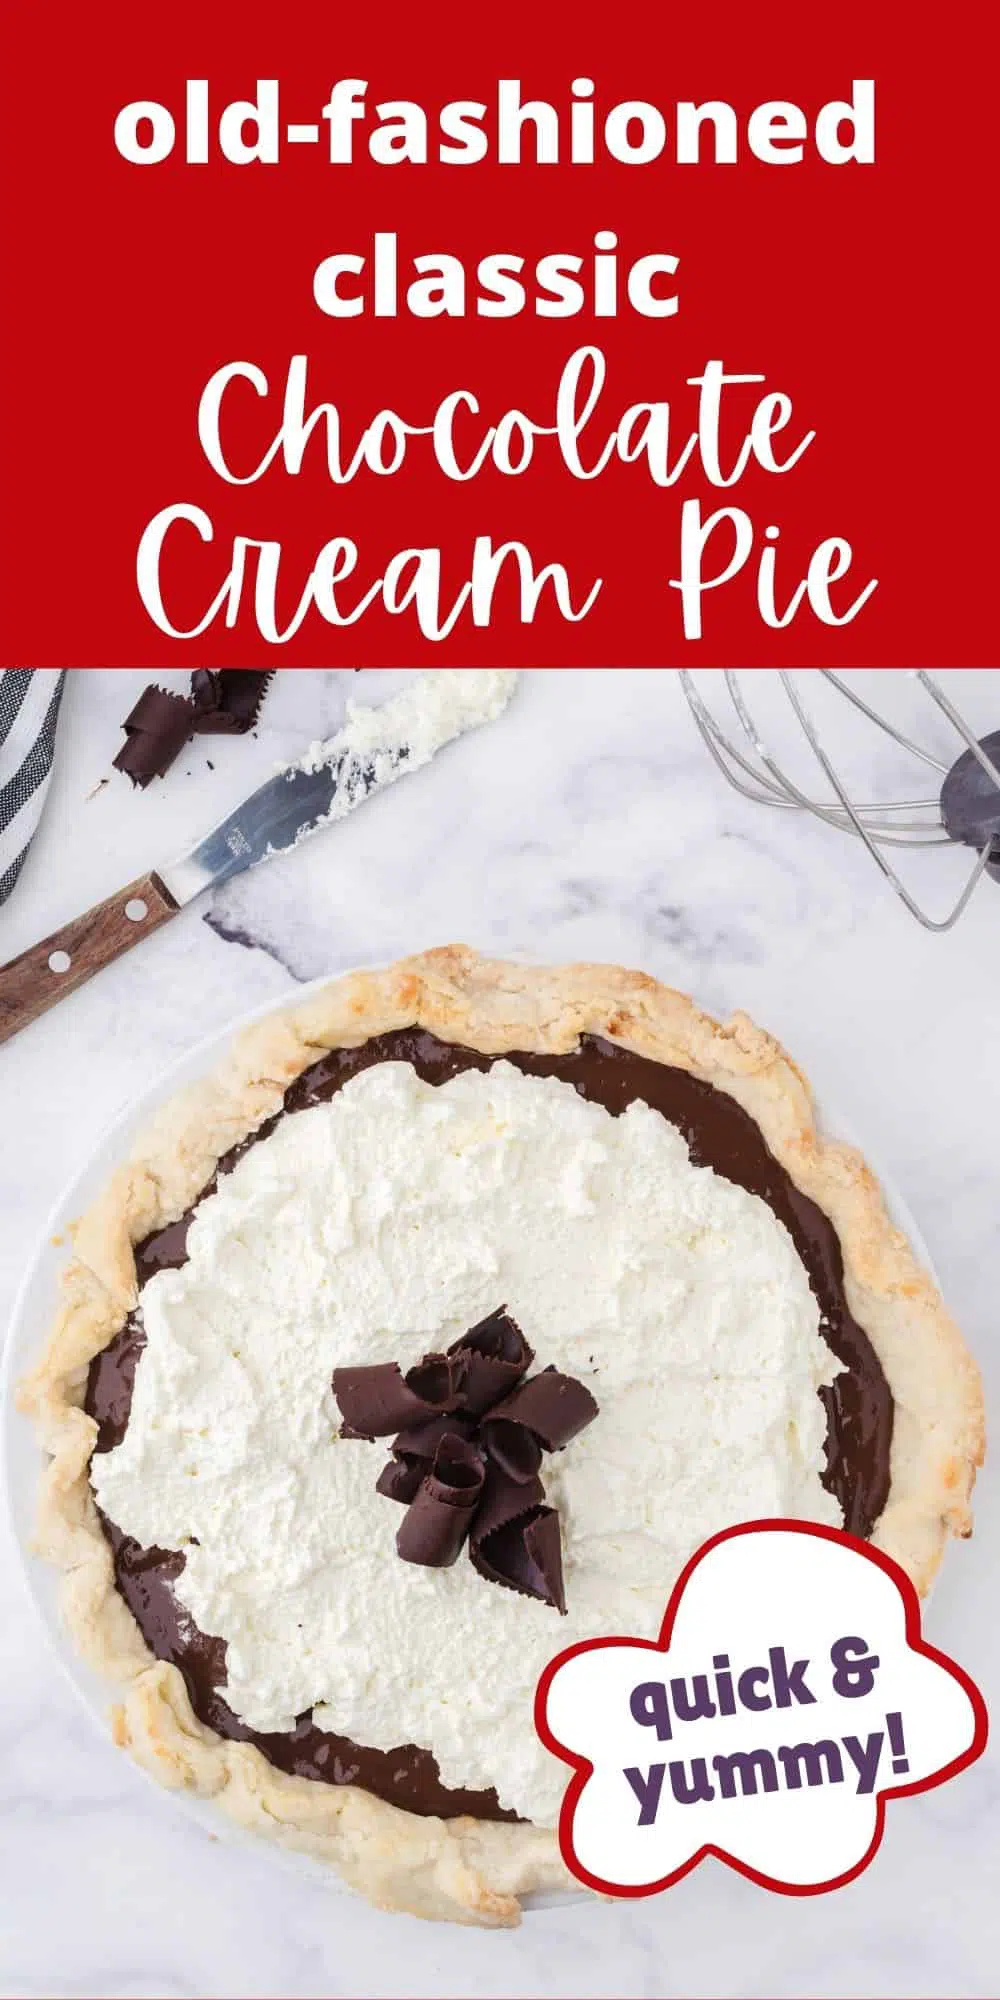
Chocolate Cream Pie
Combine a pie crust and homemade pudding and what do you get? – The most amazing chocolate cream pie you can imagine. Let’s make one!
Have you ever had one of those days where reality doesn’t even remotely look like what you dreamed it would be?
Yesterday was that day for me.
I had a special food photography session all planned out to the greatest detail. I thought it would be fast, efficient, and stunningly beautiful. (insert giggle here)
I made the super yummy chocolate pie the evening before. Here’s how:
Chocolate Cream Pie
Ingredients you’ll need for homemade chocolate pudding cream pie:
- 1 – 9 inch baked pie shell – either a homemade pie crust or bought one will do just fine
- 1 1/2 cups sugar
- 3 Tablespoons cornstarch
- 1/2 teaspoon salt
- 1/2 cup cocoa
- 3 cups milk
- 3 egg yolks, slightly beaten
- 1 Tablespoon butter
- 2 teaspoons vanilla, divided
- 1 cup whipping cream
- 1 Tablespoon sugar
Directions for Chocolate Cream Pie
Step 1: Combine sugar, cornstarch, salt and cocoa in a medium saucepan.
Step 2: Slowly add in the milk, whisking as you add.
Step 3: Cook and stir constantly over medium heat until mixture comes to a boil. Boil while stirring constantly for 2 minutes.
Step 4: Remove from heat and pour 1 cup of the hot mixture into the 3 beaten egg yolk. Stir to mix and then add back into the saucepan mixture.
Step 5: Return the pan to the heat and bring to a boil again while stirring constantly. Boil for another 2 minutes.
Step 6: Remove pan from heat and stir in the butter and 1 1/2 teaspoons vanilla.
Step 7: Pour into completely cooled pie shell. Cool on counter for 15 minutes. Then cover with plastic wrap and cool completely in the fridge.
Step 8: Right before serving, whip whipping cream in an electric mixer until cream starts to thicken. Whip in 1 Tablespoon sugar and 1/2 teaspoon vanilla. Spread over pie and garnish with chocolate ribbons.
Other options for Chocolate Pudding Cream Pie
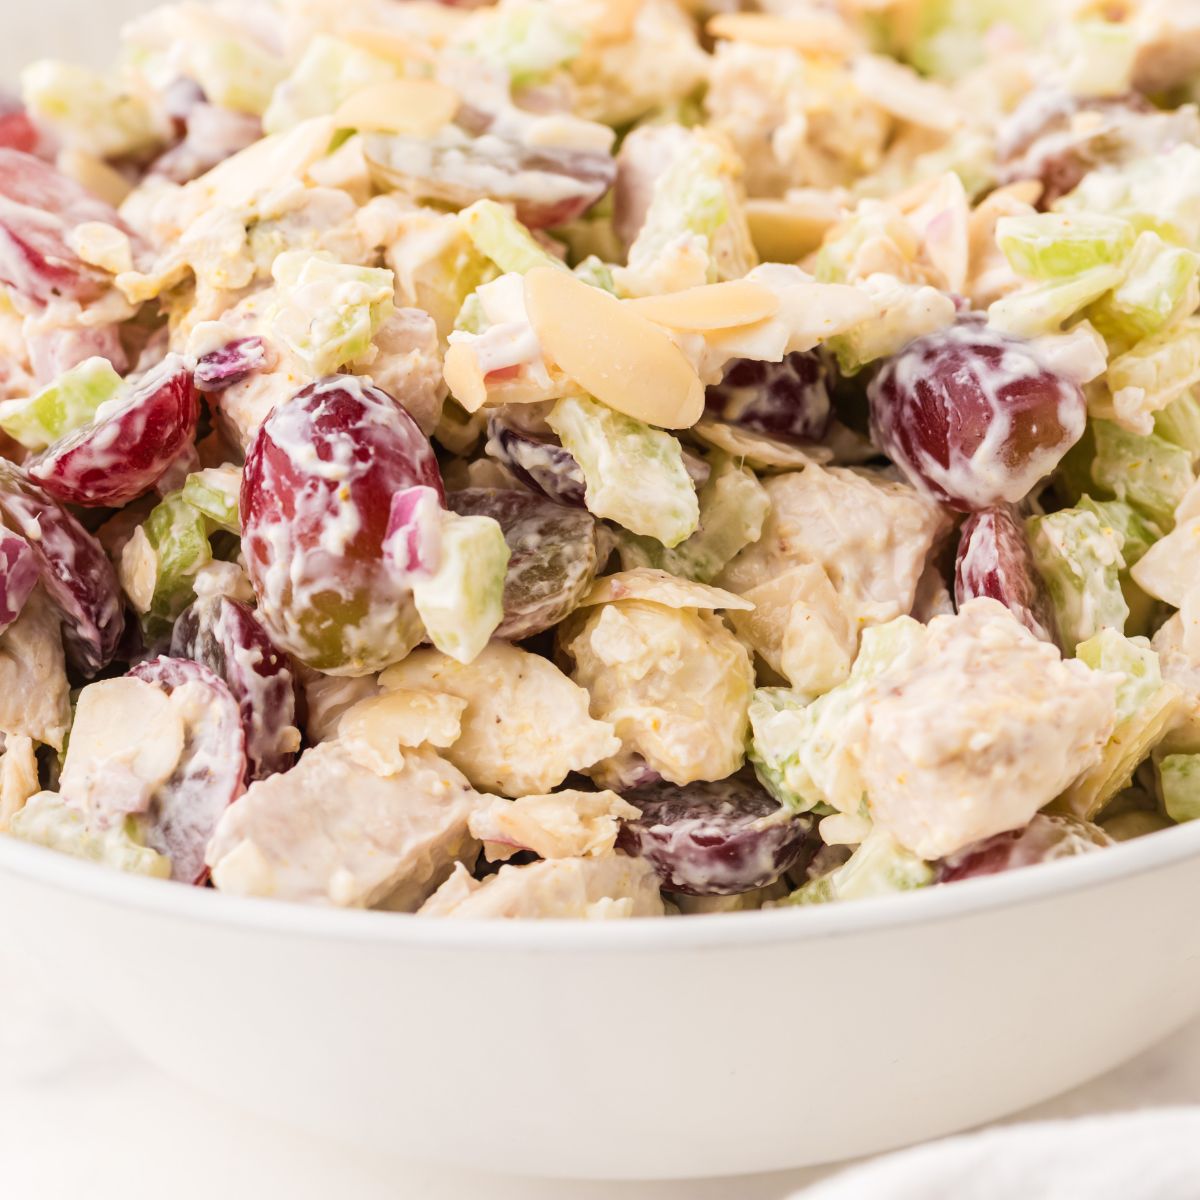
I’ve been putting my mom’s pie recipes on the blog (like her banana cream pie and lemon meringue pie) and wanted to include chocolate cream pie. The truth is, Mom always used her homemade pudding recipe for chocolate pie. It is even quicker and simpler to make than this recipe.
However, I thought it might not set up the way I wanted to get a nice pie picture, so I chose this recipe that she occasionally used instead.
My plan didn’t go as planned.
Food Photography Tips for Photographing pies
I’m currently enrolled in a food photography class, and there has been much discussion about the difficulties of photographing pie. They are tricky!
I had learned a few things that helped with my previous pies, such as:
- Make sure the pie is cooled thoroughly before cutting out the first slice. Some even recommend freezing the pies first. (I had good success with that method.)
- The crust might fall backward after you take a slice out of the pie. To get a good “slice” shot, try propping up the crust with a chunky round eraser. (Yes, that’s what I use!)
My first 3 pie photo shoots turned out ok (cherry pie will be coming soon), and I mistakenly thought this one would, too.
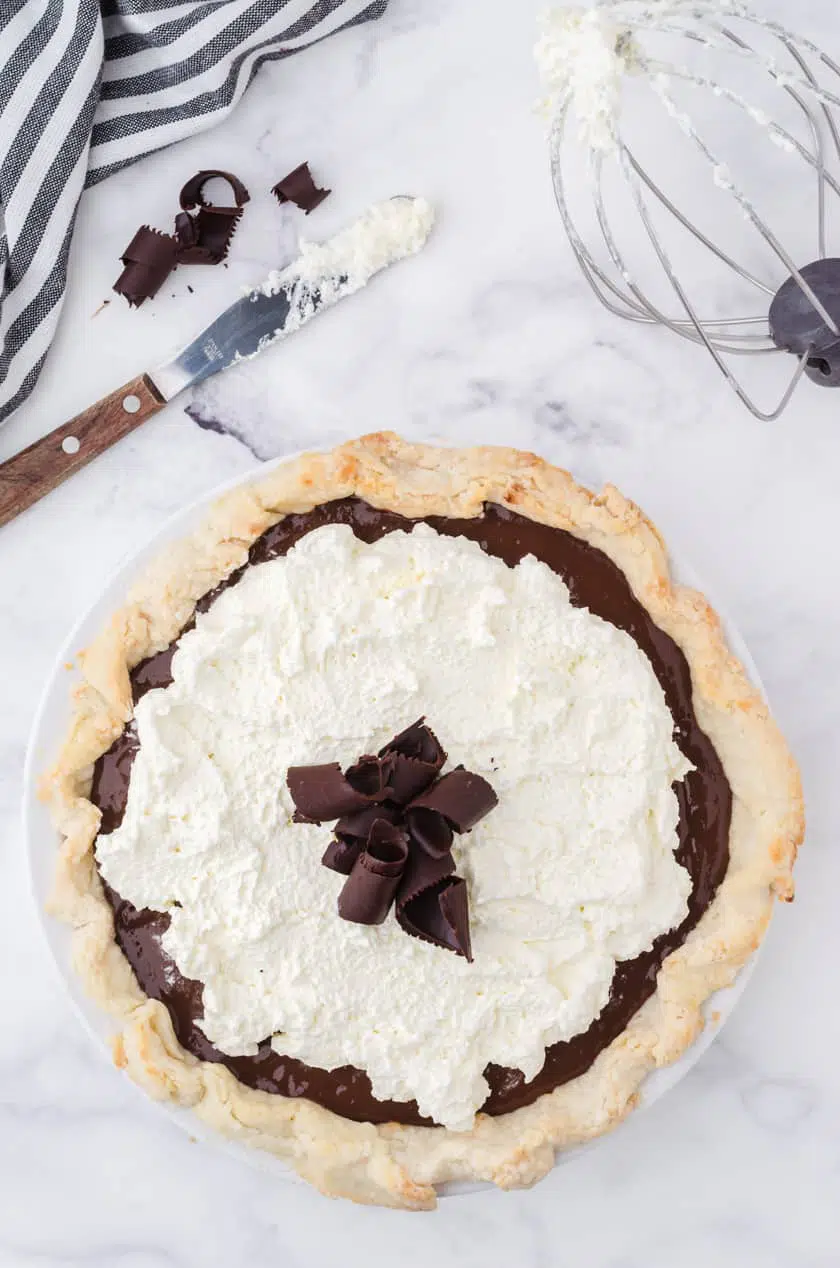
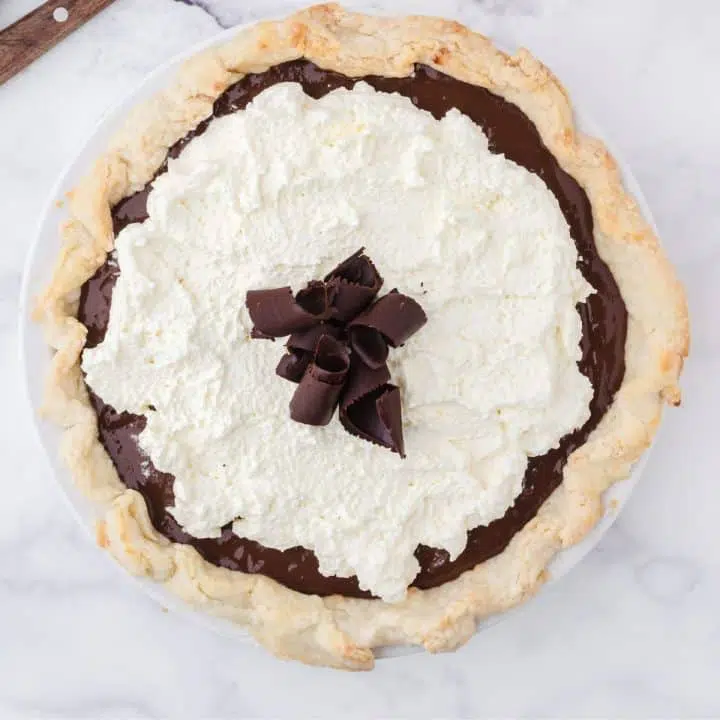
The overhead shots were turning out ok.
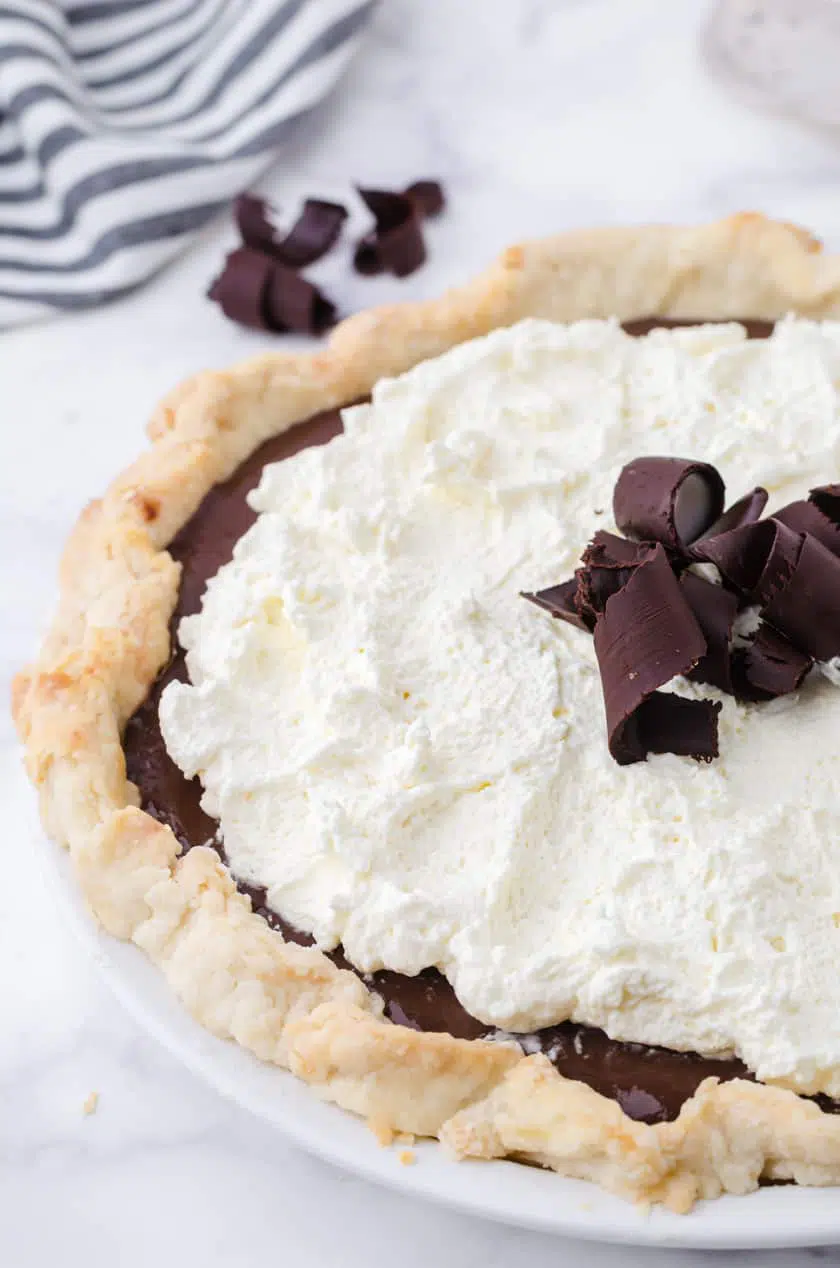
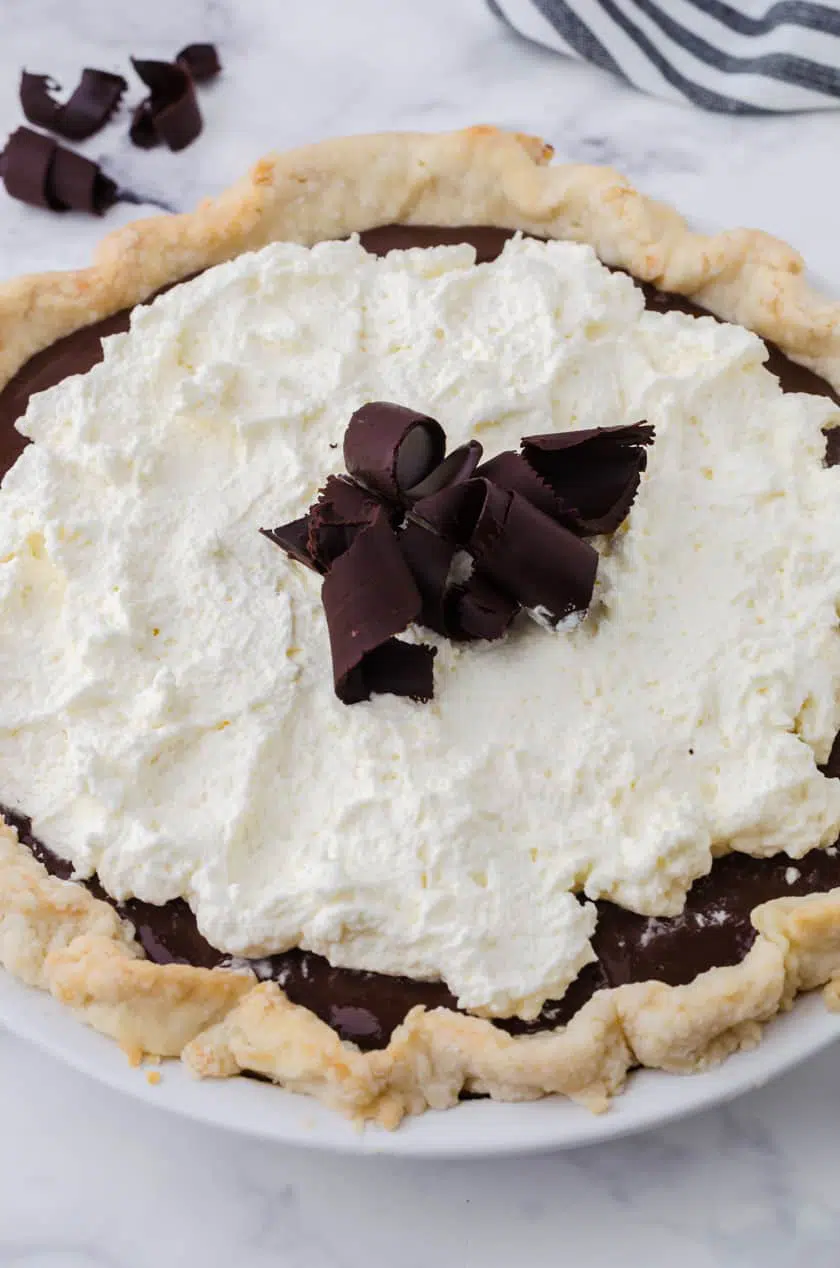
And even the close up shots looked quite yummy with those chocolate ribbons I had just learned how to do…
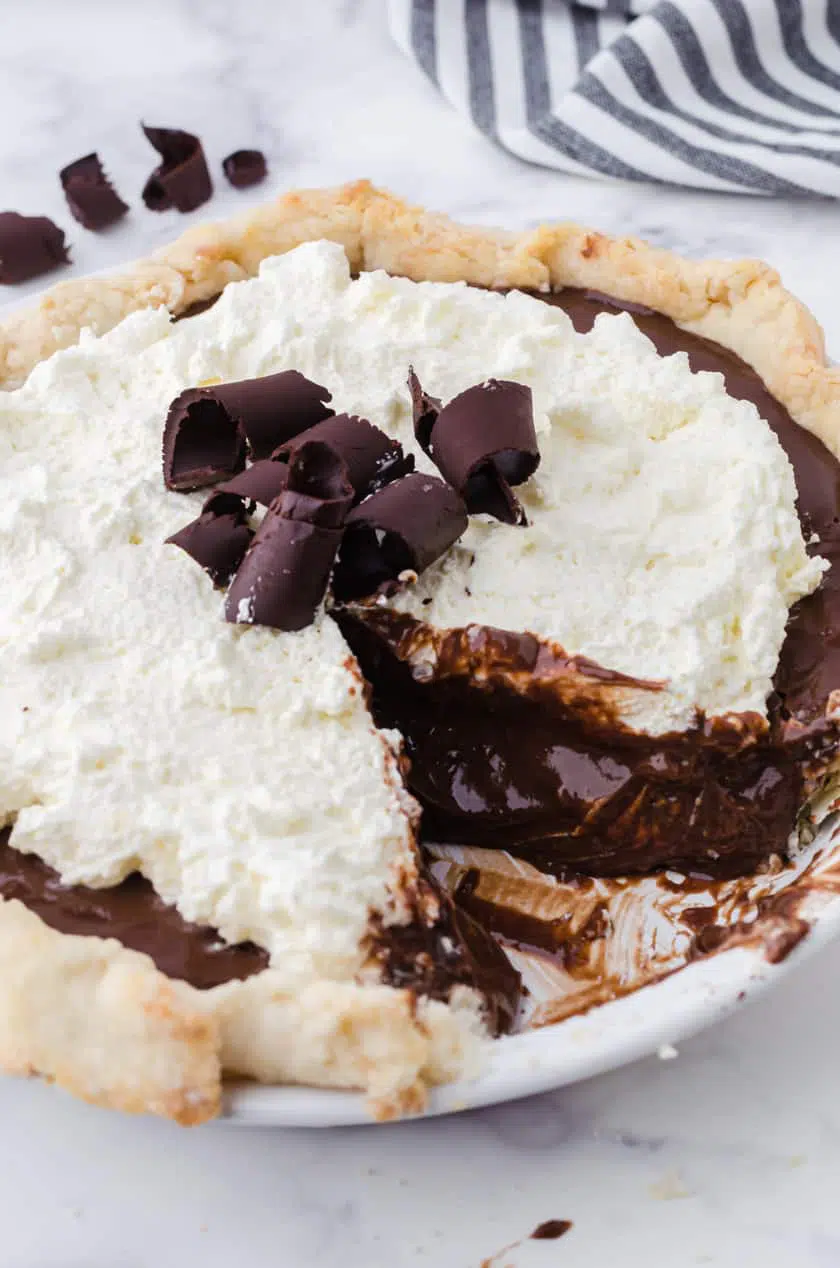
Sometimes chocolate pie pictures don’t turn out so well
But, then, I started to take the first slice out.
Although I had chilled the pie thoroughly overnight, it wasn’t set solid.
When I pulled it out of the pie, it started to slide all over.
So, I quickly put the pie in the freezer to freeze it for an hour – while my husband and I laughed and ate the first piece of pie!
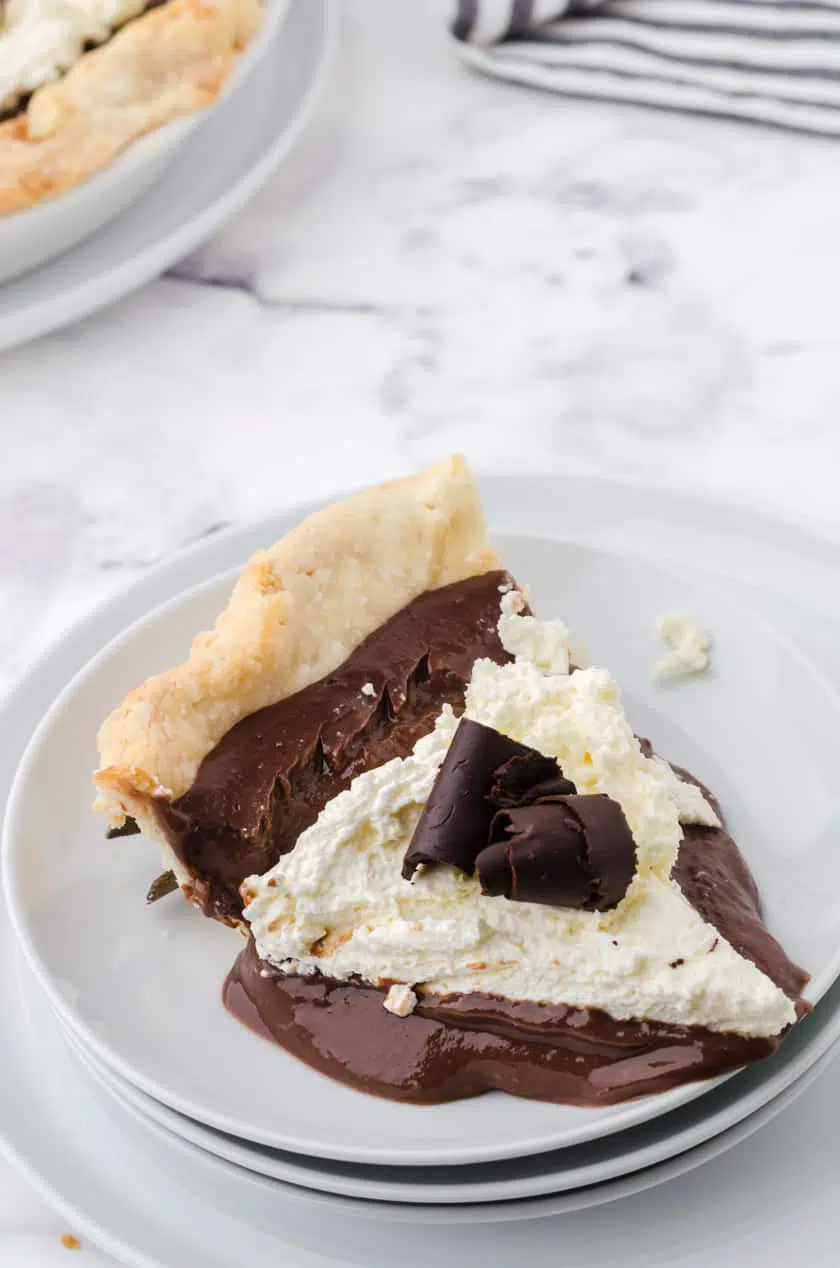
An hour later, I tried again…
This was the best I could get.

No, it’s not a perfect “slice” picture, and I won’t be trying to sell these photos to a popular food magazine.
But, I’m telling you what…
It TASTES amazing!
You just might want to eat it with a spoon.;)
Chocolate Cream Pie
Make a decadent delicious dessert with this homemade chocolate pudding in a pie shell with a topping of whipped cream.
Ingredients
- 1 – 9 inch baked pie shell – either a homemade pie crust or bought one will do just fine
- 1 1/2 cups sugar
- 3 Tablespoons cornstarch
- 1/2 teaspoon salt
- 1/2 cup cocoa
- 3 cups milk
- 3 egg yolks, slightly beaten
- 1 Tablespoon butter
- 2 teaspoons vanilla, divided
- 1 cup whipping cream
- 1 Tablespoon sugar
Instructions
- Step 1: Combine sugar, cornstarch, salt and cocoa in a medium saucepan.
- Step 2: Slowly add in the milk, whisking as you add.
- Step 3: Cook and stir constantly over medium heat until mixture comes to a boil. Boil while stirring constantly for 2 minutes.
- Step 4: Remove from heat and pour 1 cup of the hot mixture into the 3 beaten egg yolk. Stir to mix and then add back into the saucepan mixture.
- Step 5: Return the pan to the heat and bring to a boil again while stirring constantly. Boil for another 2 minutes.
- Step 6: Remove pan from heat and stir in the butter and 1 1/2 teaspoons vanilla.
- Step 7: Pour into completely cooled pie shell. Cool on counter for 15 minutes. Then cover with plastic wrap and cool completely in the fridge.
- Step 8: Right before serving, whip whipping cream in an electric mixer until cream starts to thicken. Whip in 1 Tablespoon sugar and 1/2 teaspoon vanilla. Spread over pie and garnish with chocolate ribbons.
Nutrition Information:
Yield: 8 Serving Size: 1 gramsAmount Per Serving: Calories: 523Total Fat: 23gSaturated Fat: 12gUnsaturated Fat: 10gCholesterol: 114mgSodium: 325mgCarbohydrates: 71gFiber: 2gSugar: 43gProtein: 8g

BTw i love chocolate and with cream its a tasty combo thanks
This cream pie looks delicious and tasty
That looks delicious, hope that I could make this!
Think the culprit is the cornstarch. The pudding sets up better with flour as thickener I think.
You’re right! It looks delicious!!