
Create an Accent Wall with this Easy DIY Hand Stamped Herringbone Wallpaper
Hand-stamp your own herringbone wallpaper using a cardboard stamp stencil, painters tape, and a little paint! You can have an accent wall in just a few hours.
I’ve been working on organizing my home office – again! I love an organizational challenge, and once again, it was born out of necessity.
The 10 by 10 foot room works very hard as my computer work space, paper organization center, & crafts & home decor storage.
And, now, it’s soon going to be a photography studio (for food photography),too! So, before the (very large) equipment arrives, I’ve been cleaning and organizing to make room for it.
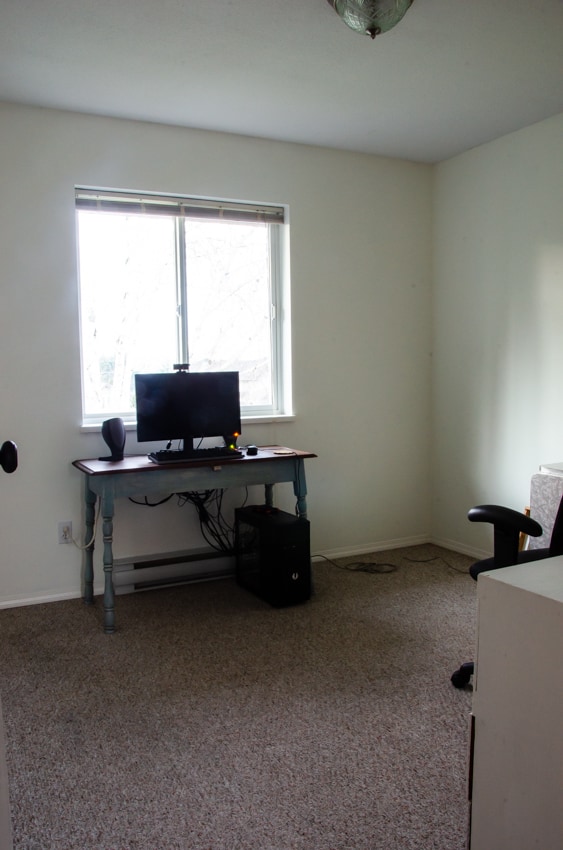
The organization part is now finished, and while the room was nearly empty, we grabbed the opportunity to give it a fresh coat of Simply White paint.
It looked fresh and bright…but a little boring!
Since I’m racing against time (the equipment is arriving piece by piece every day!), I needed to act quickly. One decision led to another and I decided to paint my own “wallpaper”!
Rather than spending over $100 a roll on what I wanted, this version ended up costing $0 – since I had all the supplies on hand.
My inspiration was herringbone wallpaper that looked hand-painted. I decided to try painting something similar directly on the wall instead.
After all, if I didn’t like it, I could always paint over it!;)
(But, spoiler alert…I like it.)
Here’s how I did it.
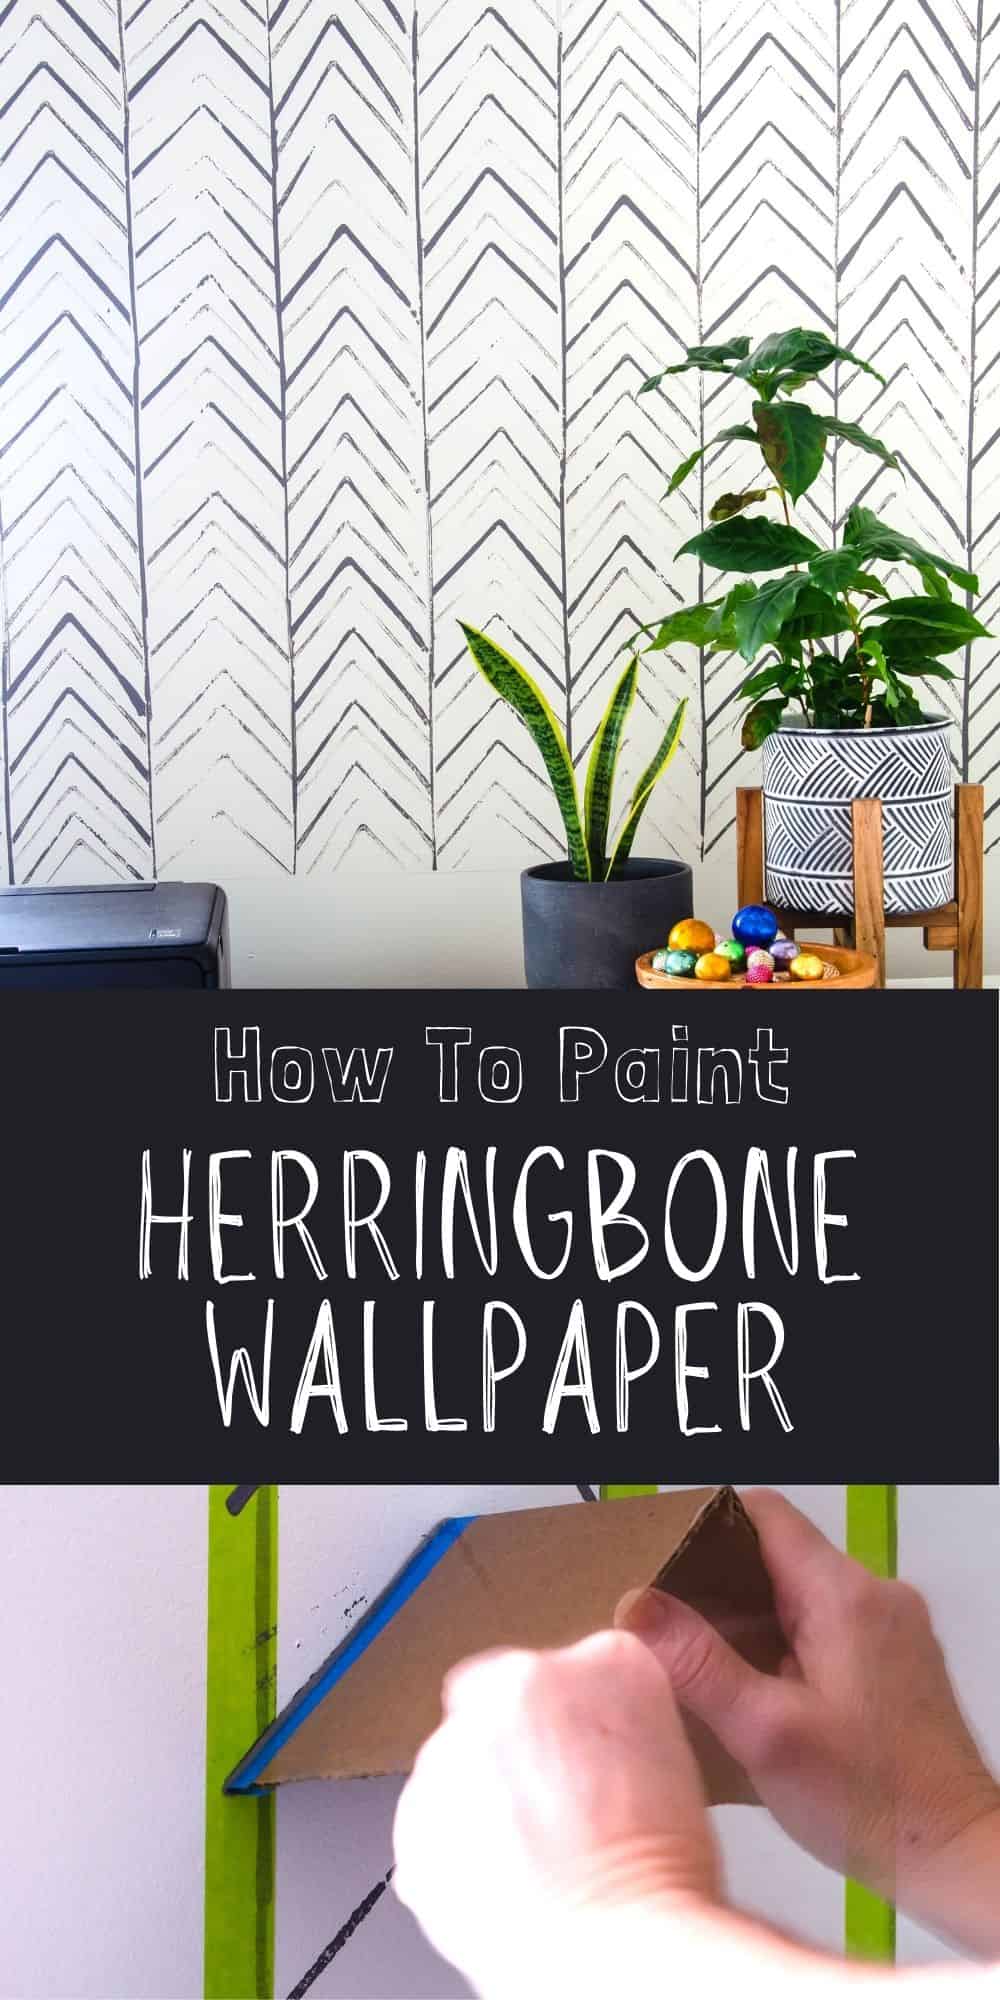
How to Paint a Hand Stamped Herringbone Wallpaper Wall
Supplies You’ll Need:
- painters tape
- pencil
- measuring tape
- long straight edge (level, board, or anything long and perfectly straight)
- cardboard
- paint – latex house paint or acrylic craft paint
Video of how to paint a DIY herringbone pattern accent wall
If you are a visual learner (like me!) here is a quick video of the process. All the steps are given in more detail below the video.
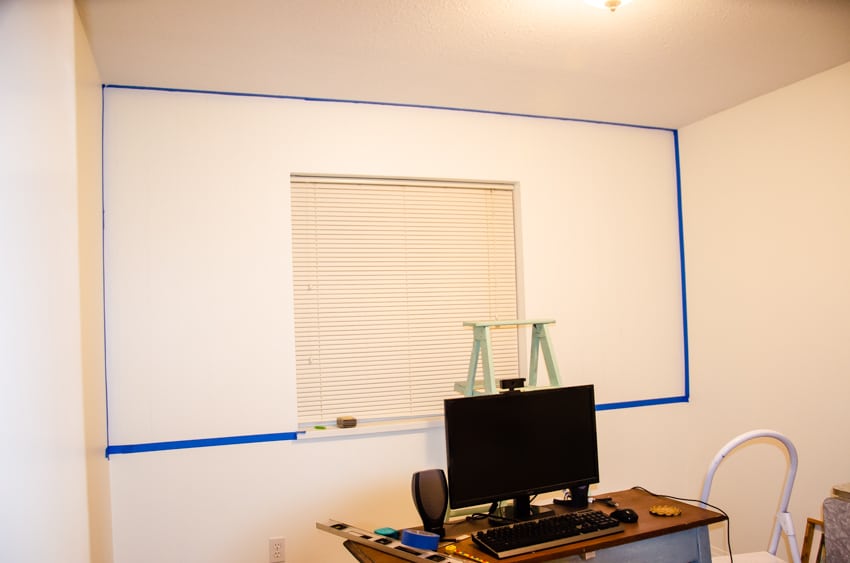
Tape off the area where you want to create your accent wall.
I used blue painters tape, but any painters tape will do.
Find the center of the wall – which will be the exact center of your design. Lightly pencil vertical lines every 5 inches.
This will require a little math, so stick with me a minute. The strips are going to be 5 inches apart, so the center mark of each strip is 2.5 inches. Remember that center mark of the wall you found? To mark your first lines, make one 2.5 inches to the right of it, and 2.5 to the left of it, and you’ll end up with the first strip.
It is helpful to have 2 people to mark the vertical pencil lines. We measured with the tape measure every 5 inches at the top and bottom of our design area, and lined up a long board (it was the longest straight edge we had) to make the pencil mark.
Paint the vertical lines to guide your accent wall pattern
You can do this one of 2 ways. You can either get out a small craft paint brush and hand paint the lines going down, or you can do what I did.;)
I cut a piece of cardboard that was about 6 inches long, and covered the corrugated edge with painters tape. Then I dipped it in my paint color and gently pressed it to the wall following the pencil line guides.
Keep in mind, this is supposed to be a loose, relaxed hand painted look. Your lines will not be exact – and that’s ok! If you really mess up and want to start again, have a wet cloth nearby to quickly wipe it off, if you make a mistake.

Paint the herringbone wallpaper design with a simple homemade cardboard stamp stencil
Once the vertical lines are completely dry, you can move on to the next step – the herringbone “v” pattern. To do this:
- Tape off the inner parts of both the left and right lines of each strip. (Make sure your lines are completely dry before you do this.)
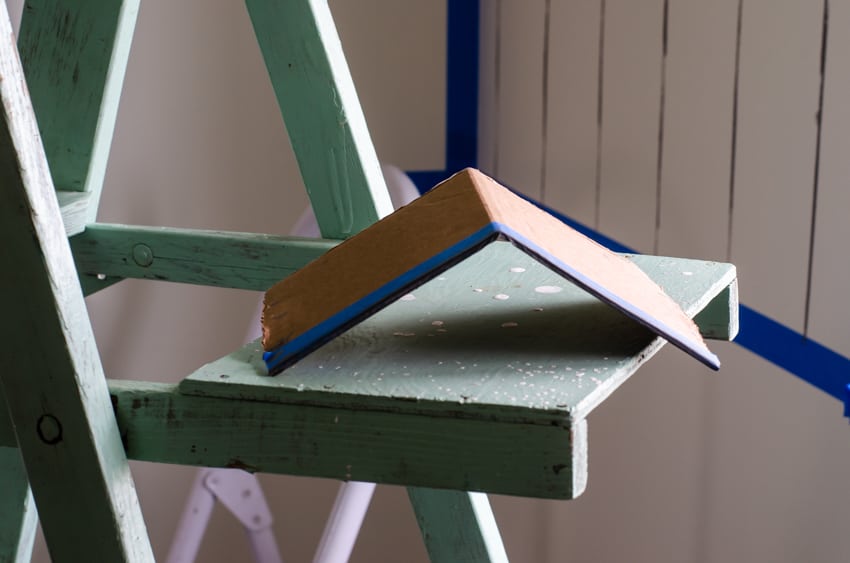
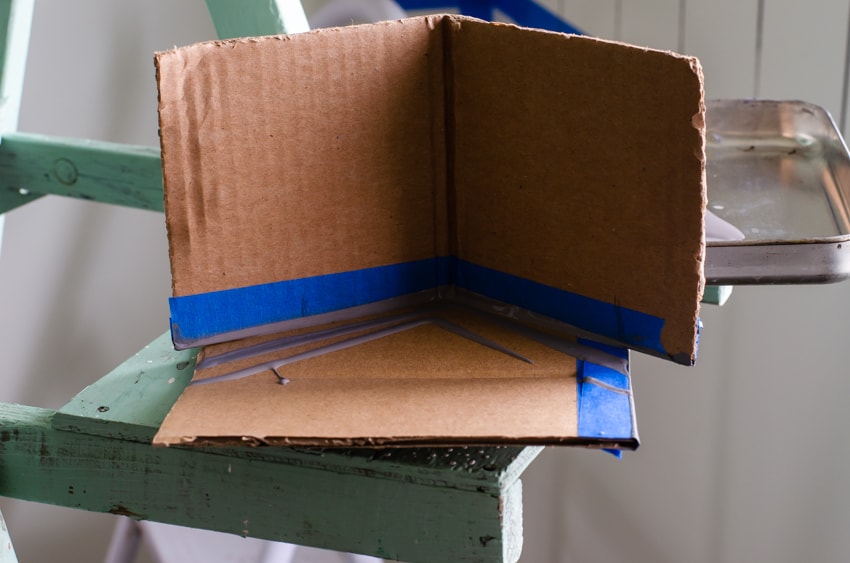
- Prepare a piece of cardboard 6 inches long by placing painters tape on the corrugated edge and bending it in the middle to form a “v”.
- Mark a light pencil mark at the top center of the strip (at the 2.5 inch mark). It will help you with the placement of your first inverted “v”.
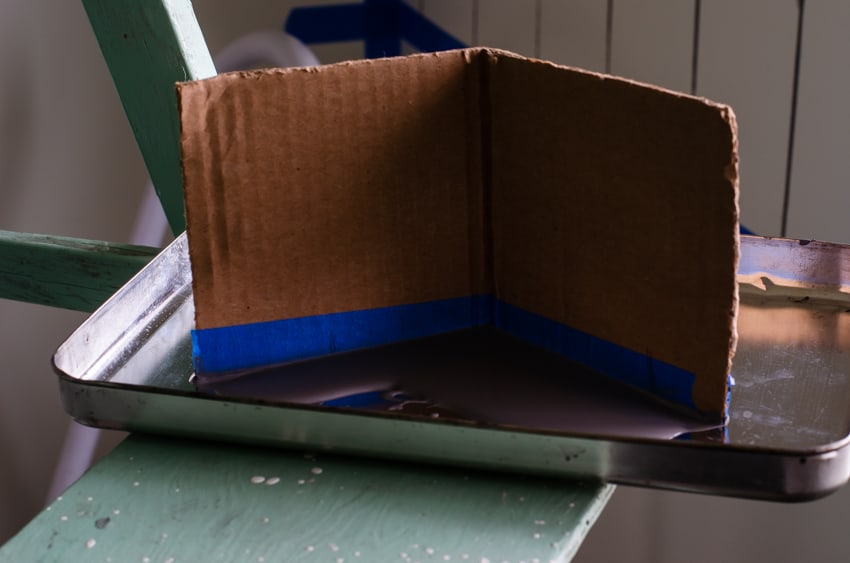
- Dip your cardboard stamp in the paint, and press one time on another piece of cardboard to get the excess paint off.
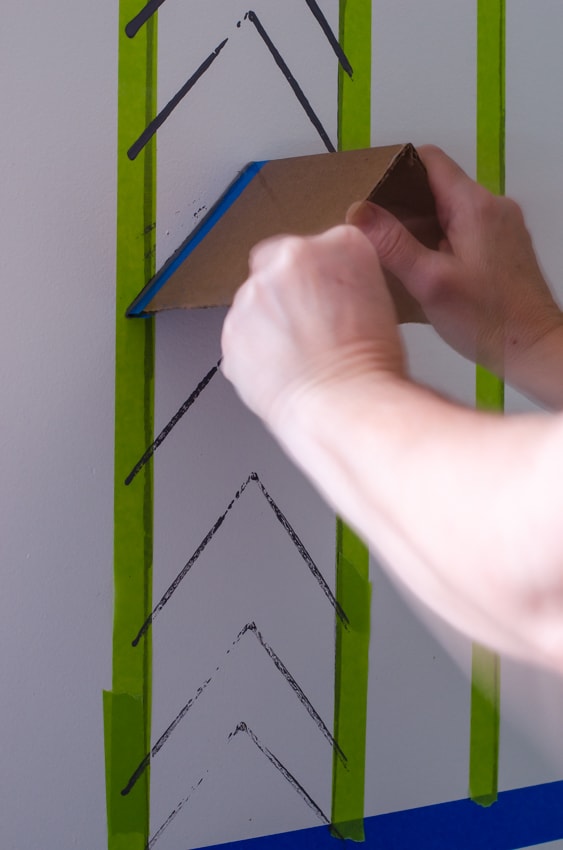
- Line up your stamp so that it doesn’t go beyond the edges of your painters tape on the sides and press gently.
- Work your way down the strip, dipping in more paint as you need.
Tips for painting herringbone wallpaper:
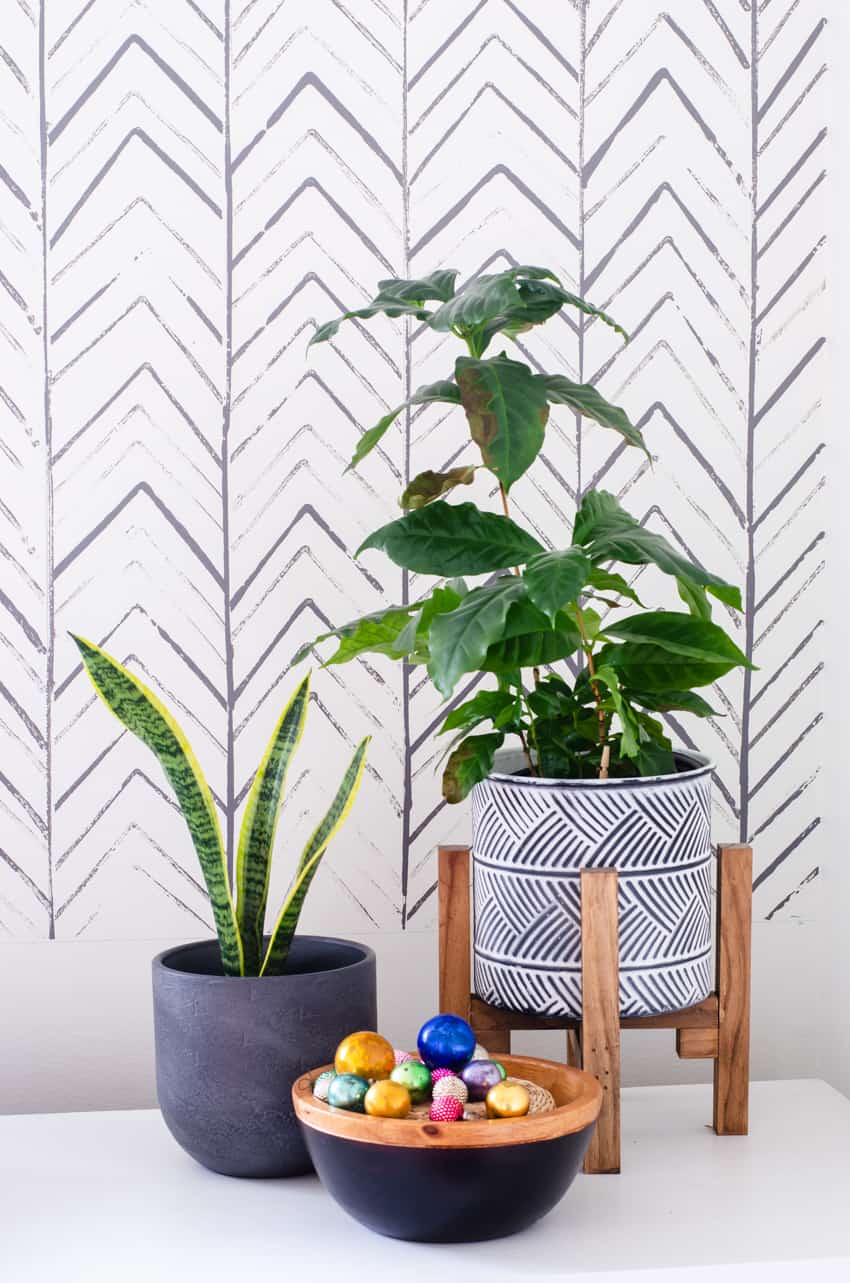
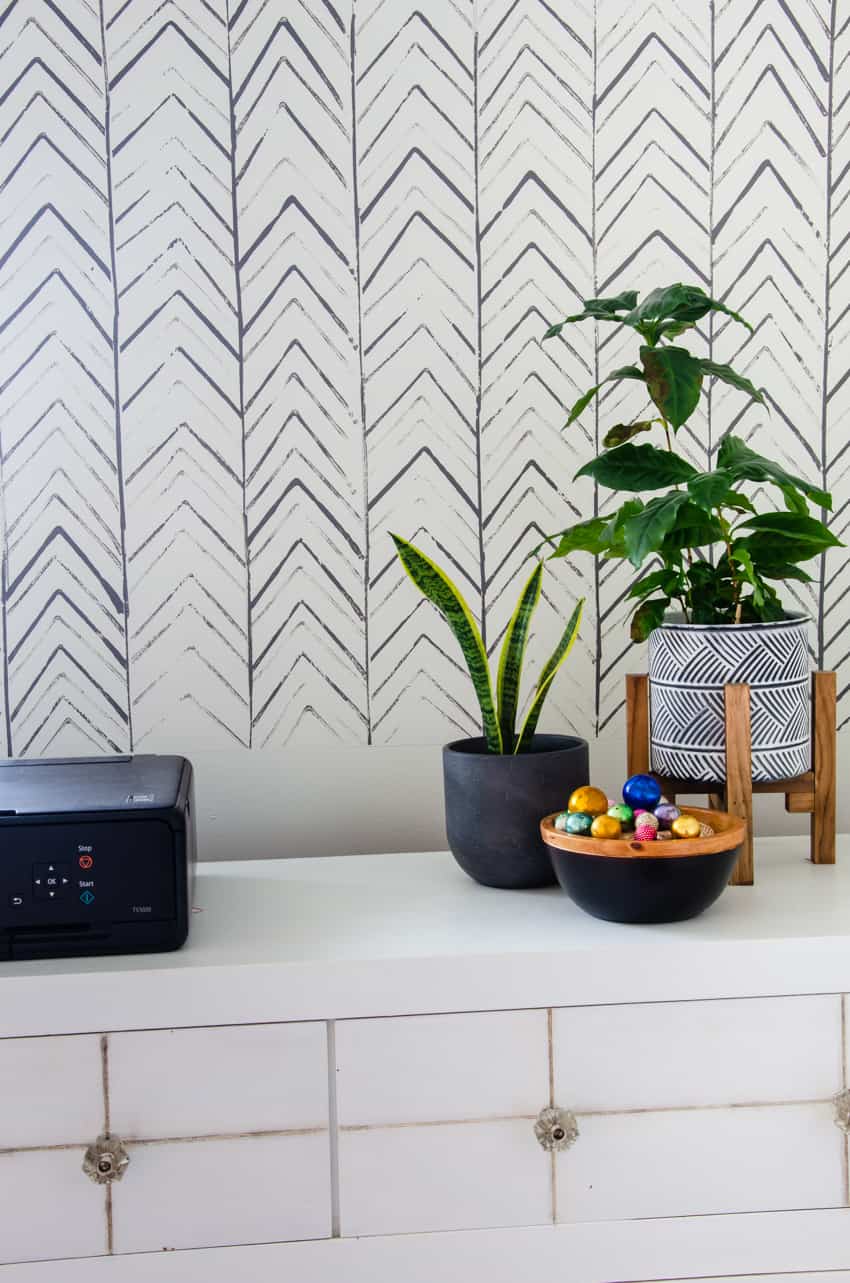
- When my stamp had the most paint on it, I placed it roughly 2 inches apart. As it started to get lighter, I went back and stamped at the 1 inch mark. That allows for lots of variation in the lightness and darkness of the stamp.
- Before you start stamping on the wall, you might want to practice on a large piece of paper or cardboard first. The more you do it, the quicker and more confident you’ll get.
- Put away your tendencies for perfection! This look is meant to be imperfect. It’s ok if the lines are exactly placed or the angle of the v isn’t the same. It’s supposed to look “relaxed”.
- Remove the painters tape from the sides while the paint is still wet. That will give you nice, sharp edges.
- Paint every other strip first, and then go back and tape the other strips. This will allow the paint to dry fully so you don’t smear it.
Remember what the wall looked like before?
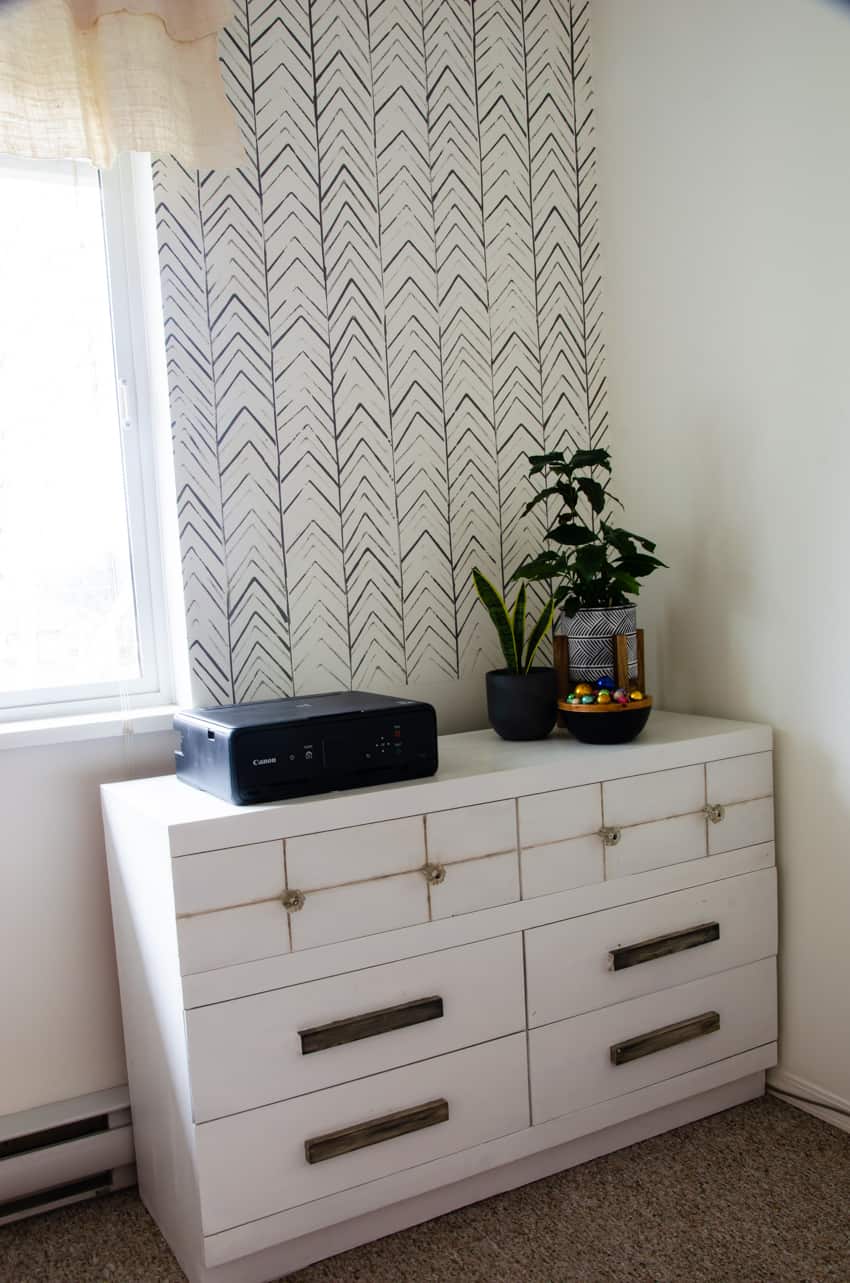
Here is the accent wall now after it’s DIY herringbone wallpaper treatment!
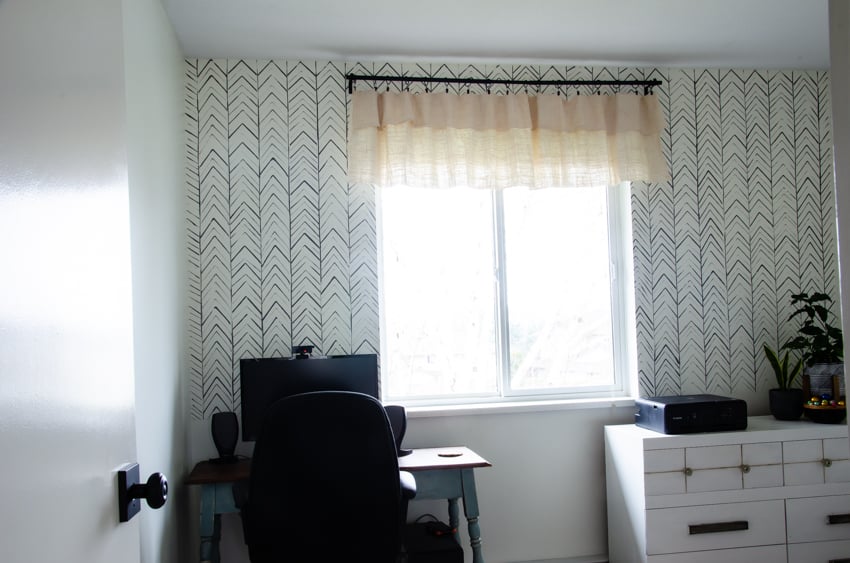
It adds so much fun and excitement to the space!
This is a sort of a “phase 1” makeover to this space. Eventually, we would like to add a wall to wall counter with storage underneath along this window wall. It will act as my desk and look so much more streamlined.
But, for now, I’m tickled pink with how it’s working, and little by little we’ll get this room to the finish line!
Paint colors of this DIY herringbone wallpaper look:
The wall color is Simply White by Benjamin Moore.
The herringbone pattern is a custom color I mixed using Iron Mountain + Simply White – 2 paint colors I happened to have on hand.
For other accent wall before & after reveals, check out:
- The Boho Master Bedroom (with a black accent wall)
- My husband’s rustic office (with a whole wall of floating bookshelves)
- This post on how to paint a room gives all my favorite paint supplies plus helpful tips and tricks.
For more easy DIYs, recipes, & crafts – join the VIP group!
Become a VIP newsletter subscriber and get instant access to the library of free printables (including wall art, gift tags, and more!). Click here or the button below to join today.

And if you want to see more real life behind the scenes action, be sure to come join me on my @harbourbreeze Instagram Channel!
Post originally published December, 2020. Updated April, 2022.
Wow! Great job, great patience and a steady hand. It’s a lovely classy addition to your office.
Rita, what a successful paint job! I love it.
Rita! I love it and you made it seem so easy too. It looks great. I really like the light and dark tones.
Rita Joy, you are sooo clever and creative & the wall turned out Adorbs (as my 22 yr old says). Thank you for the clear directions & inspiration.
That looks great! What a difference it makes.