
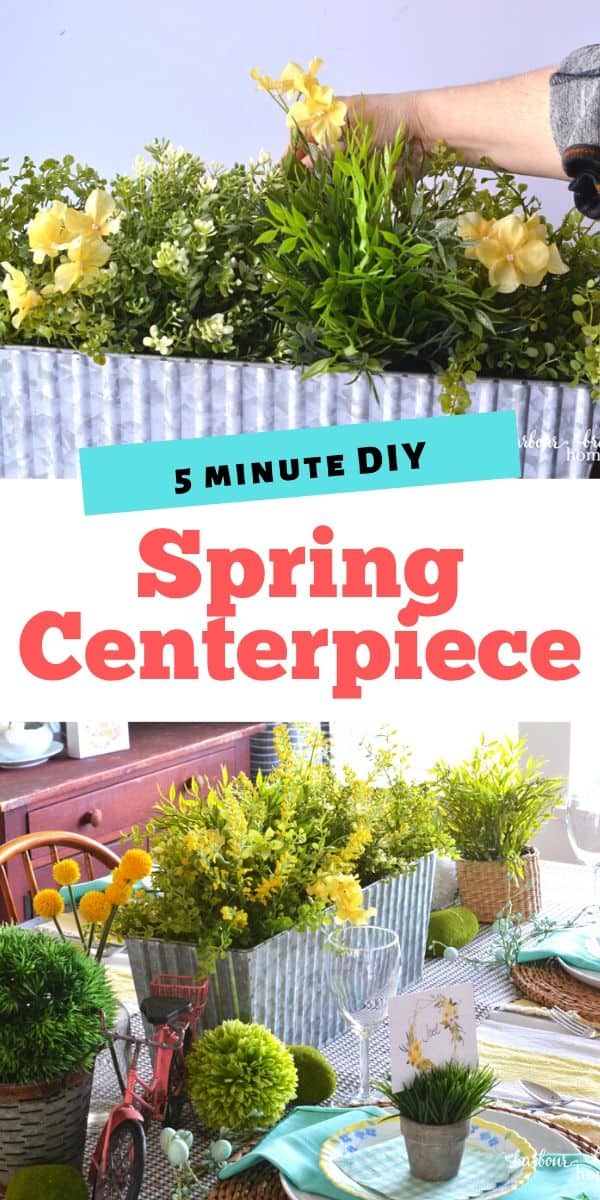
Celebrate the Season with a Spring Centerpiece and Tablescape
A bright and cheery Spring centerpiece and tablescape is a perfect way to celebrate the sunny days of Spring. Learn how to set a yellow and blue tablescape with a quick and easy DIY farmhouse centerpiece. Plus, find 26 more creative and colorful Spring tablescape ideas below.
I just love a big blue sky with the sun shining.
After a wet and gray West Coast Winter, it always does my heart good when that sun starts to peek its face out more often!
Perhaps that’s why yellow and blue has always been one my favorite color combinations?
It was the inspiration this Spring tablescape idea. It would work perfectly for Easter, Mother’s Day, or any other special celebration in Spring.
A Bright and Cheery Spring Table Centerpiece & Tablescape
Disclosure: This post contains affiliate links for your shopping convenience.
How to make a quick & simple 5 minute Spring centerpiece
I often start a tablescape plan by thinking of a centerpiece. This one is super quick and easy.
Here’s the supplies you’ll need:
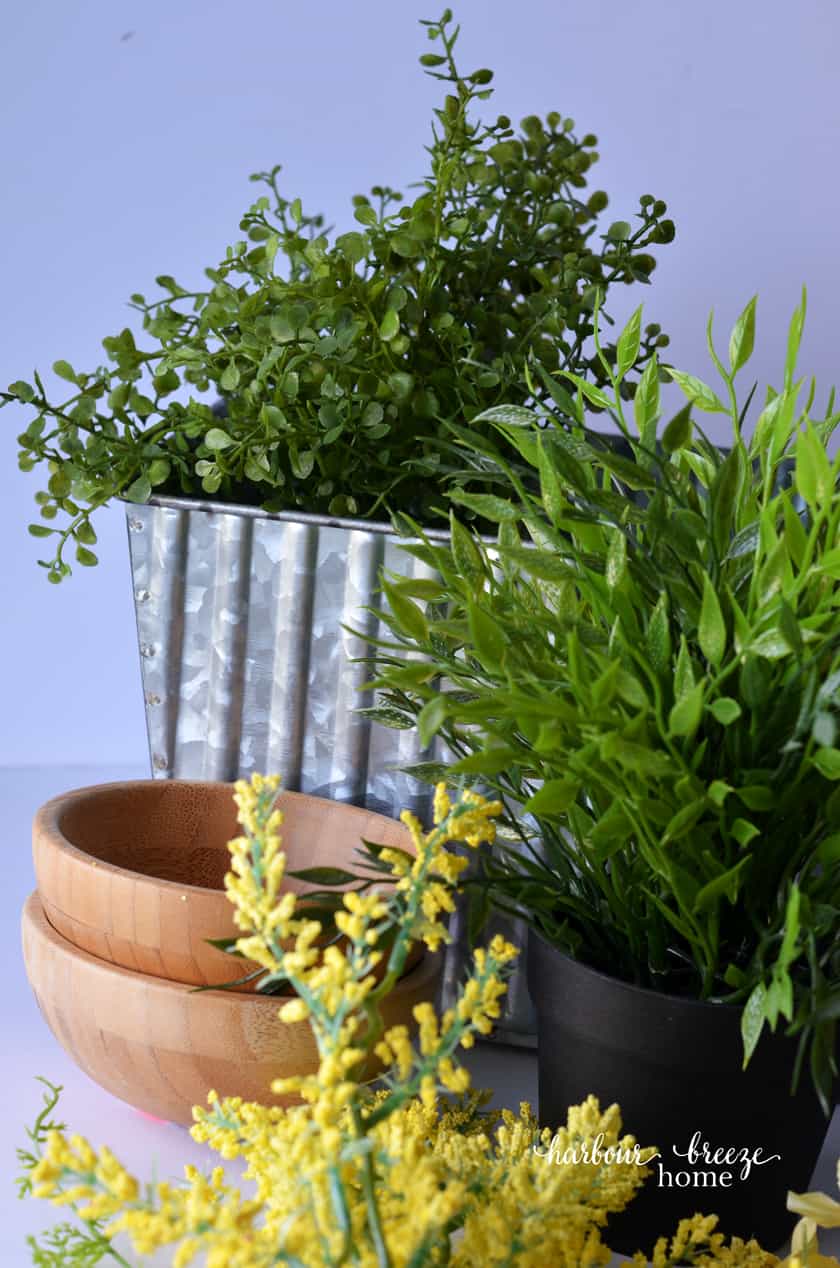
- A galvanized metal flower box (I found mine at a thrift store, but here’s something similar)
- 2 bunches of faux wispy greenery (here’s some similar)
- 2 pots of faux greenery (I got mine at Ikea, but here are some similar)
- 1 bunch of faux yellow forsythia (a similar option here)
- 1 small bunch of faux yellow flowers (These are cute!)
- 1 small bunch of faux lime green flowers (These would be gorgeous!)
- 2 shallow bowls
**Please note: Although I’ve linked online shopping to all the supplies above, I personally found mine at a thrift store, Ikea, and Micheals Craft stores. If those options are available for you, too, the price of this centerpiece could be very low!
How to assemble the Spring centerpiece
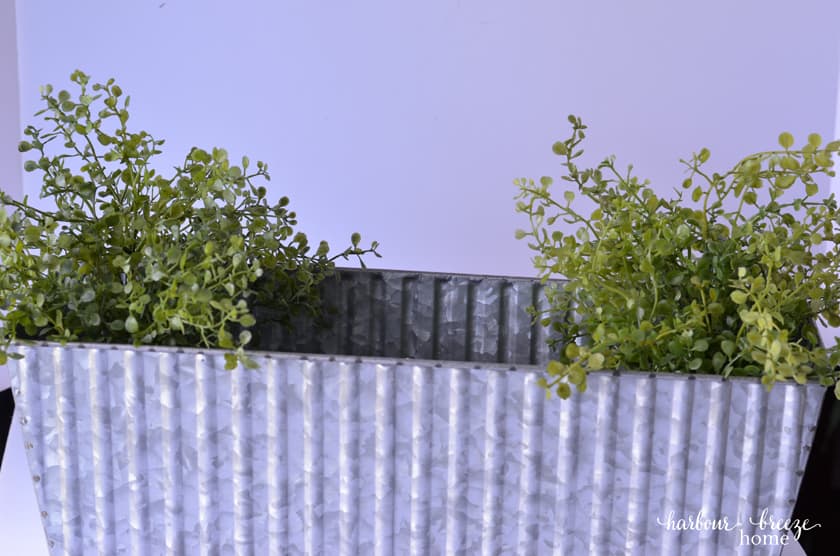
Start by putting the 2 bushes of greenery on either end of the galvanized metal flower box.
Place the 2 bowls upside down inside the flower box to give the potted plants extra height.
Set the 2 pots of faux greenery on the bowls.
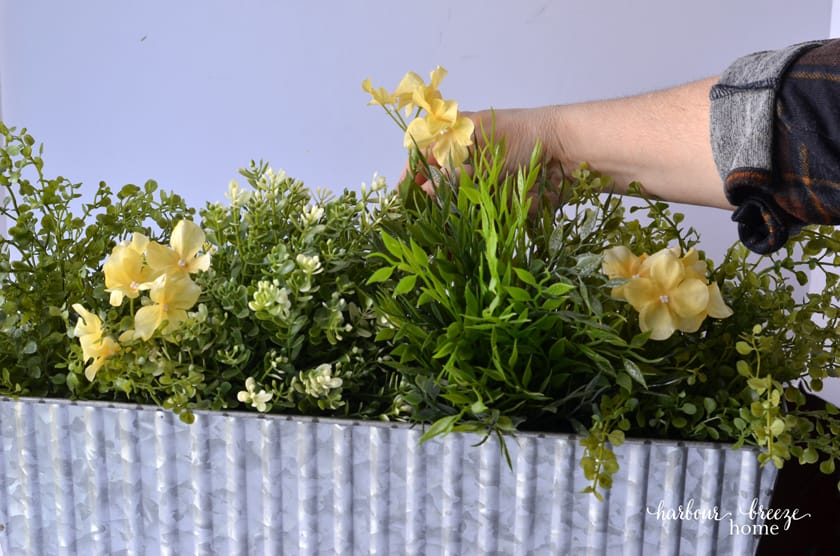
Cut apart the faux greenery so each flower is on an individual stem. Intersperse the flowers throughout the greenery.
I like to always work from one side to the other when placing flowers. If I put one on the left side, I put one on the right, etc.
How to Make a Quick and Easy Spring Centerpiece
Create a quick and simple Spring centerpiece using faux flowers and a flower box.
Materials
- A galvanized metal flower box (or any type of flower box)
- 2 bunches of faux wispy greenery
- 2 pots of faux greenery (I got mine at Ikea)
- 1 bunch of faux yellow forsythia
- 1 small bunch of faux yellow flowers
- 1 small bunch of faux lime green flowers
- 2 shallow bowls, or books for height
Tools
- Wire cutters and scissors
Instructions
1. Start by putting the 2 bushes of greenery on either end of the galvanized metal flower box.
2.Place the 2 bowls upside down inside the flower box to give the potted plants extra height.Set the 2 pots of faux greenery on the bowls.
3.Cut apart the faux greenery so each flower is on an individual stem. Intersperse the flowers throughout the greenery.
4.Work from one side to the other when placing flowers. If you put one on the left side, also put one on the right, etc.
5. Continue placing flowers until it looks the way you want!
Setting a Spring Tablescape – Layer, layer, layer!
Since the color yellow was the inspiration for this tablescape, I started with a yellow striped farmhouse style tablecloth.
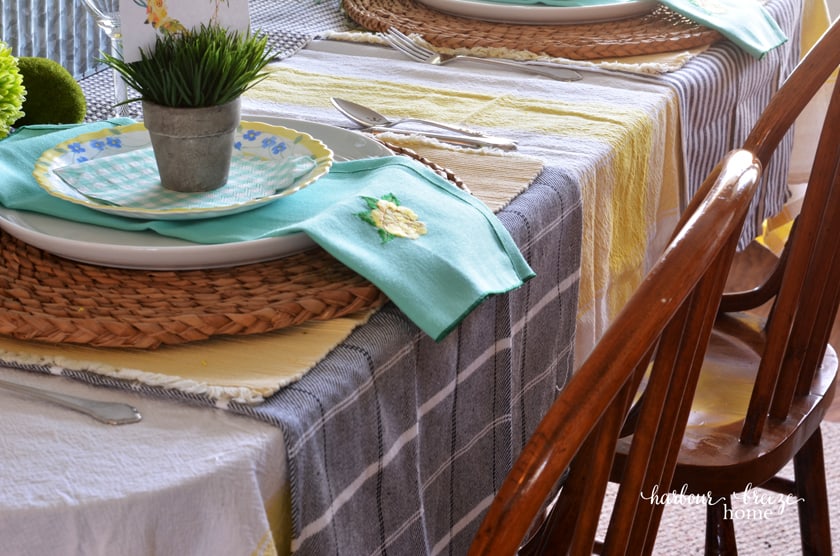
In experimenting with various options, I found that layering a dark gray contrasting color provided more interest and excitement – plus made the cheery yellow and Spring green pop.
Dark gray striped and checked tea towels were laid under each placesetting with a gray checked runner down the center.
Shop this Look with Similar Items:

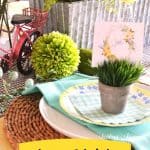
Make the place settings special
Whenever I’m attending a dinner party where special care has been placed on the details of the place setting, it makes me feel cared for!
I wanted to create something similar with this Spring tablescape place setting. It could be used for Easter, Mother’s Day, or a Spring birthday celebration.
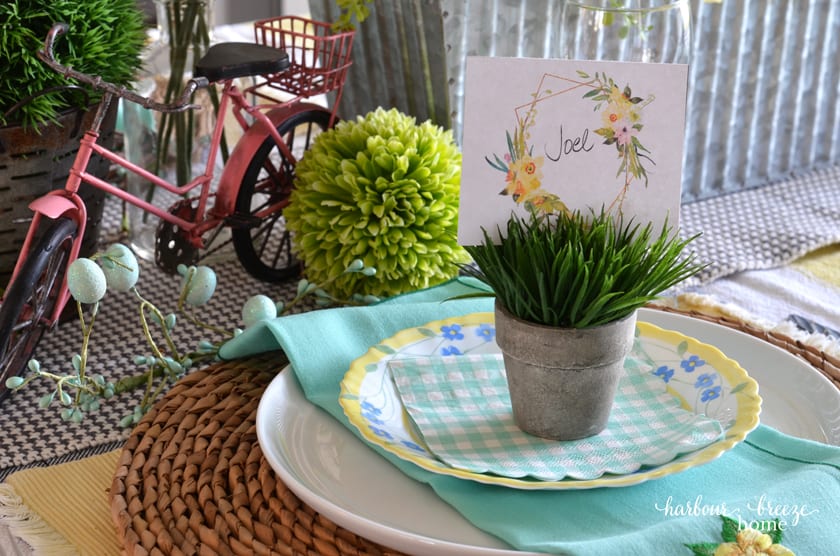
On the top of the layered placemat and woven charger, the cherry on the place setting top is an individual pot of faux grass with a place card set inside. I had difficulty finding any mini faux grass pots online that weren’t really expensive! Look in your local Dollar Stores or craft stores for much less expensive options…
Those beautiful blue linen napkins and blue egg decor stems were a thrift store find. You can see how I created an entire tablescape in this 5$ Goodwill Tablescape post.
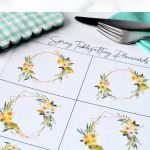
I created a printable place card sheet available in my VIP printables library, so readers can print it off and use it for their Spring tablescapes, too.
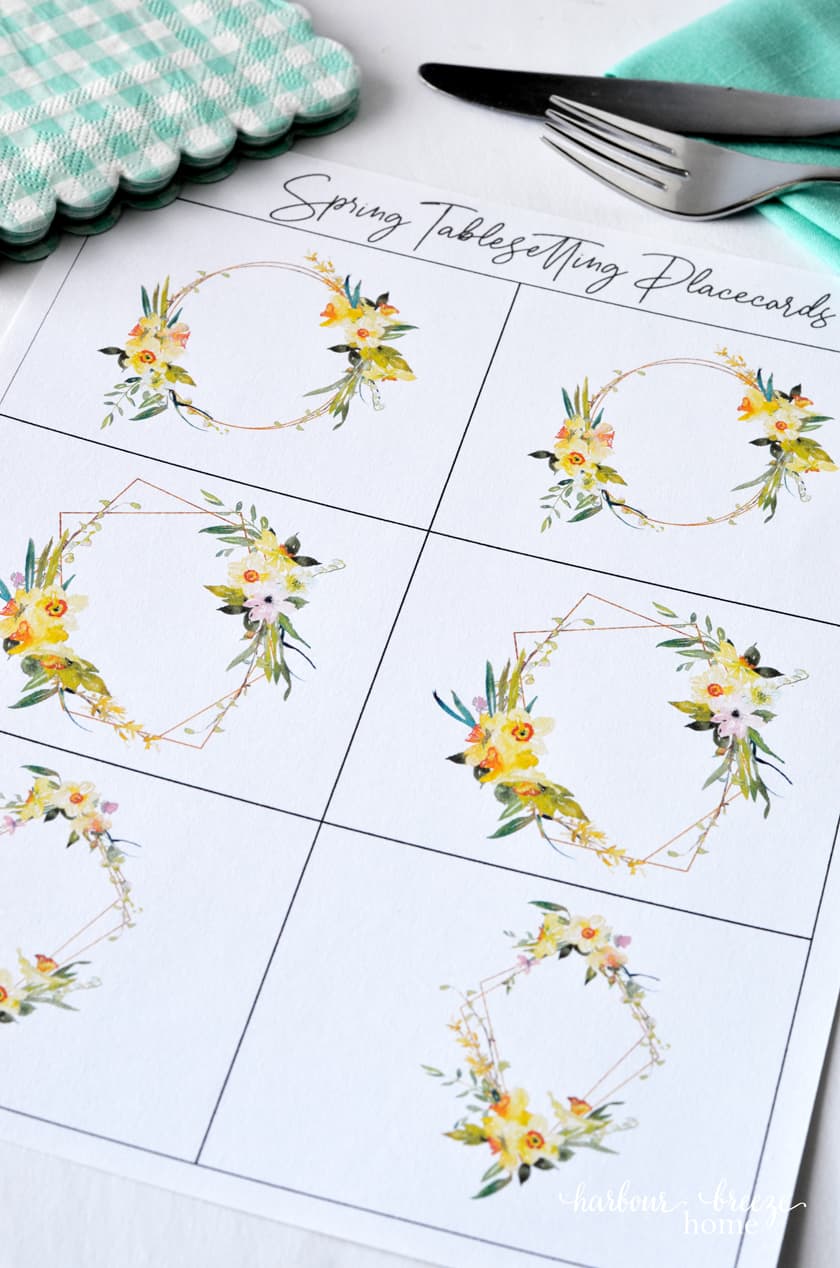
If you aren’t a VIP yet, fill out the form below for an instant download of the place cards + access to all the other free printables, too!
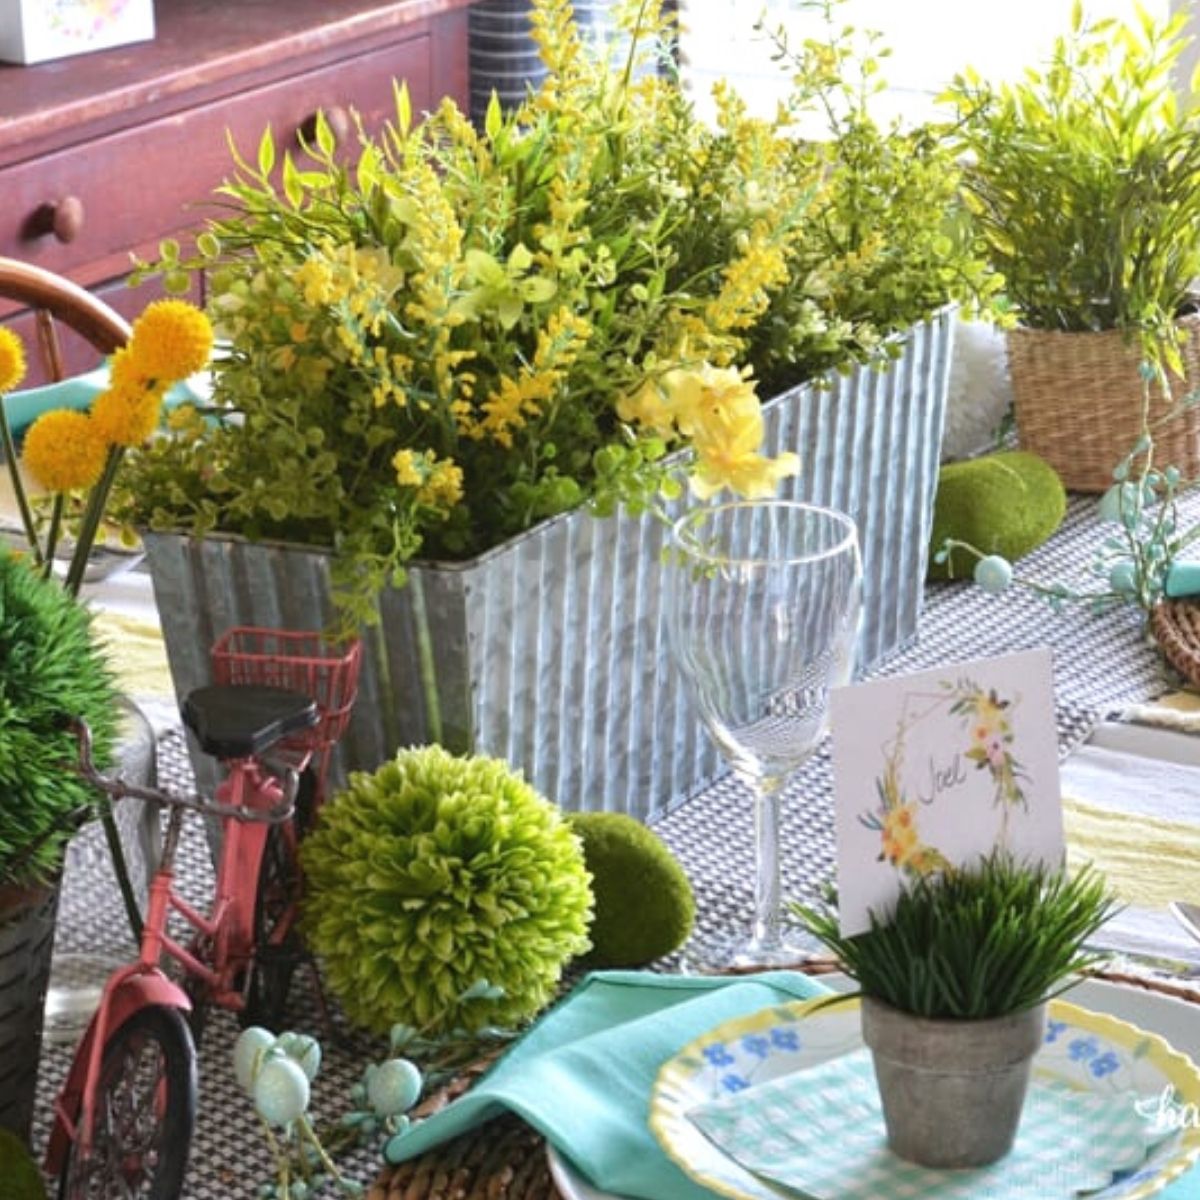
Add in extra pops of Spring themed decor and greenery
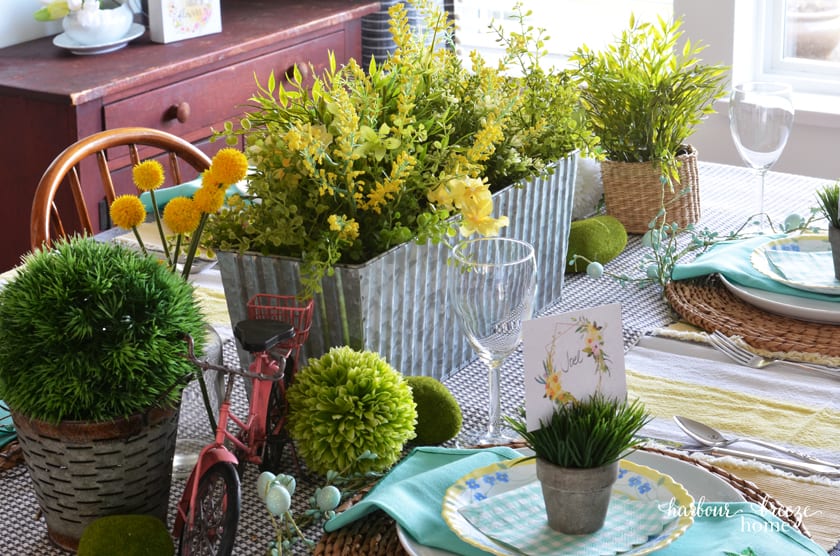
Alongside the centerpiece, I scattered a few more faux greenery pieces, a fun pink bike, and some faux moss rocks.
Look in your decor stash closet to see what kind of Spring themed decor you may have that you forgot about.
For More Spring Tablescape and Home Decor Ideas, see the posts below:
- A Sweet and Simple Farmhouse Tablesetting
- 4 Quick and Simple Spring Table Decor Ideas
- 25 Spring Decor Ideas for Your Home
- 5 Simple & Affordable Ways to Refresh Your Home for Spring
- How to Make Spring Throw Pillows using Free Printables
If you want to see lots of behind the scenes action and laugh with me every day, come join me over at Instagram. We’re having a hoot over there!
Update* This post was originally done as part of a blog hop with the following bloggers. You may want to go see their Spring tablescape ideas, too!
Home is Where the Boat Is
Panoply
My Family Thyme
Red Cottage Chronicles
The Painted Apron
Everyday Living
Debbee’s Buzz
From My Carolina Home
Home and Gardening with Liz
Create With Cynthia
Bluesky at Home
Harbour Breeze
Living With Thanksgiving
Katherine’s Corner
My Thrift Store Addiction
The Little Yellow Corner Store
Sweet Sensations
Belle Blue Interiors
Corner of Plaid and Paisley
Zucchini Sisters
Life and Linda
Intelligent Domestications
First Day of Home
White Arrows Home
Calypso in the Country
Celebrate & Decorate
This post was originally published May 3, 2020 and updated on April 4, 2022.

Great hopping with you. Your table is so beautiful and all the little details make such an impact. I, too, usually start with a centerpiece. Cynthia at Create With Cynthia!
Oh, this blog hop is so fun!! It’s been such a joy to do such a fun, cheery event with you all! Happy Spring to you.
Love your beautiful centerpiece! It looks like we have very similar dining sets!
Oh, fun! We could be dining room decor sisters!:)
I’ve been loving galvanized pieces lately too! What a great flower box and the perfect centerpiece for your gorgeous table. Those place cards are such a creative personal touch for each place setting. So inspiring! Great hopping with you!
Shelley
Yes…I’ve been keeping my eye out for “galvanized” anything when I’m thrifting! It fits in so nicely with the farmhouse style. Happy Spring to you.
Your centerpiece is absolutely stunning! What a gorgeous accompaniment to your table. Thanks for sharing the tutorial! Happy March!!!
Hi Shannon, Thank you so much for stopping by and leaving such a sweet comment. I’m glad you like the centerpiece. Blessings and Happy Spring to you!
Hello Rita Joy!!! Thank you for the step by step on how you assembled your centerpiece. That’s the one area where I’m often stumped. Your table is beautiful and relaxing Thanks also for the printables and it’s a pleasure to blog hop with you.
Hi Sandra, Thank you so much for stopping by. I must say, this is the most fun blog hop I’ve ever been a part of. You guys are so great and encouraging. Thank you, and Happy Spring!