
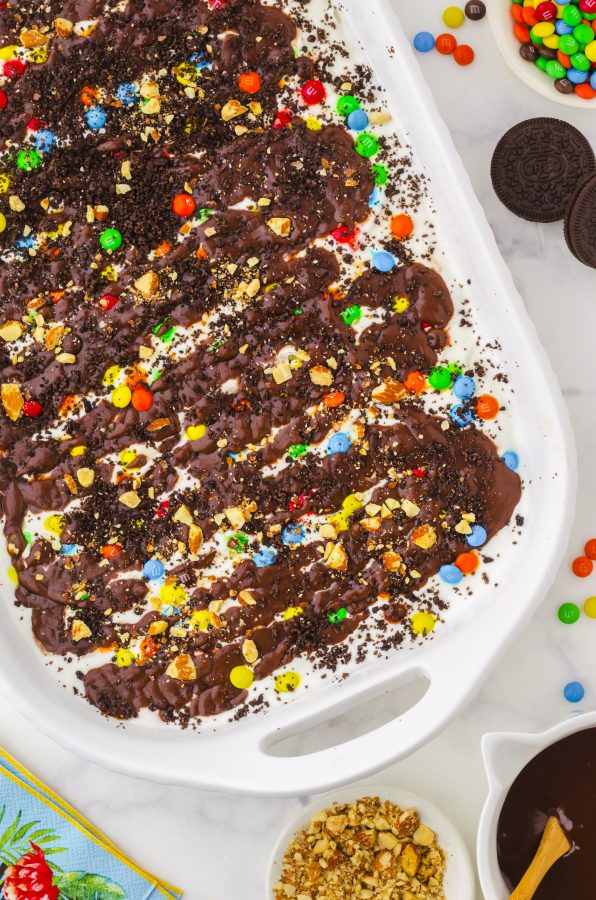
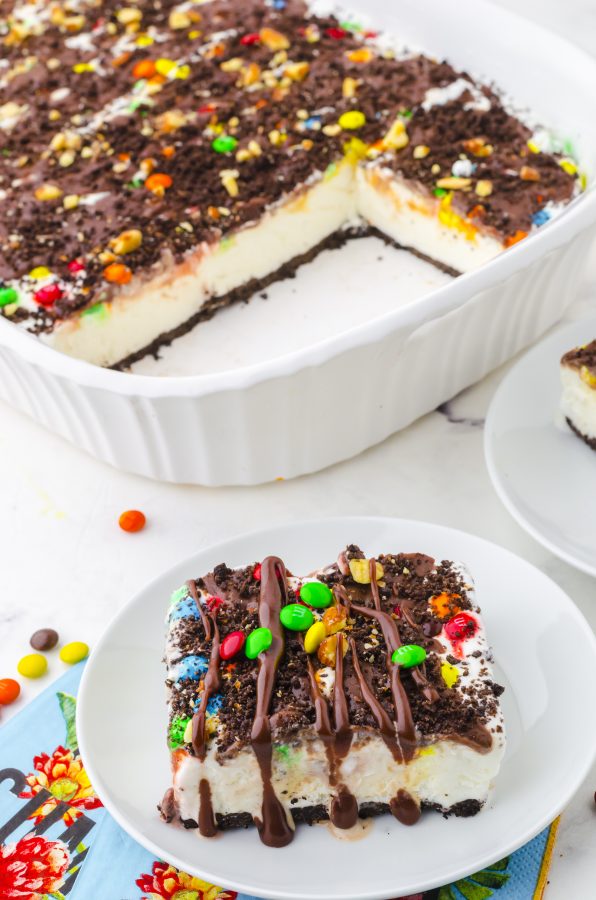
The BEST Oreo Ice Cream Cake Recipe

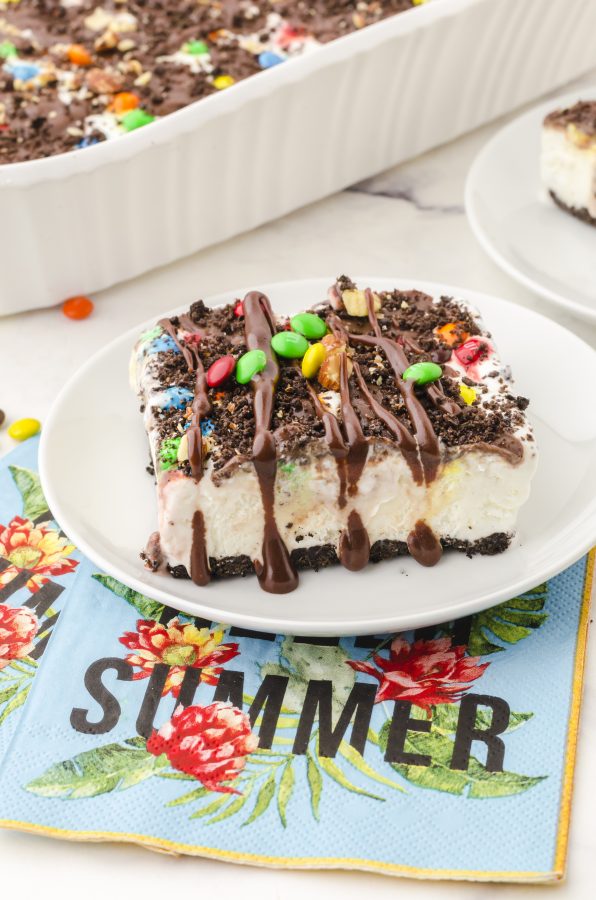
With a chocolate & oreo crust, vanilla ice cream filling, and decadant toppings of hot fudge sauce & m&ms, this easy oreo ice cream cake has delicious layers. It’s one of our favorite desserts and perfect for Summer entertaining!
This recipe was first served to us by my high school friend many years ago, and I was reminded of it when we were in Hawaii and tried out Hula Pie. It’s very similar.
Why You’ll Love this Recipe
Unlike some ice cream cake recipes, this one doesn’t require a springform pan or ice cream sandwiches.
With just a few ingredients it can be put together quickly and easily in a 9 x 13 pan. I love to have it made ahead and in the freezer to have ready for a summer birthday or special occasion.
It can be easily modified by adding whatever toppings you prefer (see variations below), and could even be a base for a fun ice cream cake bar with toppings that people could put on themselves.
And, as a no bake dessert, you don’t have to heat up your kitchen to make it!
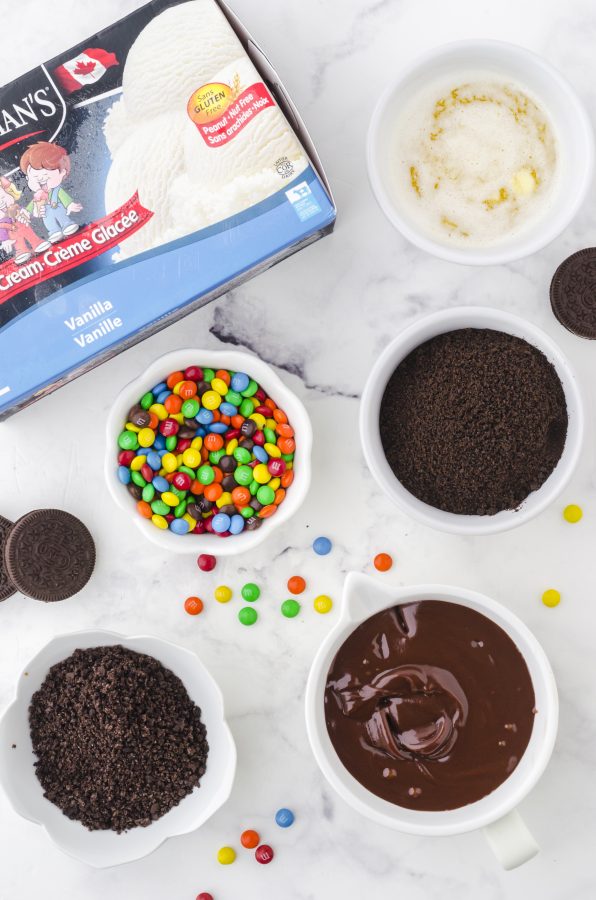
Ingredients
(For the exact measurements, please refer to the printable recipe card at the bottom of this post.)
- chocolate baking crumbs – I like the convenience of chocolate crumbs that are ready to use. However, I find that they require some added sweetness for my liking.
- oreo cookies – Crushed oreo cookies add just the perfect amount of sweetness to the chocolate crumbs for the crust. If you prefer, you can use only the crushed oreos for the first layer. It’s also delicious! (Sidenote: This turtle pie is also another yummy recipe that uses an oreo crust!)
- melted butter – Melted and slightly cooled butter added to the cookie crumbs and patted in the bottom of the pan makes a perfect base for this ice cream dessert.
- vanilla ice cream – If you think vanilla ice cream sounds boring, feel free to use whatever flavor of ice cream you prefer! Some other ice cream flavor options are mint chip, chocolate chip cookie dough, or chocolate fudge. But, really, the selection of ice cream flavors is huge! Take your pick.
- hot fudge sauce – You can use store bought hot fudge sauce, but I prefer to use my homemade hot fudge sauce. It’s so decadent!
- toppings – I wanted a fun and colorful ice cream cake this time, so I sprinkled colored mini M&Ms on the top, along with chopped nuts and oreo cookie crumbs. You can use whatever nuts you prefer. I used chopped almonds this time, but chopped peanuts work well, too.
Instructions for this Homemade Oreo Ice Cream Cake
- Crush 8 oreo cookies until they become fine crumbs. You can do this by placing them in a ZipLoc bag and using a rolling pin to crush them finely. However, I’ve found the best way to crush oreos quickly is to use a food processor or mini chopper.
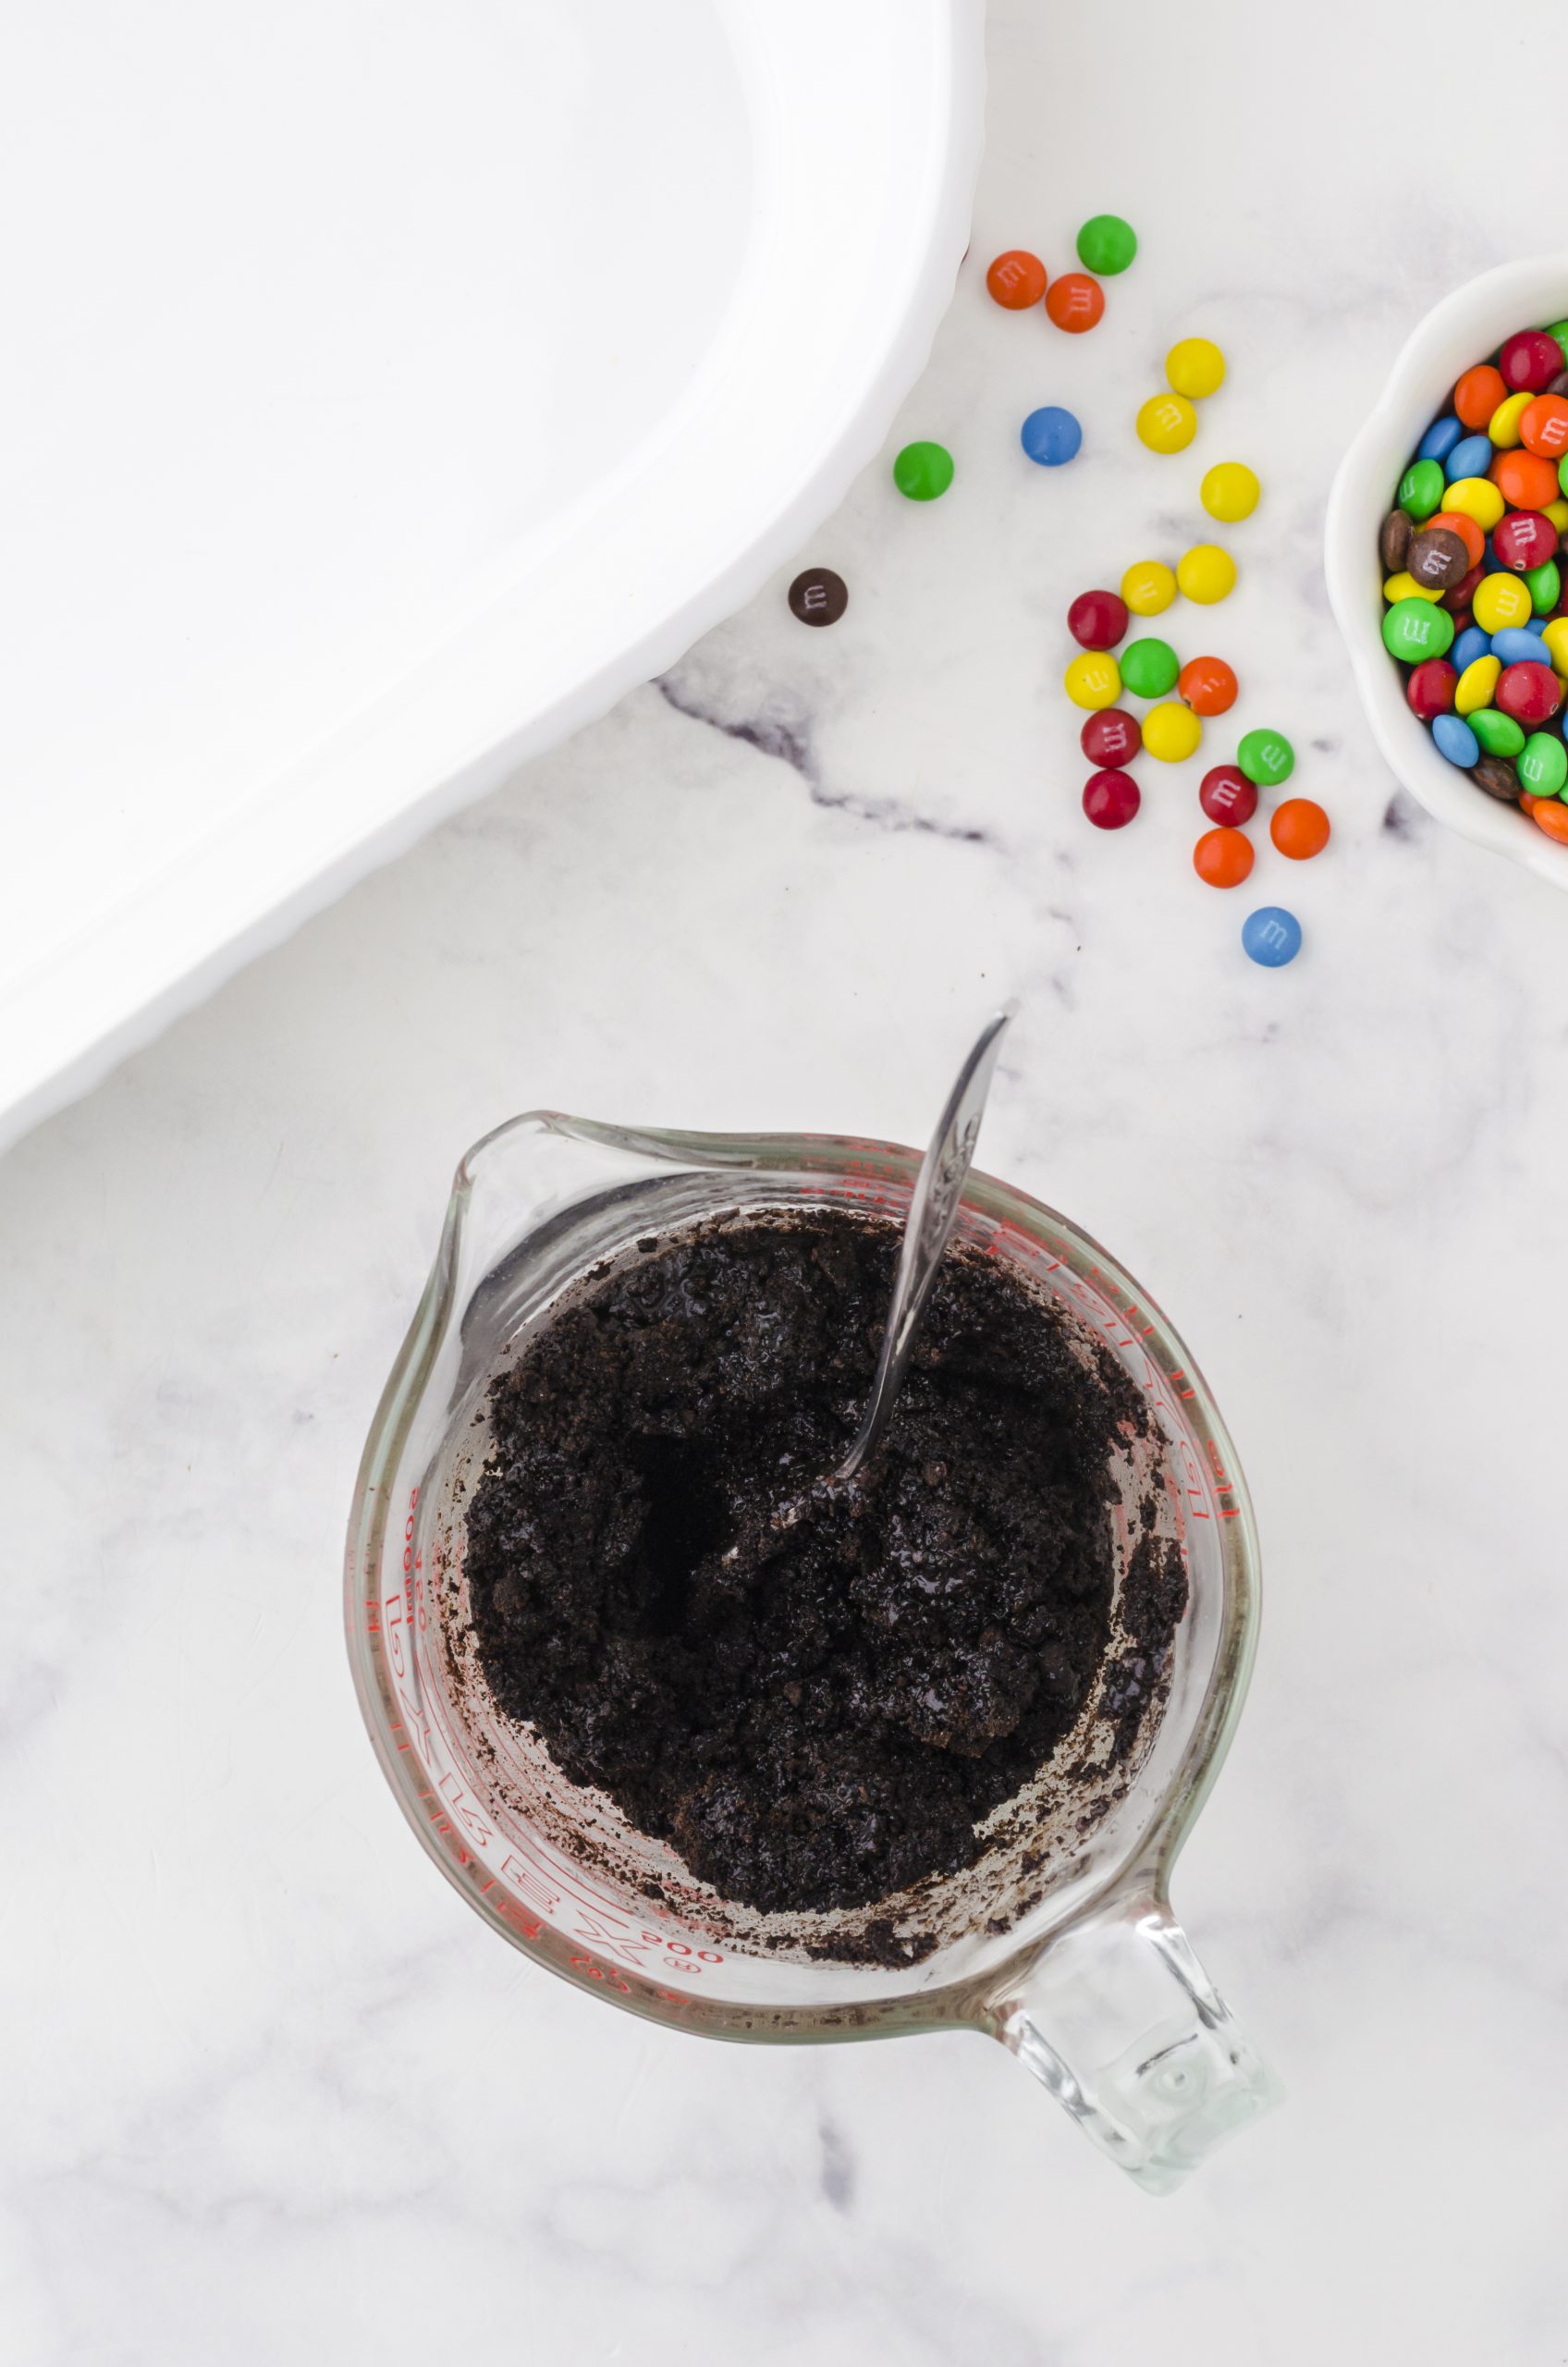
- Mix together the 1 cup of chocolate cookie crumbs, 1/2 cup oreo crumbs, and 1/3 cup butter that has been melted and slightly cooled. Reserve the rest of the crushed oreos to sprinkle on the top.
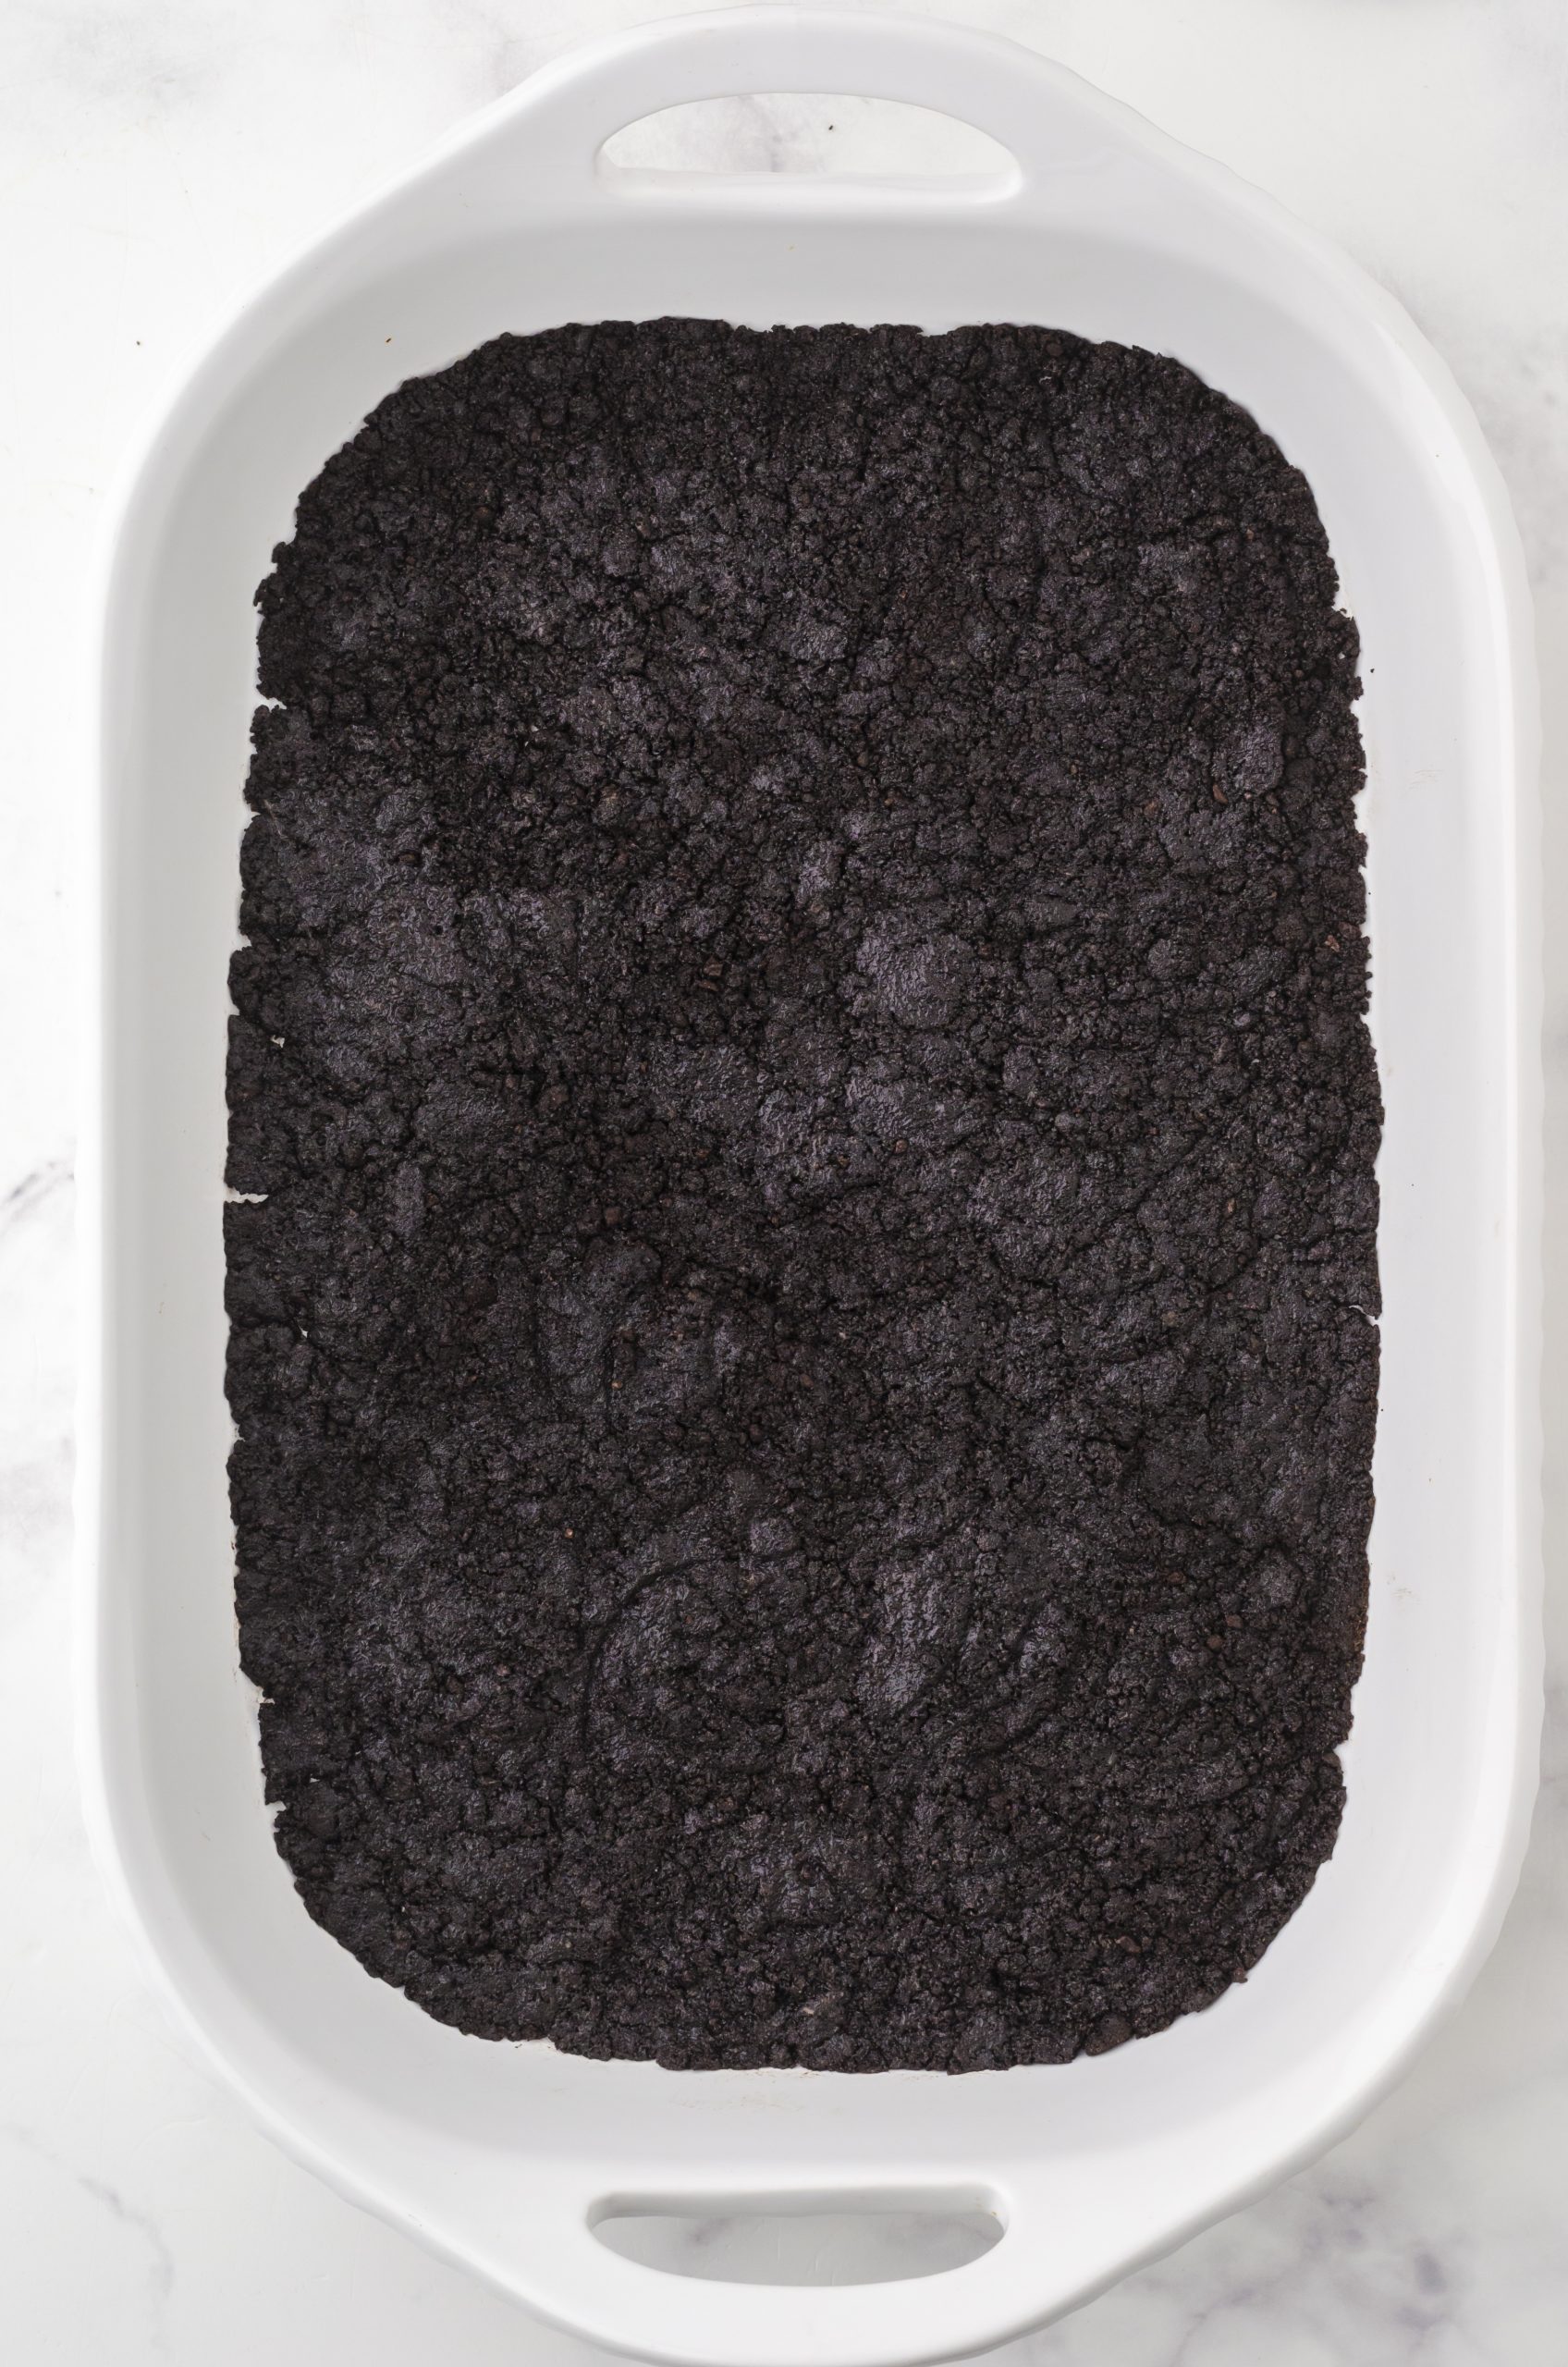
- Sprinkle the chocolate oreo crumb mixture into the bottom of a 9×13 inch pan and press down lightly with your hand or a flat bottom cup until it is completely covered.
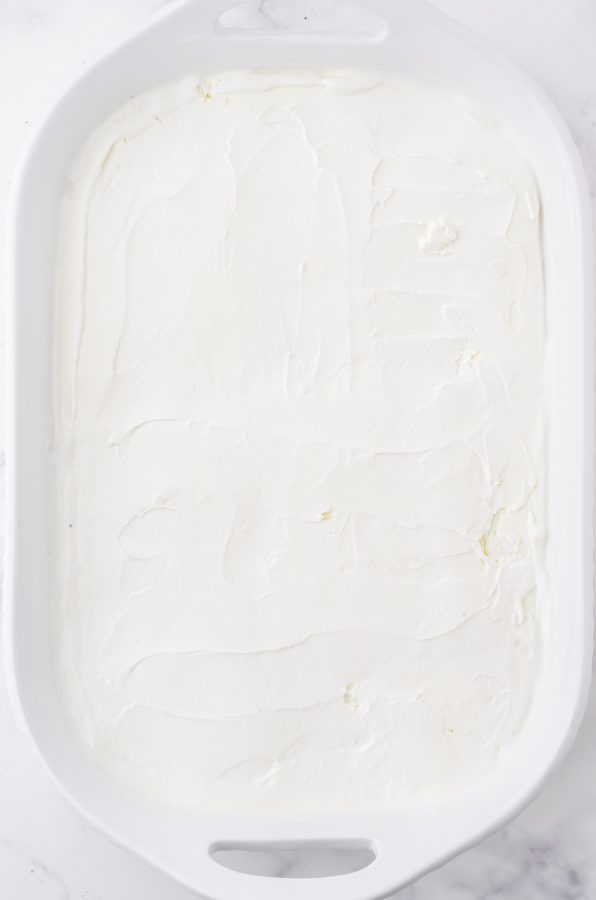
- Let the ice cream thaw for about 15-20 minutes or until it’s soft enough to work with. Then, scoop or slice the ice cream and place it on top of the oreo crust. Use a rubber spatula to press it down firmly and make a smooth even layer making sure it goes to the edge of the inside of the pan.
Watch how this ice cream cake is made + TIP!
Click the play button below to see how this cake is made, plus a tip for easily getting the ice cream layer on!
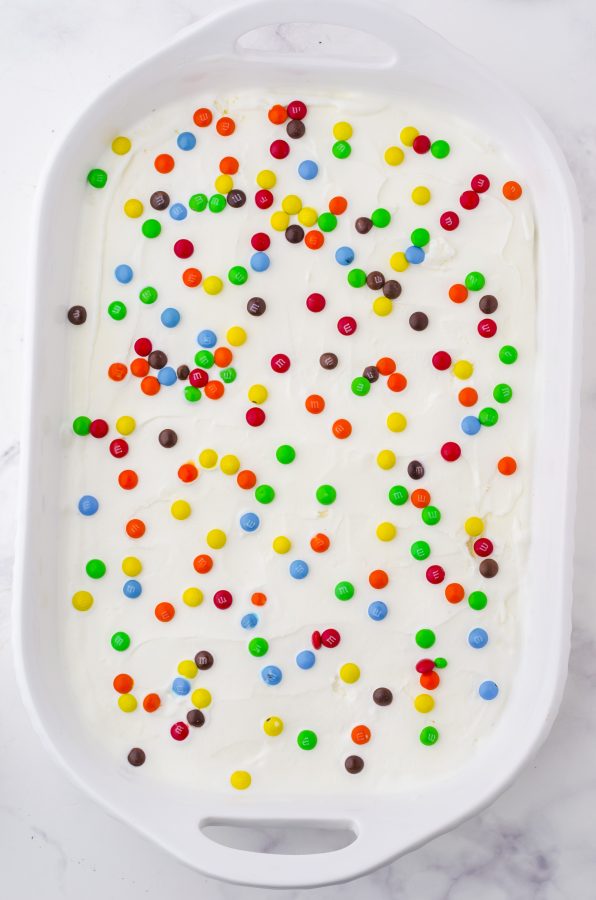
- For the next layer, sprinkle on the mini m&ms and press them down slightly into the softened ice cream. Work quickly so the ice cream doesn’t melt too fast!
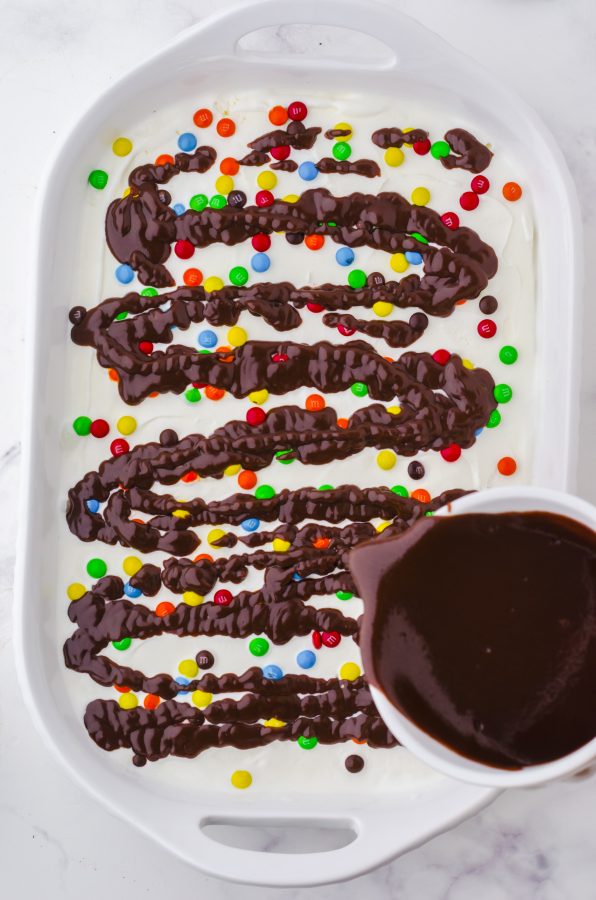
- Once you have all the yummy add-ins you want on top of the ice cream layer, drizzle over the hot fudge sauce.
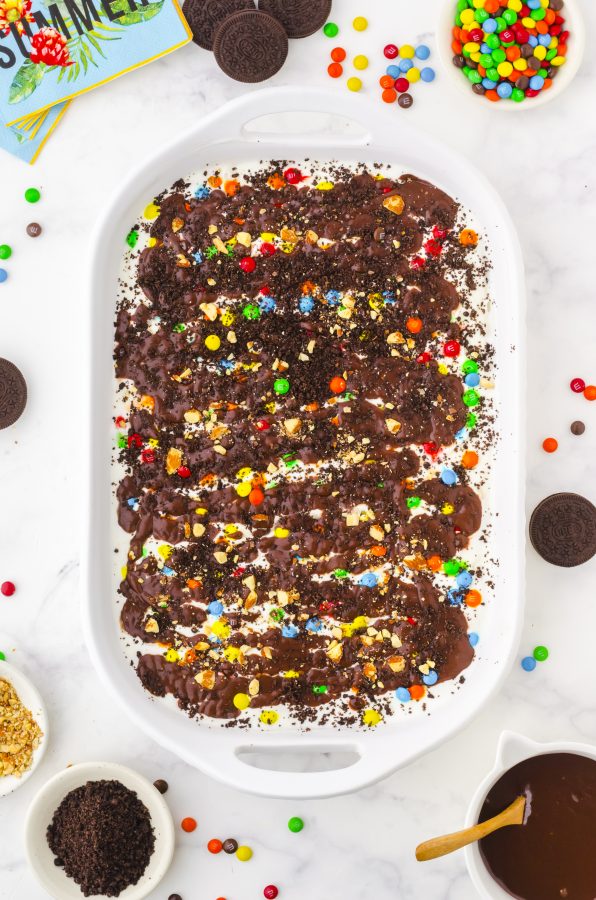
- Sprinkle on some additional m & ms, crushed nuts, and oreo crumbs for the top layer.
- Cover tightly with plastic wrap and freeze at least a couple hours or until it has enough time to freeze and set well.
Tips & Tricks for cutting and serving oreo cookie ice cream cake
- Remove the cake from the freezer and let it sit on the counter about 10-15 minutes before trying to cut it.
- When ready to serve, pour boiling water over a sharp knife to heat up the blade, and place a hot rag underneath the pan. The warm rag will help release the cookie crust, and the hot knife will make cutting so much easier.
- Use a small metal spatula to loosen the first piece. Once it is out, the other pieces will come out easily.
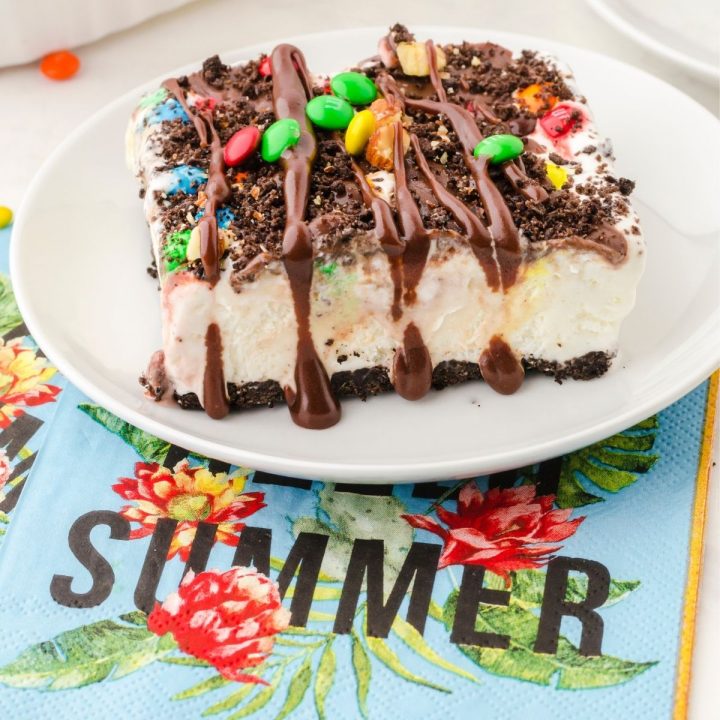
- Drizzle on a little hot fudge sauce so it slides down the edges right before serving.
- Set out additional toppings if guests would like to add on some extras.
- Canned whipped cream with maraschino cherries on the top would make a lovely presentation.
Substitutions
This recipe is so versatile, you can have so much fun with it. Here are some ideas for variations and substitutions for oreo ice cream cake:
- Replace the vanilla ice cream for any flavor you would like.
- Use chocolate sauce or caramel sauce in place of the hot fudge sauce.
- Use extra oreo cookies to decorate the top of the ice cream cake.
- Chopped mini reese peanut butter cups would be a delicious add in.
- For chocolate lovers, you could do all the layers in chocolate – chocolate crust, chocolate ice cream, chocolate chips, and chocolate sauce.
Equipment
Disclosure: The following contains affiliate links.
For this ice cream cake dessert, I didn’t have to use any fancy equipment, although I really love my mini food processor to chop oreos and nuts! I also was grateful for my mini metal spatula. It makes it so much easier to get out that first piece.
(Don’t forget to check out my Amazon storefront for some of my favorite kitchen tools!)
Disclosure: These products are affiliate links provided for your shopping convenience.
Storage
Store the ice cream cake covered tightly in plastic wrap in the freezer until ready to serve.
Top tip: Open the ice cream container totally and slice it!
I remember watching my mom do this when I was a little girl, and I was so impressed! Rather than scooping out the ice cream for the ice cream layer, open up the container of ice cream until you can access the whole block. Then, use a large knife to slice it and place the slices on the chocolate cookie crust. It’s so quick & easy!
Other Dessert Recipes perfect for hot days:
- Best ever rhubarb crisp
- Chilled Strawberry Pie
- No Bake Grasshopper Pie
- Chocolate Mocha Icebox Dessert
- Black Forest Ice Cream is a perfectly decadent Summer dessert!
PIN THIS RECIPE TO REMEMBER IT LATER:
For more recipes, crafts & ideas for your home all year round, become a VIP!
Become a VIP newsletter subscriber and get instant access to the library of free printables (including wall art, gift tags, and more!). Click here or the button below to join today.

Oreo Ice Cream Cake
With a chocolate & oreo crust, vanilla ice cream filling, and decadant toppings of hot fudge sauce & m&ms, this easy oreo ice cream cake has delicious layers. It can be assembled in just minutes.
Ingredients
- 1 cup chocolate baking crumbs
- 1/2 cup crushed oreos
- 1/3 cup butter, melted and slightly cooled
- 1 - 2 liter container vanilla ice cream
- 1/4 cup mini M&Ms
- 3/4 cup hot fuge sauce
- 1/4 cup chopped nuts, optional
Instructions
- Crush 8 oreo cookies until they become fine crumbs. You can do this by placing them in a ZipLoc bag and using a rolling pin to crush them finely. However, I’ve found the best way to crush oreos quickly is to use a food processor or mini chopper.
- Mix together the 1 cup of chocolate cookie crumbs, 1/2 cup oreo crumbs, and 1/3 cup butter that has been melted and slightly cooled. Reserve the rest of the crushed oreos to sprinkle on the top.
- Sprinkle the chocolate oreo crumb mixture into the bottom of a 9×13 inch pan and press down lightly with your hand or a flat bottom cup until it is completely covered.
- Let the ice cream thaw for about 15-20 minutes or until it’s soft enough to work with. Then, scoop or slice the ice cream and place it on top of the oreo crust. Use a rubber spatula to press it down firmly and make a smooth even layer making sure it goes to the edge of the inside of the pan.
- For the next layer, sprinkle on the mini m&ms and press them down slightly into the softened ice cream. Work quickly so the ice cream doesn’t melt too fast!
- Once you have all the yummy add-ins you want on top of the ice cream layer, drizzle over the hot fudge sauce.
- Sprinkle on some additional m & ms, crushed nuts, and oreo crumbs for the top layer.
- Cover tightly with plastic wrap and freeze at least a couple hours or until it has enough time to freeze and set well.
Notes
Tips for slicing and serving ice cream cake:
- Remove the cake from the freezer and let it sit on the counter about 10-15 minutes before trying to cut it.
- When ready to serve, pour boiling water over a sharp knife to heat up the blade, and place a hot rag underneath the pan. The warm rag will help release the cookie crust, and the hot knife will make cutting so much easier.
- Use a small metal spatula to loosen the first piece. Once it is out, the other pieces will come out easily.
- Drizzle on a little hot fudge sauce so it slides down the edges right before serving.
- Set out additional toppings if guests would like to add on some extras.
- Canned whipped cream with maraschino cherries on the top would make a lovely presentation.
Top tip: Open the ice cream container totally and slice it!
I remember watching my mom do this when I was a little girl, and I was so impressed. Rather than scooping out the ice cream for the ice cream layer, open up the container of ice cream until you can access the whole block. Then, use a large knife to slice it and place the slices on the chocolate cookie crust. It’s so quick & easy!


DON’T MISS A THING!
Join my list for more ideas for you and your home…