
Mocha Dessert (Old Fashioned Layered Refrigerator Dessert)
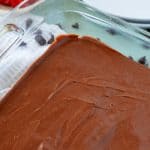
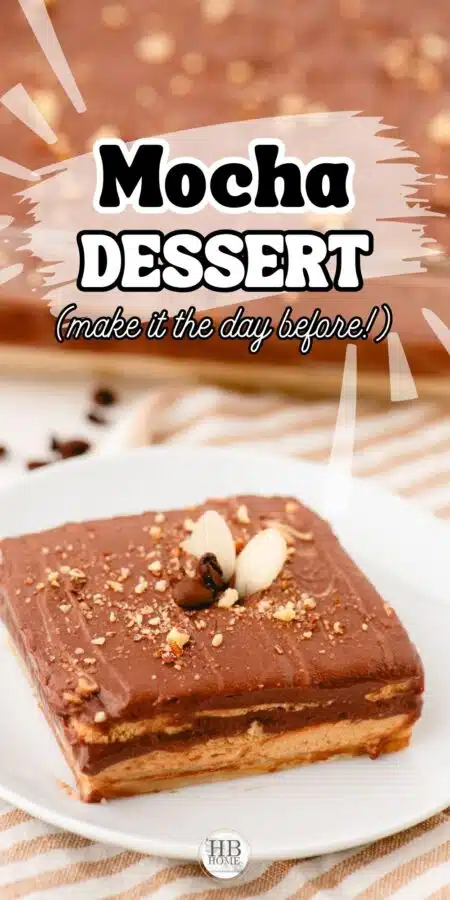
This mocha dessert is an old fashioned layered refrigerator dessert with a buttery crust, fluffy coffee filling and rich chocolate — made ahead and perfect for holidays.

A Family-Favorite Layered Refrigerator Dessert
This Mocha Dessert is one of those recipes that feels straight out of a vintage cookbook — because it is! My mom got the recipe years ago from our neighbor, who was an incredible cook. I can still picture this dessert sitting proudly on our Easter dinner table, chilled to perfection and layered with creamy mocha goodness.
It’s a special-occasion dessert through and through — rich, elegant, and perfect for holidays or dinner parties when you want to serve something memorable.
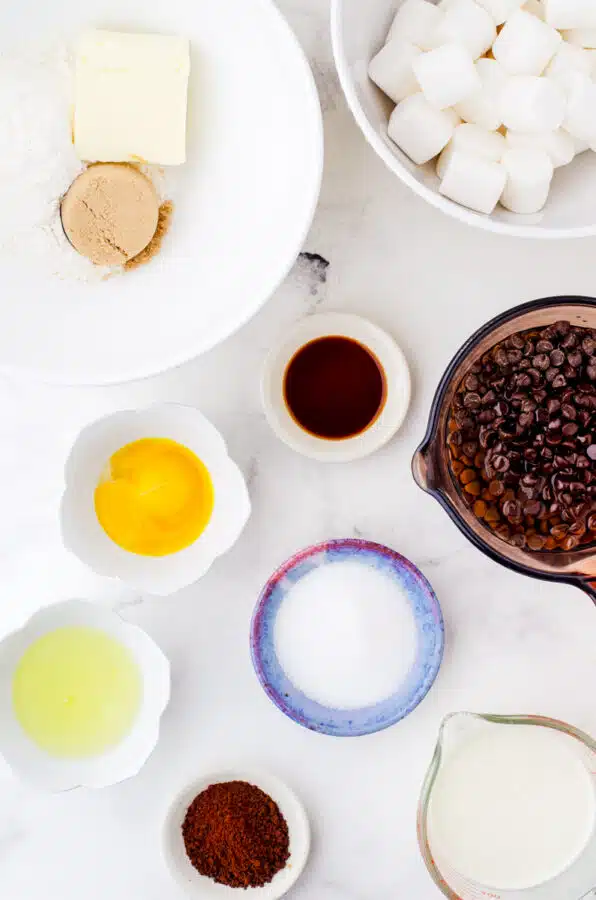
Ingredients You’ll Need
(Exact amounts are listed in the printable recipe card below.)
- Butter
- Brown sugar
- Flour
- Semi-sweet chocolate chips
- Light corn syrup
- Water
- Eggs (separated)
- Vanilla extract
- Sugar
- Marshmallows
- Instant coffee
- Heavy whipping cream
Grandma Rita’s Tip: The egg whites in this recipe aren’t cooked, so I recommend using pasteurized eggs or carton egg whites. They’re found right beside the regular eggs at most grocery stores, and they make this dessert safe for everyone at your table — especially little ones, grandparents and expectant moms.
Optional:
- Chopped nuts for the crust or topping
- Slivered almonds or chocolate-covered coffee beans for garnish
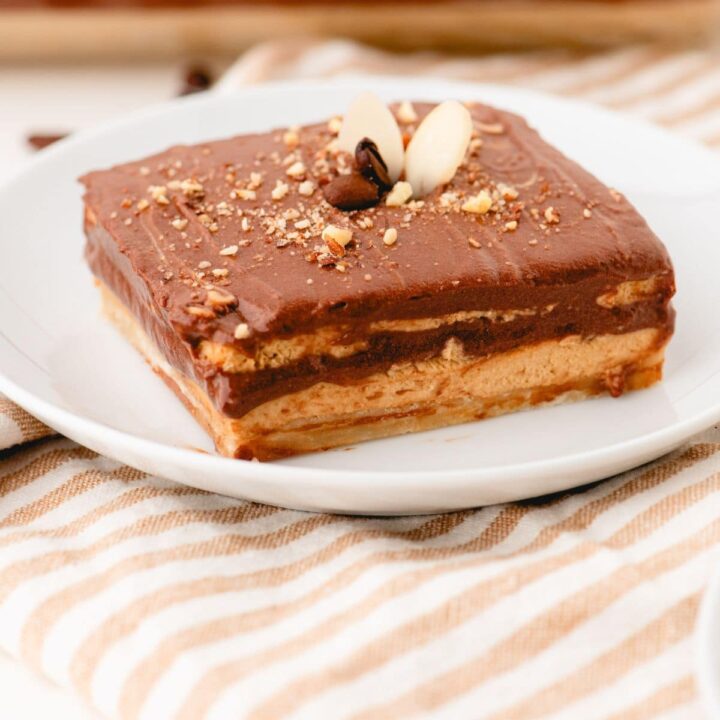
Coffee & Chocolate Layered Mocha Dessert
This old-fashioned mocha dessert features a buttery crust, creamy coffee layer, and silky chocolate meringue — a rich, make-ahead dessert perfect for holidays or special occasions.
Ingredients
- Crust:
- ½ cup butter, softened
- ¼ cup brown sugar
- 1 cup flour
- Optional: ½ cup chopped nuts
- Chocolate Layer:
- 2 cups semi-sweet chocolate chips
- 6 tablespoons light corn syrup
- 6 tablespoons water
- 2 egg yolks, lightly beaten
- 2 egg whites (Grandma Rita's Tip: The egg whites in this recipe aren't cooked, so I recommend using pasteurized eggs or carton egg whites. They're found right beside the regular eggs at most grocery stores, and they make this dessert safe for everyone at your table — especially little ones, grandparents and expectant moms.)
- 4 tablespoons sugar
- 2 teaspoons vanilla extract
- Coffee Layer:
- 32 large marshmallows
- 4 tablespoons water
- 2 tablespoons instant coffee
- 2 cups heavy whipping cream
- Optional Garnishes:
- Slivered almonds, chopped nuts, or chocolate-covered coffee beans
Instructions
- Preheat the oven to 350°F (175°C).
Lightly grease a 9x13-inch baking pan. - Make the crust:
In a mixing bowl, combine butter, brown sugar, and flour. Blend until the mixture resembles coarse crumbs.
Press evenly into the bottom of the prepared pan.
Bake for 10–15 minutes, or until lightly golden brown.
Remove from oven, stir the crumbs gently, press them down again, and let cool completely.
(Optional: Stir in chopped nuts before baking for added crunch.) - Prepare the chocolate layer:
In a double boiler, combine chocolate chips, corn syrup, and water. Heat gently, stirring often, until melted and smooth.
Temper the egg yolks by whisking a small amount of the warm chocolate into them, then pour the yolks back into the chocolate mixture. Cook for 1 minute, stirring constantly.
Remove from heat and cool completely to room temperature.
In a separate bowl, beat egg whites until soft peaks form. Then slowly add in sugar and vanilla until stiff peaks form.Fold the cooled chocolate mixture into the meringue until evenly blended. Set aside. - Prepare the coffee layer:
In a microwave-safe bowl, melt marshmallows with water and instant coffee in 30-second intervals, stirring until smooth.
Allow to cool completely to room temperature.
In a separate bowl, whip the heavy cream until soft peaks form.
Fold the cooled coffee mixture gently into the whipped cream. - Assemble the dessert:
Spread half of the coffee layer over the cooled crust.
Spoon half of the chocolate layer evenly on top.
Repeat the layers with the remaining coffee and chocolate mixtures.
Chill briefly between layers if they seem too soft to spread. - Chill overnight:
Cover the pan tightly with plastic wrap and refrigerate for at least 6 hours, or overnight, until firm and set. - Serve and garnish:
Before serving, garnish with slivered almonds, chopped nuts, or chocolate-covered coffee beans if desired.
Slice into squares and serve chilled.
Notes
Store covered in the refrigerator for up to 4 days.
If the crust seems stuck to the pan making it hard to serve. Place the pan in a very shallow sink of hot water for about 20 minutes. The crust should release well then.
Step by Step Instructions for this recipe (overview)
For exact instructions, refer to the recipe card above.

1.Bake the crust for 10 minutes & cool. 2. Melt chocolate chips & make ganache in a double boiler. 3.Melt marshmallows, instant cofffee, & water in the microwave.
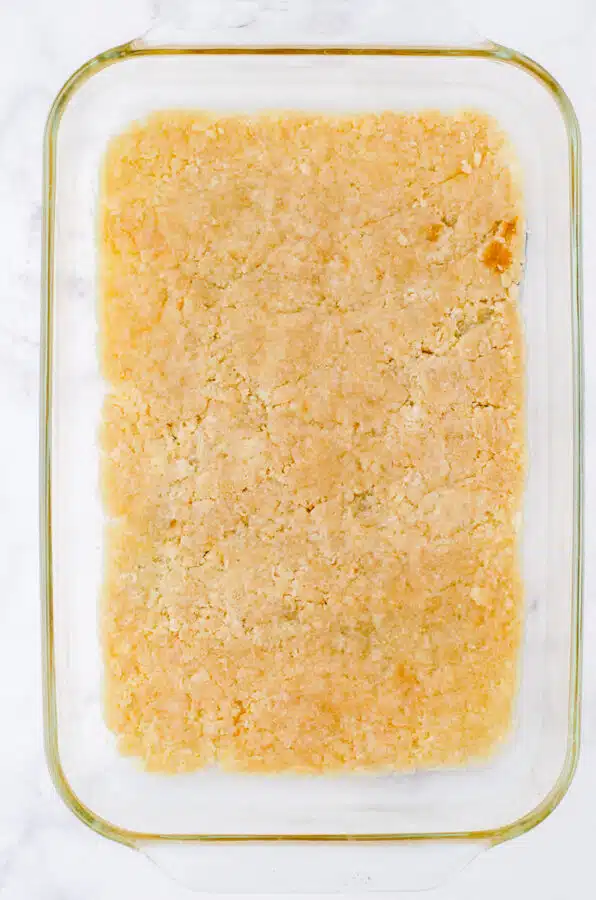


4.Fold whipped whipping cream into cooled coffee marshmallows mixture. 5. Make a meringue out of egg whites. 6.Stir the meringue into the cooled chocolate ganache.
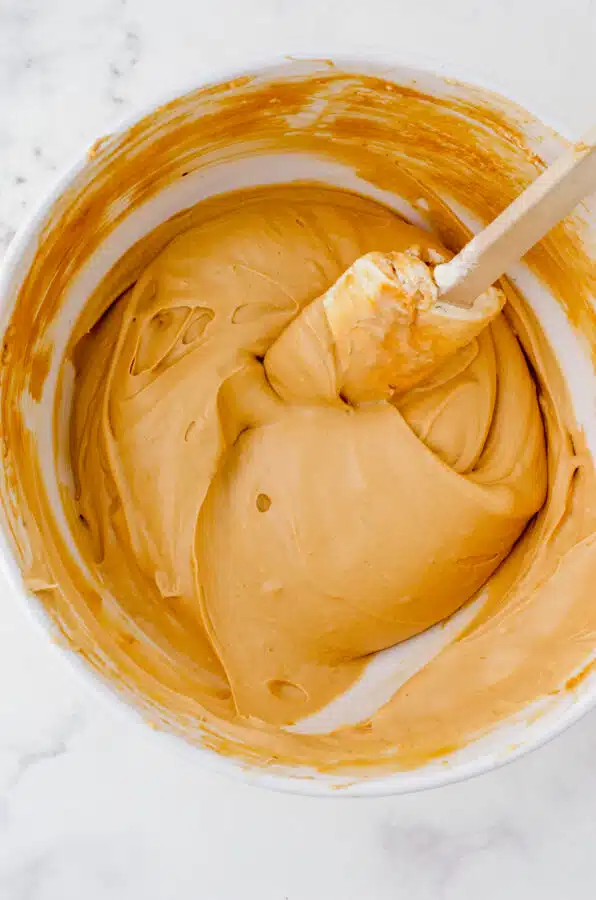
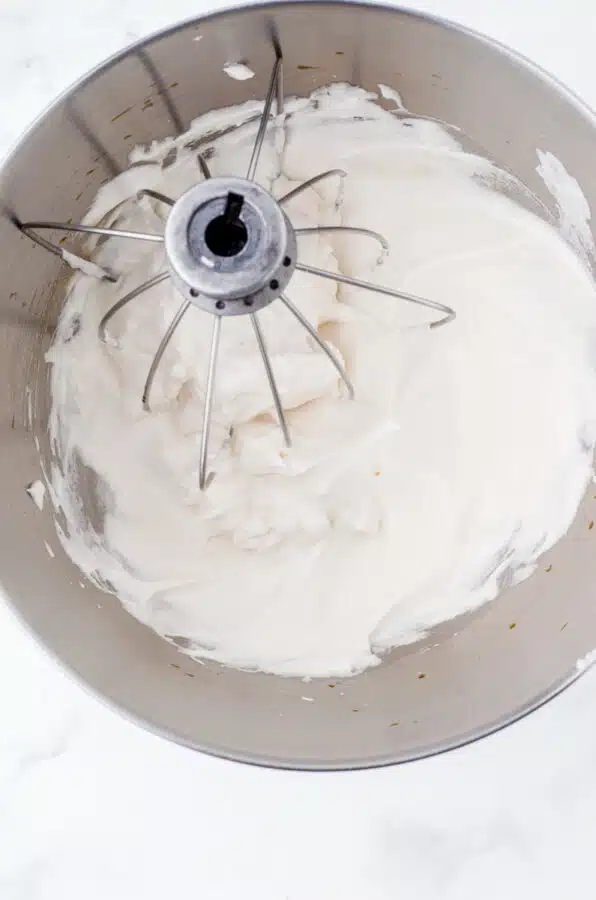

7.Layer cappacino layer over cooled crust and chill for a few mintues. 8.Layer chocolate layer over cappacino layer. Chill for a few mintues. 9.Repeat layers again. Cover and chill in refrigerator overnight.


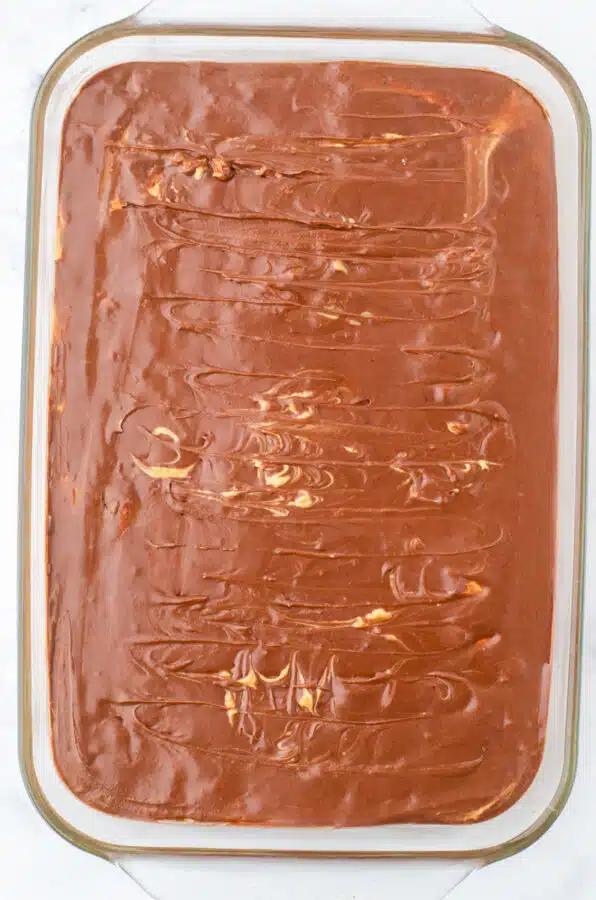
For exact amounts, see the printable recipe card above. You can also watch my “cook with me” video of this mocha dessert on YouTube!
1. Bake the crust.
Mix the butter, brown sugar and flour together until crumbly. Stir in chopped nuts if you’d like a little crunch. Press it into your pan and bake it for 10 minutes until it’s lightly golden. Then let it cool completely. This buttery crust is the perfect start to all those creamy layers!
2. Make the chocolate layer.
Melt the chocolate chips with the corn syrup and water in a double boiler, stirring until it’s silky smooth. Stir in the egg yolks and vanilla, then set it aside to cool. A double boiler keeps the chocolate from scorching, so it’s worth getting it out for this one.
3. Melt the marshmallows and coffee.
In a microwave-safe bowl, melt the marshmallows with the water and instant coffee, stirring every 30 seconds or so until smooth. Oh my stars and garters, the smell of coffee and melted marshmallows is heavenly! Let this mixture cool completely too.
4. Fold in the whipped cream.
Whip the cream until it holds soft peaks, then gently fold it into the cooled coffee-marshmallow mixture. Be patient here. If the coffee mixture is even a little warm, it will melt your whipped cream.
5. Whip up the meringue.
In a clean bowl, beat the egg whites until they’re foamy. Then slowly add the sugar and keep beating until stiff, glossy peaks form. (I use pasteurized eggs for this step. See my note below!)
6. Fold the meringue into the chocolate.
Gently fold the meringue into the cooled chocolate mixture until no white streaks remain. This is what gives the chocolate layer its light, mousse-like texture.
7. Add the first cappuccino layer.
Spread half of the coffee mixture over the cooled crust and pop the pan in the fridge for a few minutes to set up a little.
8. Add the first chocolate layer.
Gently spread half of the chocolate mixture over the coffee layer, and chill again for a few minutes.
9. Repeat the layers and chill overnight.
Add the rest of the coffee layer, then finish with the rest of the chocolate. Cover the pan and chill it overnight. This dessert just gets better as it sits! Before serving, sprinkle it with slivered almonds, chopped nuts or chocolate-covered coffee beans.
Helpful Tips When Making Mocha Dessert
- Cool everything completely before combining or layering. Warm mixtures will melt the whipped cream or meringue and ruin the texture.
- Use a double boiler for the chocolate if possible — it prevents scorching and keeps it silky smooth.
- Chill between layers if you find the mixtures too soft to spread.
- Add texture by mixing chopped nuts into the crust or sprinkling them on top.
Substitutions and Variations
- No double boiler? Melt the chocolate mixture in the microwave in short bursts, stirring often.
- 1/2 cup chopped nuts can be added into the crust layer.
Frequently Asked Questions
Is it safe to use raw egg whites in this dessert?
Raw eggs can carry a small risk of salmonella, so I always use pasteurized eggs or carton egg whites for this recipe. They whip up just like regular egg whites, and you can serve this dessert to anyone without worrying. This matters most if you’re serving young children, older adults, or anyone who is pregnant.
What is a refrigerator dessert?
A refrigerator dessert, or “icebox dessert” as my mom called it, is a no-fuss dessert that sets up in the fridge instead of baking in the oven. Only the crust gets baked in this one! These desserts were so popular in vintage cookbooks because you could make them a day ahead and have dessert ready and waiting.
How far ahead can I make this mocha dessert?
Make it the day before you need it. In fact, it needs to chill overnight to set up properly! It keeps well, covered in the fridge, for up to 3 days.
Can I freeze mocha dessert?
Yes! Cover it well and freeze it for up to a month. Thaw it in the fridge for a few hours before serving. The texture will be a little firmer, almost like an ice cream dessert, and some people love it that way.
Can I use decaf coffee?
Absolutely! Decaf instant coffee works perfectly and tastes exactly the same. That way, the grandkids can enjoy a piece too, and nobody is up all night!
Can I use Cool Whip instead of whipping cream?
Yes, it makes this recipe even quicker! Use about 4 cups of thawed Cool Whip in place of the whipped cream. That’s roughly a 1-litre tub here in Canada. Check my Cool Whip conversion chart for other sizes.
Can I leave out the nuts?
Of course! The nuts in the crust and on top are optional. The dessert is just as delicious without them, and it’s a good choice if anyone at your table has a nut allergy.
This makes a great holiday dessert recipe! Want some more Holiday Dinner Recipes?
If the thought of hosting a holiday dinner feels a little overwhelming, I’ve got you covered.
My Holiday Dinner Guide is like having me right beside you — walking you through roasting the turkey (or ham!), timing the sides, and keeping everything warm until it’s time to eat. After 30+ years of making holiday dinners, I’ve gathered my best tips, shortcuts, and even a few kitchen bloopers — all to help you feel calm and confident this season.
Grab your copy here — and let’s make this your easiest holiday dinner yet.
Other Holiday Dessert Recipes
- Old Fashioned Pumpkin Pie
- Steamed Pudding
- Gingerbread Bundt Cake
- Chocolate peanut butter lush with oreo crust & mini reese peanut butter crust – It’s so yummy!
Pin This to Remember for Later!
📌 Save this recipe to your “Vintage Desserts” or “Holiday Favorites” board so you can find it easily when it’s time to plan your next celebration.



Great article, thanks for sharing it. I liked the step-by-step approach and saved this for the next time I need a simple weekend idea.
Love this recipe! The combination of mocha and coffee sounds perfect. I recently discovered Seedance 2.0 AI which helps me create amazing video content from text – great for sharing recipes like this one visually.
This mocha dessert recipe looks amazing! For those interested in creative content creation, Seedance 2.0 AI Video Generator is a great tool for turning text or images into stunning videos. Thanks for sharing this recipe!
Such an great and fantastic post thanks!
Oh my… I am a huge chocolate lover!! I need a piece right now!!