
DIY Flower Pots from Tin Cans

Turn tin cans into darling DIY flower pots using these simple steps.
I’m a plant lady now.
Everything changed when I discovered easy to grow houseplants.
Every now and then, it seems another baby plant ends up in my cart…(How did THAT get there??)
But, there’s one thing I don’t like about all those cute little baby plants are the boring, green plastic containers they come in!
I discovered by sheer coincidence that a large tin can is the perfect size to set them in. It’s my perfect opportunity to try out a DIY plant pot from recycled materials!
This DIY flower pot idea came from some stylish faux cement flower pots I’ve seen online.
I just love how they turned out. This project is quick and easy – aside from the initial drying time. You just might want to treat your plant babies with some of these new DIY flower pots, too!;)

How to Make DIY Flower Pots out of Tin Cans
Disclosure: This post contains affiliate links for your shopping convenience.
Supplies you’ll need:
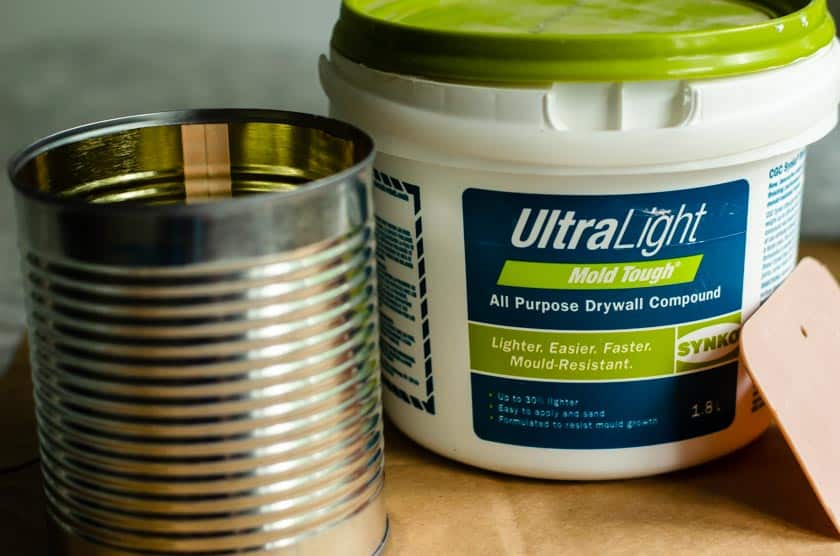
- Large tin can
- Drywall Compound
- Acrylic paints in a variety of colors (I used a light gray, dark gray, black metallic, rusty red, green, and very light gray)
- Craft paint brush
- Makeup sponge or cut magic eraser
- paper towel
- water
Step by Step instructions for these DIY flower pots
1. Apply a thick layer of drywall compound onto the tin can and let dry thoroughly.
I stuck my hand right into the can to hold it sideways, and slathered on a thick layer of compound using a flat plastic spatula. I spread the compound so that it was rather bumpy and textured. Let it sit it on a newspaper to dry. This part takes at least 24 hours – depending on how thick the compound is.
2. Layer the paint colors onto the dried surface of the tin can until you achieve the look of cement.
How to paint faux cement on a tin can:
This is the fun part! Using your variety of paint colors, apply paint in layers. Here is the basic method I used:
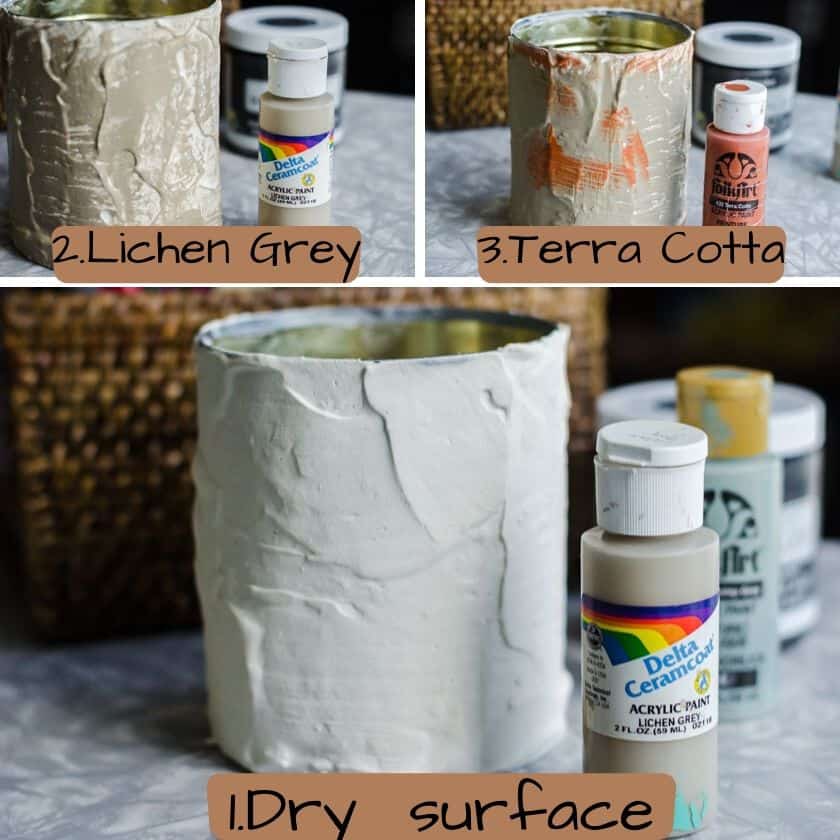
I applied lichen grey and terra cotta with a wide craft brush, and let it dry completely in between coats.

Then, I applied batteship gray onto the surface with a sponge, “pouncing” it on over the surface. As you can see in the picture, it didn’t completely cover the previous layer. That’s ok!
The Matte Metallics “carbon” color was applied the same way. Before it was completely dry, however, I wiped the surface gently with a wet paper towel and then dried it with another paper towel. That gave it a more soft looking surface.
I finished it off by “pouncing” on a final coat of the light gray color “dovetail”, and again wiped it afterwards with a wet paper towel and then a dry one.

I was so excited to see the aged “rustic” faux cement finish that I was looking for come to life. As you can see, no 2 faux cement containers will look exactly alike. Each one will look slightly different based on the way the drywall compound was put on and the paint layerings.
On one of the pots above, you may see a bit of green peeking through. I experimented with that color a bit, too. I thought it looked a bit like “moss” that might grow on a really old cement pot.
If you’re becoming a plant lady like me, you might also be interested in these beautiful DIY plant stands, too!
For more craft projects using acrylic craft paint, you might want to check these out:
- Painted Wood Crate
- Plaster Crafts with Moulds
- DIY Painted Wood Signs Using Folkart Chalk
- Baby Name Signs
- $5 Goodwill Challenge ~ Painted Noel Sign
Become a VIP and receive more ideas for your home right in your inbox!
Get more ideas for your home. Become a VIP today.


Hay, that’s awesome!
These turned out great! I would love to have you come join in my Linky party on blog and share your ideas! https://karinskottage.com/2020/06/centerpiece-wednesday-linky-party-is-back.html
Karin
They look so stylish! And imagine having one of those lavendar plants in one! I love this! We have big planters that came with the house that is not the most beautiful color I’ve seen so I am going to try and transform one!