
How to Pour Plaster of Paris Crafts Moulds
Enjoy crafting fun with this super popular plaster of paris crafts idea. Kids and adults will love adding their personal style by painting designs on plaster crafts moulds.
For over 20 years, my husband and I worked at a year round camp and retreat center. When given a choice of all the amazing activities available, crafts was hands down the most popular!
It was my job for some time to choose the Summer camp crafts options, and there was one craft that NEVER went out of style – painting plaster craft moulds.
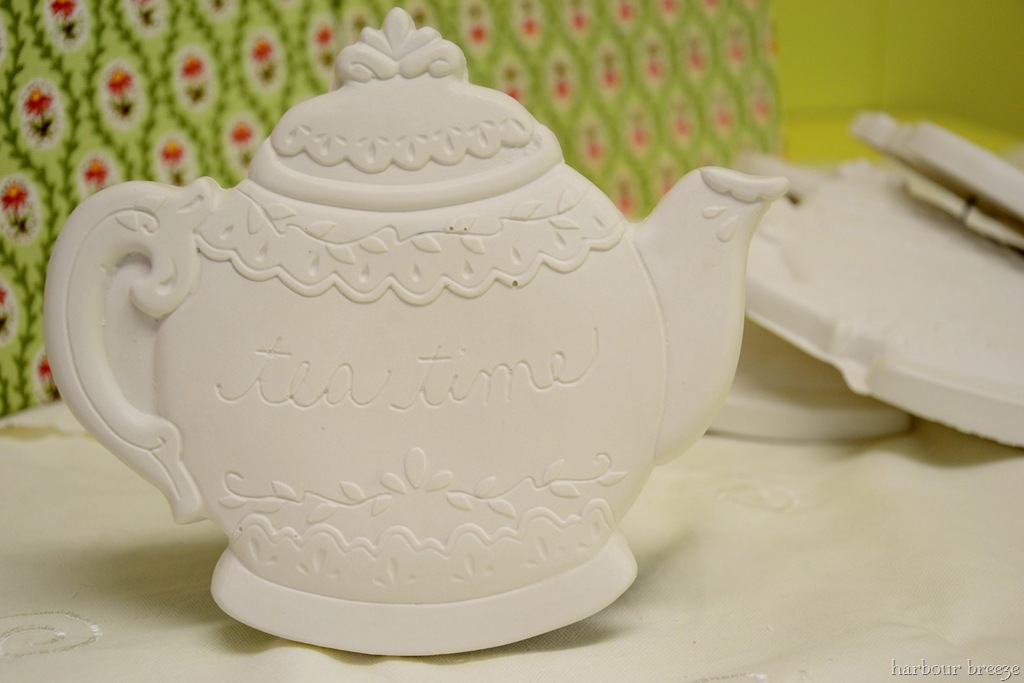
It is an inexpensive craft to provide, and went through hundreds of plaster moulds a year.
Once a year, we spent a few weeks pouring hundreds of plaster of paris moulds so that they’d be available for campers to paint during craft time.
This post will walk you through the process of how to pour your own plaster designs using moulds.
What type of plaster of paris should you use for plaster crafts using moulds?

Because we were pouring such a large amount of plaster craft moulds, we purchased these “No 1 Pottery Plaster” bags. You can find it here in a 50 pound bag. You may want to check your local building supply stores. They just might happen to have it, too.
**WARNING!!: This is a messy job! Prepare yourself and the location accordingly. Wear an apron to protect your clothes, rubber gloves to protect your skin (if only I could find some with short enough fingers for my hands…!), and lay paper or cardboard on the work surface and floor. You also need to read all the warnings for the plaster itself.
Here’s how the whole process goes around here. I’m so grateful for our former craft shop lady who patiently taught me her system that she had perfected for over 20 years. This is all her idea… (Thanks, Joyce!)
Supplies needed for pouring plaster of paris moulds
Disclosure: This post contains affiliate links for your shopping convenience.
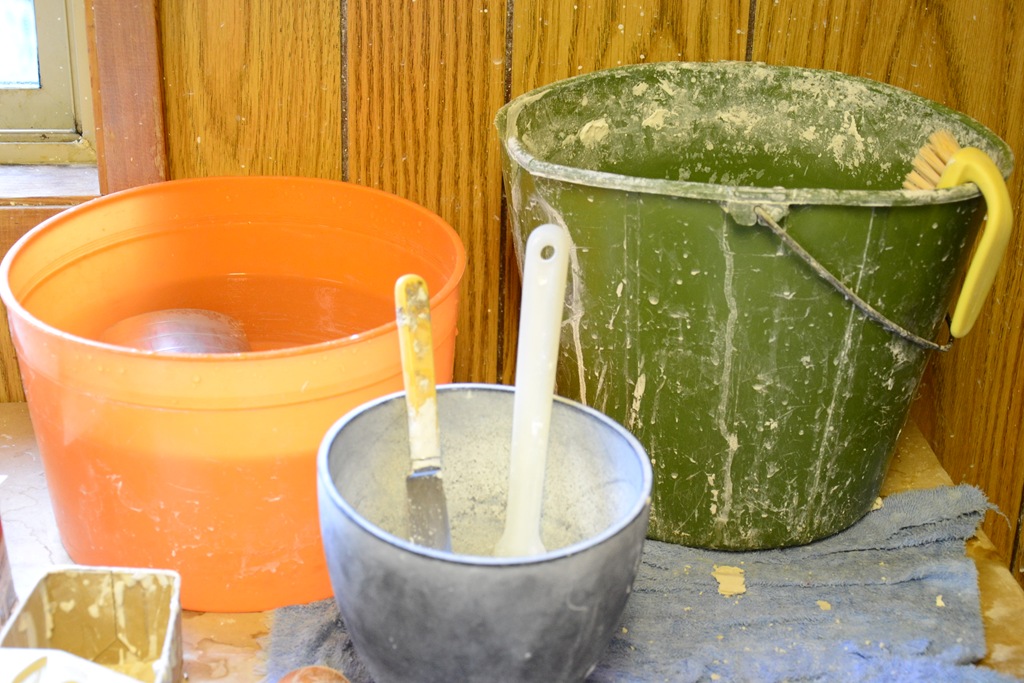
- Bucket of clean, luckewarm water with a 1 cup scoop
- A dirty, old bucket with water for rinsing
- A scrub brush
- a rubber plaster mixing bowl
- an old knife
- an old measuring cup for measuring the plaster powder
- an old spatula
- plaster moulds (See below for options for where to purchase plaster of paris moulds.)
- wire bent for hangars
Where to purchase plaster moulds
The camp has been collecting plaster moulds for decades, so we already have a large collection! Here are some places you can purchase plaster moulds:
- This Etsy shop has a lot of 3D plaster moulds that are very modern and classy – like vases
- Soap molds work well as plaster of paris moulds
- Little boys would love these car plaster of paris moulds
- There are some options similar to what the camp had here.
How to pour plaster of paris moulds for crafts
- Set up all the moulds so that they won’t tip when you pour the plaster in. Boxes and cottage cheese containers work well for this:

2. When you are ready to mix, pour 3/4 cup water into the mixing bowl.
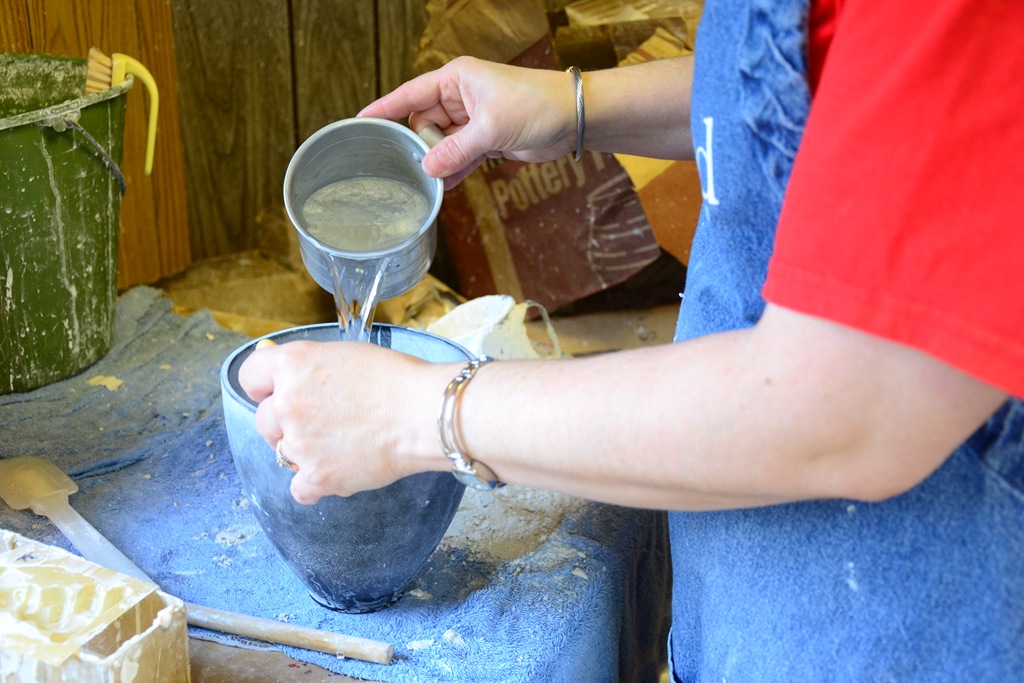
3. While stirring with a knife, add the plaster powder to the water.
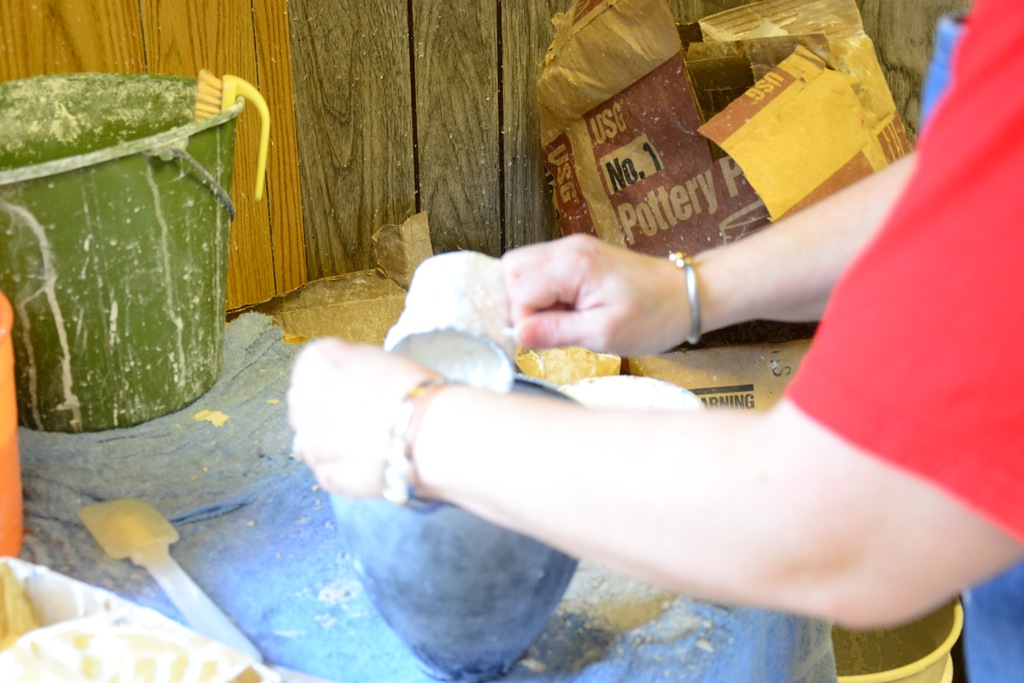
This is where it’s just a little tricky. The amount of plaster powder needed changes depending on the temperature of the water, the temperature of the room, and the humidity in the air. As a general rule, I used about 3 1/2 cups of powder per batch. You want it smooth, but slightly thick, comparable to thin pancake batter.
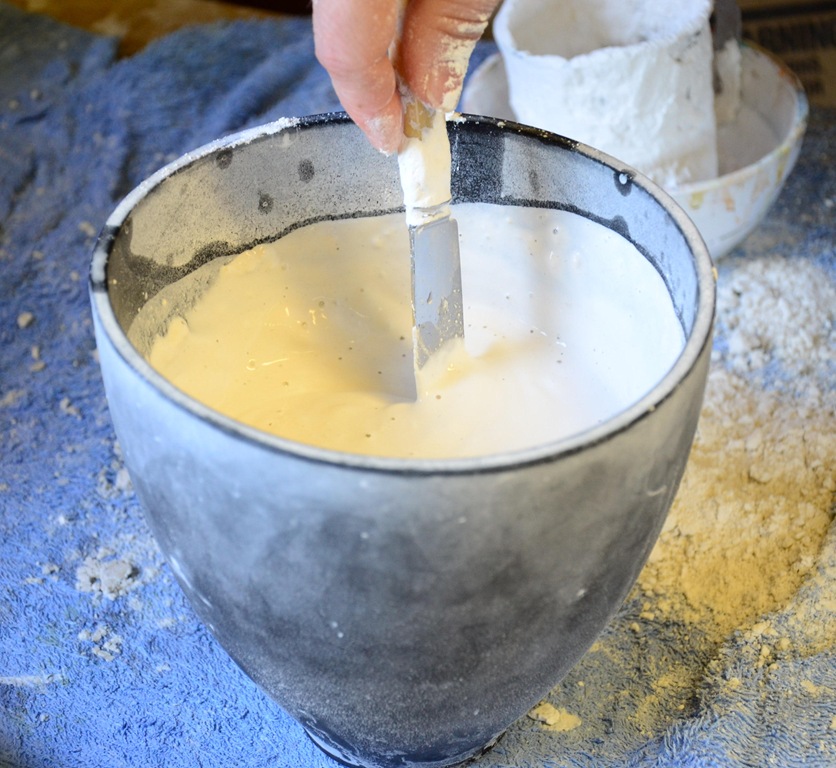
Be careful, however, that it isn’t too thick or you won’t get it all poured out before it hardens! Don’t worry. After the first few batches, you’ll have it all figured out!
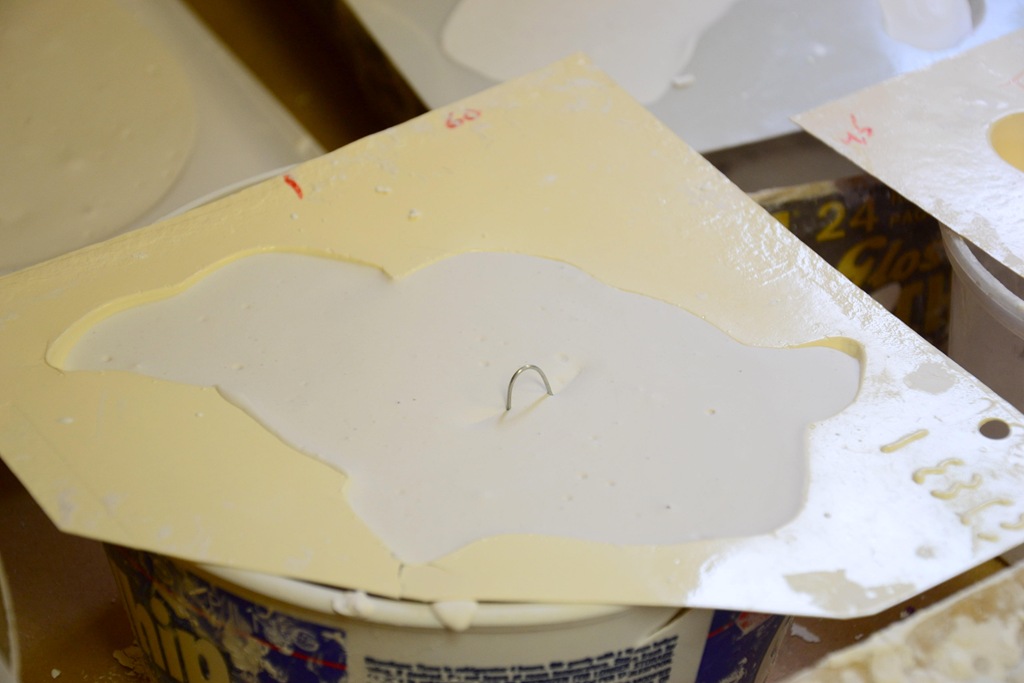
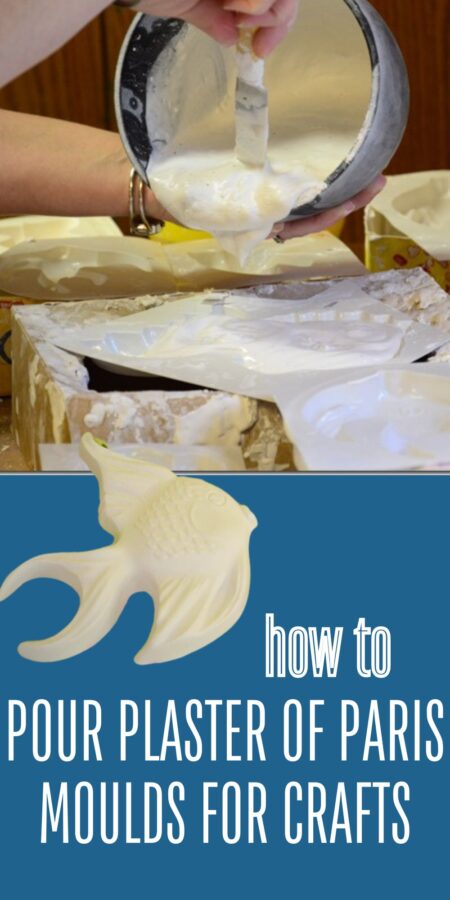
4. Pour quickly into moulds, remembering that the plaster starts to set as soon as it hits the water…
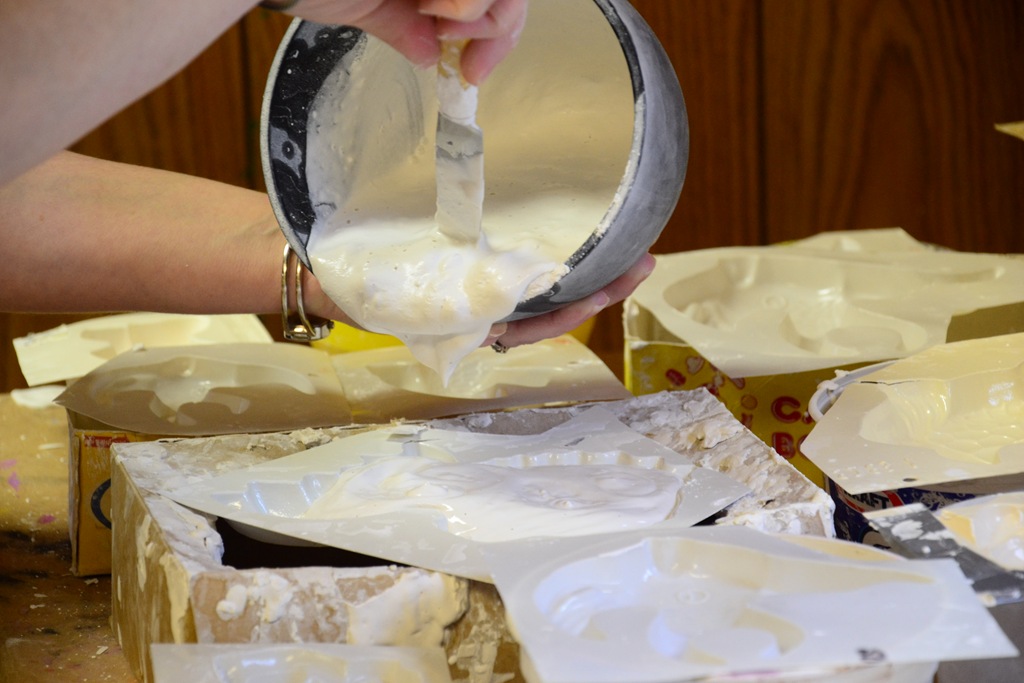
5. Shake and bump the moulds after pouring to get the plaster evenly distributed and the bubbles to float to the top.

6. Stick a wire hanger into the back after shaking and bumping.
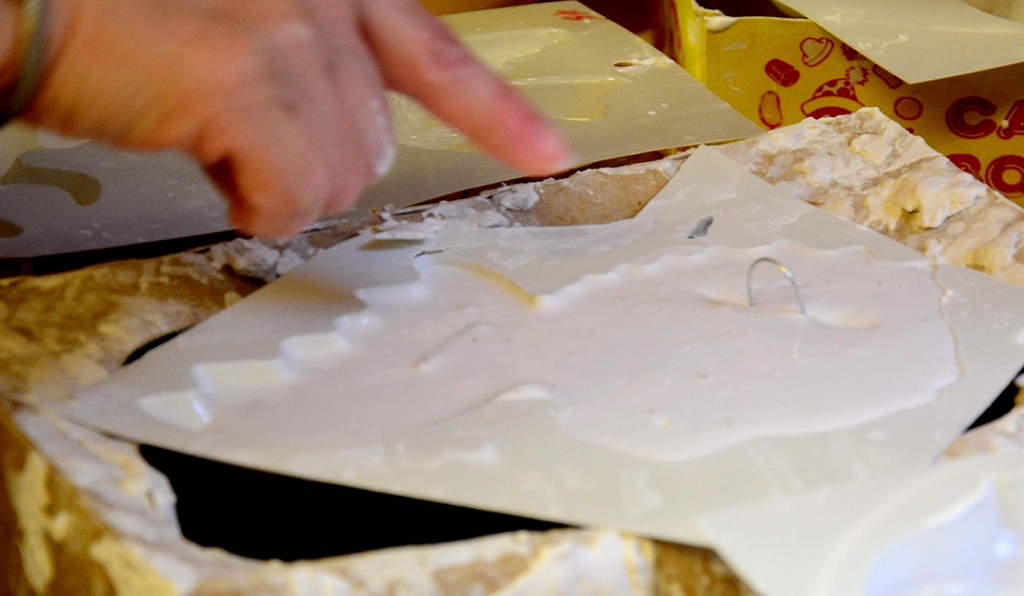
One batch filled 7 small/medium sized moulds.
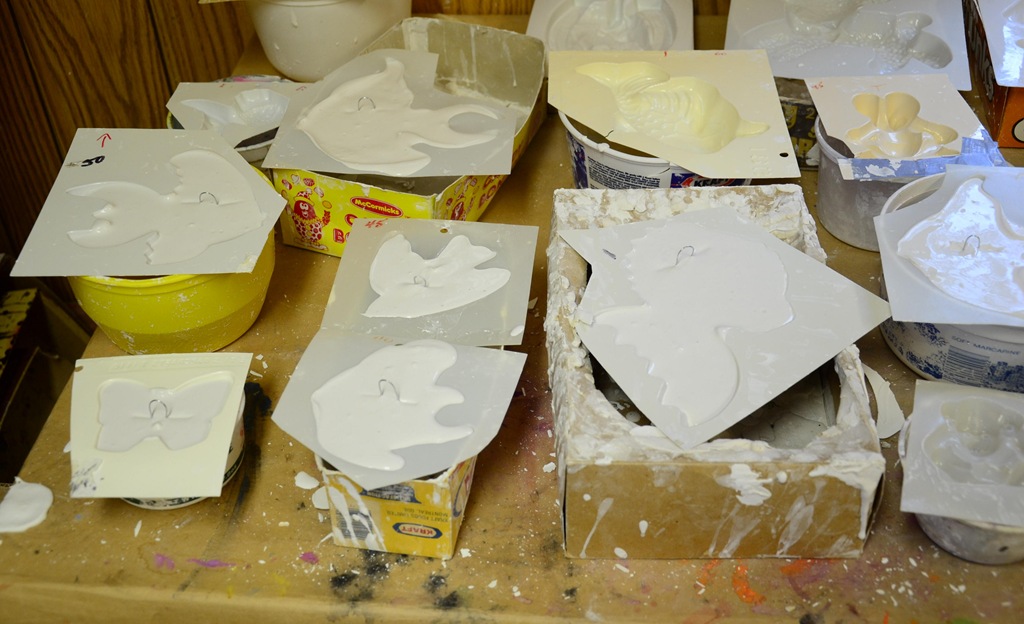
7. Once the plaster is all poured out, scrape the bowl as clean as you can {quickly!} with the spatula.
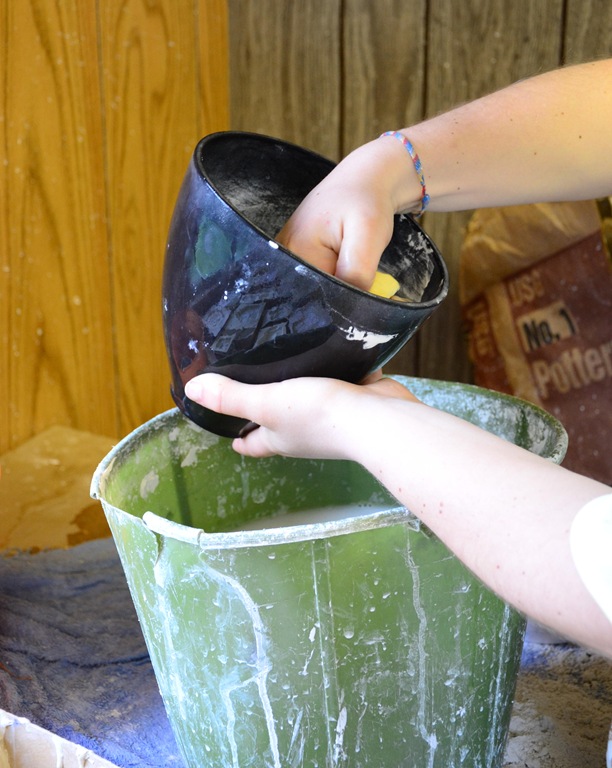
Immediately rinse all tools and the bowl in the bucket of rinse water. ***This is very, very important! NEVER EVER rinse out your tools in a sink… It would be equivalent to pouring cement down your drain!!! …
The moulds should be hardened and ready to pop out in about an hour (or less). They actually heat up as they are curing, and then when they feel cold again, they are ready to pop out.
Simply turn it over in your hand, give it a gentle “SMACK”, and out it will come! If you treat your moulds carefully, they will last for years and years… Some of ours are antiques, I’m sure.

We repeated this process as quickly as humanly possible for 2 1/2 work days. I lost count of how many moulds we now have… But, I’m guessing that each 50 pound bag will yield at least 150 small-medium moulds and 60 larger ones. {We’ve poured 3 bagsful and have 2 more to go…}
As they are drying, make sure there is some air space to flow around the back of them, as well. They are quite porous and filled with moisture, so you want to prevent mold from forming on the backs.

How do you use these plaster moulds for crafts for kids and adults?
This plaster craft is slightly unusual, and is a novelty for kids and adults alike. The craft is to customize each mould by painting it. Over the 2 decades I worked at camp, this craft was always a popular one!
We used liquid washable tempera paints for the smaller kids and acrylic paints for the adults. Once the paint has totally dried, the moulds can be sprayed with a clear sealer. Then, they can be hung on the wall as a decoration using the wire hanger on the back.
Other Camp Crafts Ideas & Tips
- Tips for choosing and planning camp crafts
- DIY Mosaic Mirror with beach rocks
- Watercolor easy paintings for all ages



If you are going for most excellent contents like I do,
simply go to see this website every day because it gives quality contents, thanks
My brother recommended I may like this blog. He was entirely right.
This post actually made my day. You can not consider simply how much time I had spent for this information! Thanks!
perfectvpshosting.com is offering at the summer sale cheap dedicated servers
starting at 90$ / month. all servers are dula quad core xeon servers ,
starting from 32 gb ddr3 ecc memory , 240 gb ssd drives till
1 tb ssd drive, 1gbps connection and great support
Napoleon’s invading army also stole many horses. The Andalusian does, in fact, “dish” – throw his forelegs in an outward arc before putting his feet to the ground.
The Andalusian has been recognized as an individual breed since the 15th century,
and its conformation has changed very little over the centuries.
I know this website gives quality based content and additional stuff, is there any other site which gives these information in quality?