
How to Make a Quick & Easy DIY Paper Bunting Banner
Add color and style to any space with an easy paper bunting banner. Using simple supplies, it can be made in minutes for a party or seasonal decor.
Sometimes we want to pep up our home with some fresh, new decor, but we just don’t want to spend money on more things!
I’m a huge fan of decorating using items you already have.
So, do you have some paper lying around your house? If so, this paper craft project is a DIY home decor idea that you can do!
I originally wrote this post when we lived in our previous house and had just done a little entryway makeover.
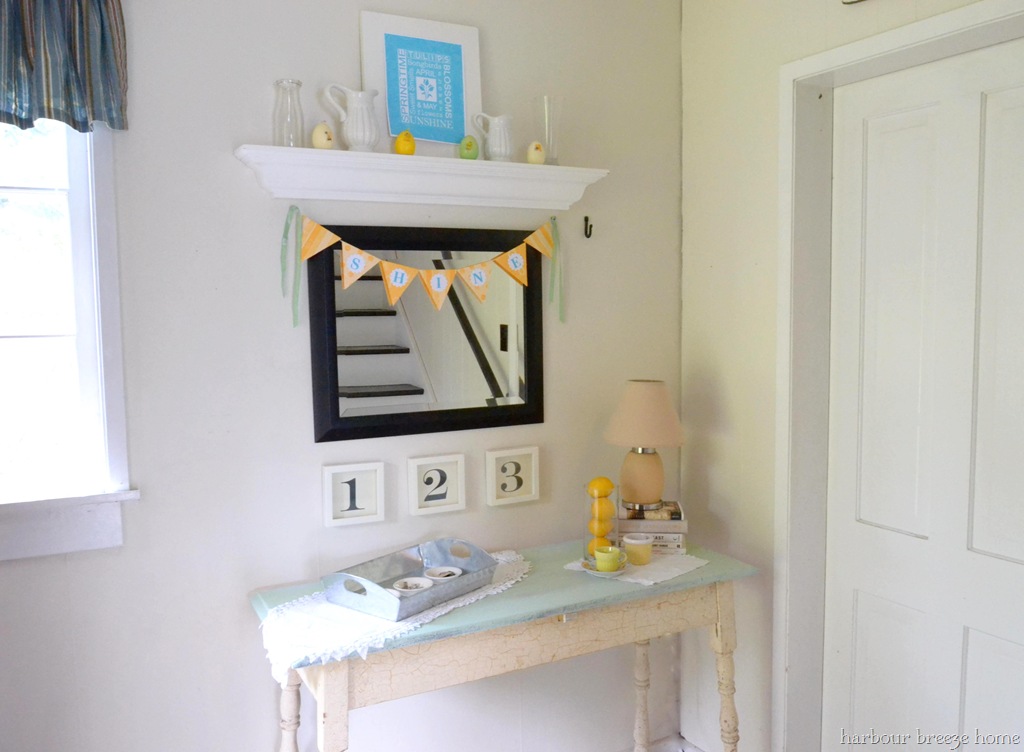
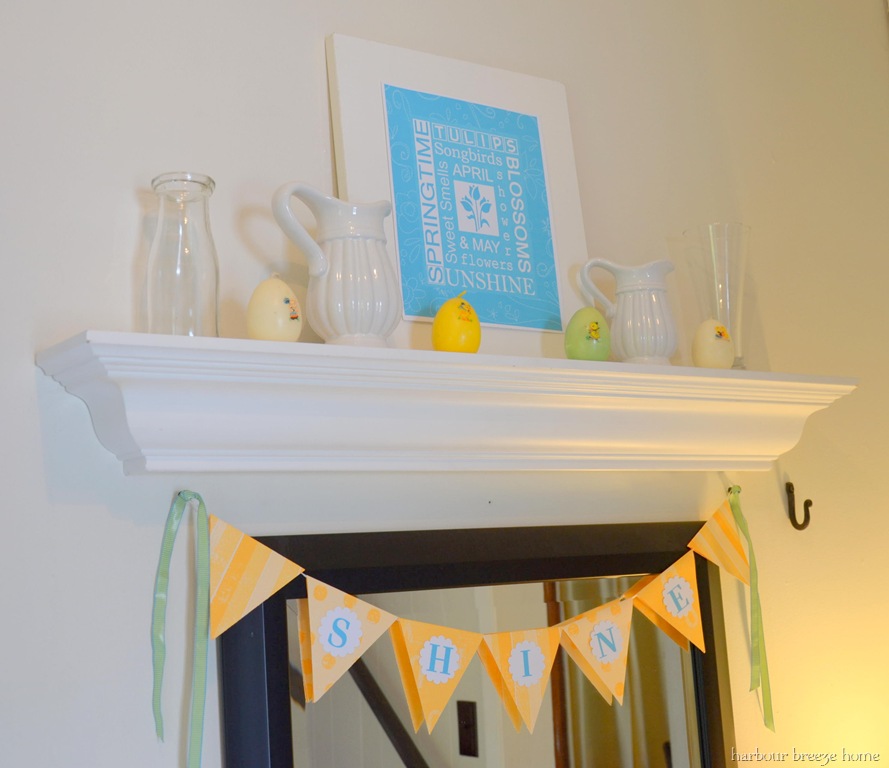
In the process, I wanted to add some yellow decor. I reached for my scrapbooking supplies and this is what I came up with.
How to make an Easy Paper Bunting Banner
Disclosure: This post contains affiliate links for your shopping convenience.
Supplies you’ll need for this craft:
- 61 inches of lightweight string or baker’s twine
- 3 pieces of 12x 12 inch patterned paper that have coordinating patterns.
- Paper Cutter (or scissors and a ruler)
- Double sided tape.
- White cardstock
- Round paper punch
- Letter stamps (or print letters on the computer printer)
- Decorative ribbon for the ends
Instructions:
1. Cut a piece of lightweight string 61 inches. Fold it in half and knot the two cut ends.
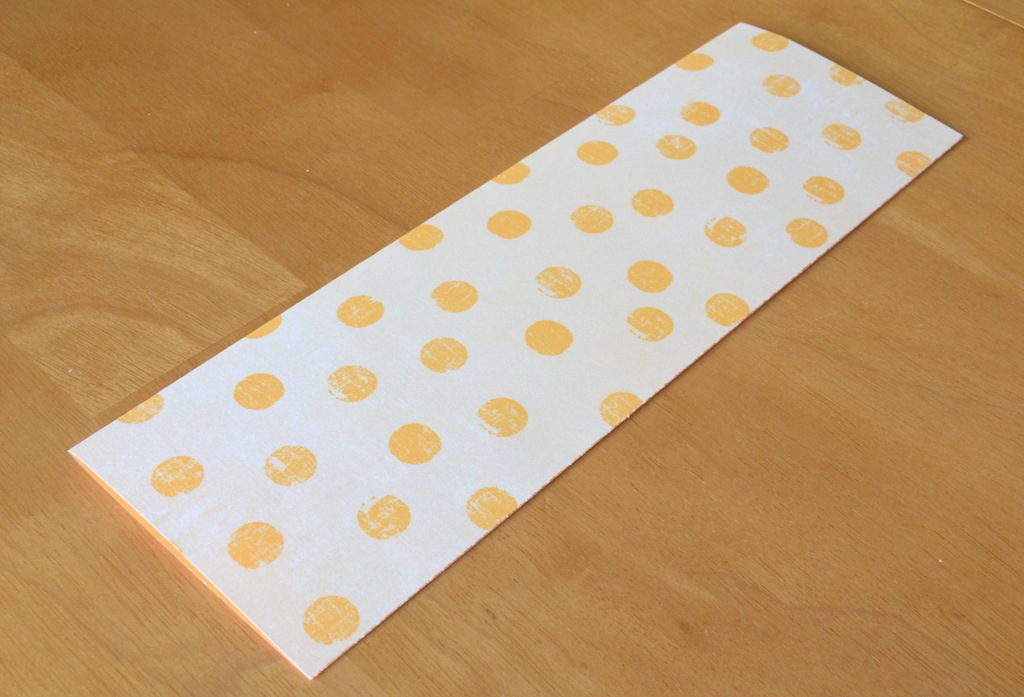
2. Using 3 pieces of coordinating 12 x 12 pieces of scrapbooking paper, cut each piece to measure 8 x 12.

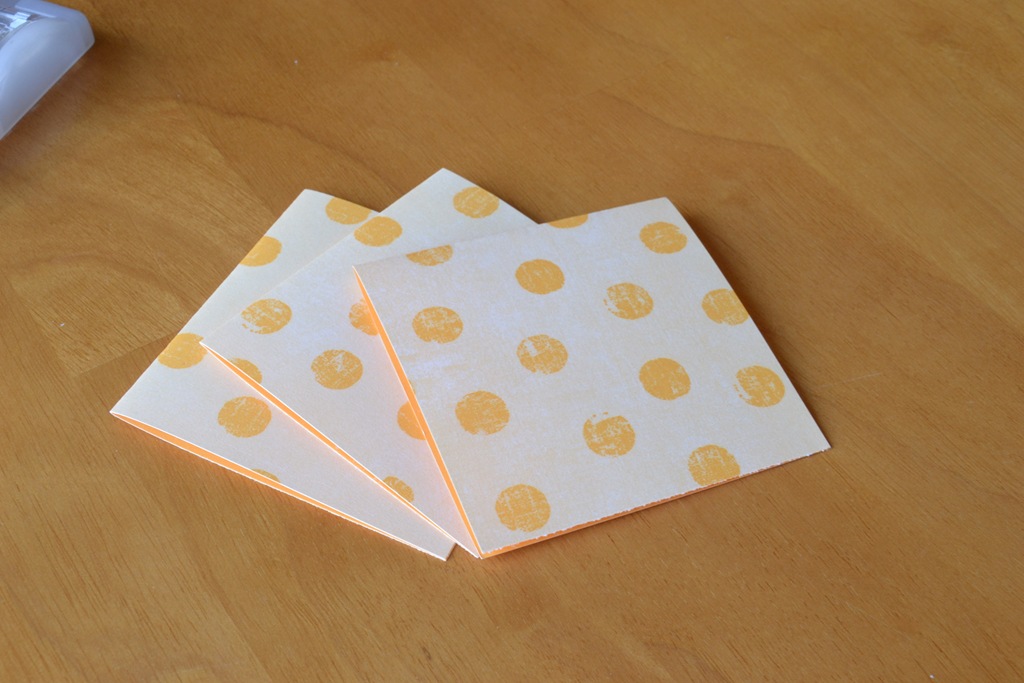
3. Fold each piece, then, so that it will measure 4 x 12.
Cutting at the folded area, cut again at 4 inches. Now you should have pieces that are 4 x 4 when folded.
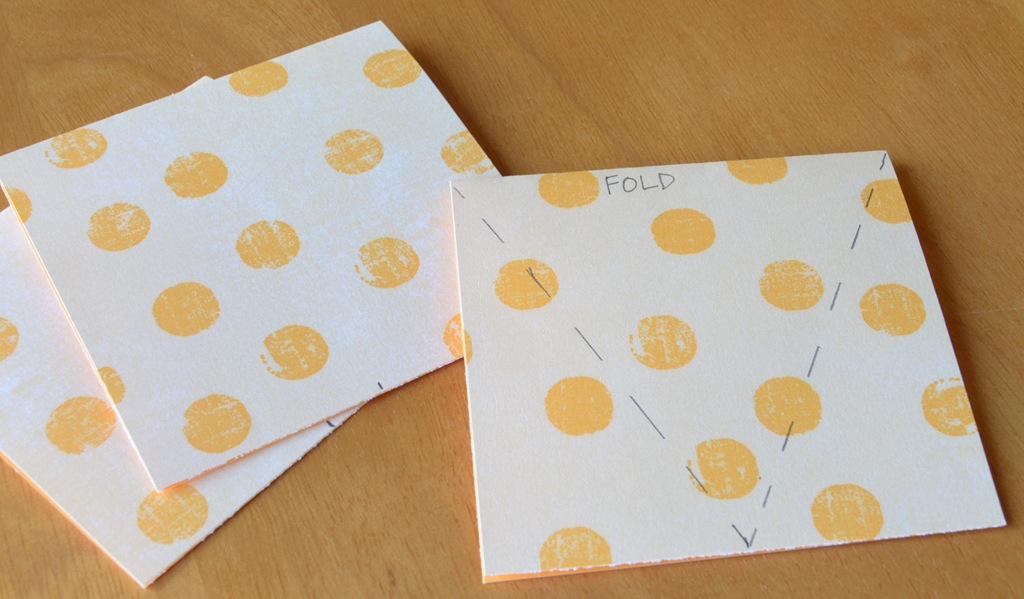
4. Mark at the unfolded part 2 inches over, and cut to form a triangle.
5. Once all your triangles are cut, arrange them with the string on the inside of the folded triangles. {You will have a few extra triangles.}
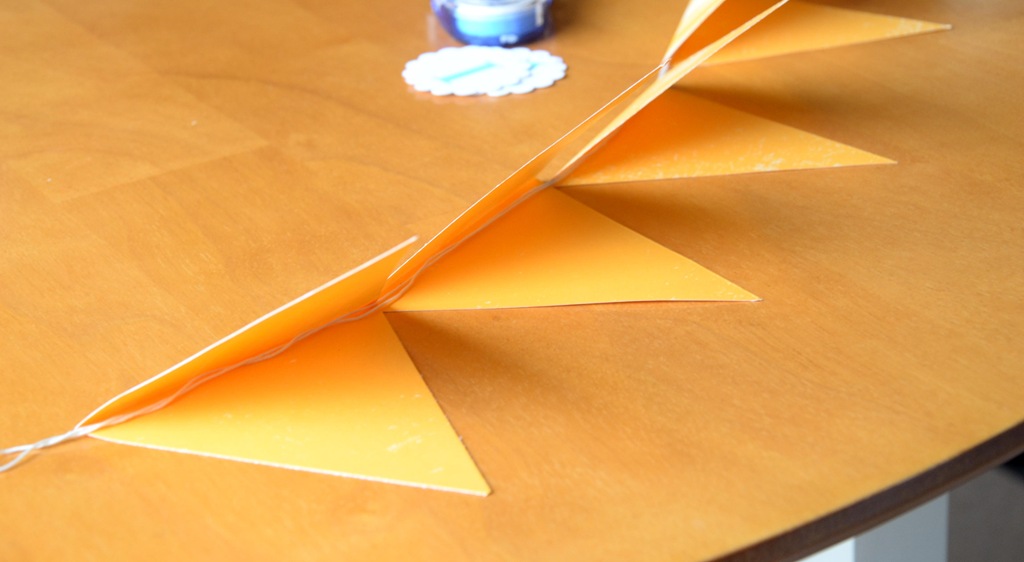
6. Tape with double-sided tape.

7. Using your computer printer {or alphabet stamp set, if you have one}, print out the letters you’d like to use onto white cardstock. I then punched mine out with a 2 inch scallop circle punch and taped them to the front.
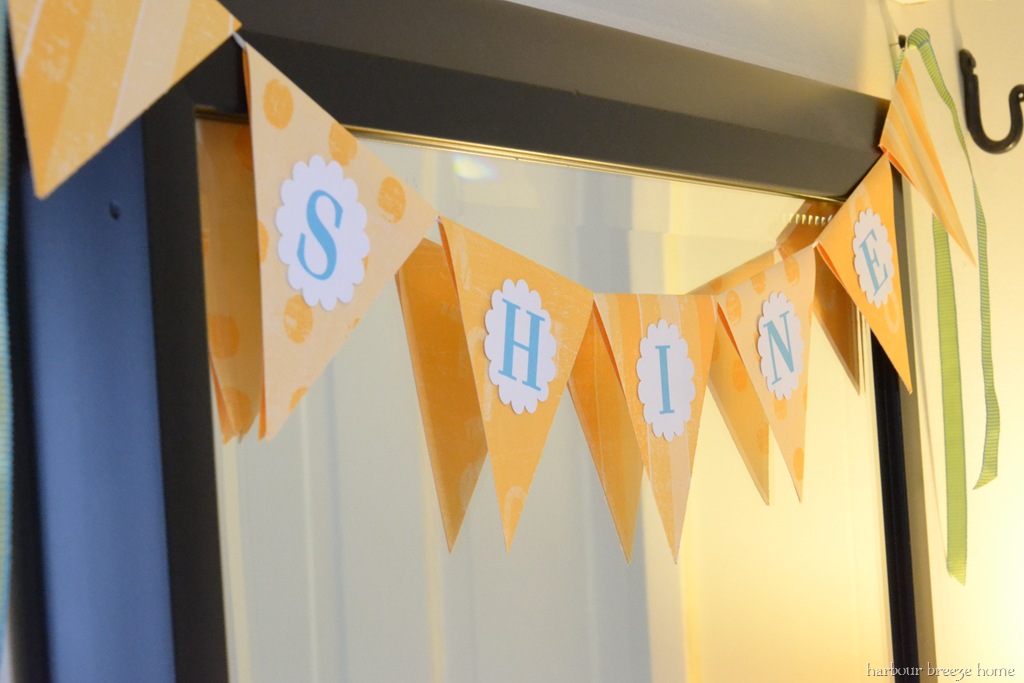
8. I attached the string to the wall with thumbtacks, and covered them with some knotted ribbon.
That’s it!
How to Make a Quick & Easy DIY Paper Bunting Banner
Add color and style to any space with an easy paper bunting banner. Using simple supplies, it can be made quickly for a party or seasonal decor.
Materials
- 61 inches of lightweight string or baker’s twine
- 3 pieces of 12x 12 inch patterned paper that have coordinating patterns.
- Paper Cutter (or scissors and a ruler)
- Double sided tape.
- White cardstock
- Round paper punch
- Letter stamps (or print letters on the computer printer)
- Decorative ribbon for the ends
Instructions
1. Cut a piece of lightweight string 61 inches. Fold it in half and knot the two cut ends.
2. Using 3 pieces of coordinating 12 x 12 pieces of scrapbooking paper, cut each piece to measure 8 x 12.
3. Fold each piece, then, so that it will measure 4 x 12. Cutting at the folded area, cut again at 4 inches. Now you should have pieces that are 4 x 4 when folded.
4. Mark at the unfolded part 2 inches over, and cut to form a triangle.
5. Once all your triangles are cut, arrange them with the string on the inside of the folded triangles. {You will have a few extra triangles.}
6. Tape the inside of the triangles together with double-sided tape.
Linking to: Chic on a Shoestring, Sugar Bee Crafts
More
Paper Craft Projects
Post originally published on Feb. 23, 2012. Updated with new content and format Feb. 2, 2022

Working on making one for my best friends baby shower…question though, what size scallop punch did you use?
very nice… I made some and used brads to connect them together…but I really like this idea too.