
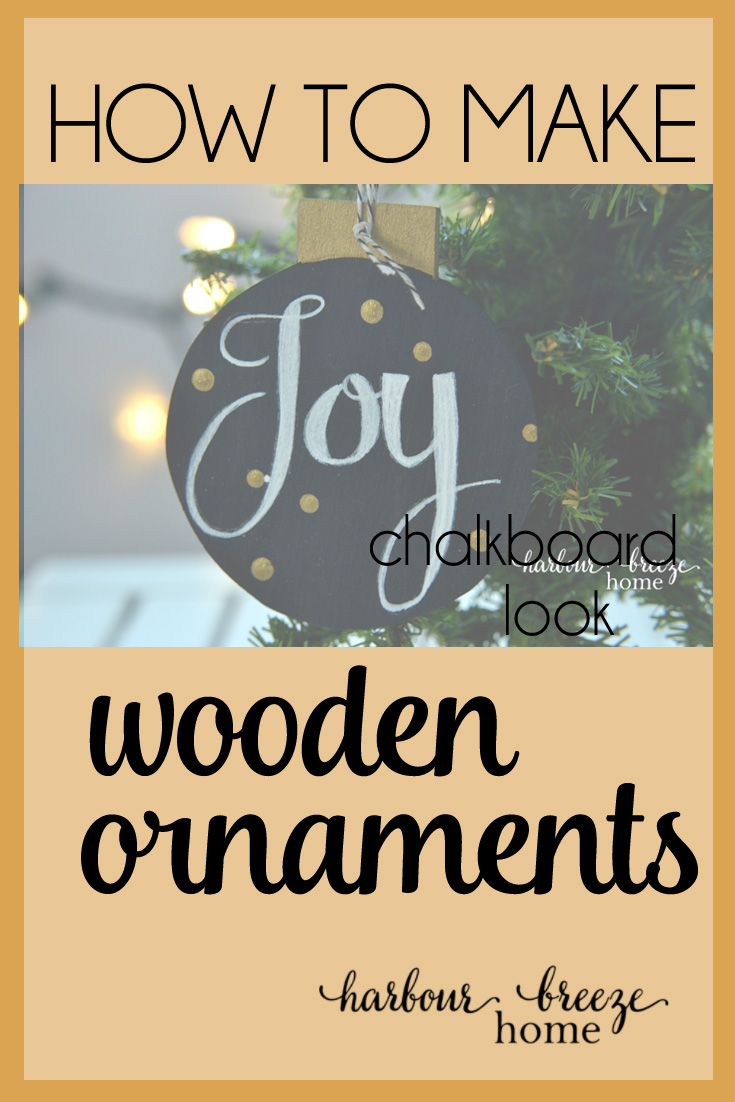
DIY Chalkboard Christmas Ornament
This DIY Chalkboard Christmas Ornament has a secret. It’s not really a chalkboard – it just looks like one!
For today’s chalkboard ornament tutorial, you’ll need to dust off those power tools that have been sitting un-used for a while. At least that’s what we needed to do!:)

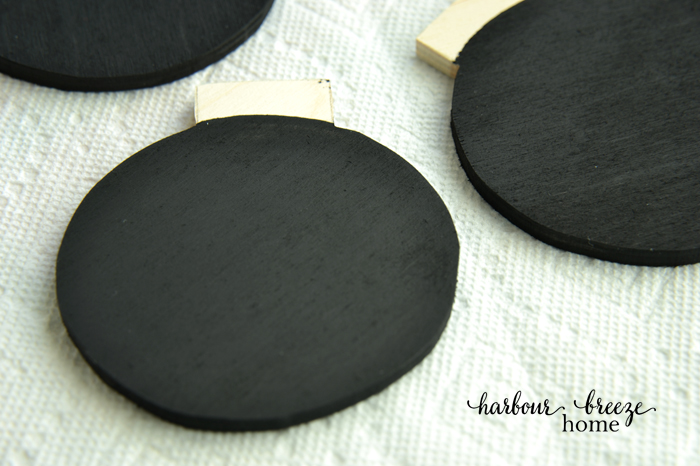
This simple wooden project is made out of 1/4 inch baltic birch plywood that was cut out using a scroll saw. My husband enjoys that kind of thing, so he cuts it out and I paint. (If you want to learn how to use a scroll saw yourself, I found this tutorial for you.)
This pattern is a 4 inch circle with a little rectangle on the top (like an ornament). I made a pattern on a piece of cardboard (from cereal), and then we traced around it onto the wood to make a whole bunch of ornaments right away.
Chalkboard Look Ornament Tutorial:
- Once the ornaments are cut out, base coat the main circle sides, front, and back with black acrylic paint.
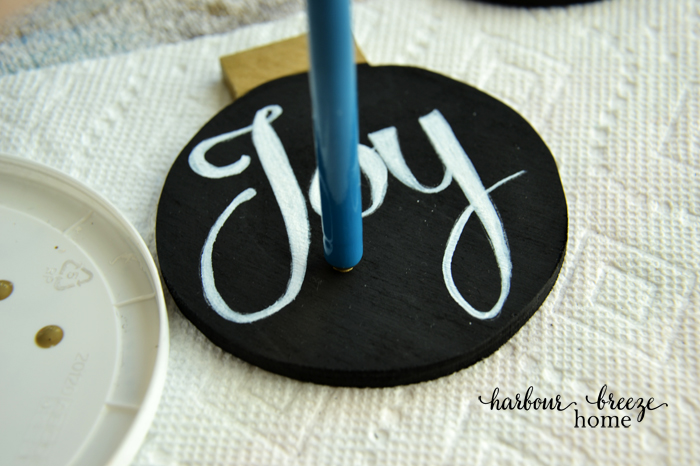
2. When the black paint is completely dry, paint the ornament top (sides, front and back) with metallic gold acrylic paint.
3. Using white graphite paper and a pattern from your favorite font, trace the word “Joy” onto the front of the ornament. (Find a video tutorial on this step here.)

4. Paint the word “joy” with white acrylic paint. (I show you how I paint letters in this tutorial.)
5. Once the word is dry, add polka dots by dipping the end of a paintbrush into gold paint and gently pressing onto the ornament.

6. To finish off the ornament, drill a small hole in the top and tie on baker’s twine or string as a hanger.
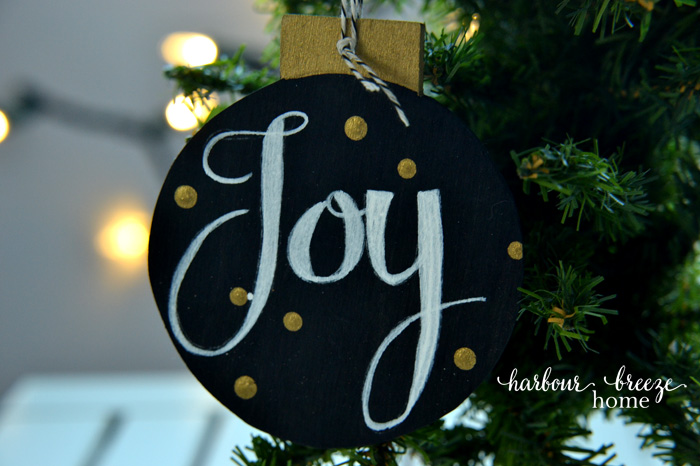
Although I’ve painted these to be a chalkboard look, you could easily modify this to be actual chalkboard ornaments using chalkboard paint (it comes in lots of colors now, too!) and chalk.
Happy painting!
PS. I’ve decided to go with a black and white color scheme on my tree this year. What colors are going to be on yours?
See the other 12 Days of Handmade Christmas Ideas here.
Linking to : Get Your DIY on Link Party


Hi Rita,
These are so cute! I wanted to make and incorporate some chalkboard ornaments this year and never quite got to it!
Happy Holidays to you:)