
How to Attach Custom Images to Fabric
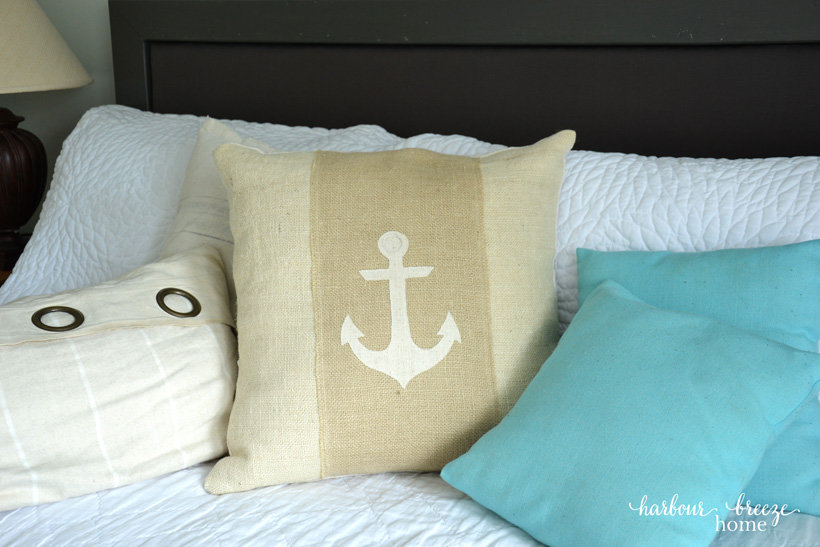
I was recently window shopping in a local gift shop when my eyes landed on a burlap throw pillow I loved. It got my mind whirring with creative ideas, and this time, I decided to go with it.
The inspiration pillow had an actual iron anchor tied to the front of it. Since I was right out of miniature iron anchors (ha!:)), I decided to attach a fabric anchor instead.
How to Attach Custom Images to Fabric:
Find the image of your choosing and print it out in the size you desire.
Iron on a piece of Heat and Bond (like this) to the fabric you want your image to be of following the package directions. (The bumpy side will go towards the fabric; The paper side will touch the iron.)

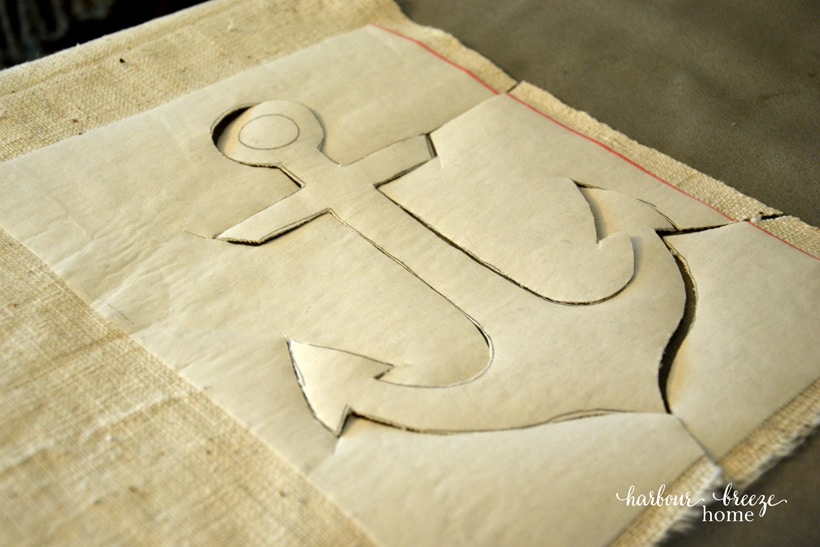
Using carbon paper, trace the image onto the heat and bond paper and cut out the image.
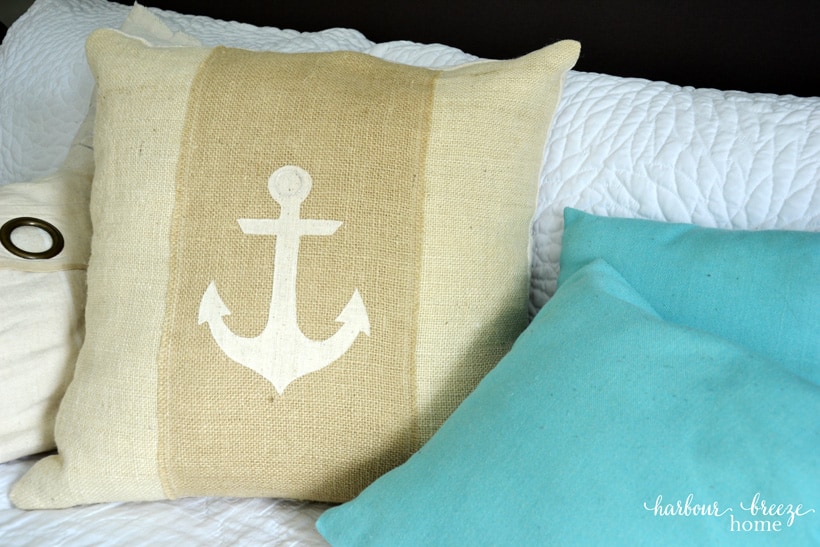
Peel off the paper backing and iron onto the pillow front in the desired position.
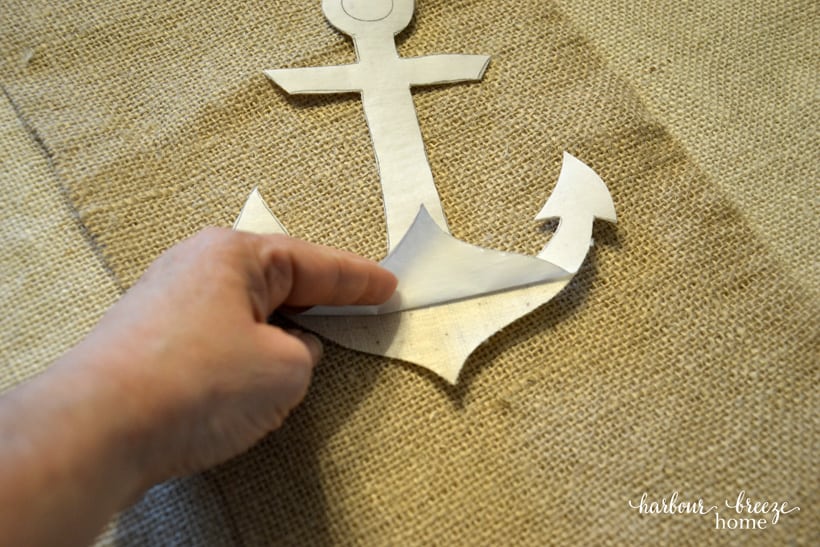
(For this particular pillow, I had thee layers to the front of the pillow ~ the liner out of linen, white burlap, and a strip of brown burlap. The anchor was cut out of the linen fabric.)
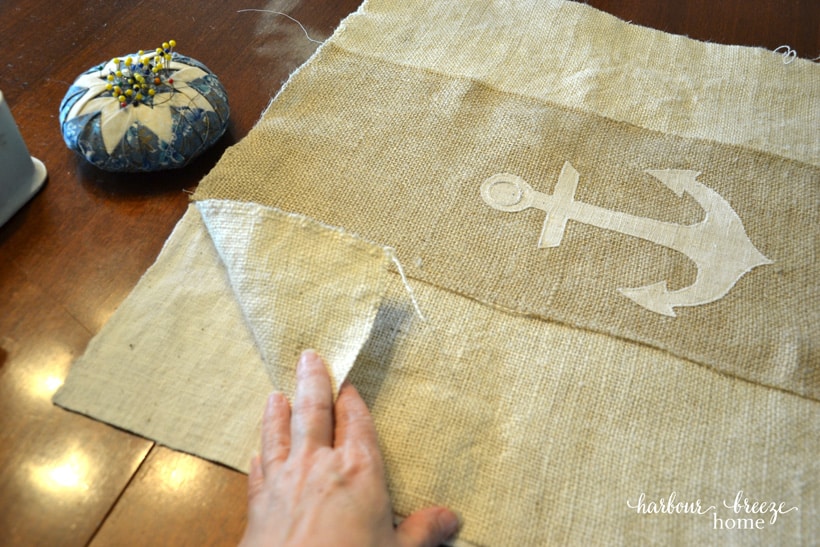
The heat and bond will allow the image to securely attach to the fabric it is ironed to. Once ironed into place you may choose to use your sewing machine to stitch a seam close to the edge (which I did). This gives a little more definition to the image and also helps it to be more securely attached.
I did a quick Facebook Live of this step, so if you want to see Heat & Bond in action, here it is!
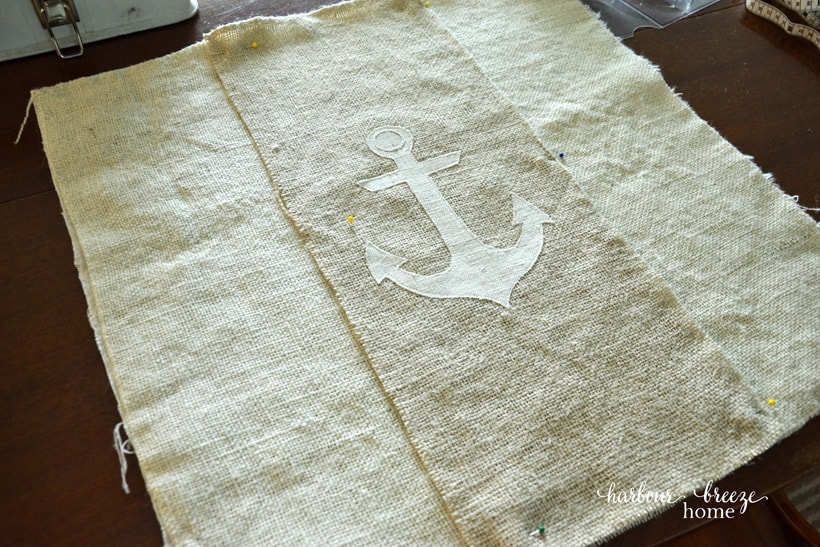
I also hand-embroidered the circle line at the top of the anchor.
You can find a detailed tutorial on how the pillow was sewed over at my guest post on Kenarry: Ideas for the Home.
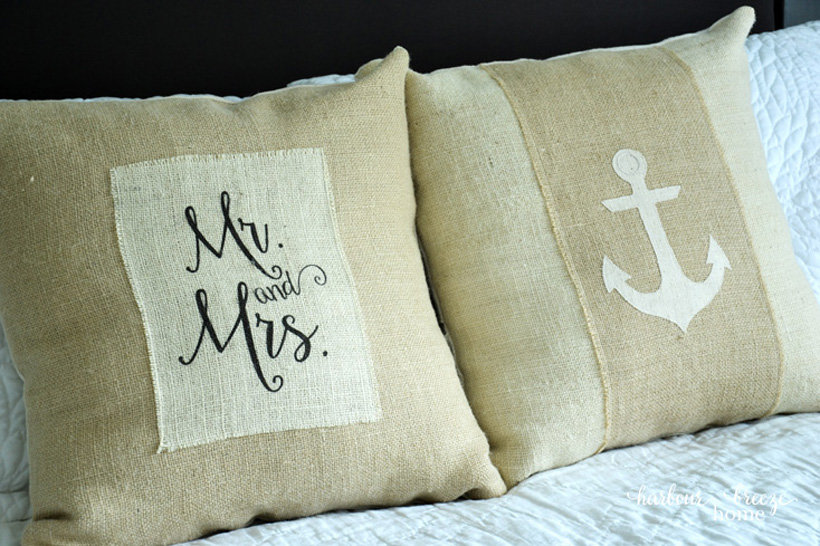
I’m also sharing how I printed that “Mr. and Mrs.” onto burlap using my home printer! (It was a bit of a trial and error experiment!!)

Looking for some more diy pillow tutorials? Here’s some I’ve done before:
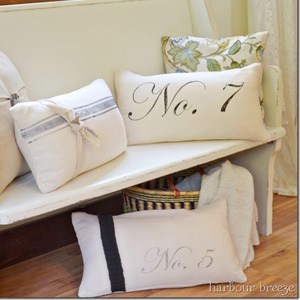
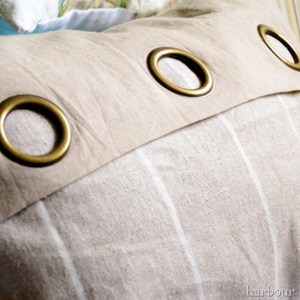
Turn a Grommet Curtain Into a Pillow
And, here is a simple envelope pillow tutorial.
Happy Sewing!:)


DON’T MISS A THING!
Join my list for more ideas for you and your home…