How to Make Simple & Meaningful DIY Scandinavian Christmas Ornaments Using Fabric
Learn how to make DIY Scandinavian Christmas tree ornaments using fabric and letter stamps.
I love Christmas decor inspired by Scandinavian hygge – “simple, cozy, and relaxed”.
Some Scandinavian style decor is mainly white & neutral elements. Although I really love that look, sometimes I enjoy a little splash of color.
Since I had fabric leftover from our flannel pillow covers, I decided to use some for simple DIY Christmas ornaments.
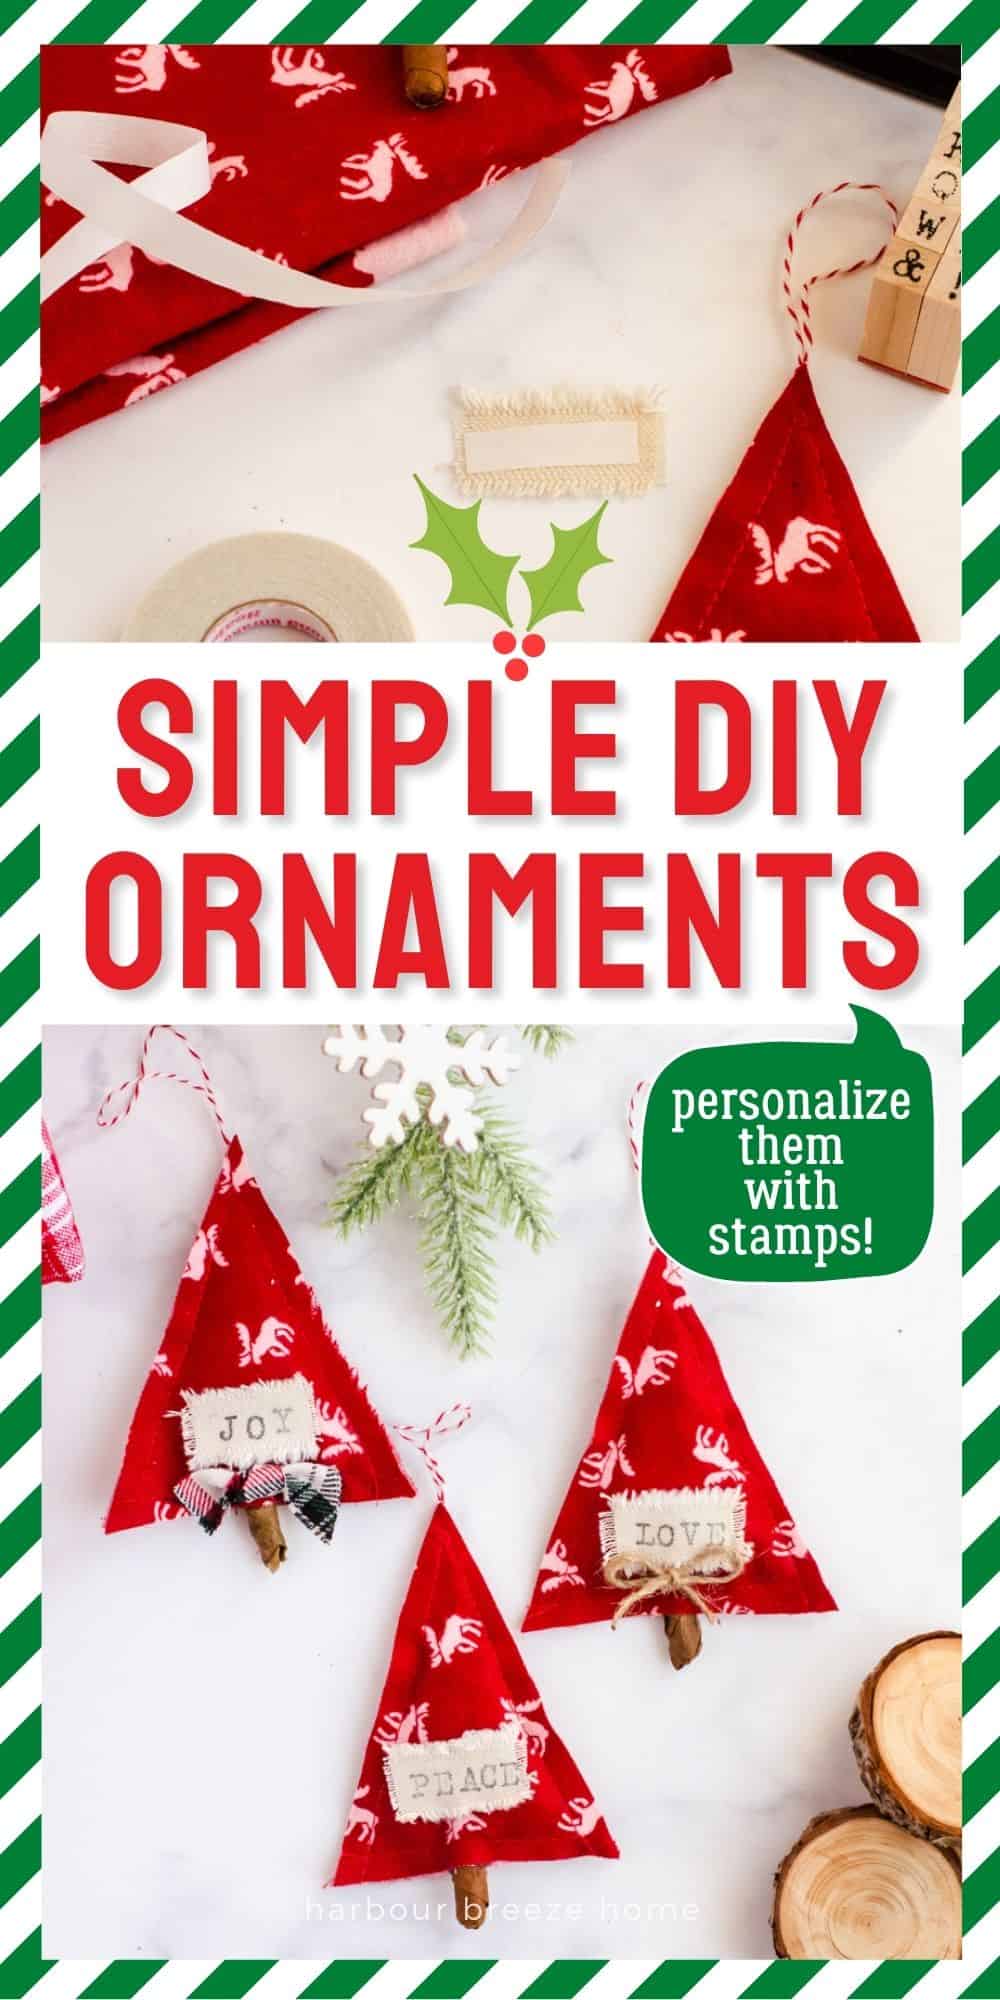
DIY Scandinavian Christmas Tree Ornaments
Disclosure: This post contains affiliate links for your shopping convenience.
Supplies you’ll need for these fabric Christmas ornaments:
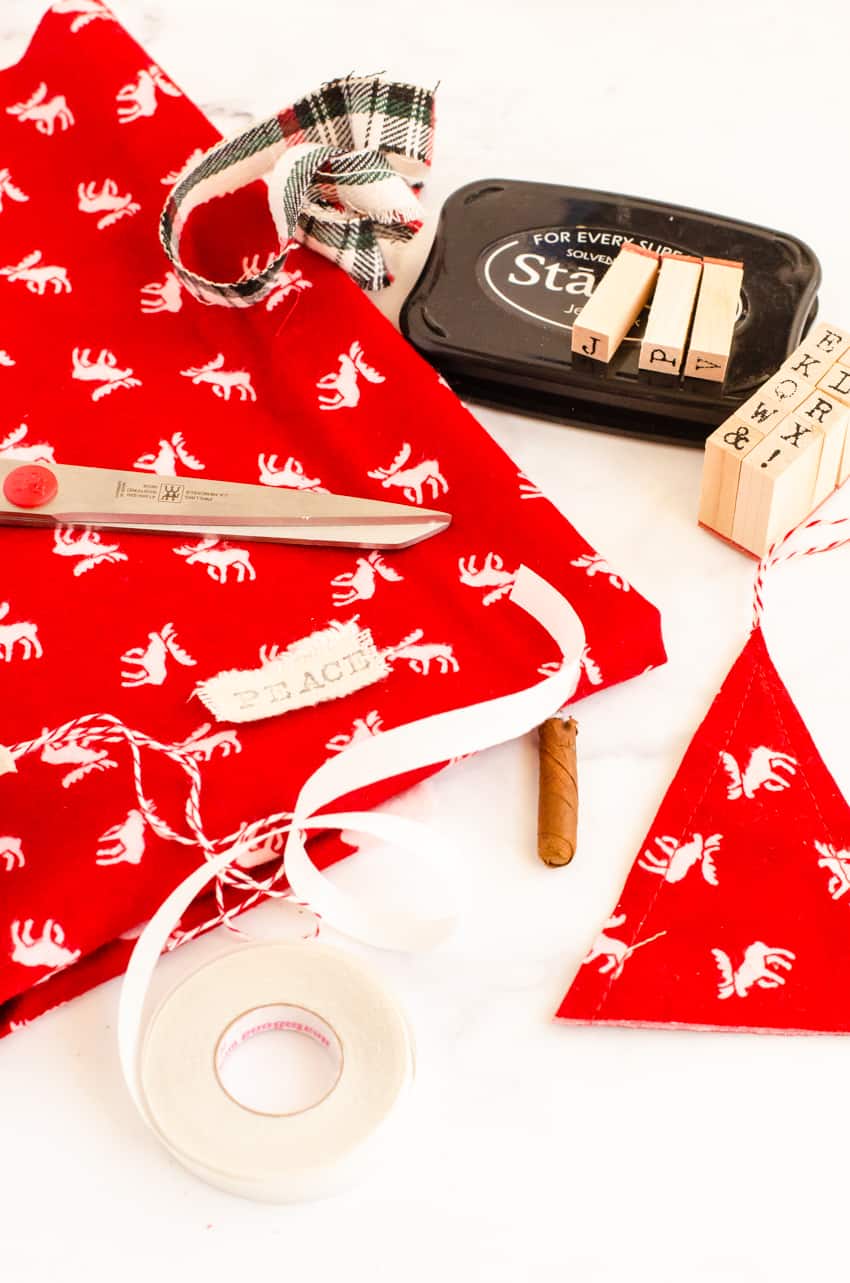
- fabric
- sewing machine
- heat n bond hem tape
- twig
- iron
- baker’s twine, ribbon, or jute for hanging
- letter stamps (here’s another letter stamp option)
- permanent stamp ink
- cotton batting or paper strips for stuffing
Step 1: Make a tree pattern the size of ornament you’d like out of paper. Cut 2 pieces of fabric for each Christmas tree ornament.
To make a simple Christmas tree pattern out of paper, decide the width of the bottom of the tree you’d like, as well as the height. Cut out a rectangle that size. Fold it in half. Cut the bottom corner at the open end diagonally to the top to create a triangle. Open it up and you’ll have a tree! My ornament measures 4 inches wide at the bottom and 5 inches tall.
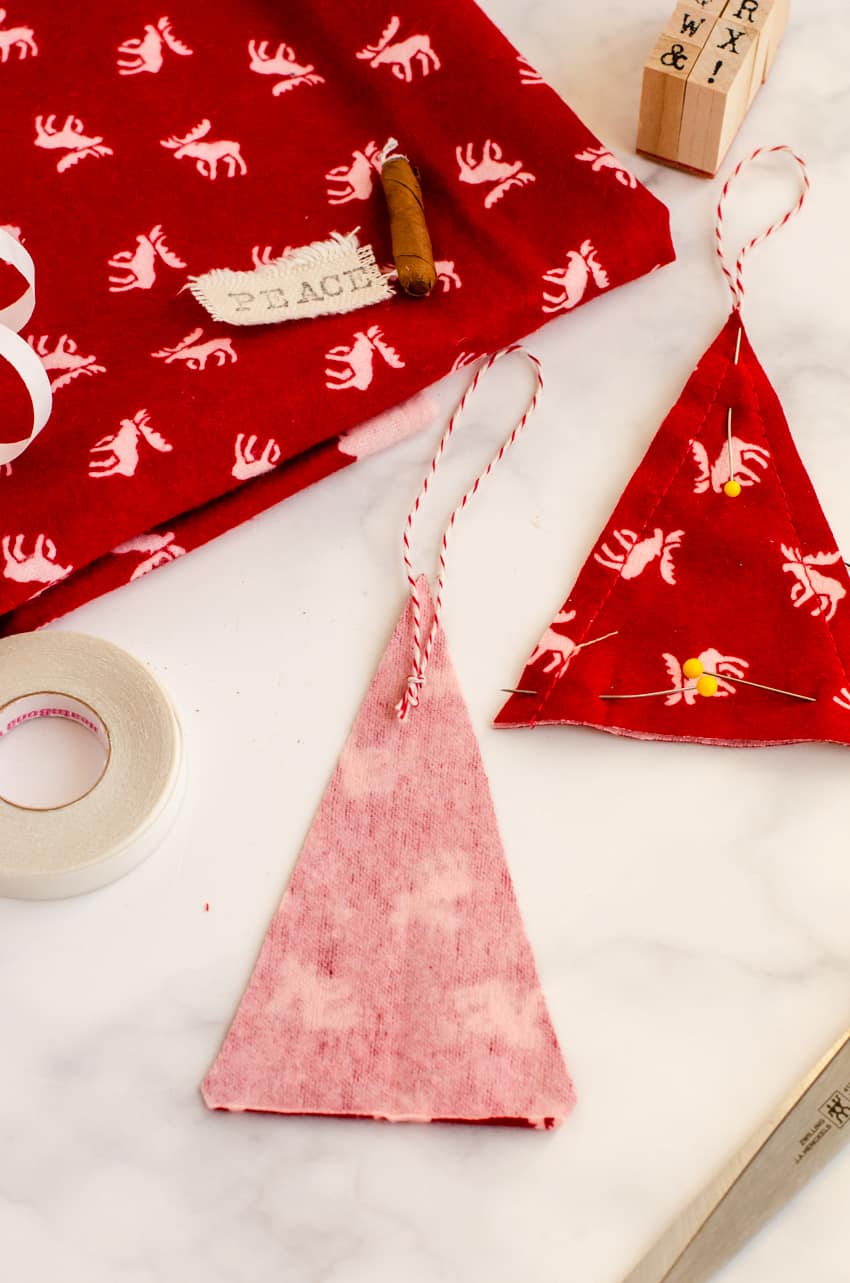
Step 2: Cut the baker’s twine or ribbon to 12 inches in length. Make a knot at the bottom and place just below the top of the tree point (on the back side of one tree).
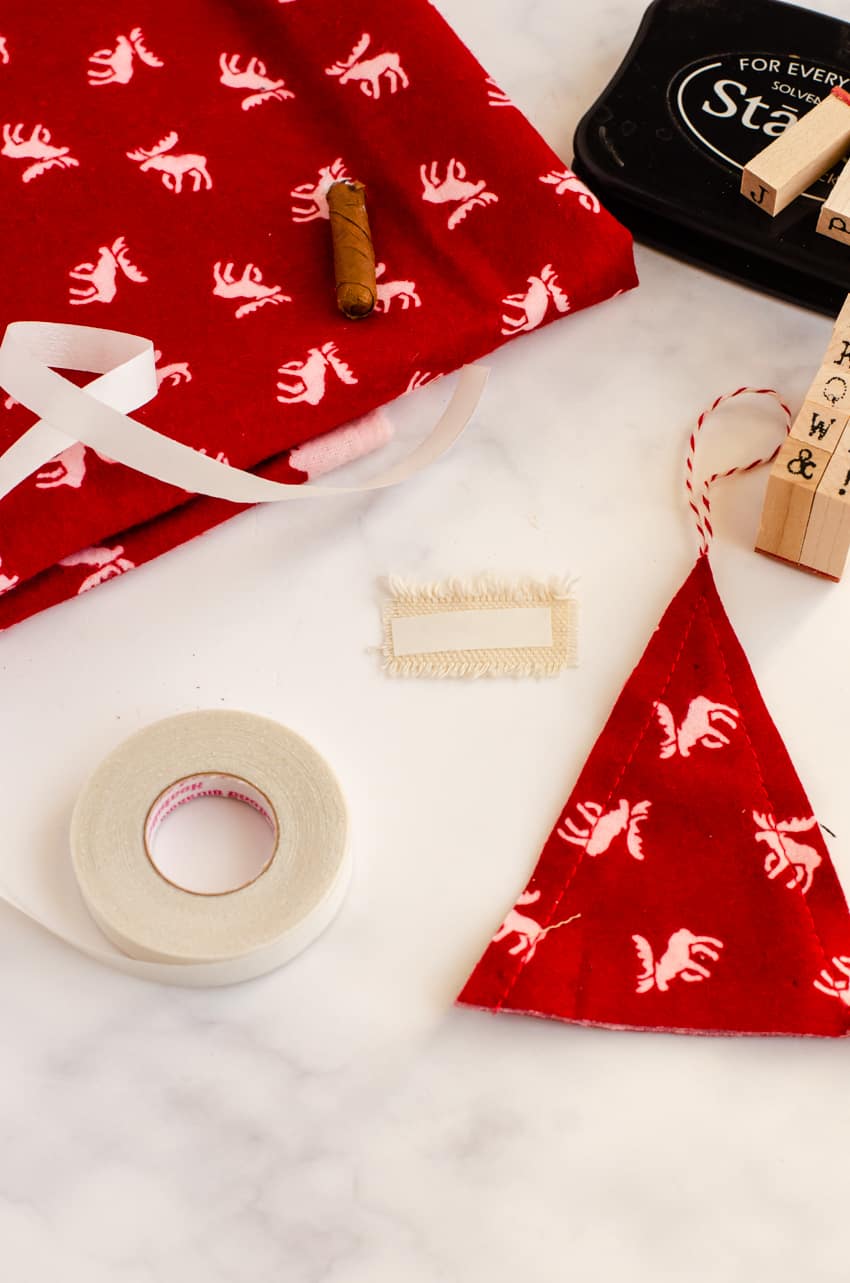
Step 3: Using 1/2 inch seam, sew up both sides of the tree, ensuring the twine hanger is sewn between the layers.
Step 4: Rip a plain colored piece of cotton fabric into a strip 3/4 inch wide and fray the edges. Iron on a piece of heat and bond seam tape to the back side.
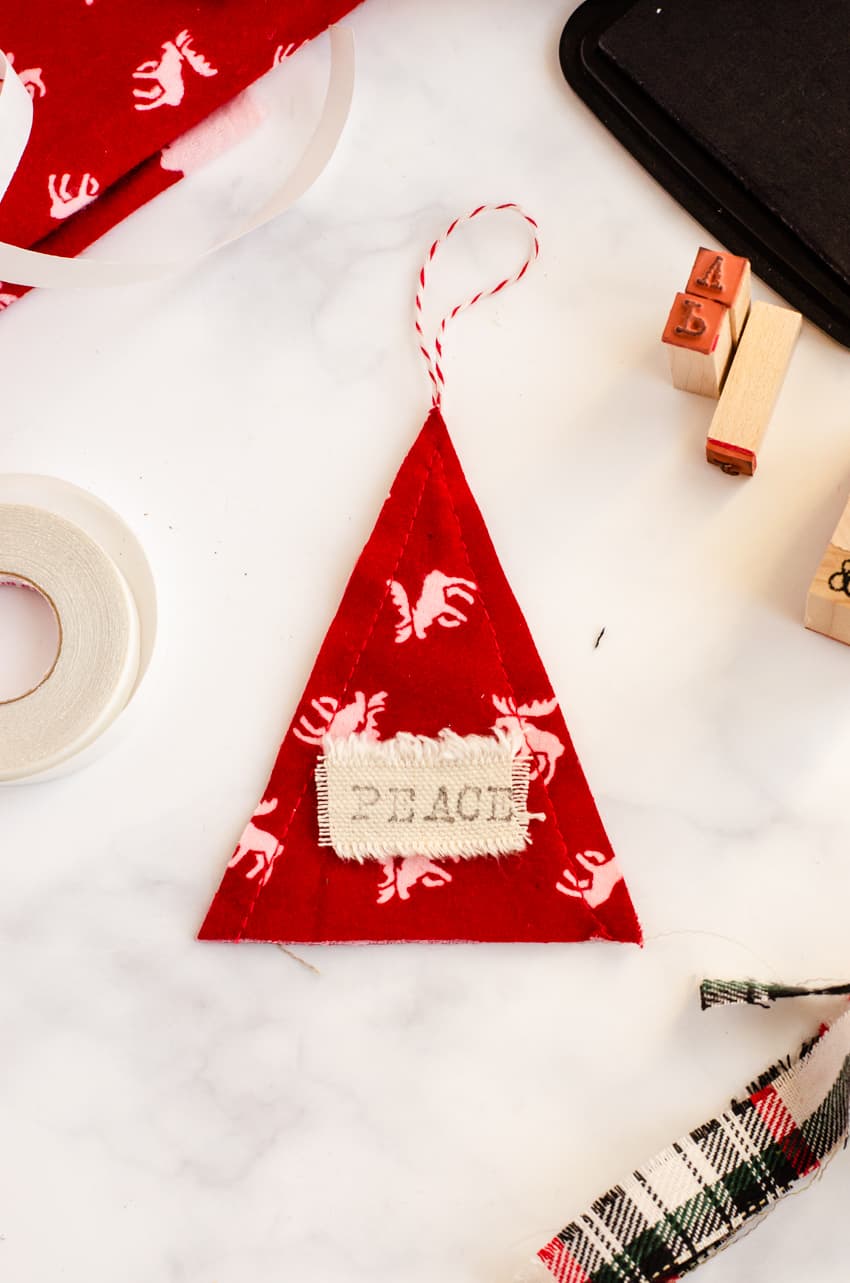
Step 5: Using letter stamps and permanent stamp ink, stamp on whatever word you’d like. Once stamped, peel off the heat and bond backing and iron on to the front of the ornament.
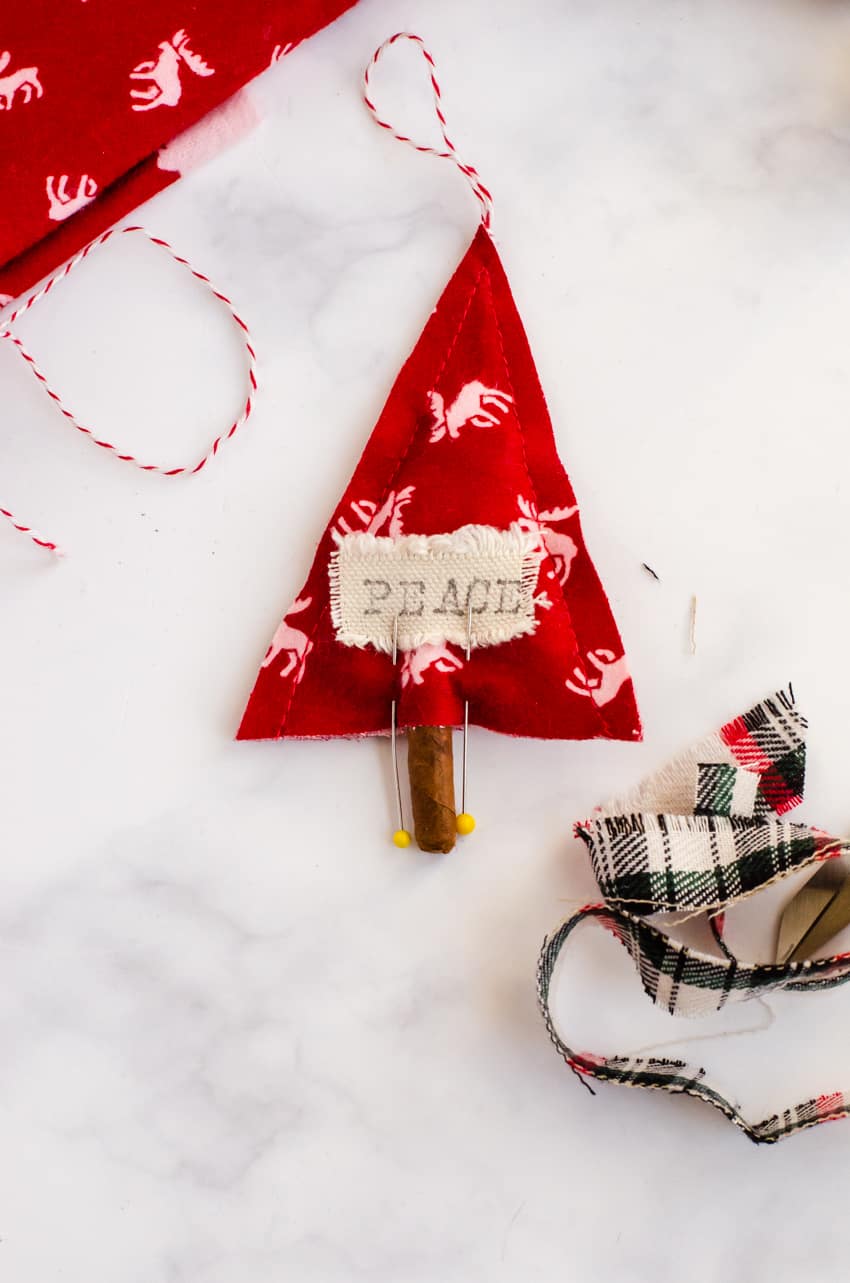
Step 6: Slightly stuff the tree with batting (or shredded paper from the shredded paper bin like I did!). Position the twig “trunk” into the center of the bottom and mark where it will go. Sew up the bottom, stopping where the trunk will be placed. Once sewn, glue the twig in place with hot glue.
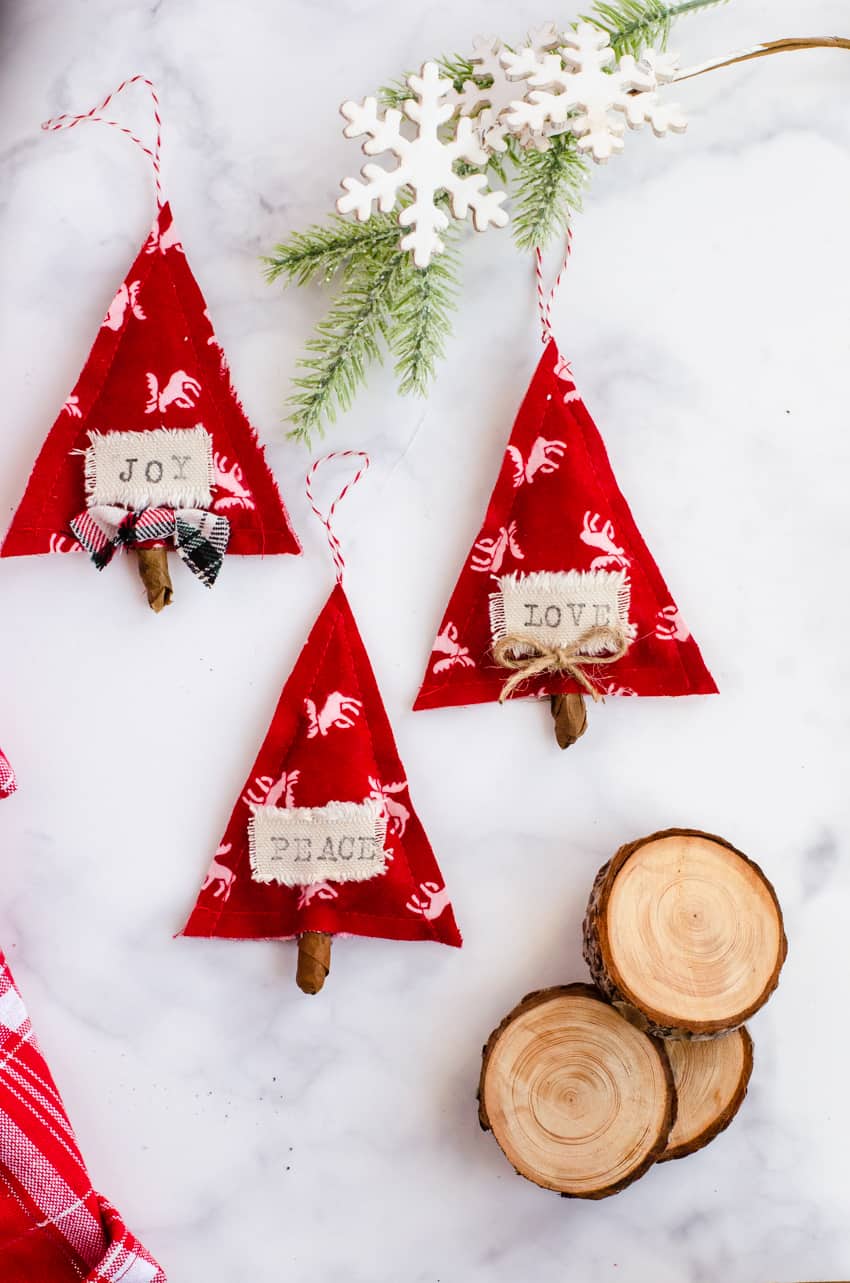
These ornaments look great hung on the tree.
Or, they could be stamped with people’s names and used as creative gift tags!

For more DIY Christmas Tree Ornaments, you might want to check out:
- Snow Globe Ornament from Dollar Tree Supplies
- How to Make Paper Star Ornaments
- Bird Ornaments
- DIY Chalkboard Christmas Ornament
For more crafts & ideas for your home all year round, join our VIP group!
Become a VIP newsletter subscriber and get instant access to the library of free printables (including Christmas gift tags!). Click the button below to join today.






Thank you for sharing. I can’t wait to make these with my grand daughters!
These are absolutely adorable. Thanks for sharing. I just love homemade ornaments on the tree.
❤️❤️❤️❤️🌲🌲🌲🌲 Thanks so much for sharing adorable!!
These are so darn cute! Thanks for sharing! It looks so festive!
These little are so cute. Thanks for sharing 😊
Your Scandinavian ornaments are so adorable! Love the stamped detail and the pretty red fabric.