
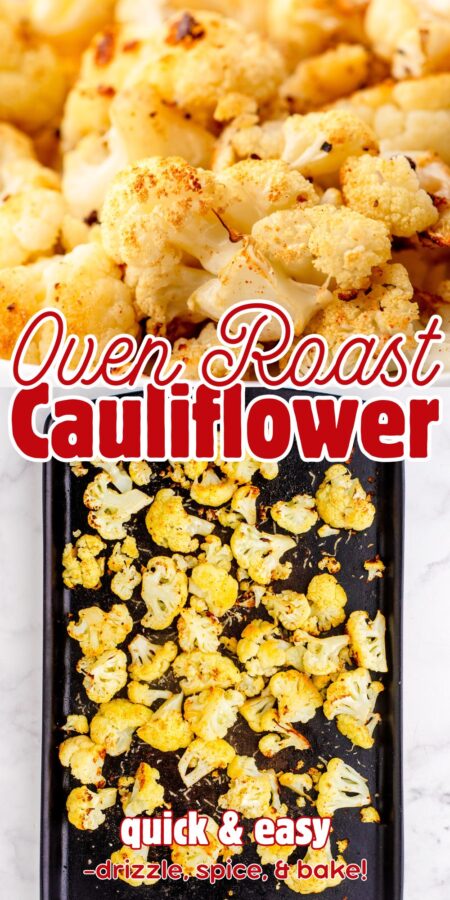
Comfort Food Roasted Cauliflower
With a drizzle of olive oil and sprinkle of seasoning, this comfort food roasted cauliflower has officially earned a spot in my “healthy” meal plan—because I’m learning even veggies can feel like a warm hug.

Want just the recipe? Here you go!
Full disclosure, my friend: For those of you who landed here just for the super yummy and easy recipe, it’s right below. But, if you want a little story time with Grandma Rita, scroll down past the recipe card… And remember— if you just need your cauliflower recipe STAT—scroll back up and hit that “Jump to Recipe” button. It’ll take you straight to the printable recipe card. You’re welcome. 😉
I now lovingly refer to this recipe as Comfort Food Roasted Cauliflower.
I know. You’re giving me side-eye right now thinking, cauliflower isn’t comfort food. But here’s the thing: I’ve decided to redefine what comfort food means to me now. It’s no longer about creamy casseroles and cheesy pasta (although—don’t worry, I still love those, too!). It’s about food that makes my body feel comfortable.
Roasted cauliflower checks all the boxes: warm, savory, filling, flavorful. And when I found myself reaching for it during a busy lunch hour, it truly felt like a little veggie friend saying, “You’ve got this.”
So let’s make it!
Why You’ll Love This Roasted Cauliflower
- It’s easy, fast, and requires zero fancy tools.
- It tastes even better the next day (hello, leftovers! It went great with my Greek salad meal prep).
- You can season it however you want—spices are your friend!
- It makes you feel good.
- Optional cheese on top… need I say more?
Just a few ingredients
How to Make Comfort Food Roasted Cauliflower
You can find the full, detailed instructions in the recipe card below.
1. Toss cauliflower florets in olive oil and spices. 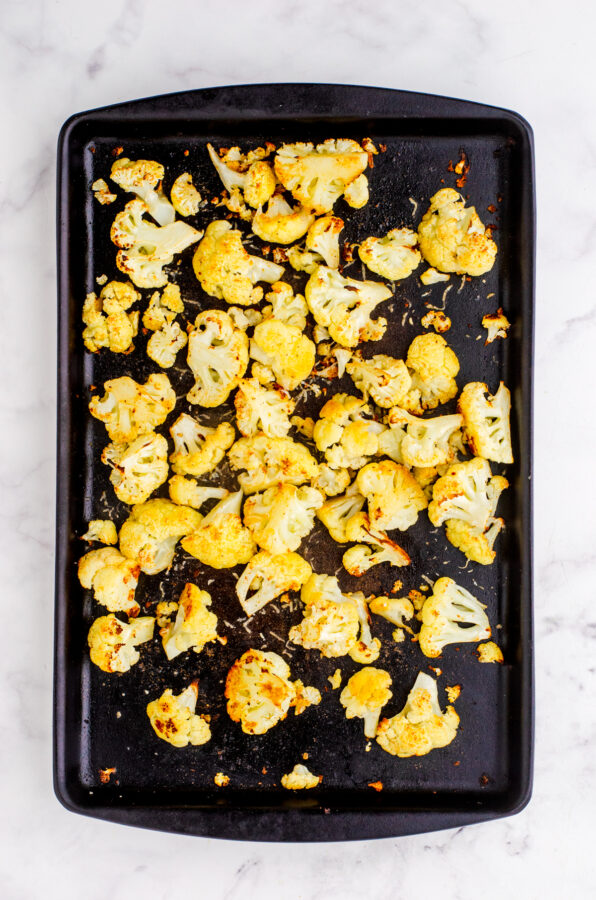
2.Roast at 425 degrees for 25 minutes. 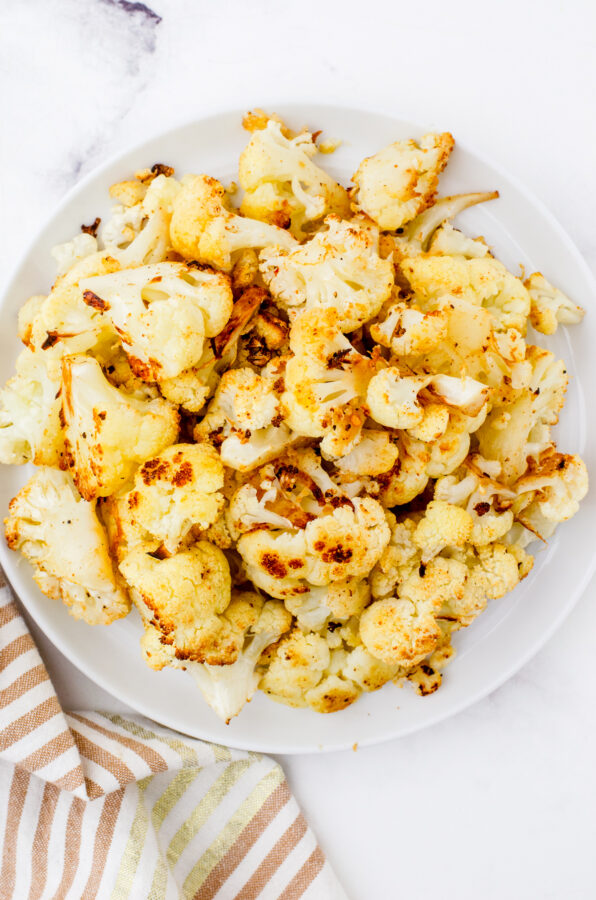
3. Serve as a yummy side or enjoy as an afternoon snack!
Watch Me Make this recipe
Here’s a short demonstration of making this roasted cauliflower recipe. Just click the play button to view it:
Tips & Substitutions
- Want crispy edges? Broil it for the last 2 minutes—but keep an eye on it and don’t walk away.
- Don’t like spicy? Use garlic and herb seasoning for a milder flavor.
- Going dairy-free? Just skip the cheese. It’s still delicious.
- Need a shortcut? Grab pre-chopped cauliflower at the grocery store.
- Leftovers? Toss them in a salad, wrap, or omelet the next day.
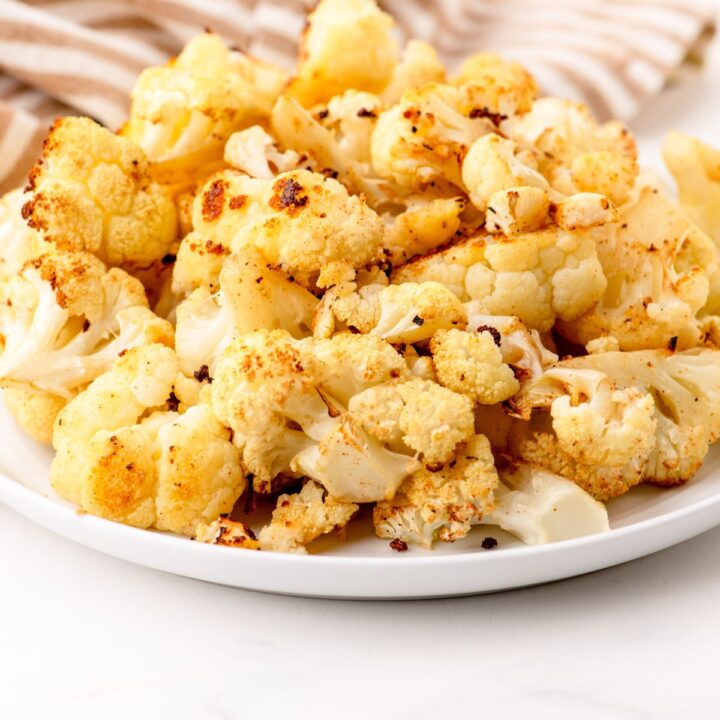
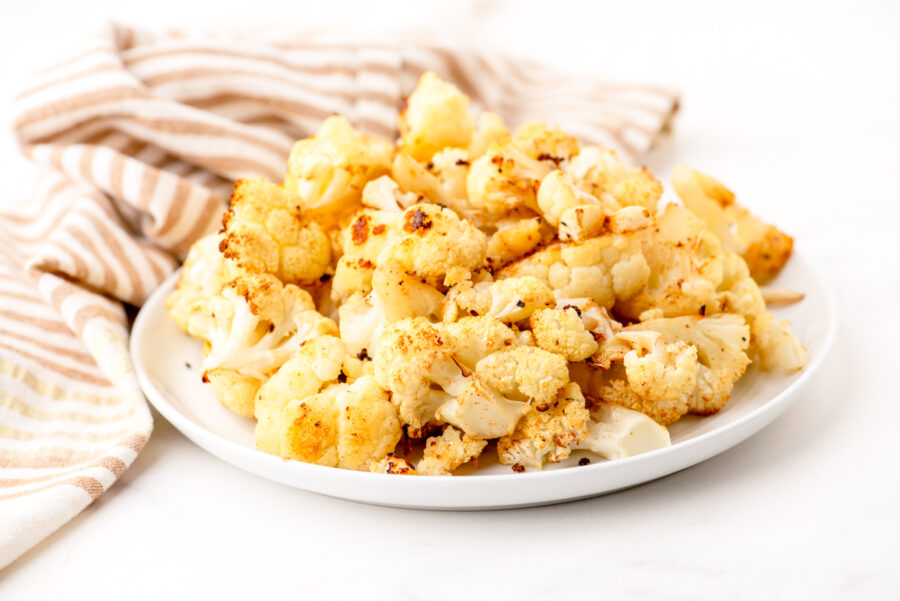
Easy Roasted Cauliflower
Drizzled with olive oil & sprinkled with spices, this roasted cauliflower recipe just might become one of your new favorite comfort food side dishes!
Ingredients
- 1 head fresh cauliflower
- 2 Tablespoons olive oil (or more if you like to drizzle liberally!)
- salt and pepper
- 1-2 teaspoons of your favorite seasoning blend
- (optional) fresh grated parmesan cheese
Instructions
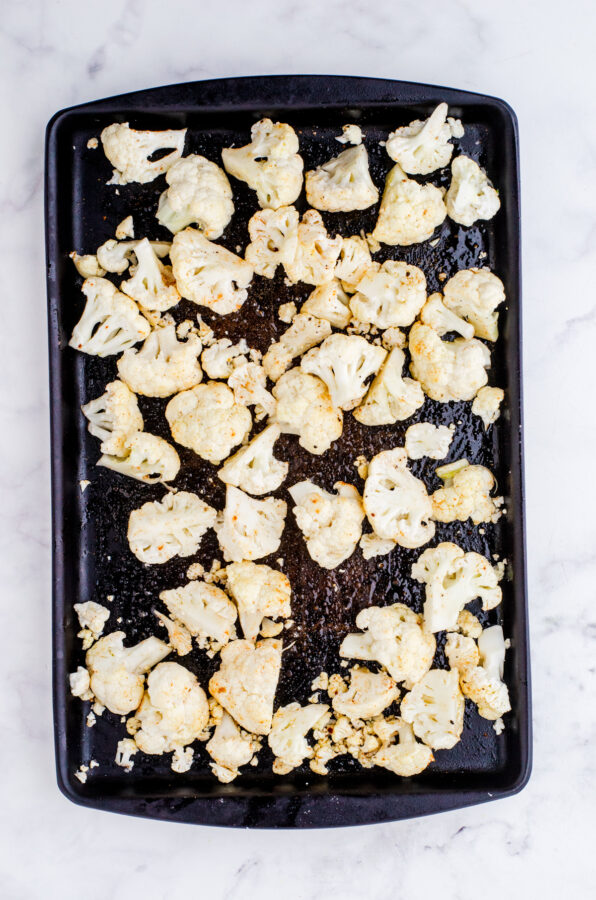
- Chop cauliflower into bite sized florets by slicing it in fourths, cutting out the core and trimming the florets off.
- Drizzle olive oil in a large rimmed baking sheet (I prefer my stoneware pan for this, but you can use any pan. Line it with parchment paper if you want easy cleanup). Transfer the cauliflower to the pan and use stir around in the olive oil
- If it seems a bit dry, drizzle on some more olive oil, sprinkle on salt and pepper and spice blend of choice. Stir again.
- Bake in an oven that's been preheated to 435 degrees for 20 minutes.
- (Optional) Sprinkle on fresh grated Parmensan cheese and bake for a few minutes more until browned on top.
Nutrition Information:
Yield: 6 Serving Size: 1Amount Per Serving: Calories: 65Total Fat: 5gSaturated Fat: 1gTrans Fat: 0gUnsaturated Fat: 4gCholesterol: 1mgSodium: 332mgCarbohydrates: 4gFiber: 2gSugar: 2gProtein: 2g
Other Side Dish Recipes You might Love:
A Blogiversary, a New Eating Plan Assistant, and… Roasted Cauliflower?
So here’s the thing. I recently did a little digging and realized I’ve actually been blogging here on Harbour Breeze Home for 15 years. FIFTEEN. That’s not a typo. For the longest time, I told people I’d been blogging “about 10 years.” Turns out, I’ve been blogging longer than even I realized!
Back in 2010, life looked a whole lot different: three boys still at home, our old house mid-reno, and me writing about anything and everything that popped into my head. Some of those early recipes actually became blog classics! And somewhere along the way, I cracked the code for stress-free meals for me: freezer meals. I’ve preached that kitchen hack for years and even started writing a cookbook filled with all my best freezer-friendly favorites. (Stay tuned…)
But now? Life has changed. The boys are grown, I had a full hysterectomy (you can read that story here), and I’m in a whole new season of life. A season I like to call: “Let’s figure out this whole new body now!” 😂
The truth is, I haven’t figured out how to eat in a way that makes my menopausal self feel good and feels “simple”, too. I’ve tried numerous “healthy eating programs” and learned from each of them, but needed to find a solution of learning that didn’t require constant tracking of calories or macros I put in my body. I laughed at an old blog post I wrote years ago on how I lost weight by simply tweaking a few daily habits—and let me tell you, that sure doesn’t work now! (Believe me. I’ve tried!)
So here we are. I’m learning in real time, friends, and I’ve decided you’re my new accountability group—whether you signed up for that role or not. 😉
Enter: the Giny Livy Program. A friend highly recommended it last Fall, and after thinking about it for a LONG time (clearly!), I signed up for the Spring session. I’m always a gung ho student at the beginning of these things – striving to be a top notch student that is the teacher’s pet… I signed up a week before the program officially started and got some sneak peaks at the program.
Of course I wanted to get a head start… I started drinking my 3 liters of water a day (that part I find easy) and putting into practice a few of the tips I’d learned in the previous programs I’d been in. A few weeks ago, it was the “pre week”, and I tried to follow the plan (without any specifics given) as much as possible. I’m happy to report, the scale tells me I’ve dropped 5 pounds, and I’ve walked nearly every day since I started – two big wins for me. Now when I lose 5 pounds more, I’ll be at the weight I was when I thought I was dreadfully overweight before! ha ha…
The truth is, I’ve reached the point in life that really the weight on the scale doesn’t matter near as much as my overall health. Yes, I’d love to be able to fit into the size of clothes that are currently in my closet for the upcoming season… but, more than that, I look forward to my feet aching less when I walk and having more energy from not having to drag around so much extra of…me!
Of course, the minute the official program started, I felt proud and exhausted. Healthy eating takes TIME, y’all. I’m now on a mission to streamline this whole “eat well and feel well” routine. I don’t have it all figured out, but do you know what worked like a charm this week? This cauliflower recipe. I’ll be making it on repeat.;)
Pin this to remember it later
If you have Pinterest, be sure to follow me @ Harbour Breeze, and pin this to your recipes board so you can find it when you need it!


Drizzle olive oil in a large rimmed baking sheet (I prefer my stoneware pan for this, but you can use any pan. Line it with parchment paper if you want easy cleanup). Transfer the cauliflower to the pan and use stir around in the olive oil
It is great to be able to explore the website with impressive skill creations. Follow and be ready to take on the challenge of exploiting every single creation.