DIY No Sew Curtain from a Vintage Pillowcase
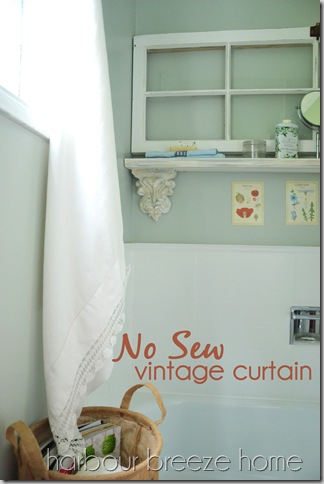
Turn a vintage pillowcase into a quick DIY no sew curtain.
Do you ever find that when you finish a project it seems to bring on a whole new set of projects & disarray?
Sometimes the mess just drives me batty, so I try to do some projects as quick as possible ~ you know, kind of like that timing game I did with the Living Room Refresh.
Such was the case on the day I decided to tackle the final projects for the main bathroom. I was just finishing off (trying to) organize the vanity when my husband came home for lunch, announcing that we needed to leave for a camp errand in 1 hour!
Oh, mercy.
Rather than just abandon my goals for the day, I decided to just go ahead and kick up the speed a couple hundred notches.
On my to-do list that day was to find something for display/storage by the tub as well as a curtain for the window. I had the crate painted and I decided to move on to the curtain project while the paint dried.
To be honest, I’ve been researching and mulling over a window covering for this room for months! I’ve pinned multiple ideas on my Bathroom Pinterest Board, and even tried out a few options to see how I liked it.
How to Make a DIY No Sew Curtain
Why you may need a DIY curtain
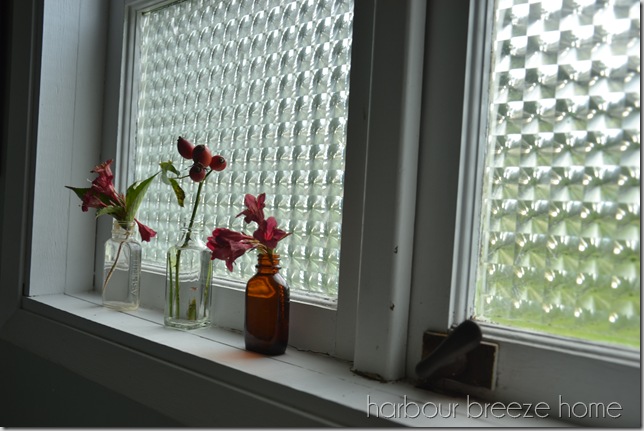
The trouble was, I really like having the window completely uncovered during the day. It already has some privacy covering on the bottom pane, and I love having all the light stream in during the day.
Night-time, however, was a different story.
I just hated that black hole in there, and it always felt like people could see in. {They’d have to perch themselves in trees with binoculars to do so, but still…}
So, with my mind whirling in high gear, I remembered an orphan vintage pillowcase with really pretty lace on the bottom.
Step 1: Open up the pillowcase
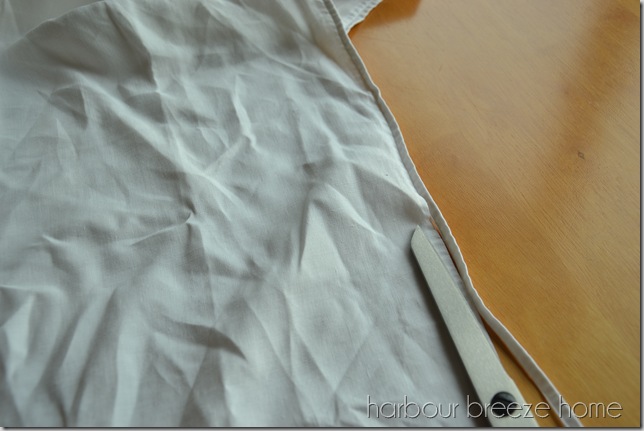
It was just folded on one side, so I only needed to remove 2 seams. I did try at first, to open the seams the “proper” way with a seam ripper, but found the stitches were so tiny, I couldn’t see them even with my old lady glasses on. So, I took a big breath and got out the scissors…
and cut it open.
I held it up to the window and sure enough, it was a perfect fit!
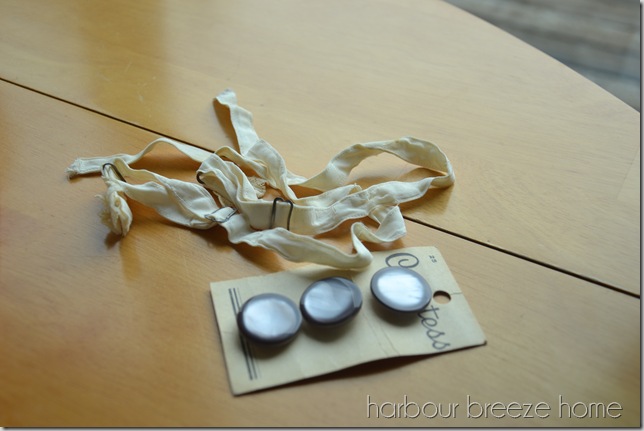
Then, I dug around in my vintage stash of things to find something that could work as loops. Tada! The perfect thing:
Vintage bra straps!!! What???
I kept laughing at the craziness of this project, but just kept on going…
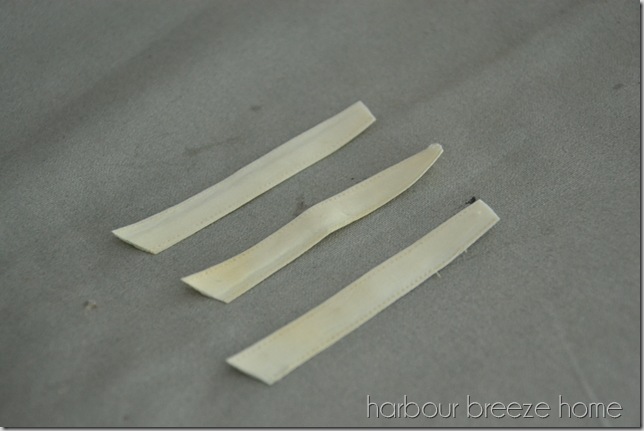
Step 2: Cut 3 piece of ribbon (or vintage bra straps!) into the same length – around 3.5 inches.
I ironed the straps (they look like muslin) and cut 3 the same length.
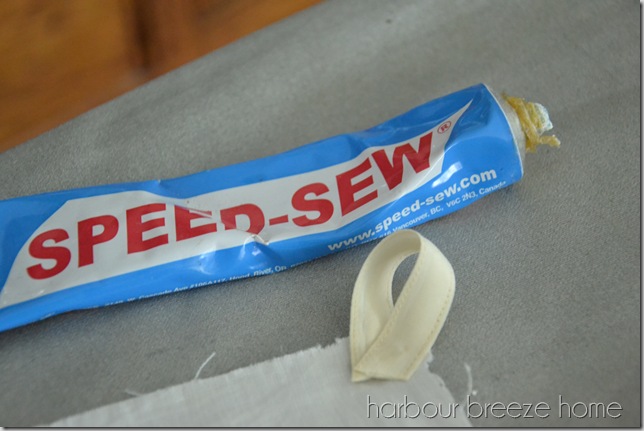
Step 4: Attach ribbons to the top of the curtain like loops with Speed-sew adhesive.
I then attached them like loops using Speed Sew (It’s glue!!) ~ 1 on each end, and 1 in the middle.
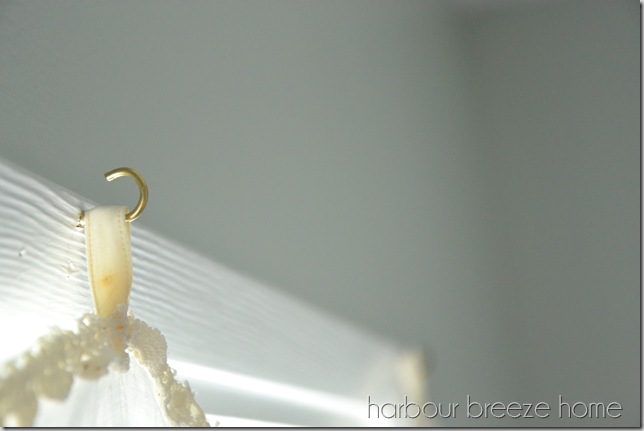
Step 5: Screw 3 cup hooks into the top of the window frame. (One on each end, and one in the middle.)
Some quick searching unearthed some brass cup hooks, that I screwed into the top of the window frame.
Step 6: Glue vintage lace around the edges with Speed sew.
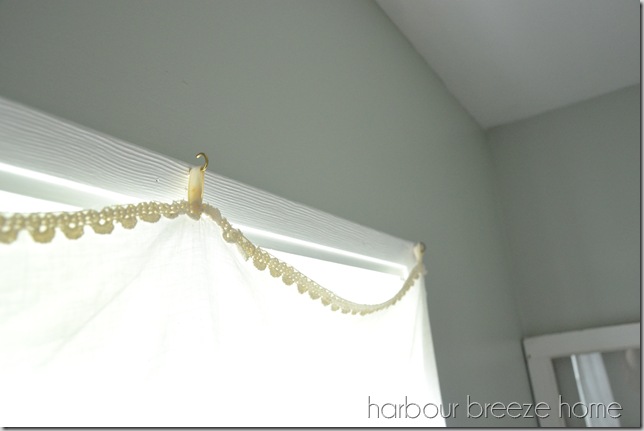
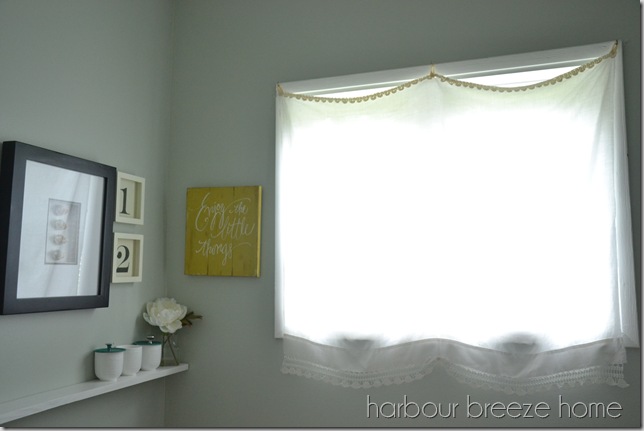
I didn’t like seeing the raw edge of the fabric on the top, so I glued some lace from the vintage stash across the top.
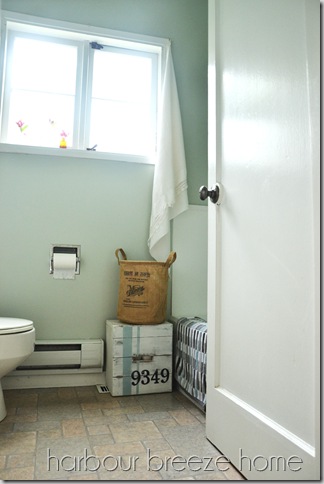
Now, during the day, it can just hang out on the side of the window…
and at night, we can just hook it up!
Thank goodness for vintage bra straps…;) Apparently, the most creative (and crazy!) ideas come when working at breakneck speed and fuelled by desperation and determination!!
Other articles relating to vintage linens:
- Where to find vintage linen and what to do with it
- How to get the odor out of vintage linens
- Colorful Spring tablescape using vintage linens
- Sew a Lavender Sachet out of vintage linens
For more ideas for your home, be sure become a VIP newsletter subscriber!
Just click the button below to join for free today (and get access to a whole bunch of free printables!!).




What a brilliant idea you have in there! Curtains looks so nice on AND also when they are taken aside. Looking ahead you becoming projects 🙂