
How to Hang A Picture on the Wall

Learn how to hang a picture on the wall the quick and easy way with this simple tip.
I watched a hilarious clip of Ellen showing “life hacks” the other day. Do you know what life hacks are? In her words, they are “tips or tricks to make your life easier”.
Well, ladies, do I ever have a life hack for you today.
It’s gonna knock your socks off!:)
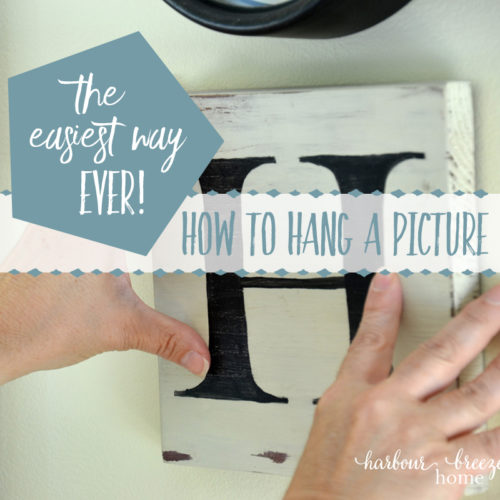
The idea of this life hack came from something I saw on Pinterest (of course). However, it involved some sort of thin wood that I never had. So, I came up with my own version.
For those of you who are terrified to hang a picture on the wall for fear of putting a hole in the wrong place, this is for you!
How to Hang Pictures on the Wall
{the easiest way EVER!}
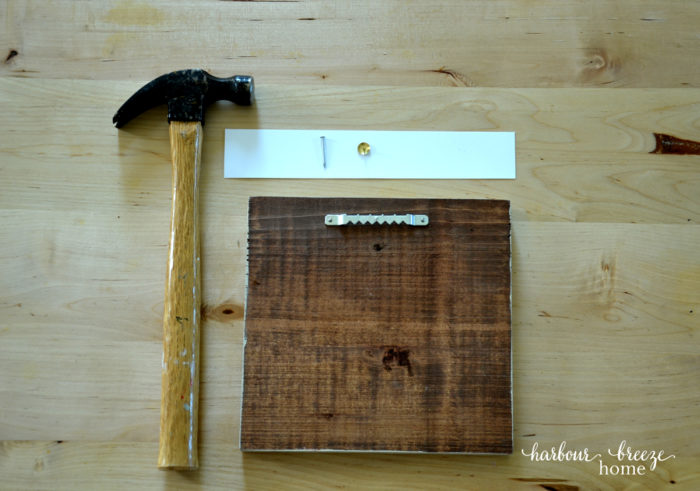
Supplies Needed to Hang a Picture or Painting on the Wall
- a picture with a saw-tooth hanger;
- a thumbtack
- a strip of thick paper like cardstock or cereal box cardboard
- a small nail
- a hammer
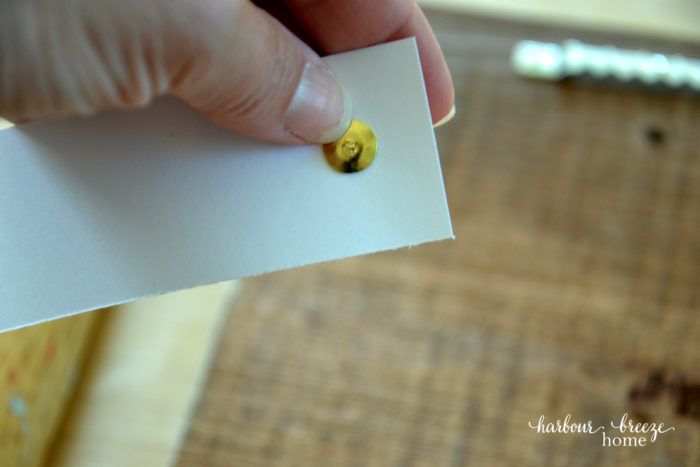
The Simple Step by Step Process for Hanging Pictures
1. Insert the thumbtack near the end of the strip of thick paper.
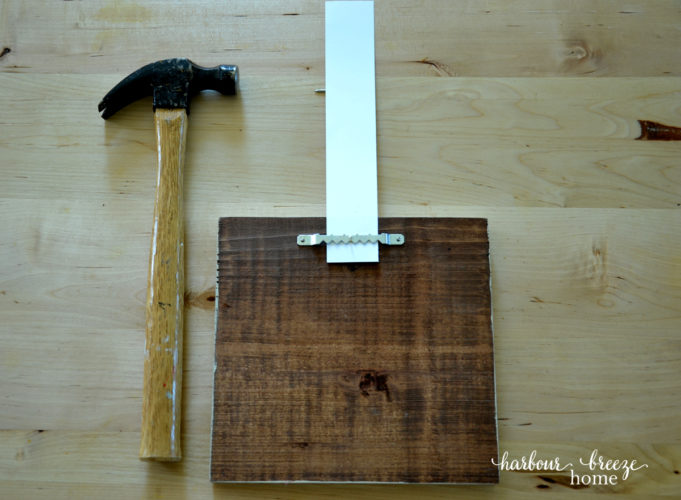
2.Slip the paper under the saw-tooth hanger.
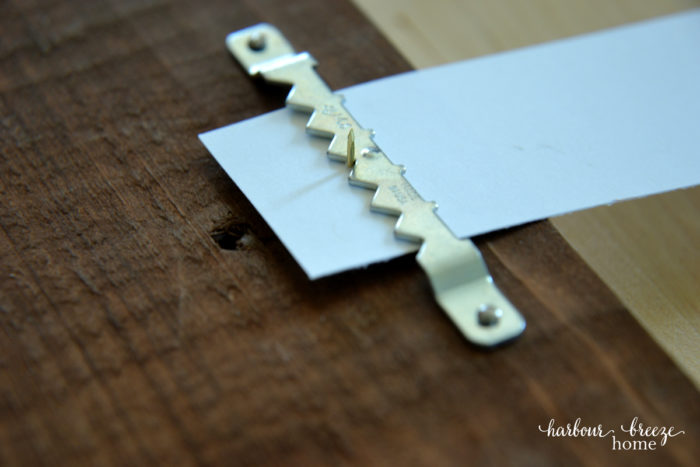
3.Position the thumbtack in the center of the saw-tooth hanger.
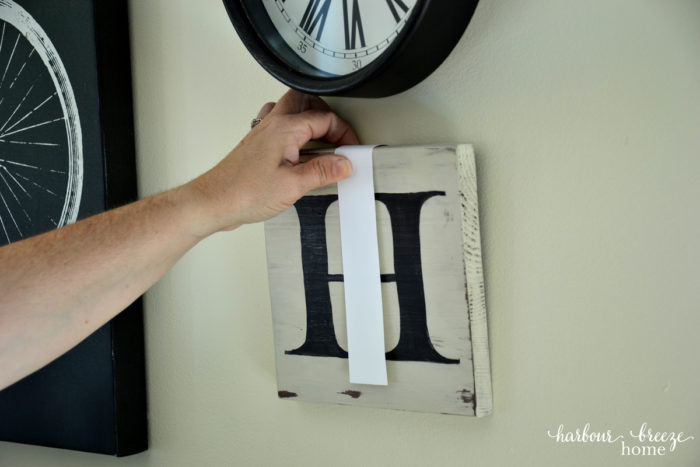
4. Holding the paper strip firmly around the front, position the picture where you’d like it to hang on the wall.
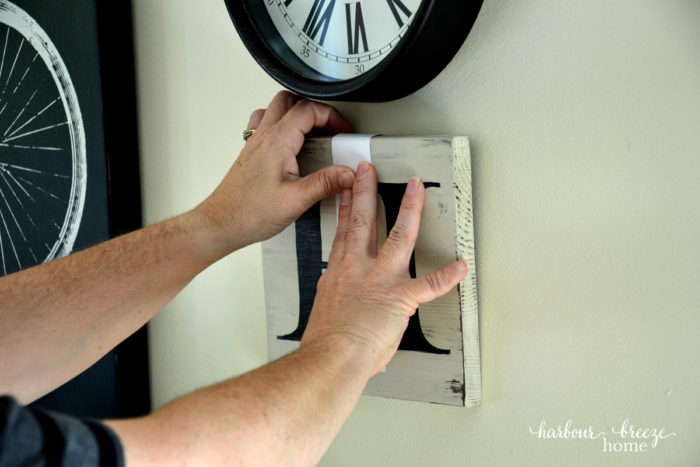
5. Once in position, push the picture firmly against the wall.
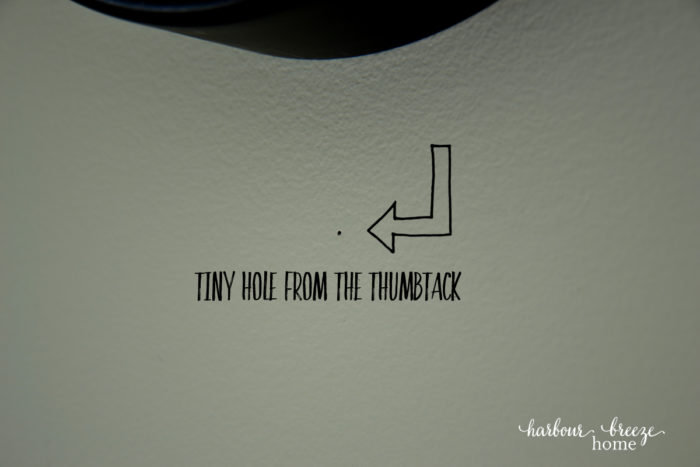
The thumbtack will leave a tiny hole to mark exactly where the nail should go!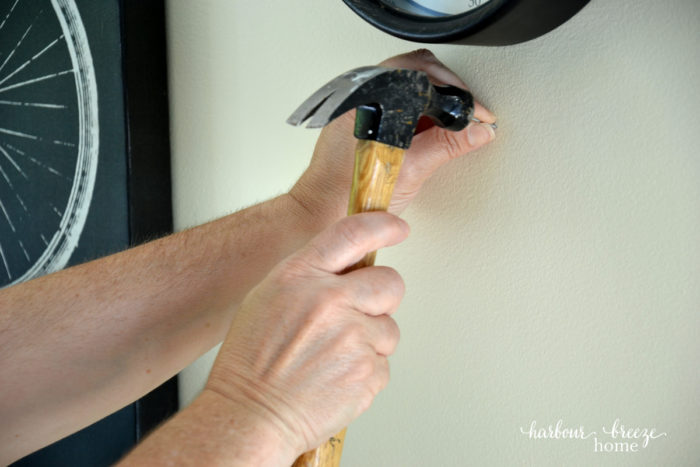
6. Hammer the nail into the hole left by the thumbtack.
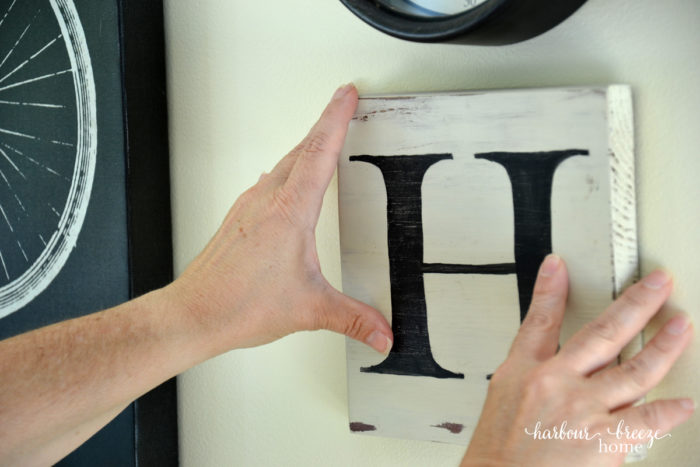
7. Hang the picture on the nail.
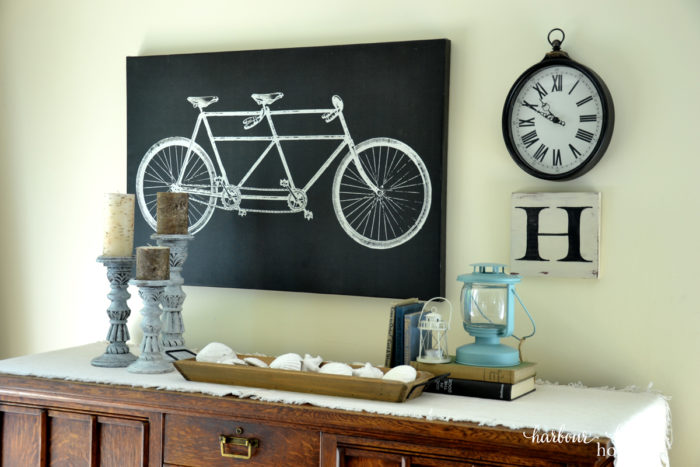
8. Stand back and congratulate yourself. You did it!:)
More tips on how to hang pictures on drywall:
- How to Hang a Picture with 2 Hangers in Drywall
- How to Hang a Gallery Wall Above a Couch by Yourself!
- How to hang a large canvas on the wall
- How to hang heavy objects on the wall
For more recipes, crafts & ideas for your home all year round, become a VIP!
Become a VIP newsletter subscriber and get instant access to the library of free printables (including wall art, gift tags, and more!). Click here or the button below to join today.

Original publish date July 6, 2016. Updated with additional information since then.
“Face smoothing templates in CapCut make a huge difference in quality! It’s a relief that it’s quick to apply and makes my skin look glowing without making it seem fake. Highly recommend it!”
This guide on how to hang a picture on the wall is so helpful! I’ve always struggled with getting the placement just right, but your tips on measuring and using the right tools are going to make it so much easier. I can’t wait to give it a try for my new gallery wall!
This is such a helpful guide! I’ve always struggled with getting the right height and placement for my pictures, but your tips make it so much easier. I especially love the advice on using a tape measure to ensure everything is level—it’s one of those small details that makes a big difference. Can’t wait to hang up some new art in my living room now! Thanks for the step-by-step instructions! 🖼️🔨
All of it is very much appreciated, and I have saved your site to check for new posts
Hawe you some idee how i can hang á pitcur. Owen sofa so my granchilde ccan not punch it down?he is art