
Pink Marble Heart Sugar Cookies Recipe
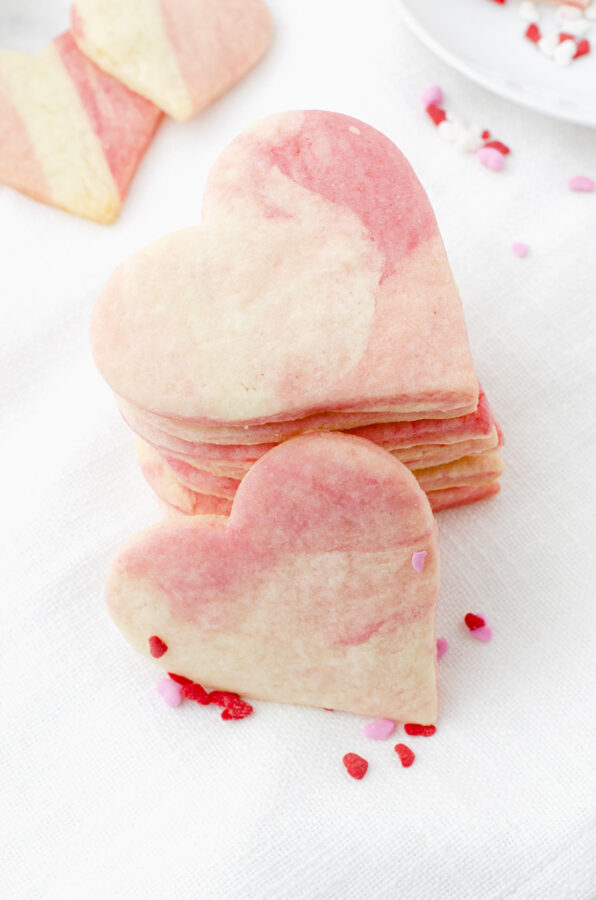
Perfect as valentines cookies or any special occasion, these heart sugar cookies are made with marble colored sugar cookies dough. It’s a colorful twist on classic rolled sugar cookies that turn out so pretty you don’t even need to frost them. (Or you can, if you want.)

This morning my cell phone gave a little “ding” indicating someone had just sent a message.
It was a relative of mine who shared some pictures of the marble heart sugar cookies she was making today. They inspired me so quickly, I couldn’t wait to try them myself!
These pretty heart sugar cookies are a great idea for Valentine’s Day – or any holiday for that matter. Just switch up the colors and shapes for different occasions. Wouldn’t these be cute in blues and greens cut in an Easter egg shape for Easter?
Why you’ll like these pink marble heart sugar cookies
Marble sugar cookies are super fun to make! It makes you feel like you’re a painter putting together an abstract painting. It’s both unpredictable and unexpectedly beautiful in the end. This would be such a fun family activity to do with your kids or grandkids.
This sugar cookies recipe turns out soft and chewy, and you don’t need to spend time chilling the dough before baking them. They don’t spread out as they bake, so they hold whatever shape you cut them out well.
You can customize these to be whatever colors you’d like. Changing up the cookie cutter shape could make these appropriate for all occasions.
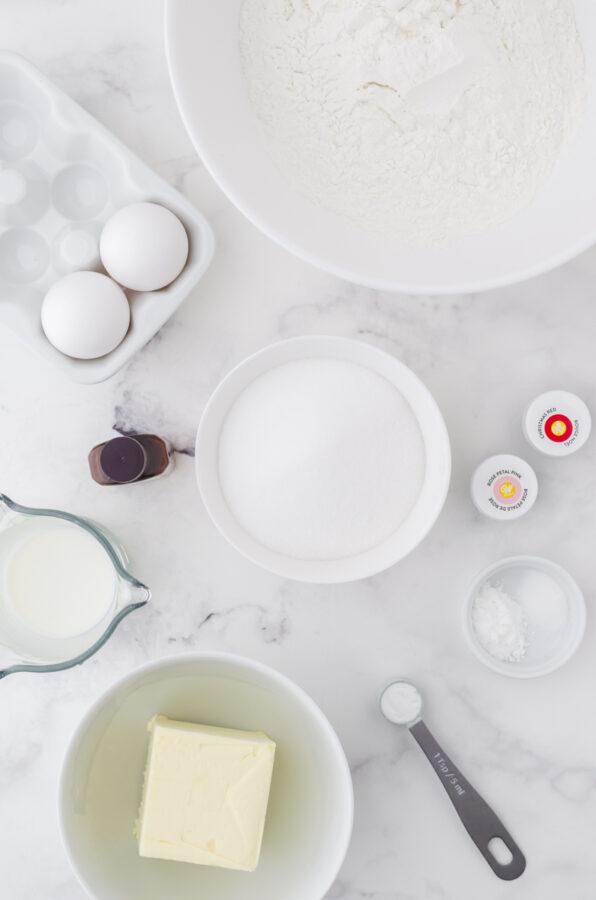
Ingredients for rolled heart sugar cookies
(A printable recipe card is located at the bottom of this post. Affiliate links are also included for some items throughout this post for your shopping convenience.)
- 2 large eggs
- 1/3 cup milk
- 1 teaspoon vanilla extract
- 1 1/2 cups white sugar
- 1 teaspoon baking soda
- 4 cups all purpose flour
- 1 teaspoon baking powder
- 1/2 teaspoon salt
- 1 cup cold butter
- Wilton food coloring paste in colors rose petal pink and Christmas red
Step by Step instructions for marble sugar cookies dough
- Preheat the oven to 375 degrees and prepare 2 baking sheets by lining them with parchment paper.
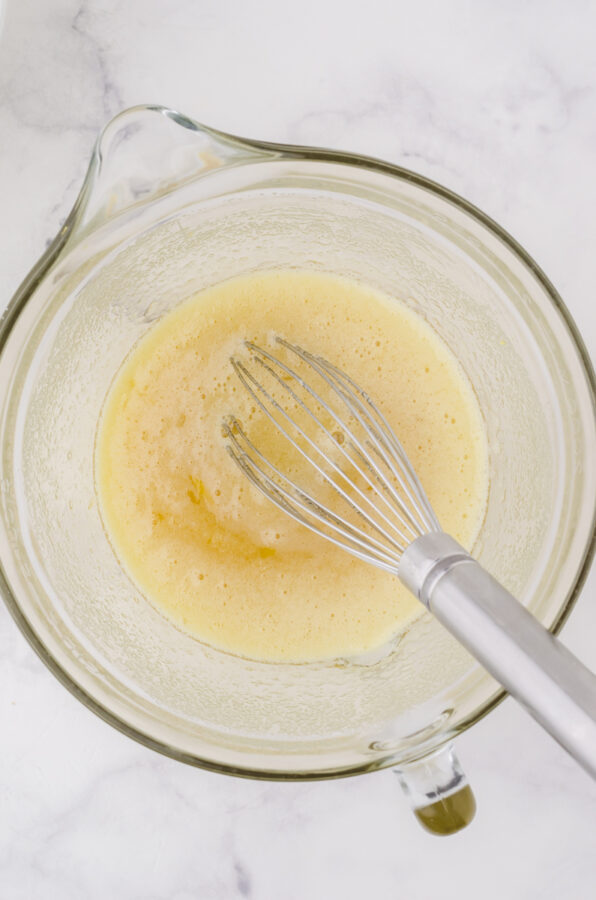
- In a medium sized bowl, beat the 2 large eggs with a whisk. Add in the milk, vanilla, white sugar and baking soda and whisk together until mixed together well. Set aside.
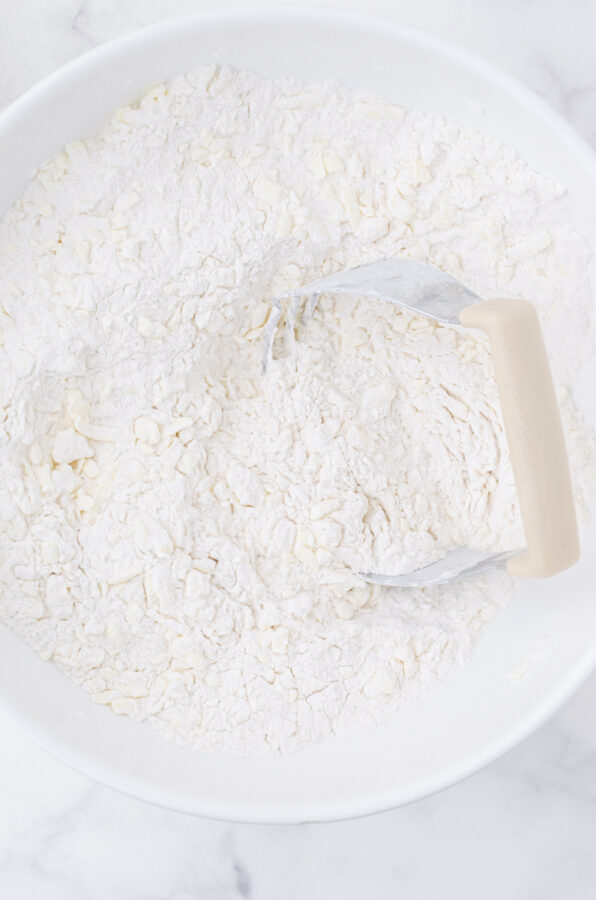
- In a seperate large bowl, combine the flour, baking soda, and salt. Cut in the *cold butter with a pastry blender or 2 knives until the mixture resembles course oats. *See tip for cutting in cold butter below.
- Add the liquid ingredients to the dry ingredients and stir until just combined. The dough will be very crumbly.
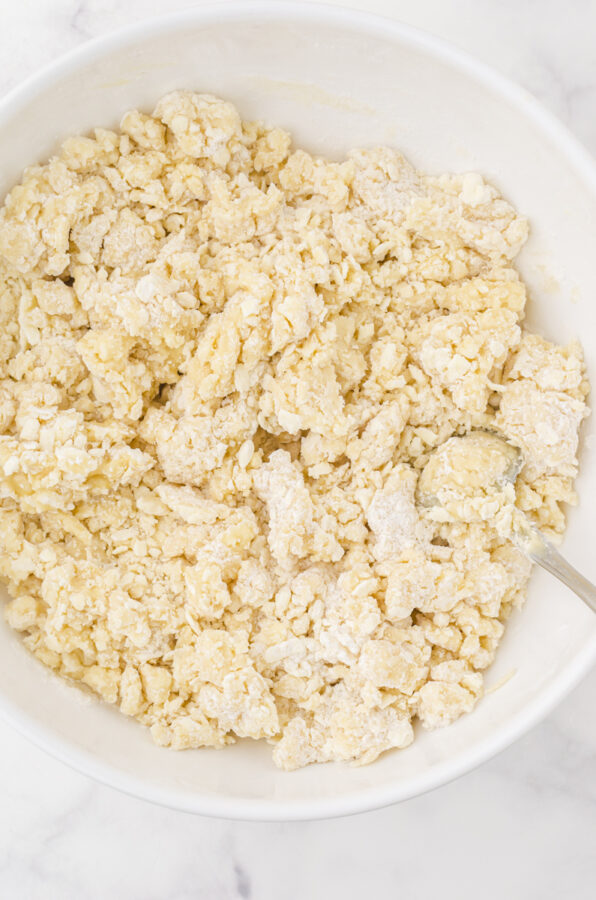
- Turn the dough out on to a lightly floured surface or pastry cloth and knead it together with your hands until it sticks together. Be careful not to overwork the dough.
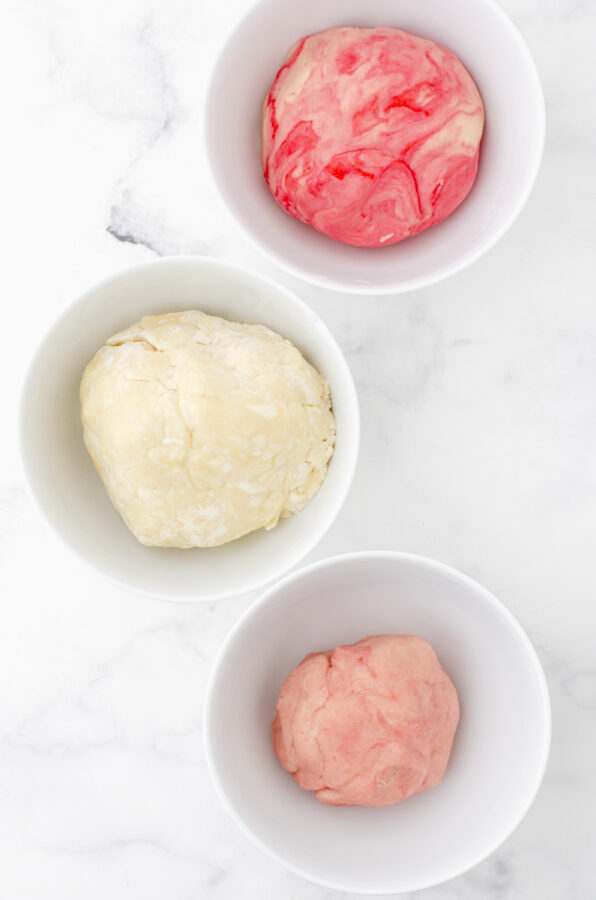
- Divide the dough into 3 portions. Color one red, one pink, and leave the other white. Knead the coloring in with your hands. If you stop kneading it when it is a bit striped with color (as you can see with the red dough shown below), it gives the dough a more marble effect.
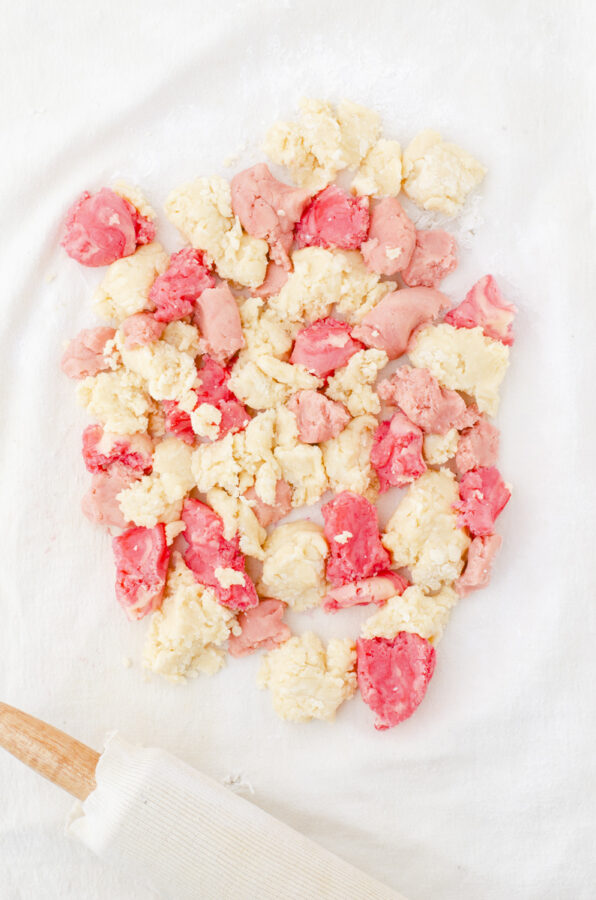
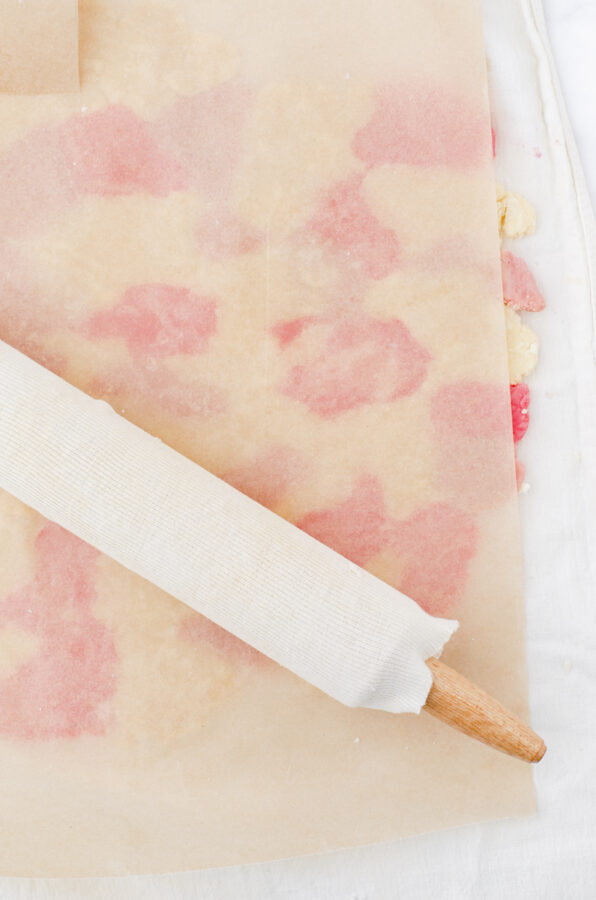
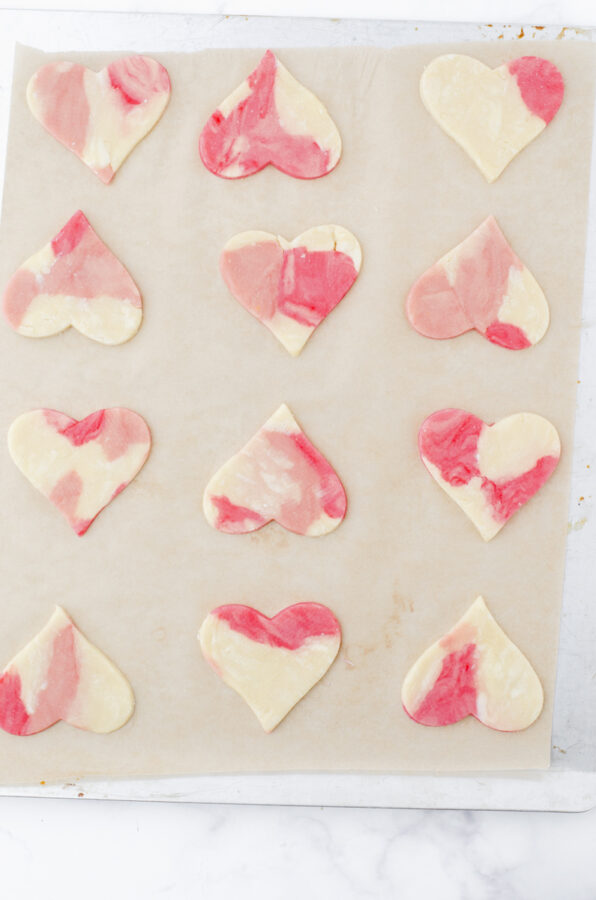
- Pinch off pieces of each color and alternate them on your rolling surface so that each piece is touching each other. Place a piece of parchment paper on the top and roll the dough to about 1/4 inch thick.
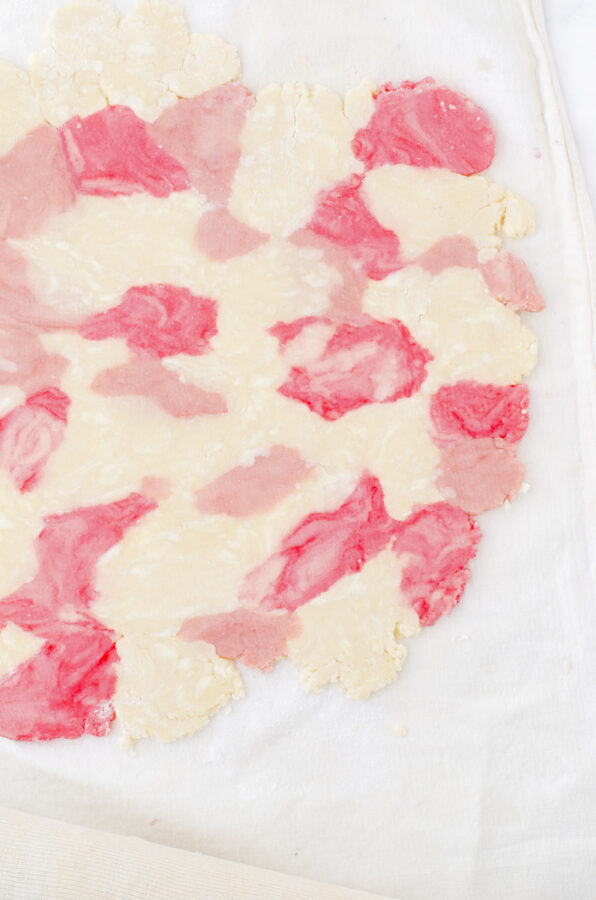
- Cut with a heart shaped cookie cutter and arrange them on a parchment lined baking sheet. Bake at 375 degrees for 6 minutes, or until just lightly golden brown on the bottom. Baking times will differ based on how thick the dough is and how large the cookie cutter you used is, so keep an eye on the baking time for your specific cookies.

- Let cookies cool for 5 minutes on the baking sheet before transferring them to a wire cooling rack to cool completely.
Tips & Tricks for Sugar Cookies
- *Cutting in butter tip! – To make cutting in butter easy and quick, try grating it frozen and then adding it to the flour mixture. I measure the butter first, place it in the freezer, and then grate it when it’s frozen (right before starting to mix up the cookies). Once fully grated, I place the grated butter in a bowl and set it in the freezer to keep cold. Then when it’s time to use it, I remove it from the freezer, dump it in the flour mixture and it mixes up in seconds!
- If your cookie dough is too sticky to roll out, try adding a bit more flour and sprinkle flour on the rolling surface and top of the dough when you roll it out.
- If your cookies spread when they are baking, try chilling the dough first. The thickness of the dough may affect if they spread as well, so try rolling them a bit thinner if they are spreading (but be sure not to overbake them then if you want soft & chewy cookies.)
- I like to bake these cookies 2 pans at a time to save time. If you choose to do so, place each baking sheet on alternating oven racks and sides of the oven, and switch the pans around half way through the baking time.

Sugar Cookie Frosting Recipes
Here are a few different options for sugar cookie frosting;
- This easy icing for sugar cookies can be mixed up in minutes.
- Marbled frosting is a perfect look for these marbled heart cookies!
FAQs about rolled sugar cookies
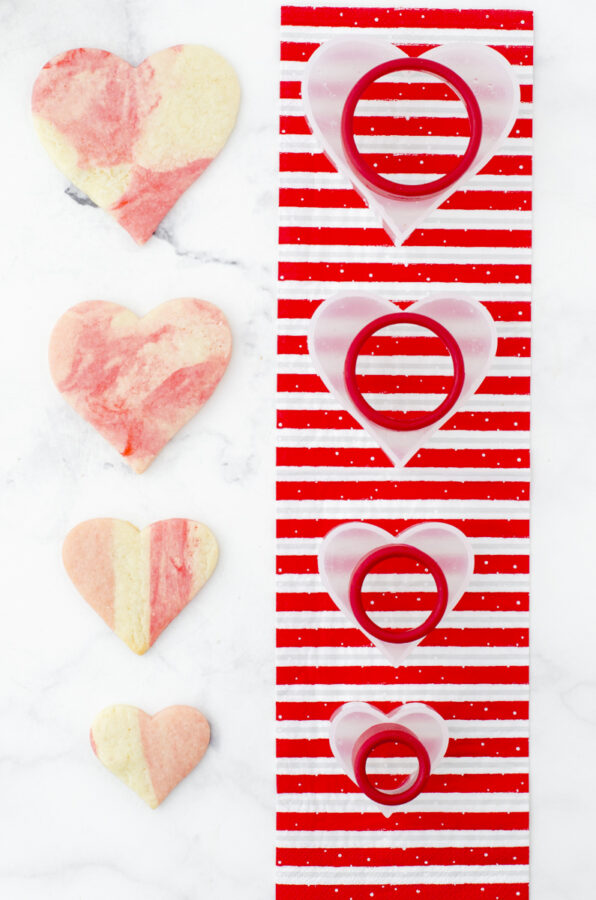
I can’t find the exact set of heart shaped cookie cutters as pictured above, but here is a set of nesting heart shaped cookie cutters that is similar in shape and size to what I used.
Other sugar cookies recipes:
- Old fashioned sugar cookies recipe for Christmas – The tried and true classic!
- These cutey jam sandwich cookies are just begging for a coffee time (or glass of milk) visit.
- Turn your favorite sugar cookie dough into these pretty snowflake cookies.
Pin this to remember for later!


Marble Heart Sugar Cookies Recipe
This colorful twist on classic rolled sugar cookies makes these marble heart sugar cookies perfect Valentines cookies. Coloring basic sugar cookie dough into different colors and rolled together makes a beautiful marbling effect. They turn out so pretty you don’t even need to frost them. (Or you can, if you want!)
Ingredients
- 2 large eggs
- 1/3 cup milk
- 1 teaspoon vanilla extract
- 1 1/2 cups white sugar
- 1 teaspoon baking soda
- 4 cups all purpose flour
- 1 teaspoon baking powder
- 1/2 teaspoon salt
- 1 cup cold butter
- Wilton food coloring paste in colors rose petal pink and Christmas red
Instructions
- Preheat the oven to 375 degrees and prepare 2 baking sheets by lining them with parchment paper.
- In a medium sized bowl, beat the 2 large eggs with a whisk. Add in the milk, vanilla, white sugar and baking soda and whisk together until mixed together well. Set aside.
- In a seperate large bowl, combine the flour, baking soda, and salt. Cut in the *cold butter with a pastry blender or 2 knives until the mixture resembles course oats. *See tip for cutting in cold butter below.
- Add the liquid ingredients to the dry ingredients and stir until just combined. The dough will be very crumbly.
- Turn the dough out on to a lightly floured surface or pastry cloth and knead it together with your hands until it sticks together. Be careful not to overwork the dough.
- Divide the dough into 3 portions. Color one red, one pink, and leave the other white. Knead the coloring in with your hands. If you stop kneading it when it is a bit striped with color (as you can see with the red dough shown below), it gives the dough a more marble effect.
- Pinch off pieces of each color and alternate them on your rolling surface so that each piece is touching each other. Place a piece of parchment paper on the top and roll the dough to about 1/4 inch thick.
- Cut with a heart shaped cookie cutter and arrange them on 2 parchment lined baking sheet. Bake both pans at the same time, alternating racks, and switching them halfway though at 375 degrees for 6 minutes, or until just lightly golden brown on the bottom. Baking times will differ based on how thick the dough is and how large the cookie cutter you used is, so keep an eye on the baking time for your specific cookies.
- Let cookies cool for 5 minutes on the baking sheet before transferring them to a wire cooling rack to cool completely.
Notes
Yeild of the number of cookies will differ based on the size of your cookie cutters and how thick you roll out the dough.


DON’T MISS A THING!
Join my list for more ideas for you and your home…