Beach Rock Mosaic Mirror {Mother Daughter Craft Idea}
I’ve been admiring a beautiful rock mosaic mirror on my friend Adele’s kitchen wall for ages. I was so excited when she said, “Oh, I made that!”. Mosaic projects have always fascinated me, and I really wanted to try one for myself.
Now was my chance.
Adele and her friend Jody graciously agreed to come teach the craft for a recent mother daughter weekend here at the camp. It was a great hit! If you’re looking for a really neat, economical craft to do with a group of moms and daughters (we had 45), this might work for you.
You’ll need:
Mirrors with large wooden frames (We got ours at Ikea on sale for $1.00 each)
1 gallon Weldbond glue (We got it at Home Depot. There was a bit leftover after 45 people used it.)
Cottage Cheese container lids for glue
Small art brushes (to apply the glue)
Wax paper
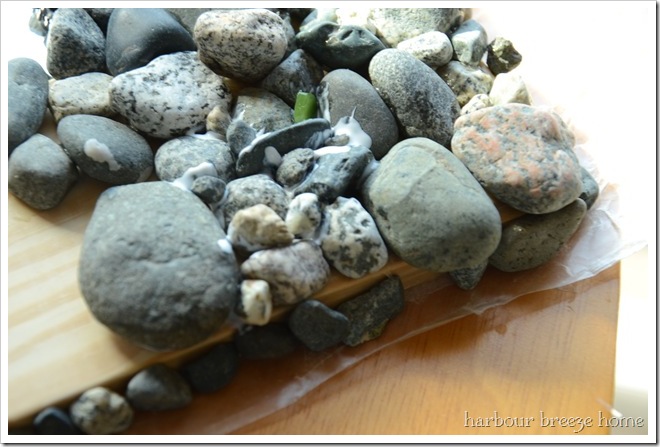
A LOT of beach rocks that have been rinsed and dried (They should be relatively flat on the bottom and of the smaller variety. No bigger than a Canadian loonie).
Seashells and beach glass, optional
**This is not a quick 1 hour craft. Adele estimated that it would take about 3 hours from start to finish. That’s probably a good estimate. Some people took less time. Some took more. We had it as a “come and go” craft option, and people worked on it in between their other activities, and eventually, they all finished!
Adele left a mirror for me to try, and I just finished it a few minutes ago. I set it on my kitchen table and worked on it little by little throughout the week. I found it to be a really relaxing craft ~ kind of like putting a puzzle together, but you don’t see the finished product until the last piece is in!
Step 1: Lay a piece of wax paper on the table to protect your table surface. This craft can be messy!
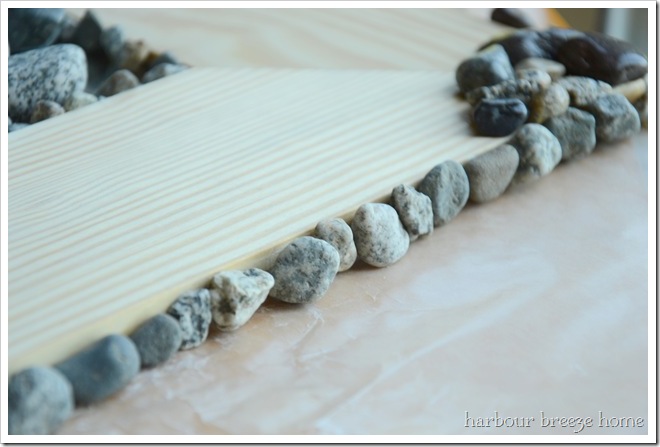
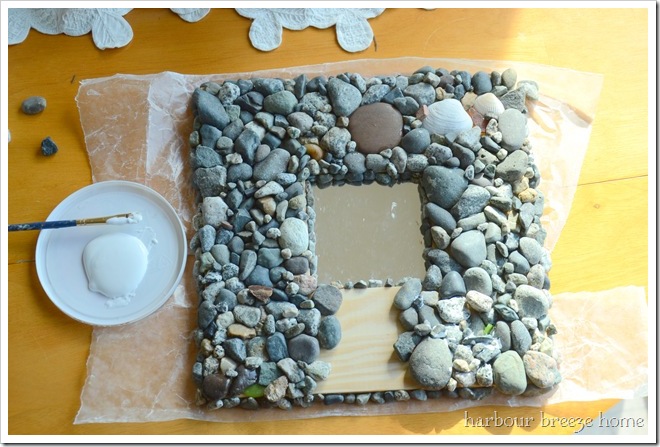
Step 2. Keeping the mirror flat on the table, glue rocks to the side first.
You want to do this while the mirror is flat, so that when you’re all finished, the mirror will lay flat against your wall! Paint the bottoms of the rocks with the glue, and don’t be afraid to “glop” on a lot. It dries clear, and you really need to make sure you get enough glue on to make them stick.
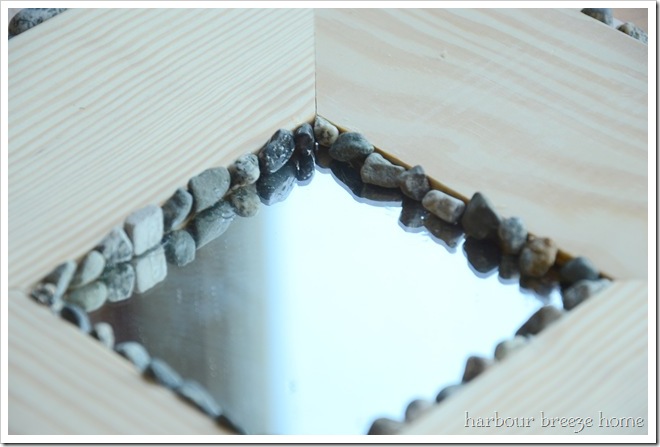
Step Three: Glue rocks around the center of the frame.
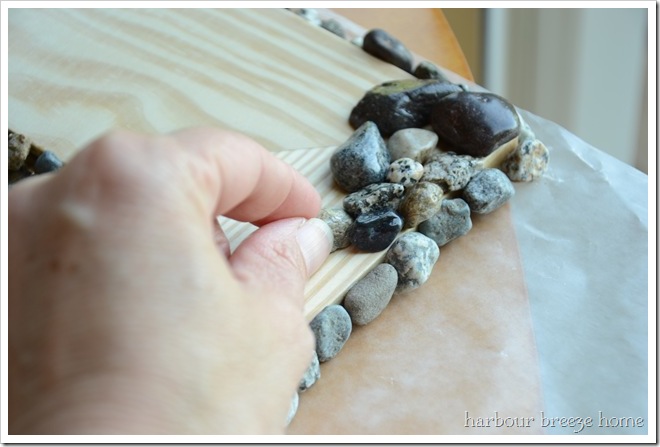
Step 4: Glue rocks on the top. This is where you can get really creative. There is no wrong way to do this. I just started in a corner and worked my way around, piecing and gluing rocks together. The rocks were quite picked over after 45 people had already chosen from them, so what I was left with were quite tiny. A bit larger rocks would have made it go much faster!
The goal is to get every itty bitty piece of that wooden frame covered over with rocks. I’ll admit…The process takes time, and really can’t be hurried. To fill in little “holes” between the rocks, I painted glue in between and gently pushed in teeny tiny rocks. Remember, use plenty of glue! It will look messy at times…
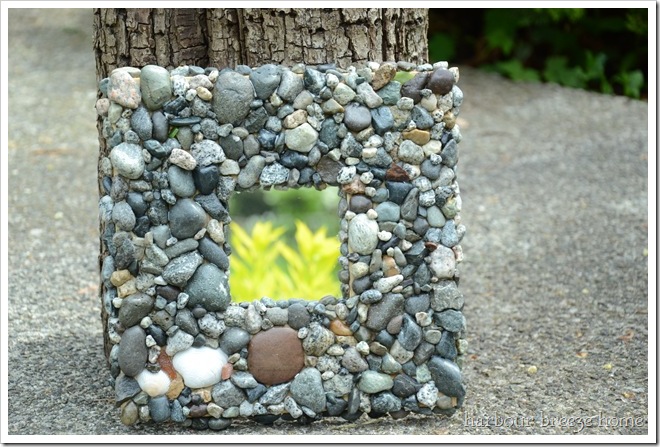
When you finally come to the end, it’s as exciting as finishing a big puzzle…
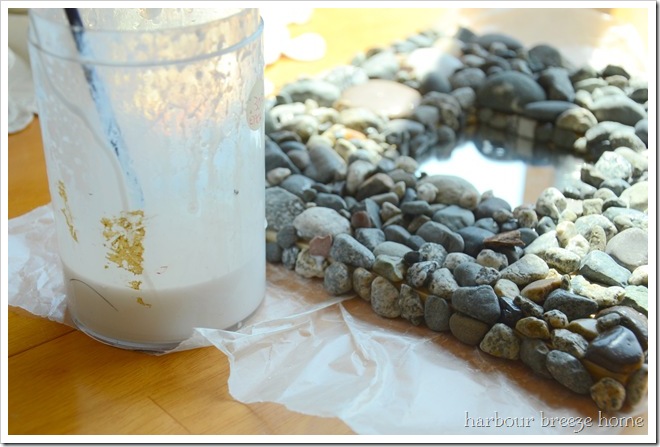
Step 5: Once all the rocks are glued down and secure, mix up a “wash” with 1 part weldbond glue and 3 parts water.
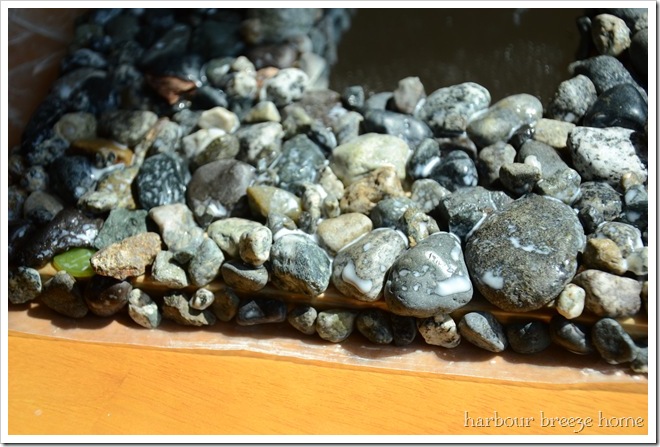
Brush over the entire rock surface.
This “wash” over the top will dry clear and shiny. It’s amazing how it brings out the beautiful colors and textures of the rock. Once it’s dry, you’re all finished! (Pat yourself on the back!)
{If you happen to get glue on the mirror…well, you will!…Just wipe it off with a little nail polish remover.}
Be sure to secure the back with a really good picture hanger and secure firmly to the wall, if you’re going to hang this. It’s very heavy!
I think this would be a really fun craft to do as a family, too. Especially if you can go to the beach together and choose the rocks and shells. That’s part of the fun!
Happy gluing…
Linking to: Not Just a Housewife


DON’T MISS A THING!
Join my list for more ideas for you and your home…
2 Comments