
No Bake Oreo Peanut Butter Lush Dessert
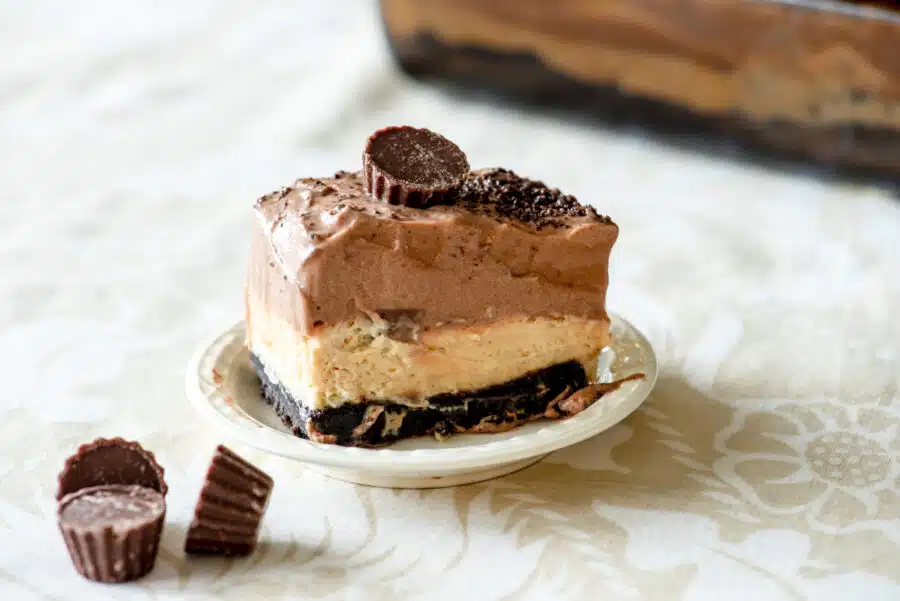
This No Bake Oreo and Peanut Butter Lush Dessert is one of those recipes people talk about long after the dishes are cleared. With an Oreo crust base, it’s layered with peanut butter cheesecake, hidden Reese’s cups, and a silky chocolate mousse topping. It’s a great no bake dessert perfect for special occassions and events.
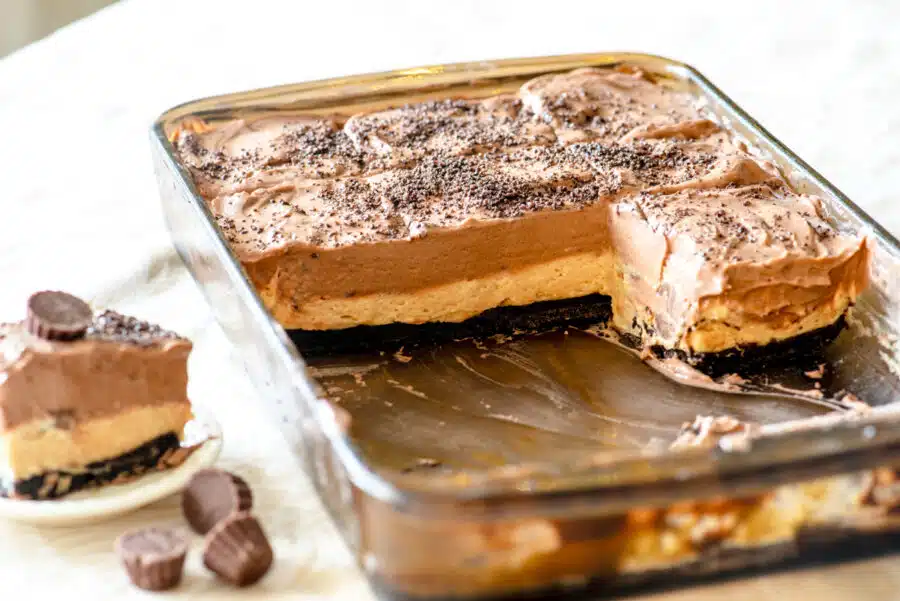
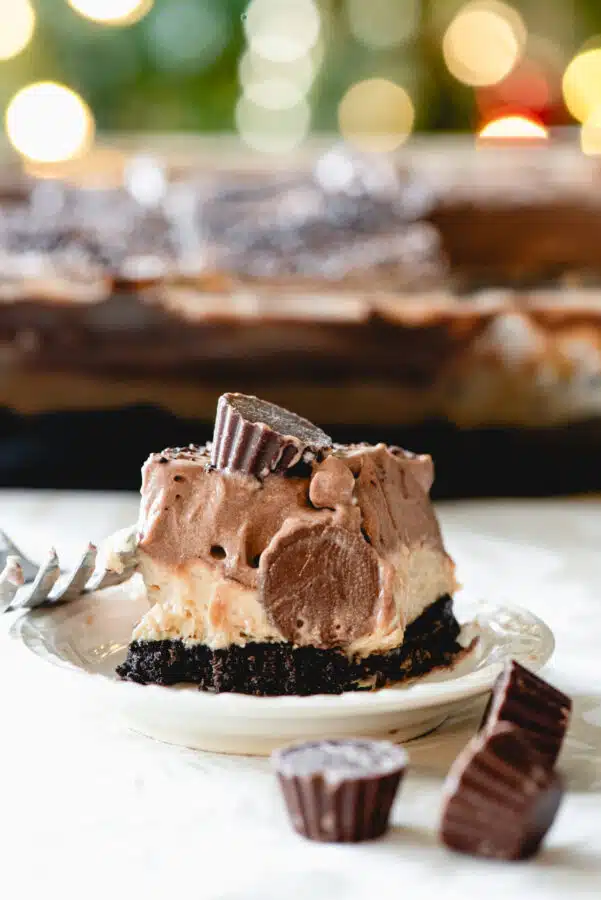
I made this dessert just yesterday for our Christmas dinner, and everyone absolutely loved it. In fact, I just set the actual pan of dessert on the dining room table with the Christmas tree lights behind, so you can have it right away if you need something quick, too!
I’m sharing the recipe first so you can save it easily — and be sure to scroll below it for my tips, shortcuts, and a few helpful notes before you make it yourself.

No Bake Oreo Peanut Butter Lush Dessert
This No Bake Oreo and Peanut Butter Lush Dessert is a creamy, layered treat made with an Oreo crust, peanut butter cheesecake filling, and chocolate mousse. It’s an easy make-ahead dessert that’s perfect for holidays, family gatherings, or dinner parties.
Ingredients
- Stabilized Whipped Cream (or use whipped topping):
- 2 cups heavy whipping cream
- ¼ cup white sugar
- 1 teaspoon vanilla extract
- 4 tablespoons instant vanilla or white chocolate pudding mix
- (Shortcut: Use two 8-oz containers of whipped topping instead.)
- Oreo Crust:
- 24 Oreo cookies, crushed
- ½ cup unsalted butter, melted
- Peanut Butter Cheesecake Layer:
- 8 oz spreadable cream cheese, softened
- ½ cup creamy peanut butter
- 1 cup powdered sugar
- ½ of the prepared stabilized whipped cream
- Chocolate Mousse Layer
- 1 small package instant chocolate pudding mix
- 2 cups milk
- ½ cup powdered sugar
- Remaining half of the stabilized whipped cream
- Other:
- Mini Reese’s Peanut Butter Cups (about 30)
Instructions
- Place your mixing bowl and whisk attachment in the freezer until well chilled.
- Pour in the whipping cream and begin whipping on medium speed.Once it starts to thicken, add the sugar and vanilla.
Continue whipping until soft peaks form, then add the instant pudding powder. Beat until soft peaks form. - Transfer to a bowl and refrigerate until ready to use.
Make the Stabilized Whipped Cream
Make the Oreo Crust
- Crush the Oreo cookies in a food processor.
- Set aside ⅛ cup of crumbs for the topping.
- Mix remaining crumbs with melted butter.
- Press firmly into the bottom of a 12x 7.5 inch pan (or similar size).
- Place in the refrigerator to chill while you prepare the next layer.
- Beat the cream cheese until smooth and fluffy.
- Add peanut butter and powdered sugar; mix until fully combined.
- Gently fold in half of the stabilized whipped cream.
- Spread evenly over the chilled Oreo crust.
- Press mini Reese’s Peanut Butter Cups gently into the surface (you can leave them whole or chop them)
- In a bowl, mix the pudding mix, milk, and powdered sugar with an electric mixer until thick.
- Fold in the remaining stabilized whipped cream.
- Spread evenly over the peanut butter layer with the reese peanut butter cups on it.
Make the Peanut Butter Cheesecake Layer
Make the Chocolate Mousse Layer
Finish & Chill
- Sprinkle the top with reserved Oreo crumbs.
- Cover with plastic wrap.
- Refrigerate for at least 2–4 hours, or overnight for best results.
- Slice into small squares and serve.
Notes
If you can't find mini Reese peanut butter cups, you can just chop regular sized Reese peanut butter cups into chunks and sprinkle over the peanut butter cheesecake layer.
Nutrition Information:
Yield: 15 Serving Size: 1Amount Per Serving: Calories: 515Total Fat: 33gSaturated Fat: 17gUnsaturated Fat: 15gCholesterol: 74mgSodium: 221mgCarbohydrates: 50gFiber: 1gSugar: 39gProtein: 6g
A Little Story Behind This Peanut Butter & Chocolate Dessert Recipe
My sister highly recommended this dessert after she made it for her family’s Thanksgiving dinner. The original recipe comes from I Am Baker – one of my favorite food bloggers. I made a few small tweaks — especially swapping in homemade stabilized whipped cream instead of Cool Whip — and it was a definite hit with the family!
A Few Helpful Tips For this Reese Peanut Butter Chocolate Dessert
- Short on time? You can absolutely use store-bought whipped topping (like Cool Whip) instead of homemade. Let it soften slightly so it’s easy to fold into each layer.
- Pan size: This recipe was originally made in a 9×9 pan, but I used a larger one (7.5 x 12 in) and it still filled beautifully.
- Rich and filling: This is a very rich dessert, so smaller pieces are perfect — a little goes a long way.
- Perfect for special occasions: This is a wonderful make-ahead dessert for holidays, dinner parties, or family gatherings.
No Step-by-Step Photos This Time
Since our house is full of family right now, my photography studio & office has turned into a guest room. So, I simply set this dessert on the dining room table with our Christmas lights glowing in the background and snapped a few photos of the finished dish.
This is one of those old-fashioned, trust-the-recipe desserts — and if you’ve spent any time in the kitchen, you’ll have no trouble at all following the steps.
More No Bake Dessert Recipes
- This Mocha Dessert Recipe is also a make ahead layered refrigerator dessert recipe perfect for special occasions.
- No Bake original scotcheroos recipe is a special treat everyone loves.
- Peanut butter chocolate and oatmeal no bake cookies are a wonderful solution when you are short on time!
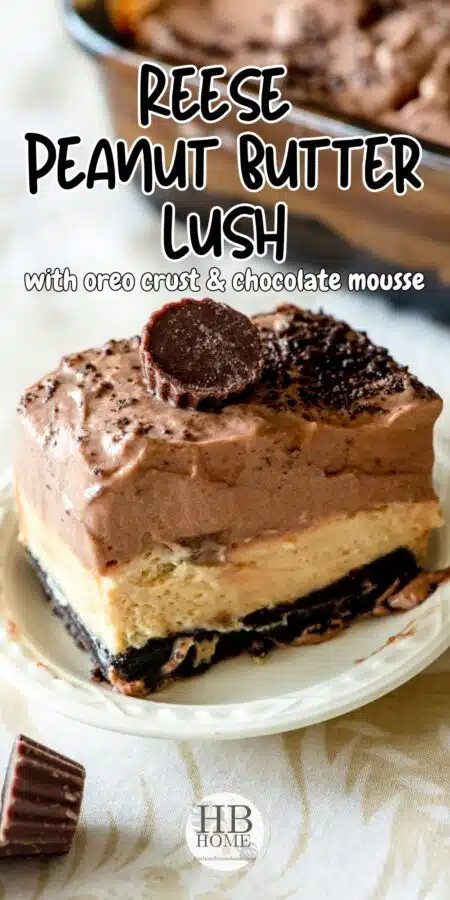
Pin this to Remember it Later!
Pin this on your favorite dessert board to find it when you need it:


This dessert turned out incredible! I made it for a family gathering, and everyone wanted seconds. The Oreo crust and peanut butter layers are a perfect combination. Thanks for sharing such an easy, crowd-pleasing recipe!
This Oreo and peanut butter lush looks dangerously good! The layers of crushed Oreos, creamy peanut butter filling, and chocolate pudding make it feel a bit like an unwordle—each layer reveals another tasty piece of the final dessert.
Can I replace the stabilized whipped cream with regular whipped cream or Greek yogurt?