
Simple Steps for How to Plant a Container Garden
The sun came out yesterday. It was glorious.
As it smiled away in its blue sky perch, the world seemed to come to life. The grass was greener, the birds chirped away, and new flowers seemed to pop up everywhere.

It made me anxious to dust off my green thumb and dig in a little dirt…
***
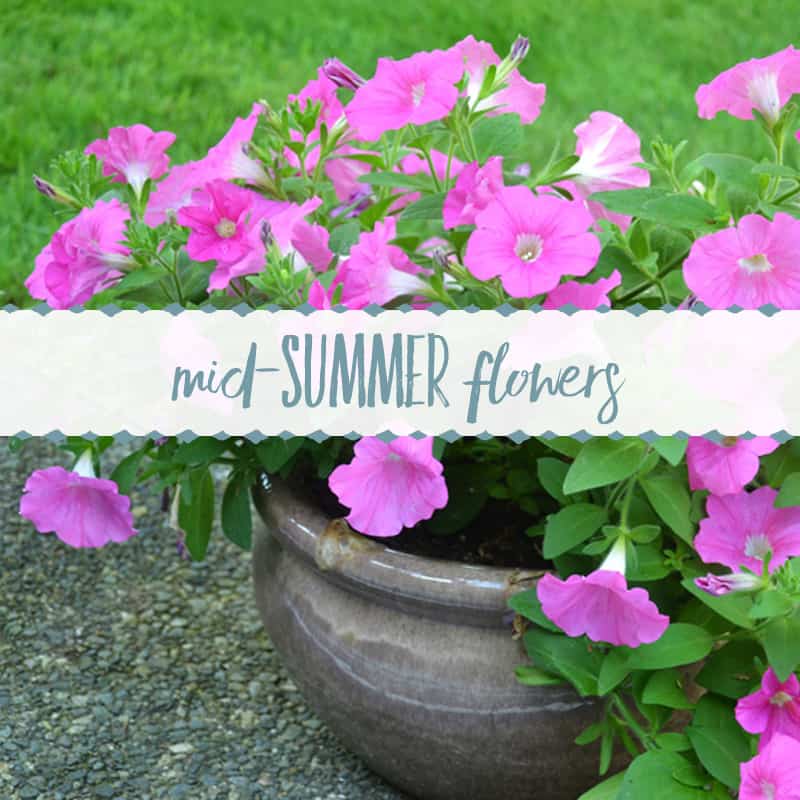
Last year, I discovered there’s an itty bitty window of opportunity to buy beautiful flower plants at their itty bitty baby stage…
And they are so inexpensive!
Because the sun was out and I had flowers on the brain, we decided to make a quick stop at our local Canadian Tire after church yesterday to see if the babies were in.
They were!
I wasted no time grabbing a cart to put together an assortment for our 2 outside flower containers.
I must say, though, that there were LOTS of decisions to make. What colors? How many?…
And, sadly, my indecision made us miss a ferry…
Oops! (But having time for coffee and a muffin was fun!![]() )
)
Once home, I headed to the greenhouse to put my babies in their happy new home right away.
Here’s how I planted our container flower gardens.
Simple Tips & Tricks for Planting Container Gardens
1. If your container is large, place an upside down pot with holes in the bottom of the container. This will fill up some space, help with drainage, and you’ll conserve on potting soil. Also, the containers won’t be as heavy to move when you do this.

2. Pour in some potting soil and sprinkle on some slow release plant food. Once sprinkled on, stir it into the soil with your garden trowel.

Miracle-Gro Shake n Feed is my favorite plant food for flowers.
3. Play around with the arrangement of the plants until you’re happy with the look before you take them out of their containers. I try to balance it out by putting the taller plants near the back and center, and trailing ones around the edges.

4. Dig a little hole with your garden trowel, dump the plant out into your hand, loosen up the roots with your fingers, and press it firmly into the hole – packing dirt down tightly on the top. Once they’re all planted, give them a nice little drink of water.

If there is still a danger of freezing, keep the plants in a greenhouse until the frost warning passes. (Check your growing zone area for recommended planting dates.)

Although they look so small and sad in these big containers right now, it’s amazing how quickly they’ll grow.
Now I need to make sure they’re watered regularly and give them a little plant food once a week.
Other Gardening Posts
- Simple tips for hydrangea care in pots
- Gardening tips to save time, energy, and guilt!
- Cut flowers perfect for sunny flower beds.

There are many tree removal services in the United States
which help in removing trees, professionally. Not only do we have plenty of sunshine
year-round, but our winters are mild, as well.
These ornaments and their creators have memories attached to them as well.
I needed to thank you for this wonderful read!
! I absolutely enjoyed every bit of it. I’ve got you book marked to look at new stuff you post…
Greenhouses can also be built using landscape gardening and they
can be incorporated inside of the garden collectively with a
chilly-body. They are designed to last indefinitely
and are made of a high percentage recycled products.
Though there are many companies that can assist you in helping to maintain the beauty of your
property and home, one should not choose the first company that is
found.
Umm. If missing the ferry meant time for coffee and a muffin, it would be my GOAL to miss the ferry!! 🙂