
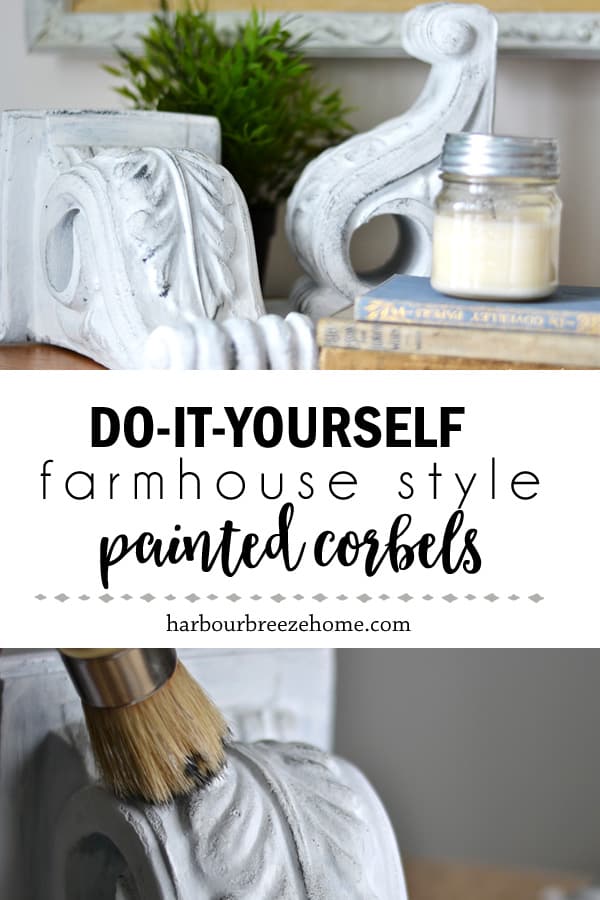
A Beginner’s Guide to DIY Farmhouse Style Painted Foam Corbels
Turn a thrift store (or home improvement store) find into a great piece of decor with this beginner’s guide to DIY farmhouse style painted foam corbels.
Adding touches of farmhouse style to your home can be as easy as picking up a paintbrush.
I’m constantly on the lookout for items at thrift stores or discount bins that can be transformed into thrifty decor. This project is perfect if you are a beginner (or even experienced!) diy-er.
A Beginner’s Guide to DIY Farmhouse Style Painted Foam Corbels
Dislaimer: This post contains affiliate links for your shopping convenience. Harbour Breeze Home is a participant in the Amazon Services LLC Associates Program, an affiliate advertising program designed to provide a means for sites to earn advertising fees by advertising and linking to Amazon.com.
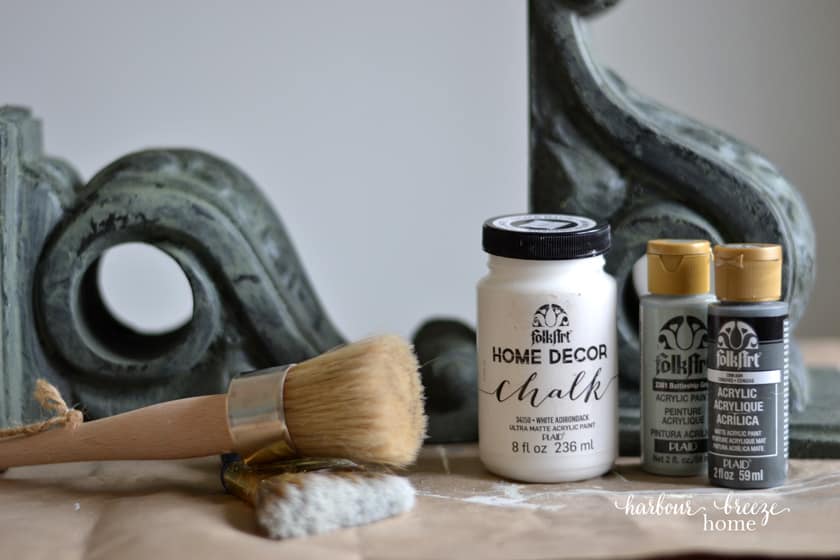
Supplies:
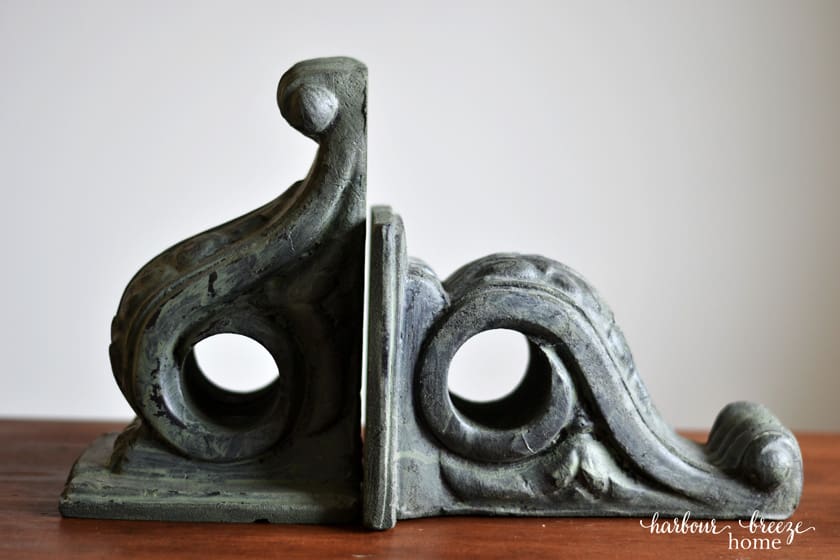
- Foam Corbels (Mine were a “find” at a thrift store. However, wooden corbels would work, too.)
- Chalk paint (I used Folkart Home Decor Chalk in White Adirondack)
- Acyrlic Craft Paint (Folkart Ash)
- Paintbrush (This Wooster handle-less brush is my favorite all-purpose brush)
- Paintbrush for dry-brushing (This round one is similar to the one I like to use)
Step One: Paint the foam corbels with 2 coats of white chalk paint
I chose chalk paint for this particular project as it claims to be a great “all-purpose” type of paint, and should adhere well to any type of surface. I wasn’t sure how much the paint would soak into the foam surface, but was thrilled that it only required two coats.
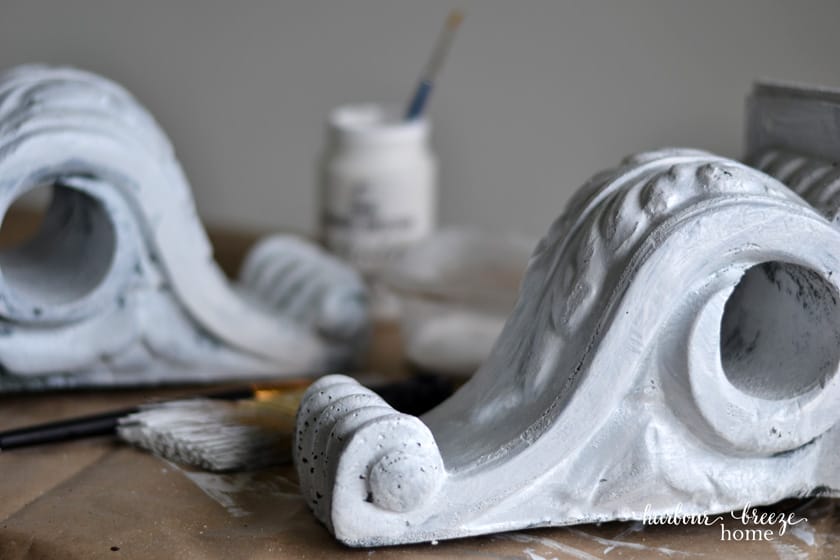
The picture above was taken after one coat. I could have potentially left it with only one coat, but I wanted to make sure it was covered well. After the first coat was dry, I painted it again and left it to dry overnight.
Step 2: Dry-brush a dark color on to highlight the design of the corbels
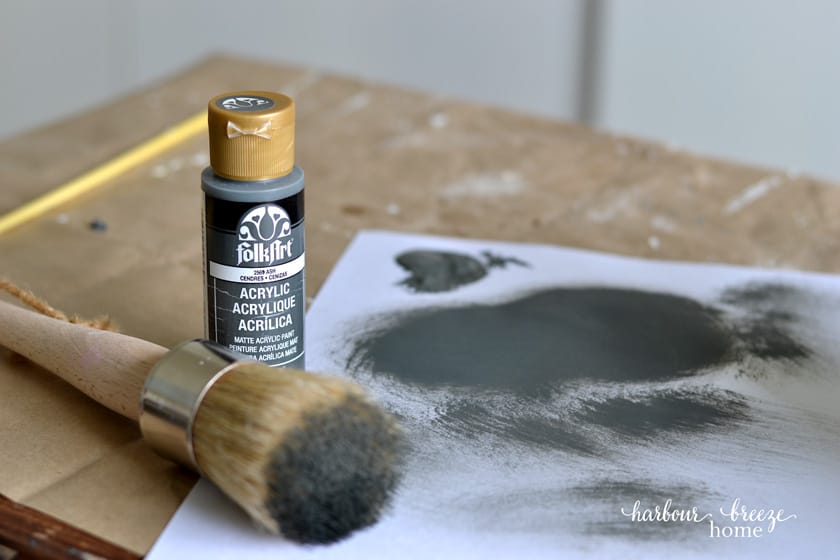
“Dry-brushing” is a painting term that is just what it says ~ painting with a brush that is almost “dry”. In order to achieve this technique, shake your paint well and squirt a quarter sized puddle onto a piece of card-stock (or a paper plate).
Dip your brush into the paint and then rub it on to the paper until the brush is almost completely dry of paint. (Don’t worry, there still is paint in it!!)
Then, gently rub the brush over the surface of the corbel. Keep rubbing until the design starts to become highlighted with the paint color.
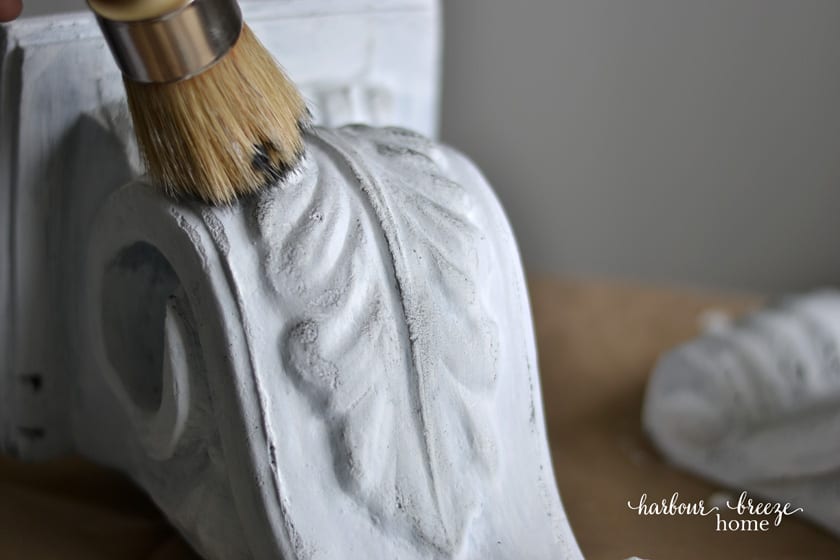
When using this technique, remember to start with very little paint and build as you want more. It’s always easier to add more than to take paint away.

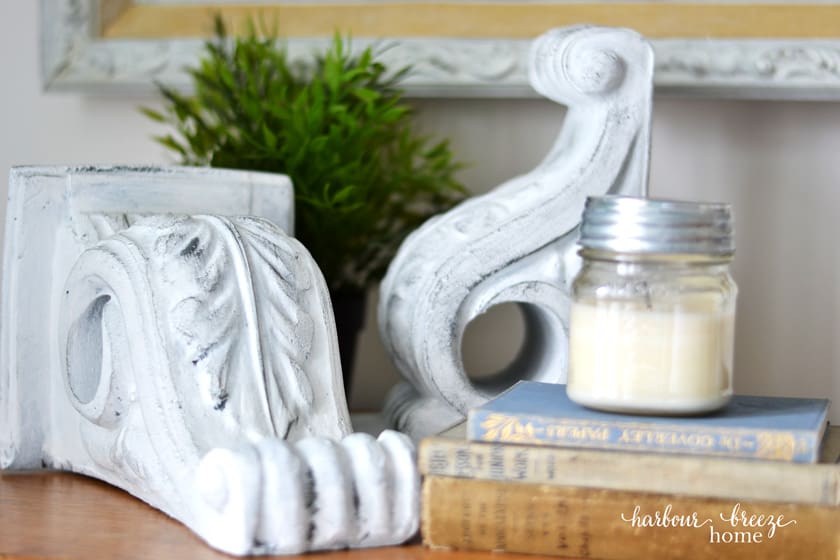
Style your newly painted corbels to achieve the look you’re going for!
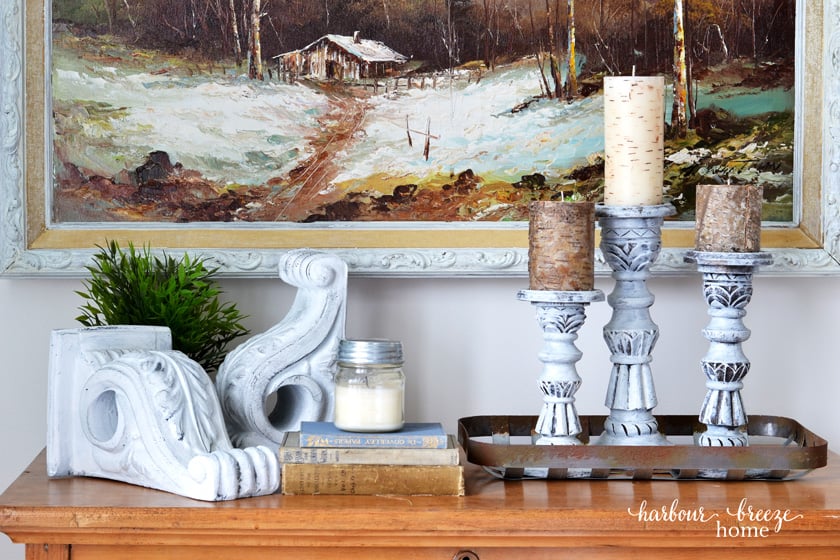
Farmhouse style corbels can be used in so many different ways for decor. Here are a few:
- Place on a tabletop for decor (like I did in our recently refreshed bedroom)
- Use as bookends
- Hang in a doorway for architectural interest
- Use them as shelf brackets
- Place them under the ends of an island seating area in the kitchen
- Add a hook and use them to hang plants or lanterns. (Make sure the corbels are sturdy enough to handle the weight of whatever you hang on them.)

I just saw some of these at the thrift store today, sure wish I would have bought them. Great tutorial and ideas on use Rita.
I’ve never seen foam corbels before, that’s so neat. What a great thrifty find and I love the finished style, fits so well with your decor.
Nice project! I’m always on the look out for fun finds at my local thrift store.
Beautiful design. Love the color it will look great in our living room.