
Easy Butter Tarts Recipe (with store-bought tart shells)
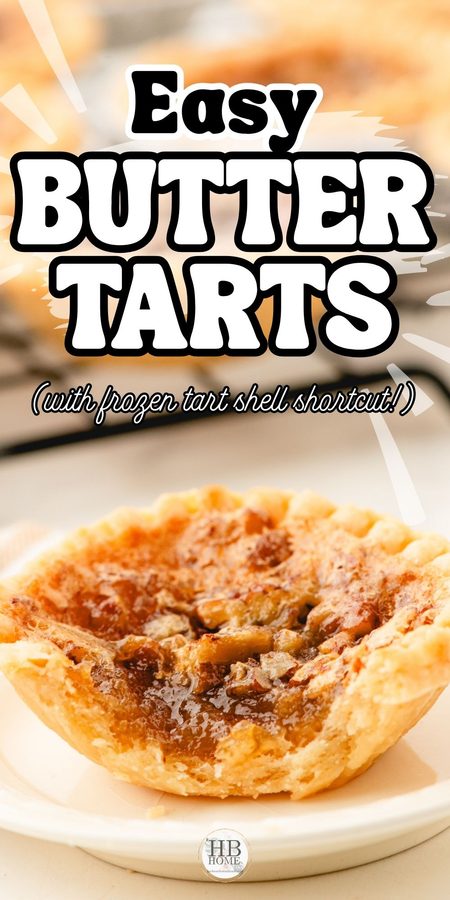
These easy butter tarts use store-bought tart shells and a gooey brown sugar pecan filling for a classic Canadian treat in just 30 minutes!
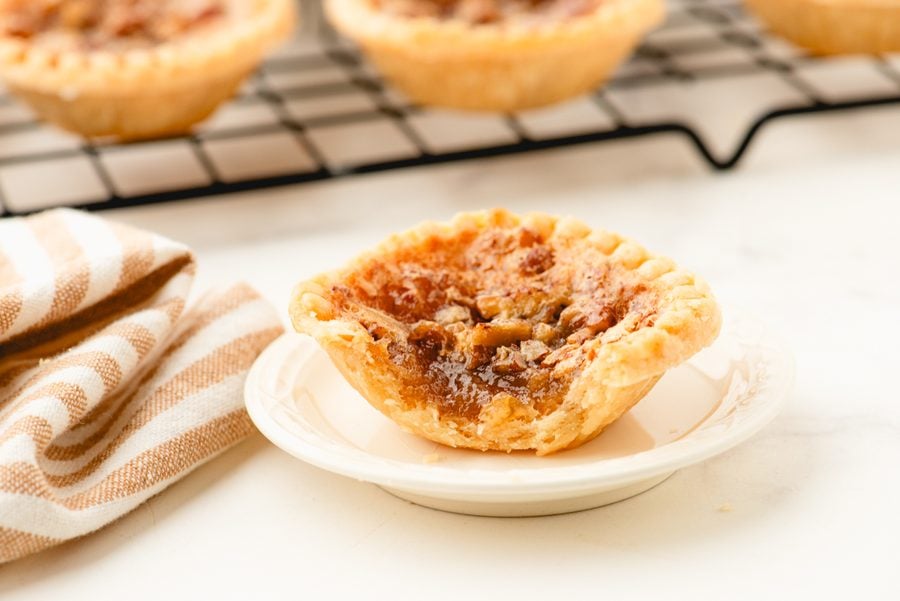
I honestly don’t ever remember my mom making tarts when I was growing up. Pies? Yes! Cookies? Absolutely! But tarts just weren’t something that came out of her oven.
Here in Canada, though, butter tarts are everywhere. They’re a classic Canadian dessert, and you can find them in the bakery section of just about any grocery store, any time of year. They also happen to be one of my husband’s very favorite desserts, so we’ve brought home more than a few packages of them over the years!
But this was the very first time I made them myself—using my daughter-in-law’s family recipe. And can I just tell you? I was happier than a clam to discover how quick and easy they are to mix up at home. Now, I say “from scratch,” but I’ll confess I used a handy shortcut: Tenderflake tart shells from the freezer section of our grocery store. It speeds the whole process up SO much. No rolling pin required! 😄
Why You’ll Love These Butter Tarts
- A true classic Canadian dessert you can make right in your own kitchen
- Store-bought tart shells make them quick and easy—no pastry to roll out!
- The filling mixes up in one bowl in just a few minutes
- Gooey, buttery, and sweet with a little crunch from the pecans
- Perfect for holiday cookie trays, potlucks, or a special treat for someone you love
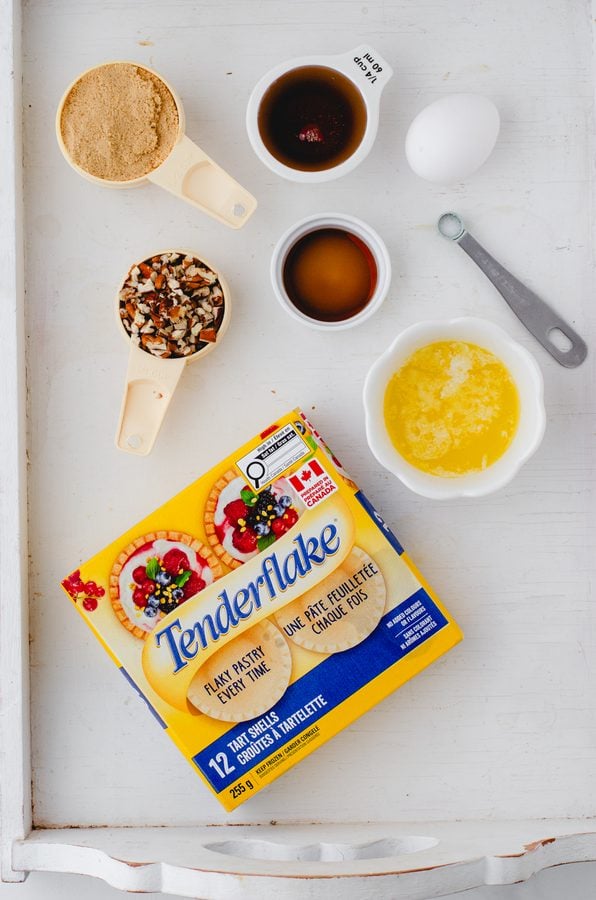
Ingredients for Butter Tarts
For exact measurements and instructions, check out the full printable recipe card below.
- Frozen tart shells (I used Tenderflake tart shells from the freezer section of my grocery store.)
- Chopped pecans
- Egg
- Brown sugar, packed
- Corn syrup
- Butter, melted
- Vanilla
- Salt
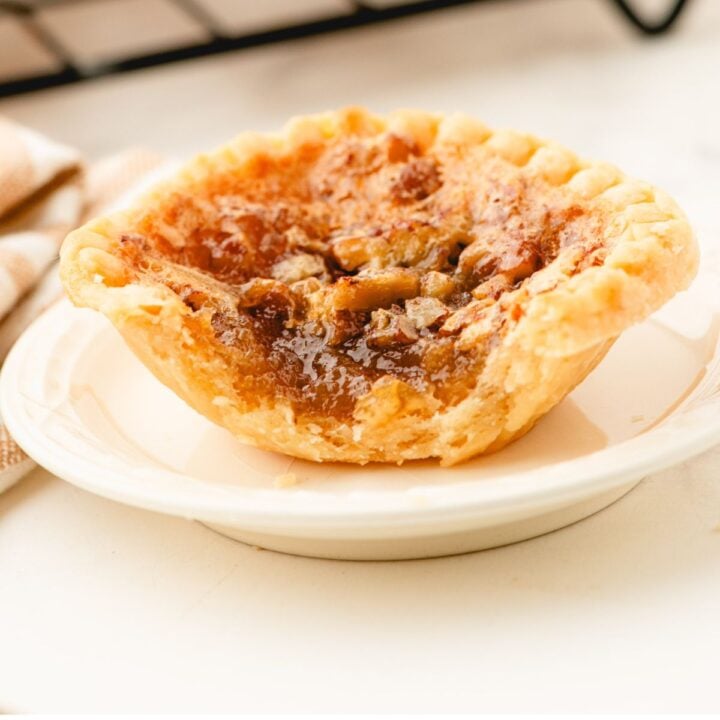
Pecan Butter Tarts
These classic Canadian pecan butter tarts have a gooey brown sugar filling and crunchy pecans, baked in store-bought tart shells for an easy shortcut. They mix up in minutes and are perfect for holiday baking trays, potlucks, or a sweet treat with your afternoon coffee!
Ingredients
- 12 frozen tart shells (I used Tenderflake)
- 1/4 cup chopped pecans
- 1 egg
- 1/2 cup brown sugar, packed
- 1/4 cup corn syrup
- 1/4 cup butter, melted
- 1/2 teaspoon vanilla
- 1/8 teaspoon salt
Instructions
Preheat the oven to 350°F.
Thaw the tart shells according to the package directions (about 10 minutes) and place them on a parchment-lined baking sheet.
Sprinkle the chopped pecans evenly into the bottoms of the tart shells.
In a medium mixing bowl, lightly beat the egg.
Add the brown sugar, corn syrup, melted butter, vanilla, and salt. Beat until smooth and there are no lumps of brown sugar.
Using a cookie scoop, carefully fill each tart shell with the filling.
Bake for 15 minutes, until golden brown. **Note: Baking time will vary depending on how thawed your tart shells are. If they weren't completely thawed, them may need some more time to bake. Bake until the pastry is lightly golden brown and the filling is bubbled up.
Cool completely on a cooling rack before removing the tarts from the foil pans.
Notes
Raisin variation: Swap the pecans for raisins for a classic raisin butter tart. Some bakers soak the raisins in hot water first to plump them up.
Let the tarts cool completely before removing them from the foil pans. The filling sets as it cools.
Butter tarts freeze well. Freeze cooled tarts in a single layer, then store them in a freezer container for up to 3 months.
Step by Step Instructions for Butter Tarts
(For all the detailed instructions, refer to the printable recipe card above.)

1. Sprinkle in the pecans, mix the filling, and scoop filling into tarts. 2. Bake & cool on a wire rack.
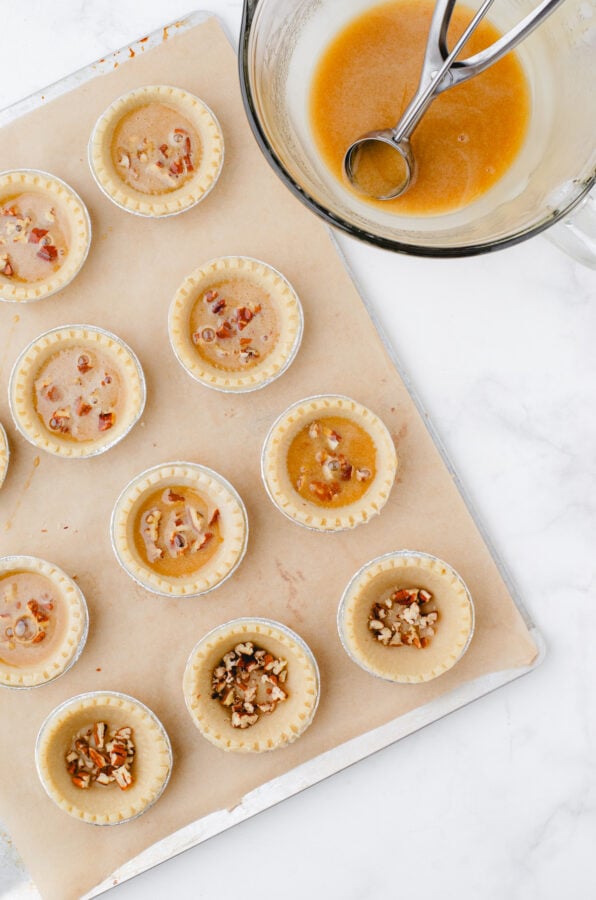
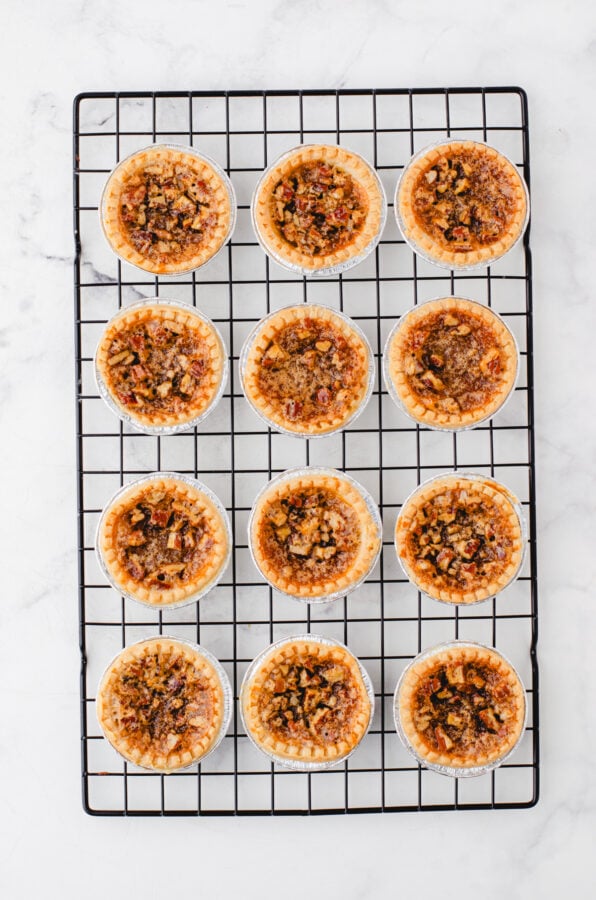
- Get your tart shells ready. Follow the directions on your package of tart shells. Mine said to let them thaw for about 10 minutes, so I took them out of the freezer and set them on a parchment-lined baking sheet. Pop your oven on to 350°F while you get everything prepared.
- Sprinkle in the pecans. Divide the chopped pecans between the tart shells, sprinkling them right into the bottoms.
- Mix up the filling. In a medium mixing bowl, lightly beat the egg. Then add the brown sugar, corn syrup, vanilla, melted butter, and salt, and beat it all together until it’s smooth with no lumps of brown sugar left.
- Fill the shells. I used a cookie scoop to carefully spoon the filling into each tart shell right over the pecans. Listen, don’t worry if there are a few drips! It’s bound to happen.
- Bake. Bake for about 15 minutes, until the pastry is golden brown and the filling is bubbly.
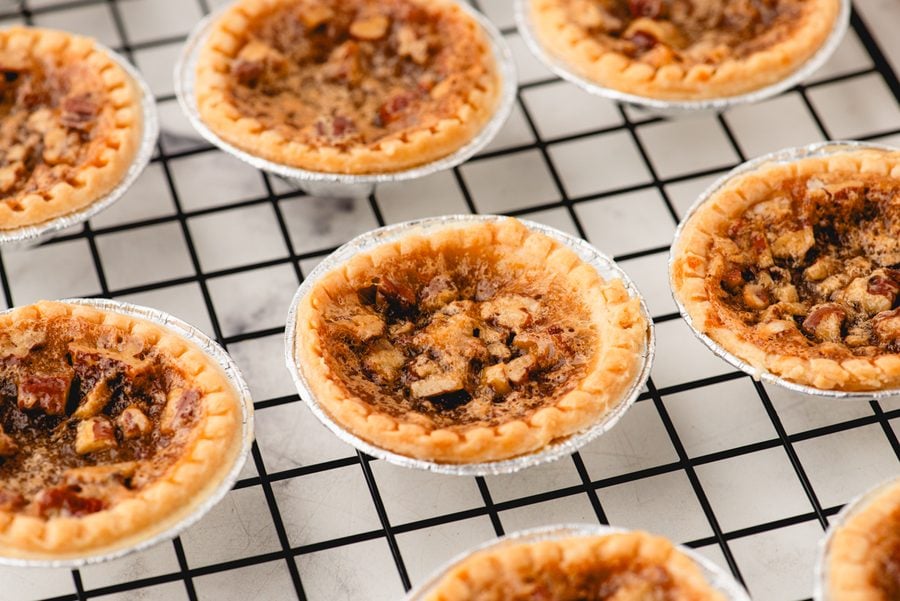
- Cool completely. Let the tarts cool all the way on a cooling rack before you try to take them out of their little foil pans. Patience pays off here, friend!
How to Store and Freeze Butter Tarts
Good news: Butter tarts freeze beautifully, so they’re a wonderful make-ahead treat for the holidays!
- On the counter: Store cooled tarts in an airtight container for a couple of days.
- In the fridge: Keep them covered for up to about a week.
- In the freezer: Freeze cooled tarts in a single layer, then tuck them into a freezer container or bag for up to about 3 months. Thaw on the counter before serving.
My Favorite Kitchen Finds!
Looking for a few helpful tools for your kitchen? You can find my favorites in my Amazon shop here on Amazon USA or Amazon Canada. (They are affiliate links.)
Helpful Tips When Making This Recipe
- Beat the filling until the brown sugar is completely smooth—no lumps!
- A cookie scoop makes filling the tart shells quick and tidy.
- Bake the tarts on a parchment-lined baking sheet for easy cleanup.
- Don’t rush the cooling! The filling sets up as it cools, and the tarts come out of the foil pans much more easily.
Substitutions and Variations for Butter Tarts
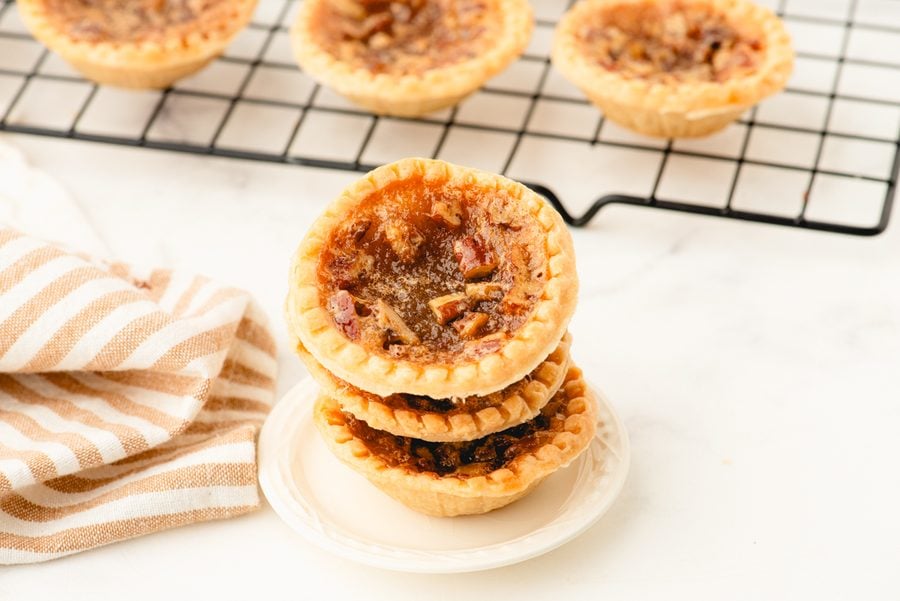
- Raisins: Raisin butter tarts are one of the most classic variations! Simply swap the pecans for raisins. I haven’t tried it myself yet, but from what I’ve read, some bakers soak their raisins in hot water first to plump them up, and some don’t bother at all.
- Nuts: Use walnuts instead of pecans, or leave the nuts out for plain butter tarts.
- Homemade pastry: If you have a favorite pastry recipe, you can absolutely use it instead of store-bought shells. Here’s my mom’s pie crust recipe if you’d like to use it.

Grandma Rita’s Kitchen Tips
Shortcuts are not cheating—they’re smart! Using store-bought tart shells means you can whip up a batch of homemade butter tarts any time the craving strikes. Make a double batch and tuck some in the freezer for your Christmas cookie trays!
How to Serve Butter Tarts
- Enjoy them just as they are with a hot cup of coffee or tea.
- Add them to a holiday dessert tray alongside other Canadian classics like Nanaimo bars.
- Serve slightly warm with a little scoop of vanilla ice cream for an extra special treat.
Other Classic Desserts You Might Enjoy:
- Another classic Canadian treat: these no bake Nanaimo bars with three dreamy layers
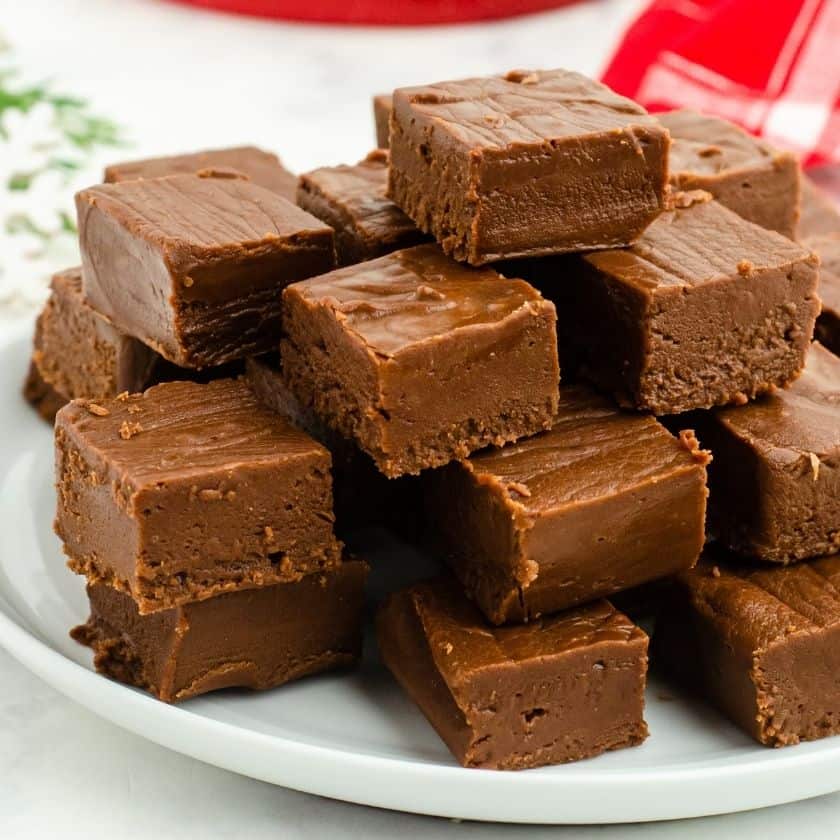
- This never fail chocolate fudge is a must for Christmas
- These butterscotch brownies are dangerously good and ready in 30 minutes!
- Soft and chewy toffee doodle cookies with caramel bits
Free printable set!!
Snag the planner I use to simplify grocery trips and dinners!
Pin It Now, Make It Later
Don’t lose track of this recipe! Save it on Pinterest so it’s ready when that butter tart craving strikes. Follow me on Pinterest for even more recipes and inspiration for your home.


DON’T MISS A THING!
Join my list for more ideas for you and your home…