
How to Hang a Gallery Wall Without Measuring — The Paper Template Method
Tired of hammering nails in the wrong spot? This genius paper template method lets you plan your entire gallery wall on the floor first, then transfer it perfectly to the wall. No measuring required!
A few years back, I spent three days at my sister Becky’s house decorating and organizing — and our sister Susan came up to help too. (Our sister. Not the nun kind of sister. Tee hee!)
We worked like two crazed women and loved every single minute of it. I worked while sweating. She worked while shivering. Our body temperatures are slightly different. 😄
Sadly, in all the excitement I completely forgot to take before pictures. Bummer! But I did come to my senses partway through — so you get the middle and the after, and I think you’ll love it.
Above Becky’s couch was a big beautiful empty wall just begging for a little somp’n somp’n. A gallery wall felt exactly right. Here’s how we did it — and the little paper template trick that made the whole thing so much easier than you’d think!
1.Lay items to be used on the floor until something comes together and looks good to you.
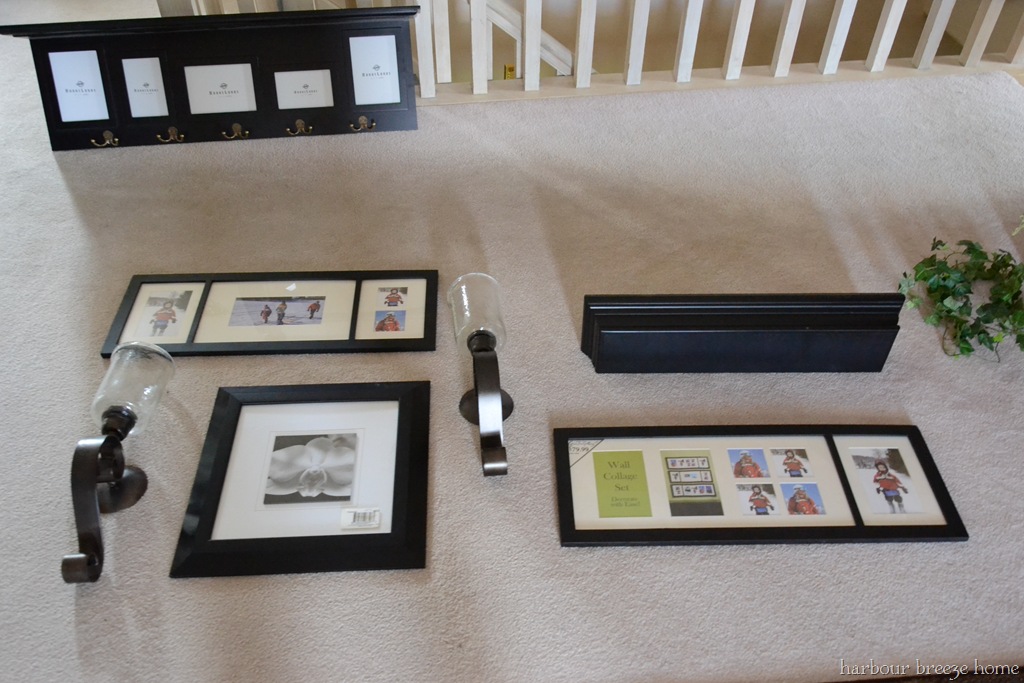
2. Measure out the exact dimensions of how big you want the arrangement to end up, and cut a piece of paper to that size. Large rolls of paper from a print shop work great for this…or even taped together newspapers would do.
3. Lay arrangement on top of paper until it is spaced the way you like. A level will probably be a good idea at this point as well. Trace around each object.
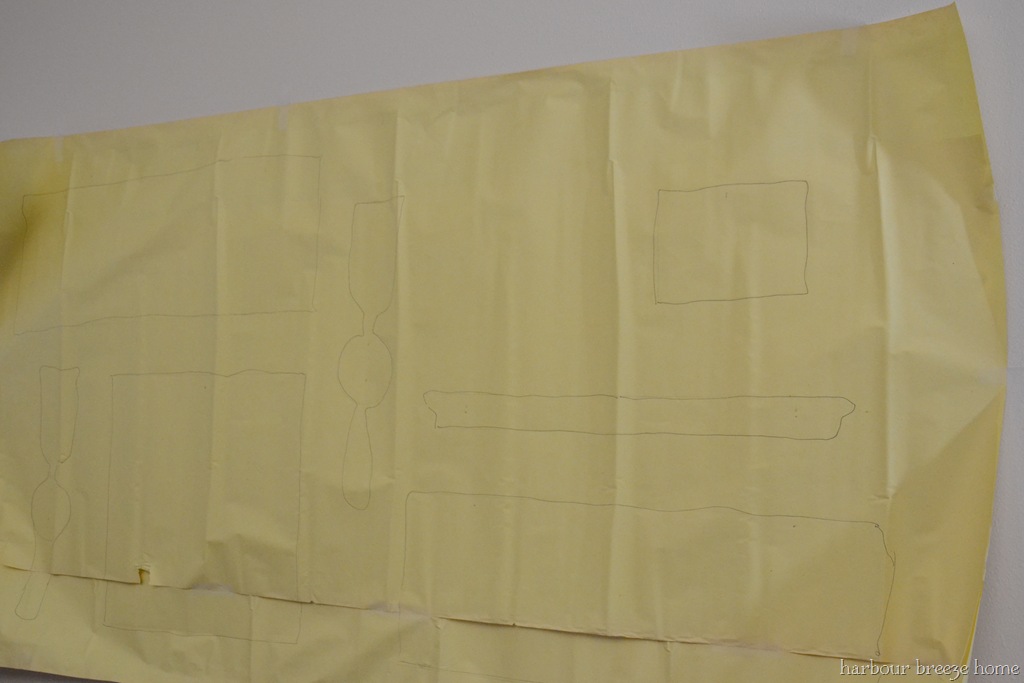
4. Once items are traced, flip them over and note where the picture hanger is located. Mark little x’s in the exact spot on the paper where the nails/ screws will need to go. {This is especially helpful when you are working with your sister’s very beautiful wall, and you need to put in some of those scary anchor things!!}

5. Attach the paper (which is now your template) to the wall with scotch tape.
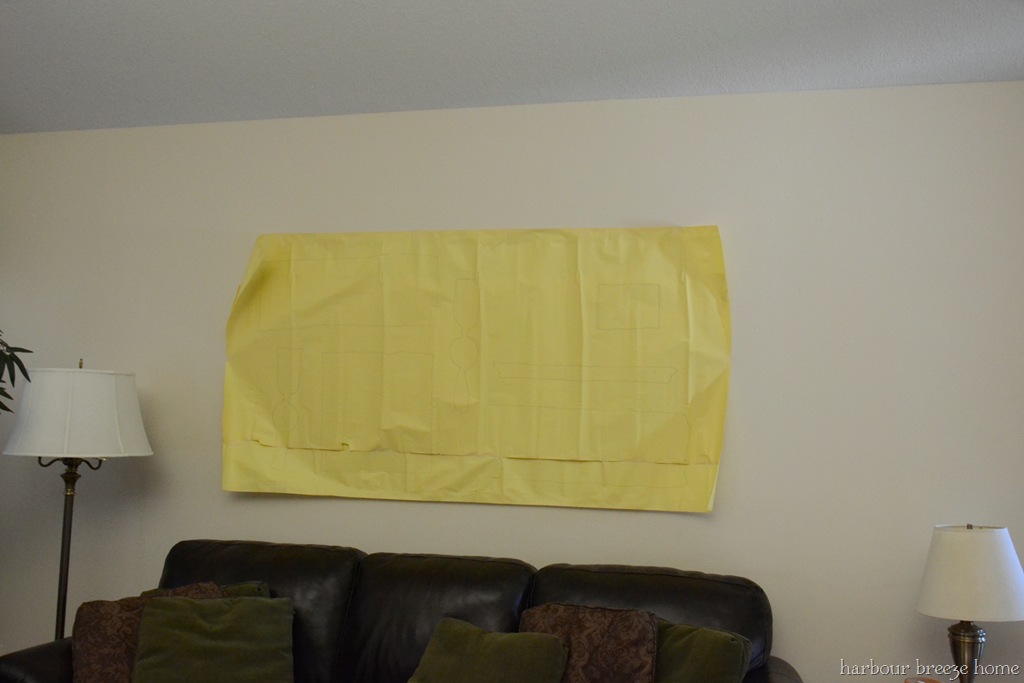
6. Place nails/ anchors/ screws in the places where you have marked. I used small nails for the lightweight things and anchors/ screws for the heavier objects. Thankfully, they all held. (Phew!) Once all the nails are in place, rip down the paper and hang up the pictures.
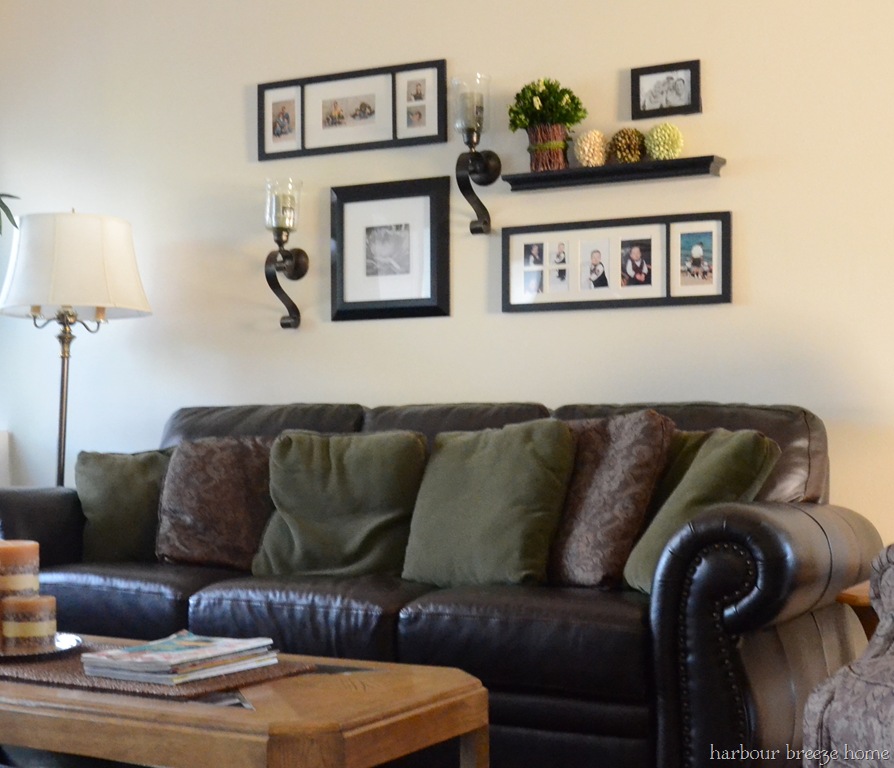
{I just threw in some family pictures quick so that they don’t have to look at stranger’s pictures. Becky will finish off that little detail…}
And if you’re wondering where that beautiful shelf from the first picture went, it now lives in the entryway (which is right off the living room).
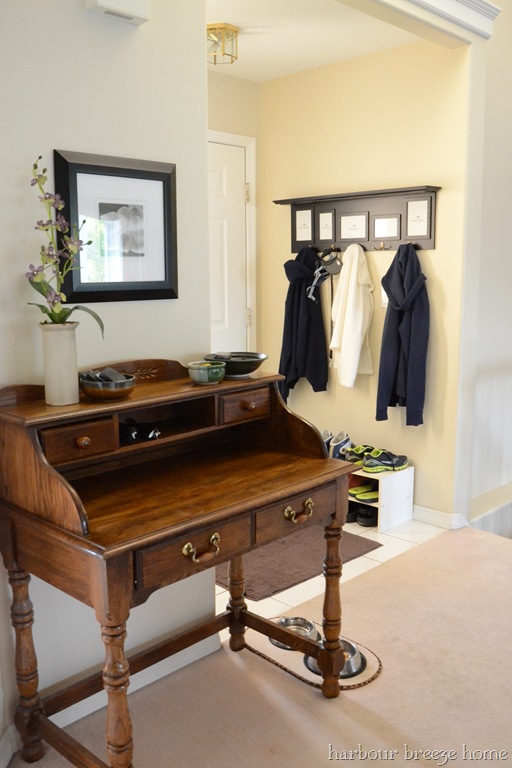
{All items for the gallery wall arrangement were purchased at Hobby Lobby, Target, and Herbergers.}
**Update: I found that gridded wrapping paper makes this idea even easier! See it used in my own above couch gallery wall!
For more recipes, crafts & ideas for your home all year round, become a VIP!
Become a VIP newsletter subscriber and get instant access to the library of free printables (including wall art, gift tags, and more!). Click here or the button below to join today.

Yep. I do this – lay out my pics on the floor before hand, but then I abandon reason and just start “eyeballing” it. Sigh… Just discovered your blog and going to follow you!
I sure needed to do this in my living room but there were aready a few holes to fill so I just went for it!!