
How to Choose Art with Minted using Photoshop
In this article: This easy step by step guide teaches how to choose art with Minted using Photoshop.
Are you an online shopper?
I’m just dipping my toes into that world. I find it’s a 50/50 mix of thrilling and absolutely terrifying!
Although I love the chance to peruse so many options, I often wonder how home decor will look once it gets in the door. I ask myself questions like,
- “Will it look good in my space?
- Are the colors the same in real life as they are on my computer screen?
- How will the dimensions work in my actual space?
I went through all those ponderings as I started the process of choosing an art print from Minted. I had seen some in other bloggers’ homes, and I was giddy at the possibility of adding some to my home.
What I discovered was hundreds and hundreds of gorgeous art prints. Some were abstract paintings. Other were black & white photographs. Some were funny. Some were moody. Some were happy.
And I was stuck. How on earth was I ever going to choose? There were approximately 20 that I really loved!
So, for the very first time, I turned to Photoshop to see if my computer could help me choose.
It did.
Let me show you how.
How to Choose Art with Minted using Photoshop
Disclosure: This post has been sponsored by Minted. It also contains affiliate links. As always, all opinions and reviews are honest and my own.
Open up a picture in Photoshop of the space that you want to hang your art.
(Select File–>Open–>Choose file and photo of your choice)
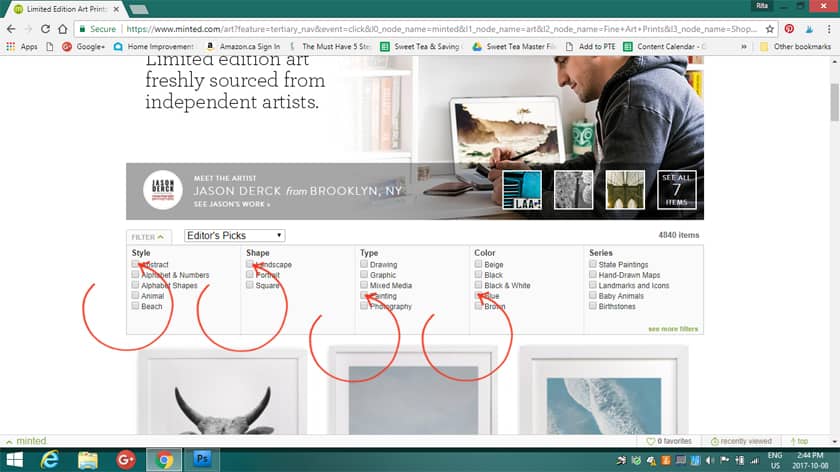
Head to the Minted Site and click on “Art”–>Shop Fine Art

Up will pop up a page full of beautiful art prints. Warning: You may get enamored by all the prettiness and find yourself scrolling through for an hour. (I may be speaking from experience.;))
Narrow down the search by inputting some specific guidelines for your specific art.
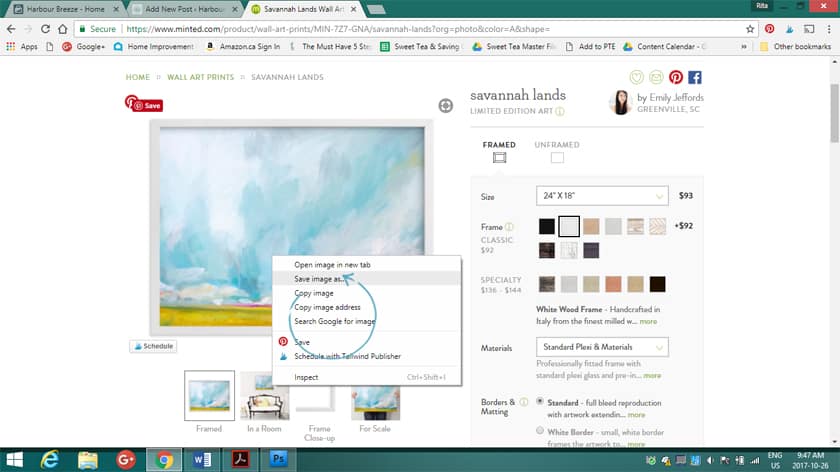
When you find a picture that is a possibility, hover over it & click to get more information.
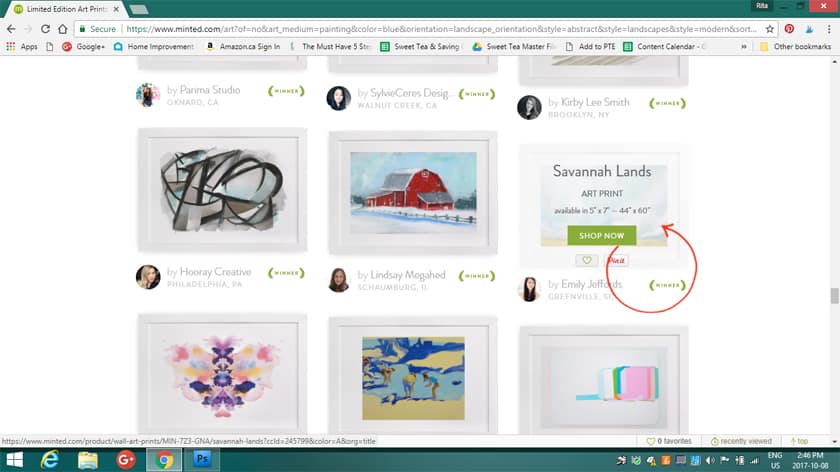
Right click on the image, then –>Save image as. Save the image in a folder you can find later (as a JPeg image). Click–>Save
Follow this same process with as many art pieces as you’d like to “try” in your room.
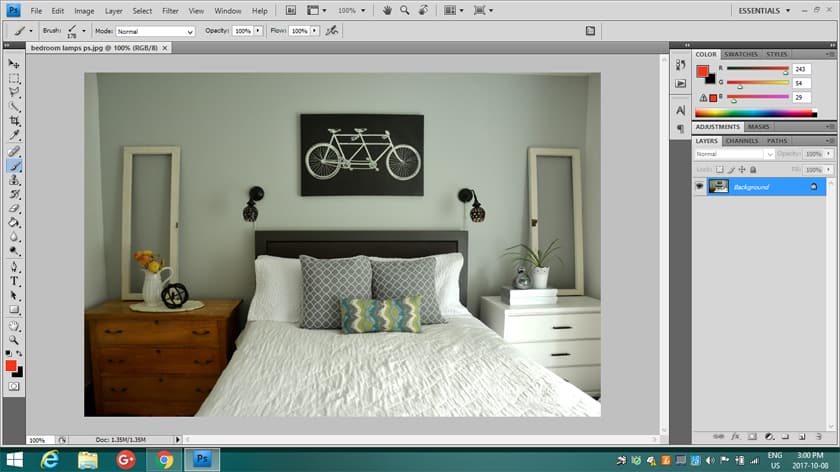
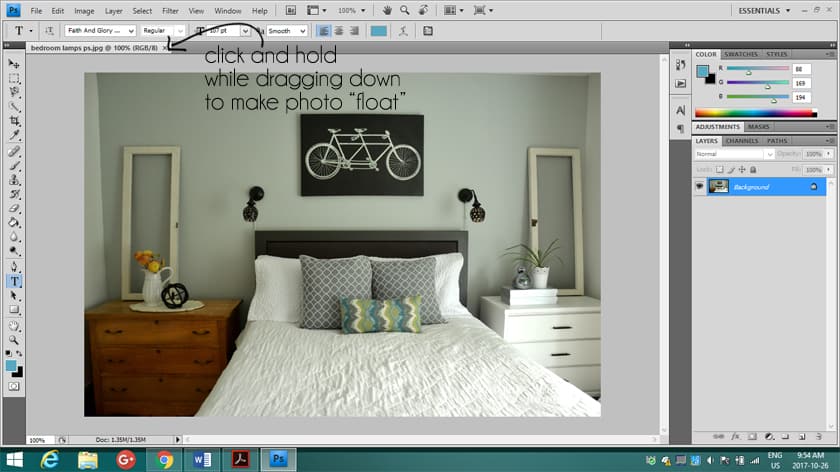
Go Back to Photoshop. Click on the dashboard title of your image and drag it down so that your image is floating in the window.
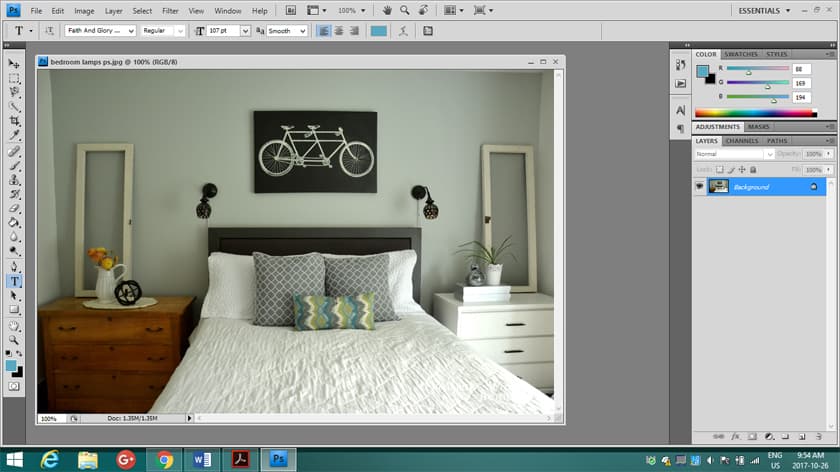
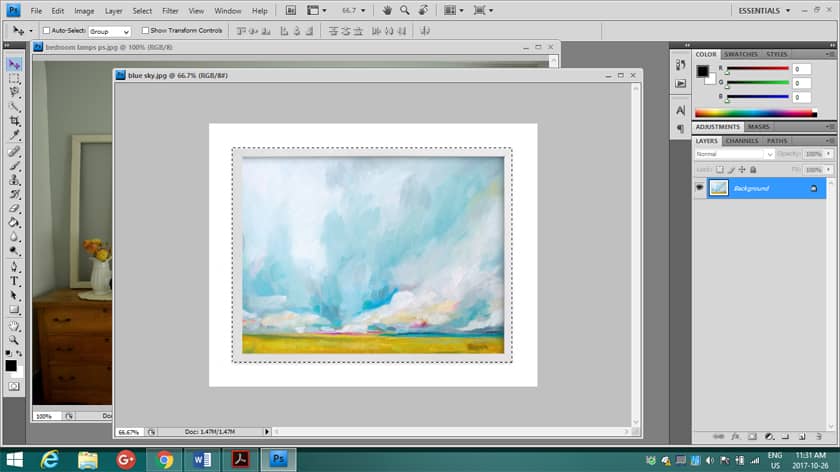
Once it’s floating, it will look like this:
Open a Minted Art print that you saved in your spot by clicking File–>Open and choose your picture. Float it in the window the same way you floated the first picture.
Click on the second icon on the left (it looks like a square with dotted lines) which is the Rectangular Marquee Tool
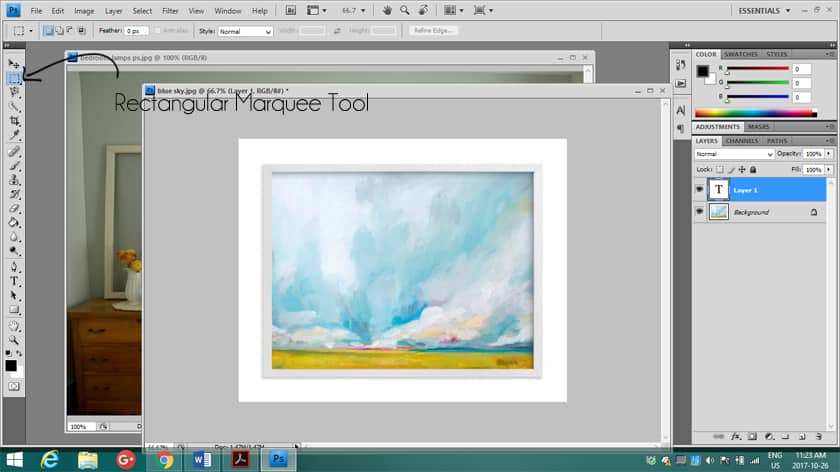
Click your mouse on the left hand corner of the picture and drag it until the whole picture is outlined with dotted lines. When you release your mouse, the dotted lines should appear to be moving – like marching ants.
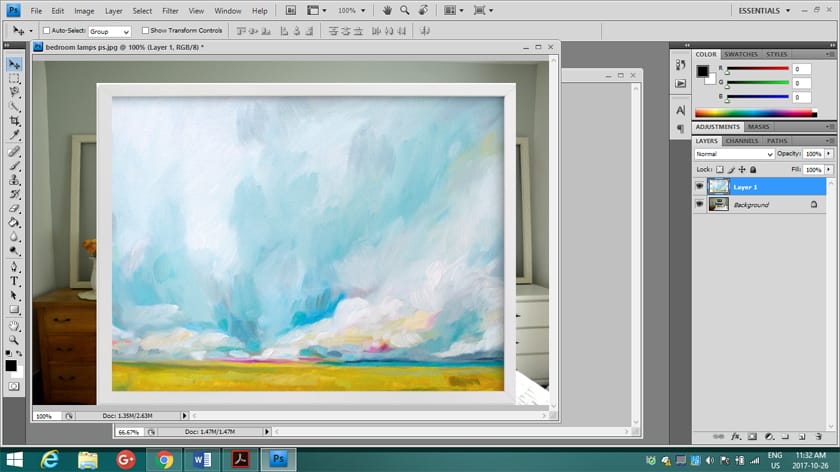
Click the top left button that looks like a cross with 4 arrows on the end. It’s the Move Tool. After you click it, click on the art picture and drag it to the side so it moves to the room picture.
It will be very large and fills up the whole room!:)
To be able to scale it down, you must first click on Edit–>Free Transform (or Ctrl T)
![]()
While holding down the Shift Key and letter T (to make sure the scale is correct), click on one of the squares in the corner and drag it down so the picture goes smaller.
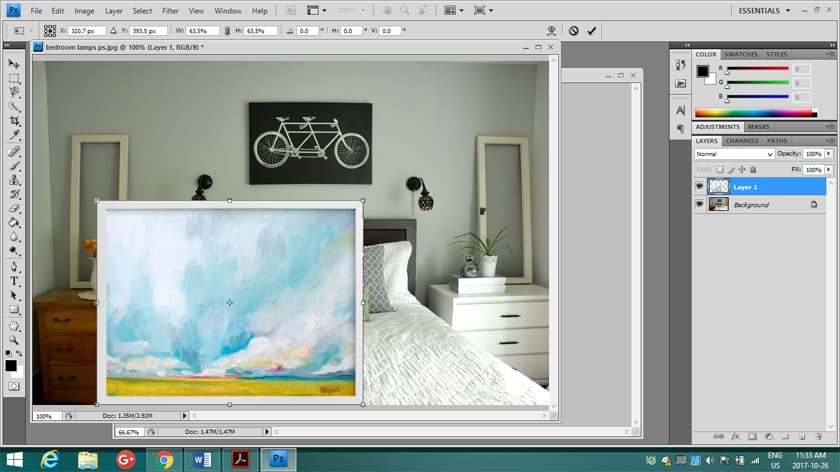
Position it where you’d like to see it on the wall, and click on the check mark on the top right (to commit the transform).
![]()
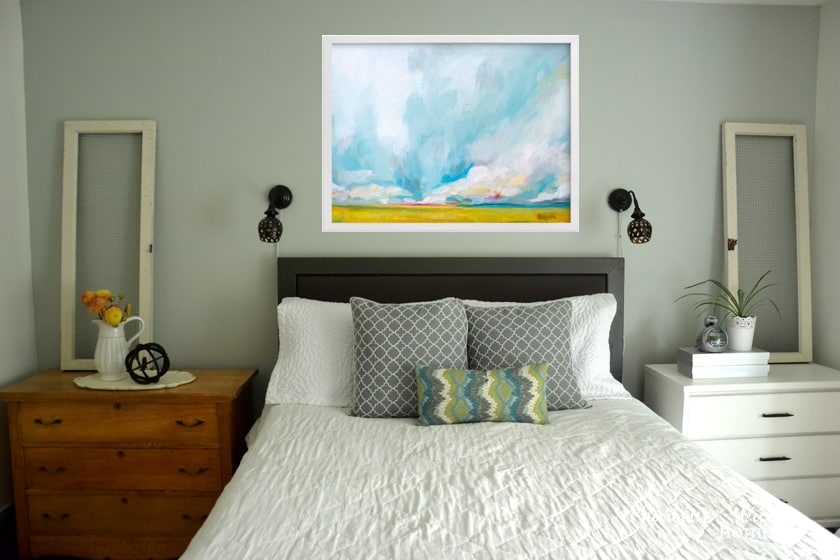
There you have it! Your potential picture in its space!
(**Please note: The color on your computer screen and pictures is not exactly the same as in real life. Keep in mind this exercise is to provide a general idea of what an actual print could look like.)
I tried out these three art prints:

^^Days of Blue^^
^^Verdant^^
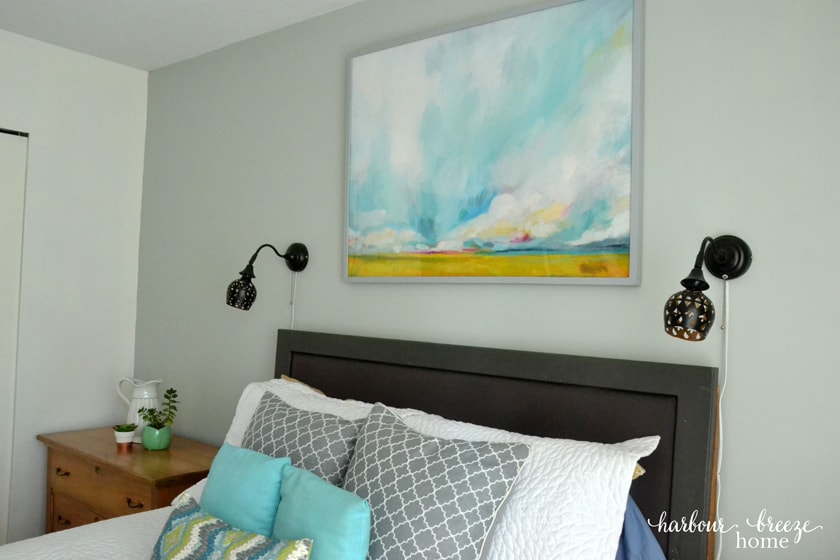
^^Savannah Lands^^
And which one did I choose??
Drumroll please…
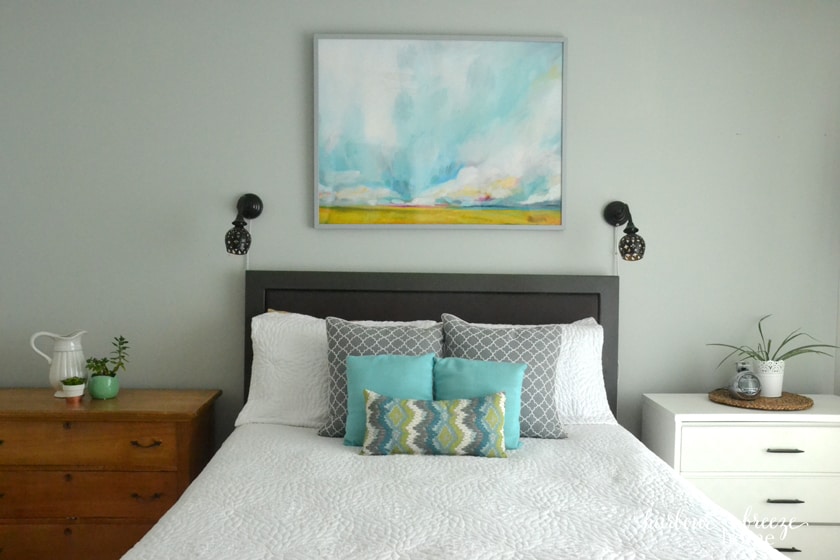
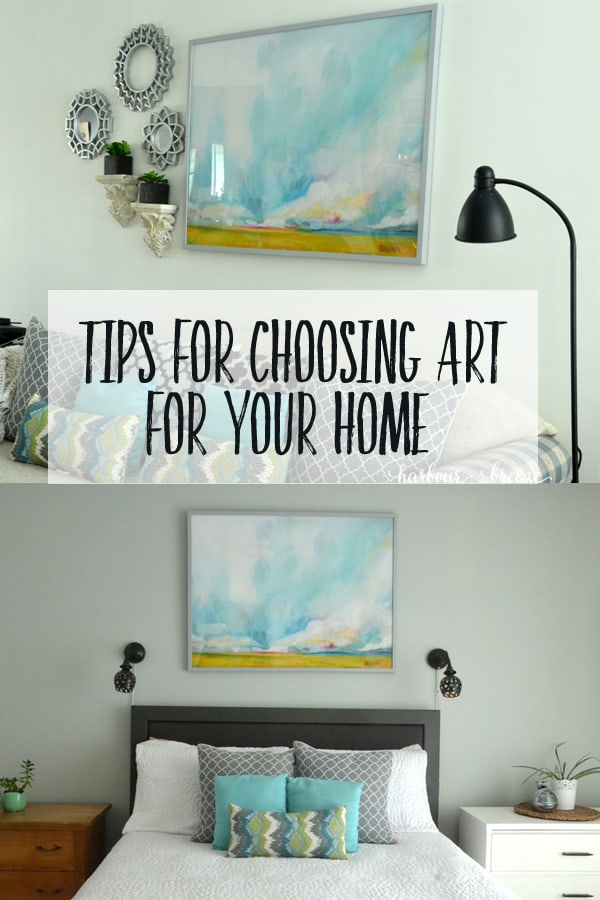
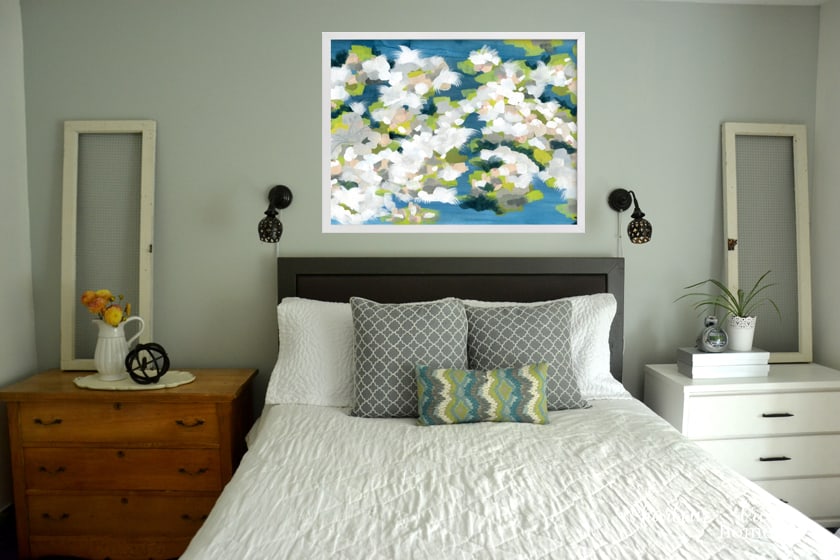
Savannah Lands!
We wanted something with happy fresh colors ~ and we love this!
I ended up choosing a light gray frame, but there are other options to choose from, too.
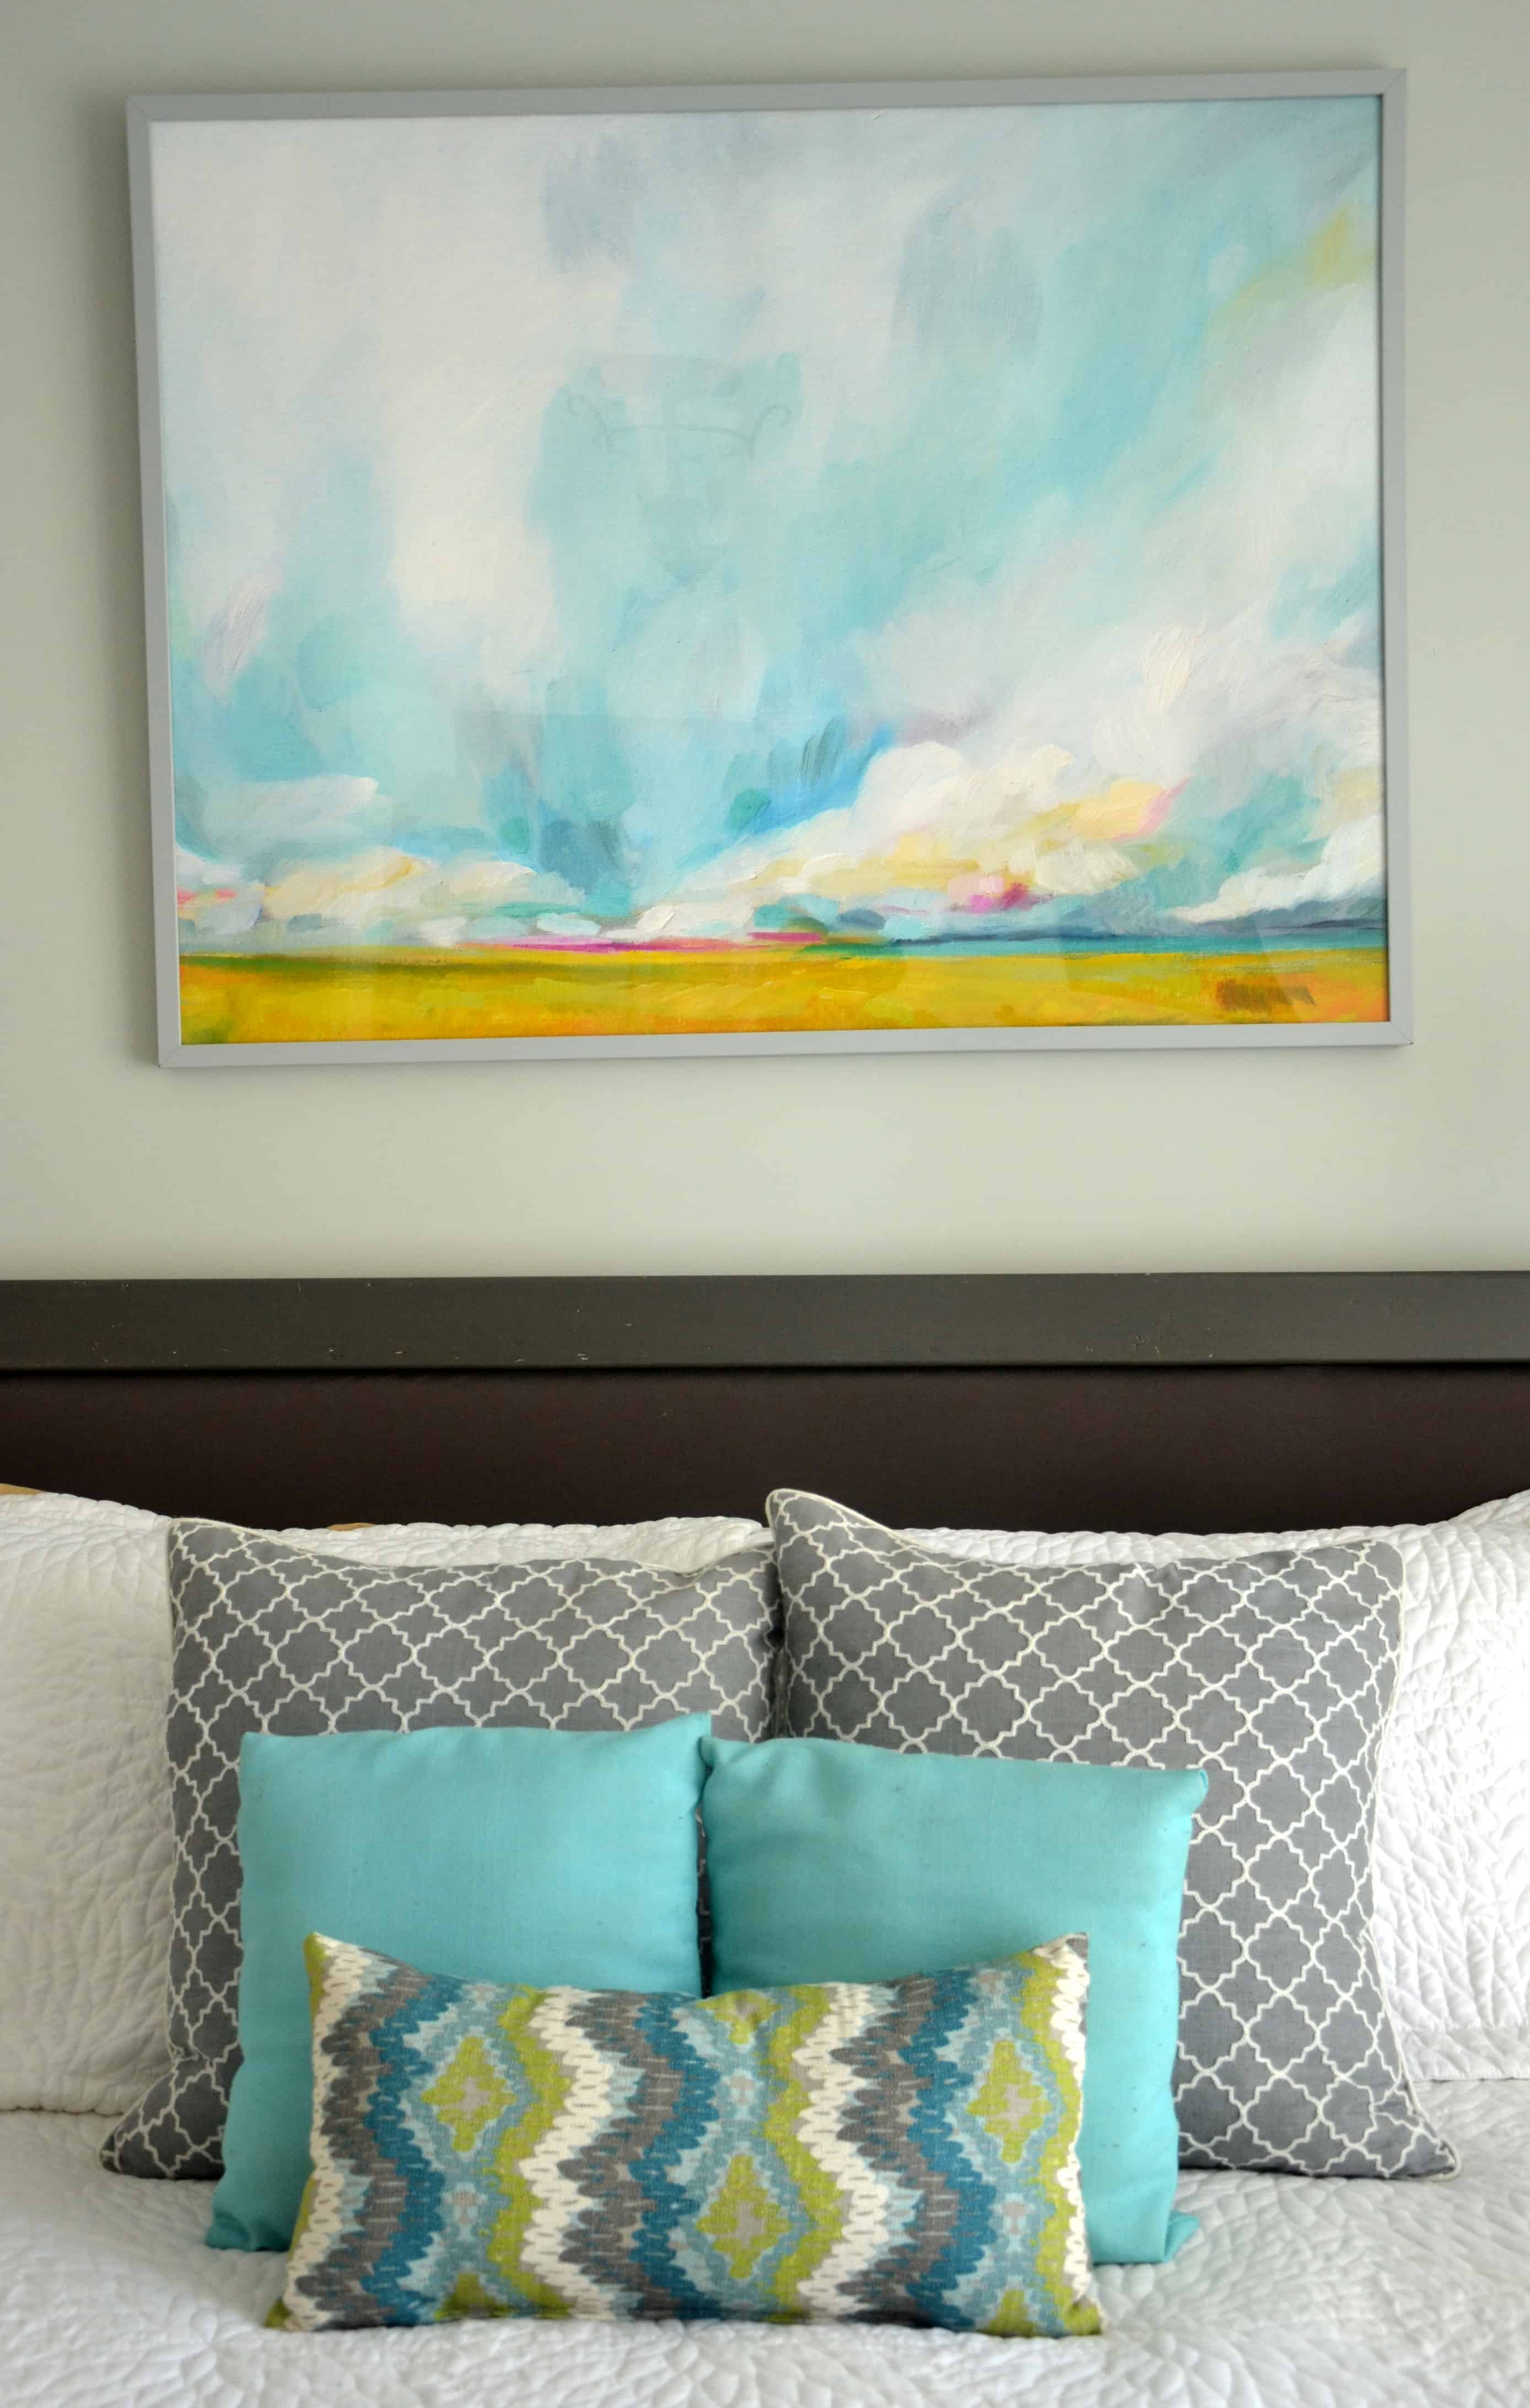
Because it is the colors that we are drawn to, we may move it around to different rooms in the house, too.
Have you ever checked out Minted?
You just might want to. Not only do they have stunning art prints, they also have an amazing variety of other products.

DON’T MISS A THING!
Join my list for more ideas for you and your home…
One Comment