Handmade Walls and Light Reflector Arrow Sign Tutorial
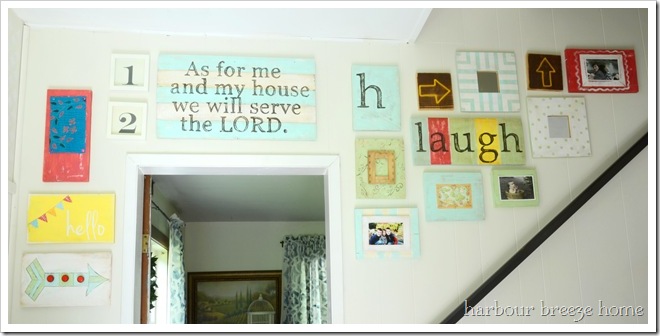
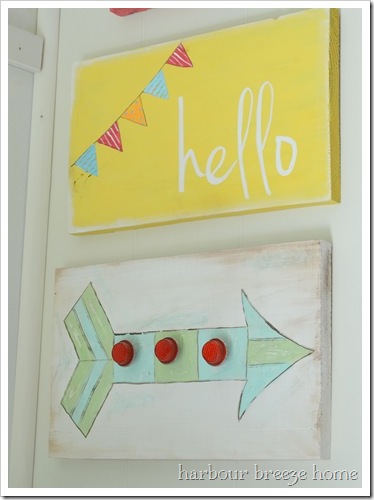
On Friday, I showed you our new Entryway Gallery Wall.
A whole bunch of wall art perked up the space and gave it a little life and fun…and it cost me…ZERO dollars to make!!
(Yippee for “recycled” projects!}
It all started with a trip to a carpenter’s shop. Carpenters often have off-cuts and scrap pieces of wood that they just get rid of, and I was told I could dig through the “garbage” bin of wood.
Sometimes gifts come in the form of shiny wrapped packages.
Sometimes they come in carpenter’s garbage bins…
I was thrilled with all the pieces of wood I found, and headed into the house with a big ol’ armload of wood pieces.
I wasn’t quite sure what to do with them, but I knew I wanted to use them, and use them right away! I didn’t want it to become a daunting unfinished project in my house…
The problem was, I needed a little inspiration. I found it – in this:
The Handmade Home’s Handmade Walls e-book.
I bought it months ago and perused it quickly enough to know I just LOVED it. But, when I was searching for inspiration for this project, I took the time to really look at it. and study it. and take notes. and get all excited about the possibilities!
As I read through the details, I discovered Ashley uses a completely different painting technique than I’d ever used before ~ using layers of latex house paint and stain!
I was so excited to try it, I could hardly stand it.
I went downstairs to my house paint stash (you know I have a plethora…), and picked out the colors I really, really love.
My goal was to paint every board I had picked up…in one day! I didn’t quite make it in one day, but almost… Once I got on a roll, it was really fun to create and do something different on each one.
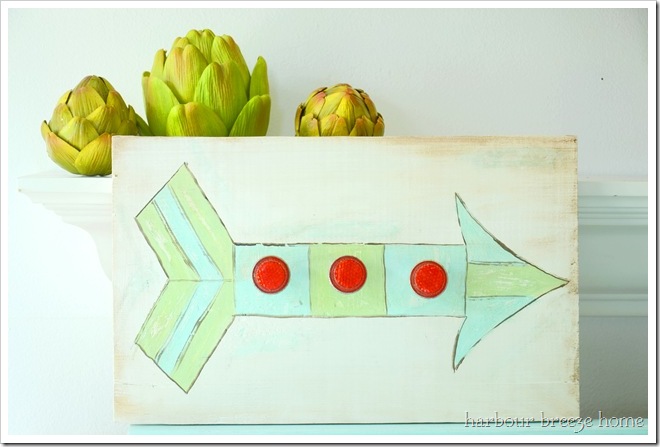
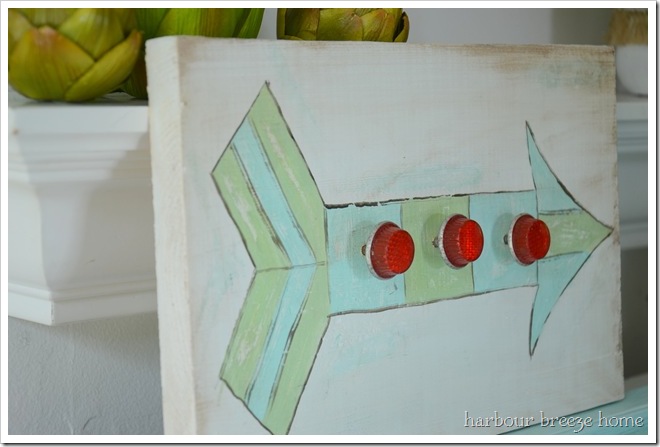
Today’s tutorial is the Light Reflector Arrow Sign. I had recently picked up 3 old light reflectors at a garage sale for 50 cents. I dreamed up this sign as a way to use them! {Plus, our oldest son has been toting bows and arrows since he was 2! I thought it was only appropriate for our house.}
Here’s how I did it. {Notice the mess in the background…I’m a very messy creator!}
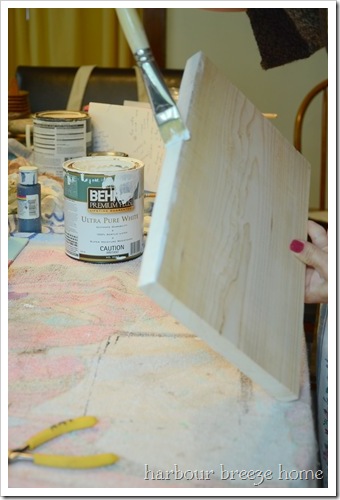
Paint the edges of the sign in the color that will be your main top color. In this case, it was white.
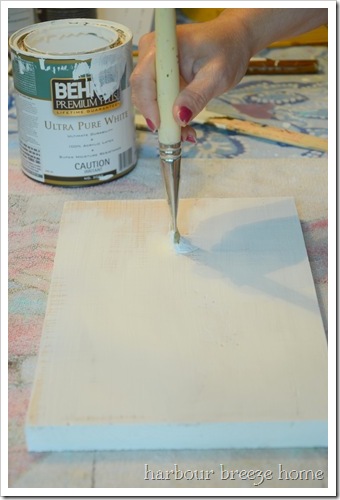
Paint the base coat color. Paint up and down and side to side to obtain “texture” to the surface.
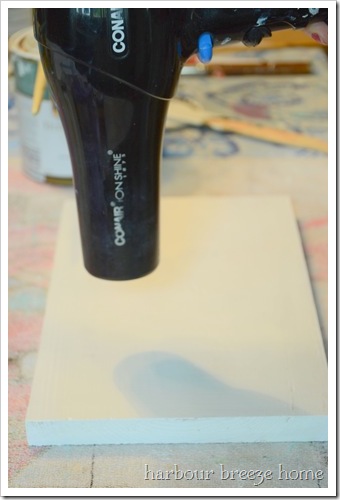
{You can use your blow dryer to make the coats of paint dry much, much quicker. I always have the blow dryer handy. I’m an impatient painter!}
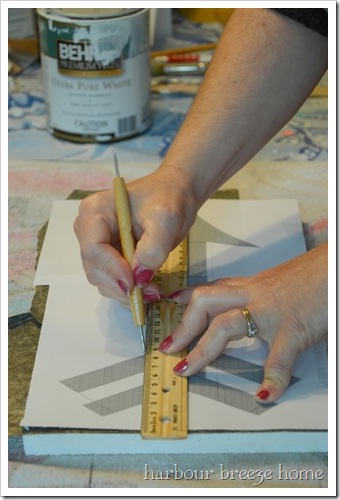
Transfer the arrow pattern (I just used a Google arrow image and modified it a bit) using graphite paper. {I did a video of the process here.}
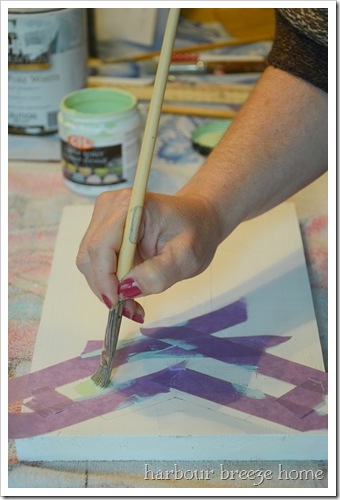
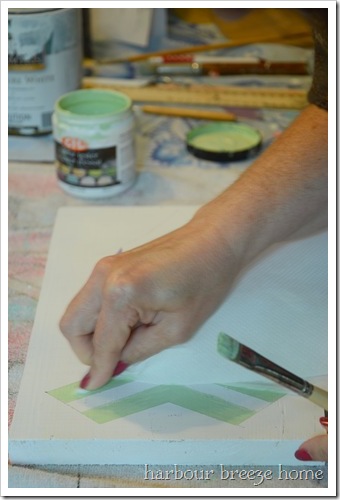
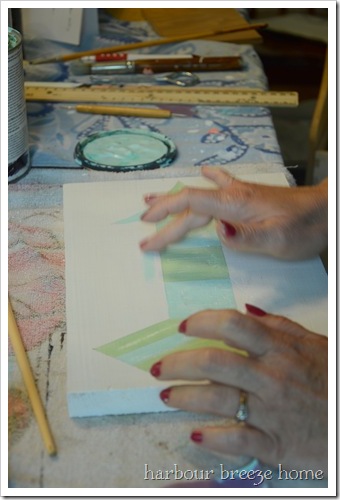
Because this pattern was all straight lines and stripes, I cheated and used a little painters tape to keep my lines straight. Remove the tape before the paint dries.
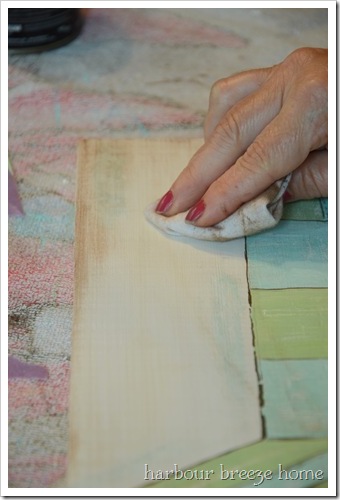
{Now this is the really fun part!} When the paint is almost dry, use a paper towel and rub off some of the paint, exposing the base coat color. This helps to give it an aged ~ or distressed ~ effect.
Ashley also encourages us to use our fingers when painting to “tap” on paint, and smear it a bit, to also add subtle color layers to the background. It was a little scary at first…but you get over it pretty quick!
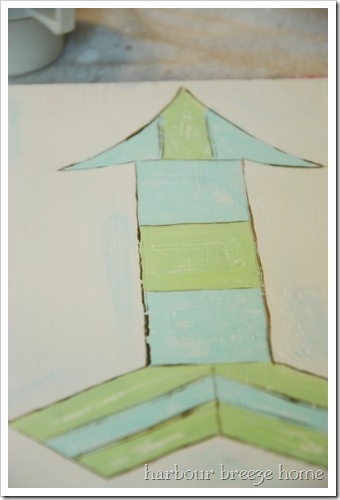
Using a fine paintbrush, I lightly outlined the whole thing in a bit of a random line. I didn’t want it to be perfectly straight…more relaxed and happy.
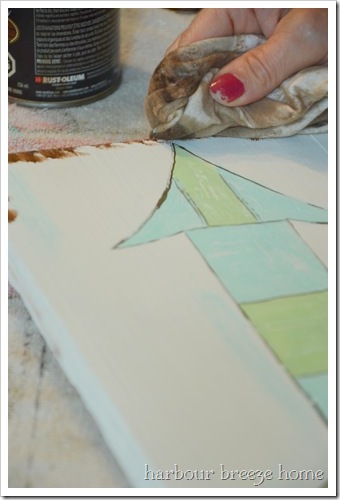
Using a rag, I wiped on a bit of stain on the edges first, pulling it toward the center
and wiped it off until it looked aged to perfection.
I cleaned off my 3 garage sale light reflectors and drilled holes in the centers of the 3 main parts of the arrow. I then twisted them in until they were tight and secure.
The reflectors can be used like pegs to hang things from…
Or they can just sit there and look happy!
**Many, many thanks to Ashley and Jamin for their amazing e-book Handmade Home. They are the complete inspiration for all these signs. Thanks for encouraging me to venture out into new territory!
*Disclosure: I wasn’t compensated for this post.
Linking to: It’s So Very Cheri, Alderberry Hill, Mod Vintage Life, C.R.A.F.T, Home Stories A-Z, Today’s Creative Blog, Ladybug Blessings, Coastal Charm




Lovely DIYs. I love your home style!
Hmmm… I have very often thought of buying that ebook, I love Ashley’s style!! Your little signs are so adorable… think I might have to cave:) Thanks for the tutorial!!
Krista
Hi Rita!
Your creativity constantly amazes me. Love your new entryway makeover!
Just discovered a blog that I thought I would share with you since her style is similar to yours. It’s called “the Painted Parsonage” on blog lovin. She’s done some great makeovers.
I love this look! I am getting ready to make a special something for my new niece-to-be’s nursery and this would be a perfect technique to use. I’ll be following you from now on through Bloglovin!
Corey
I featured your cute arrow sign today at Mod Mix Monday!
I just can’t get over how amazing this is! You are my inspiration. Your whole wall is adorable and this project is the bomb… I love the subtle color layers and imperfect lining… And the garage sale makeover of course!!!
You are so super! Did you know that?…. 🙂
hugs xx Crystelle
Crystelle Boutique
I love your gallery wall and signs! Super cute!!
I’m giving away a copy of Handmade Walls E-book on my blog right now if you or your followers are interested in entering to win!
http://www.theturquoisehome.com/2013/06/yay-for-500-likes-on-facebook-handmade.html