
Painting Supplies Checklist — Everything You Need to Paint a Room Like a Pro
After painting room after room in home after home, these are the exact supplies I reach for every single time — plus the tips that make the whole job go smoothly.
There is nothing quite like the feeling of a freshly painted room!
As you may know, I am currently working my way through our townhouse room by room, giving our Simply White walls a fresh coat after ten years of everyday living. And as I gathered my supplies together the other day, I realized — these are the exact same items I reach for every single time I paint a room. Same tried and true tools, over and over again.

Your Painting Supplies Checklist
(Disclosure: The list below contains some affiliate links for your shopping convenience.)
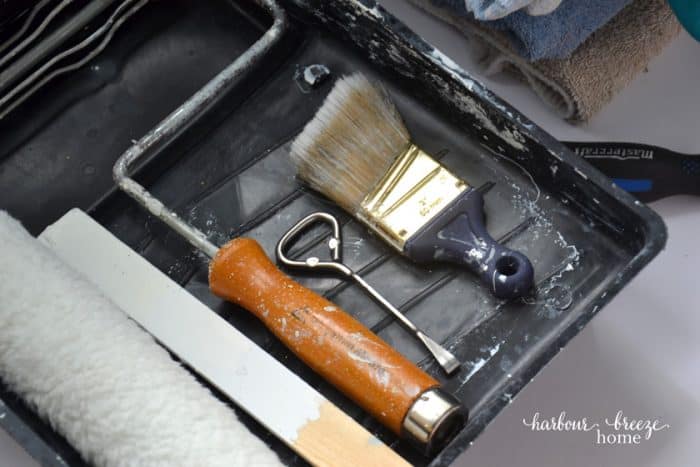
- Paint tray Paint roller + roller handle (Make sure you get the right roller nap for the job you’re doing. Here are some basic all-purpose rollers.)
- Paint roller extension rod
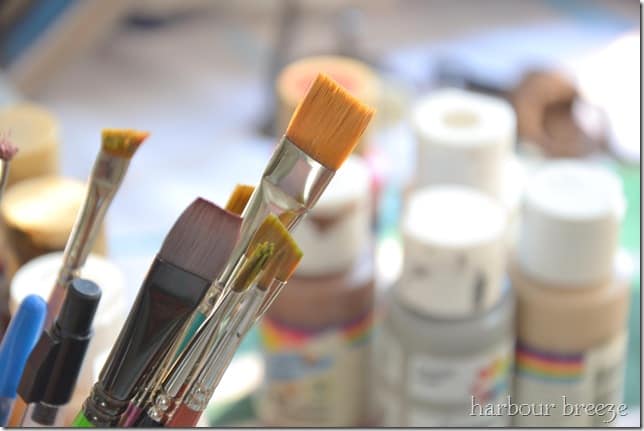
- Paintbrush (my favorite “can’t live without it” brush is the Wooster handle-less brush — better grip, better control!)
- Painter’s tape
- Stir stick
- Paint can opener
- Screwdriver
- Ladder
- Small disposable container (an old cottage cheese container works perfectly!)
- Old towels for drop cloths
- Painting apron
- Saran wrap
A few tips that make painting a room easier
Old towels make great painter’s dropcloths. 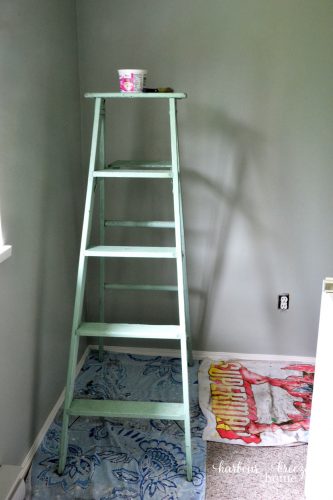
Pour paint into a small container that’s easy to hold when on a ladder. 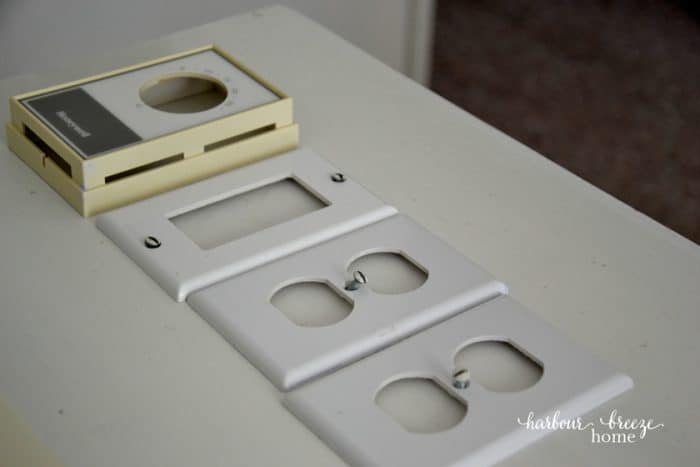
Put all the light switch covers & screws in one spot so you can find them later!
Gather all your supplies together before you start. 
Have painters tape on hand if you have any decorative features to tape. 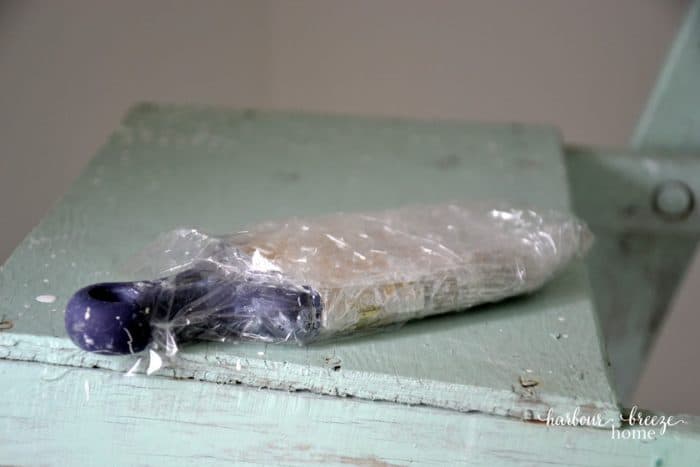
Wrap the paintbrush with paint in saran wrap if you need to take a break.
Remove your switch plates before you do anything else.
Before the paint even comes out, I grab a screwdriver and take down every single light switch cover and outlet plate in the room. Here’s my trick: I keep each cover and its screws together in one spot — a little pile on a table or in a small container. That way, when the room is freshly painted and dry, I know exactly where everything is and can put it all back in minutes. No hunting around for tiny screws!
Use a cottage cheese container instead of lugging the paint can up the ladder.
When I am cutting in along the ceiling, I pour a small amount of paint into an old cottage cheese container. It’s so much easier to carry up and down a ladder than a full can — and if you bump it, the disaster is much smaller!
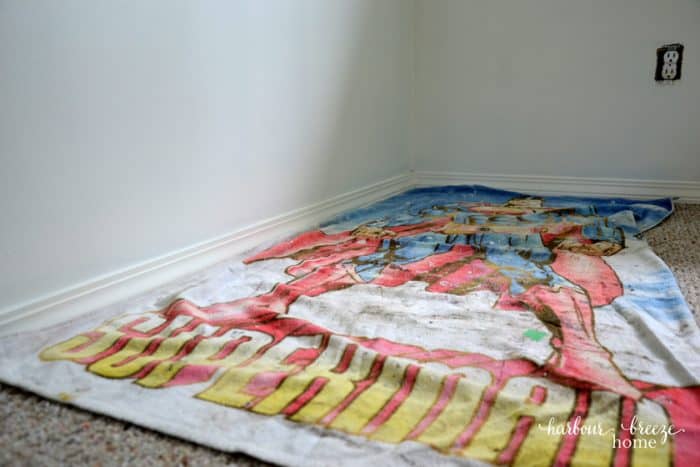
Old towels make wonderful drop cloths.
I have used old towels as drop cloths for years. They stay put better than slippery plastic sheeting, and they are easy to toss in the wash when you are done. Either works fine, but this is my preference!
Wrap your brush in Saran wrap between coats.
While you are waiting for the first coat to dry, wrap your paintbrush tightly in Saran wrap to keep it from drying out. I always give it a thorough wash at the end of the day — the Saran wrap is just a temporary solution while you take that well-earned coffee break!
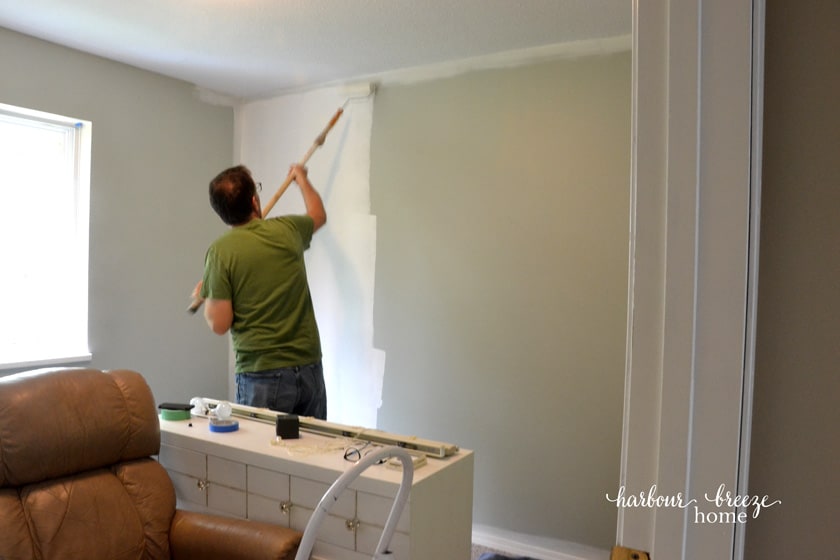
Invest in a good roller extension handle.
This one makes such a difference. A sturdy extension rod lets you roll the paint in long, smooth strokes up and down the wall without straining your back or missing spots.
More Painting tips
With the right supplies on hand and a little prep work done ahead of time, painting a room is genuinely one of the most satisfying DIY projects you can tackle. A few hours, a can of paint, and your space feels completely new.
If you are trying to choose your paint color before you even get to the supply shopping stage — I have you covered! Read my tips for how to pick a paint color you’ll love right here.
FAQ’s About Painting a Room
What is “cutting in” when painting a room?
Cutting in is the technique of painting a neat edge along the ceiling line, around windows, around door frames, and above baseboards — anywhere your roller cannot reach. You do this with a paintbrush before you roll the walls. It takes a little patience, but it is truly a satisfying skill to develop!
Do I need to use painter’s tape when cutting in?
Here is something that might surprise you — professional painters do not use painter’s tape to cut in! And honestly, neither do I. With a good brush, a steady hand, and a little practice, you can paint a clean, crisp line without it. That said, painter’s tape absolutely has its place for more intricate jobs — taping off hardware, metal brackets, or detailed trim work. I have a whole post dedicated to how to use painter’s tape properly with all my best tips!
Does the surface need to be prepped before painting?
Yes — and this step makes a bigger difference than most people realize! At minimum, make sure your walls are clean before you start. Dust, grease, and grime can all prevent paint from adhering properly. If you are painting over a glossy surface — like previously painted trim or walls with a semi-gloss finish — you will also need to lightly sand or scuff the surface first so the new paint has something to grip onto. Skipping this step can lead to peeling down the road, and nobody wants that!
How do I know which type of paint and sheen to choose?
This is genuinely worth doing a little research on before you buy! Different sheens — flat, eggshell, satin, semi-gloss — are designed for different surfaces and different rooms. A flat finish that works beautifully on a bedroom ceiling is not the right choice for a bathroom or kitchen wall. I always recommend consulting the staff at your local paint store before you commit. They are incredibly knowledgeable, and a ten minute conversation can save you from choosing the wrong product for your project. It is also worth asking whether you need a primer — depending on your surface and the color you are covering, it can make a significant difference in the final result.
How long does it take to paint a room?
For an average sized room, plan for a full day — cutting in, rolling the first coat, waiting for it to dry, and rolling the second coat all add up! My husband and I painted a bedroom together in one day and even snuck in a Starbucks run during the dry time. Having your supplies ready and your room prepped before you start makes everything go so much more smoothly.
For more recipes, crafts & ideas for your home all year round, become a VIP!
Become a VIP newsletter subscriber and get instant access to the library of free printables (including wall art, gift tags, and more!). Click here or the button below to join today.

Pin this to remember it later!

Great checklist! I especially appreciate the tips on brushes and rollers – I often get confused about which types to use for different surfaces. Thanks for making it so easy to prepare for my next painting project!
Great checklist! I appreciate how you covered every essential supply needed for painting a room. It’s especially helpful for beginners like me who want to avoid the last-minute runs to the store. Thanks for sharing these tips!
Great checklist! I never realized how many supplies I’d need before starting my painting project. Your tips on selecting the right brushes and the importance of quality paint are especially helpful. Can’t wait to get started!
Great checklist! I appreciate how comprehensive it is. I always forget some smaller items, like painter’s tape and drop cloths, so this will definitely help me prepare better for my next painting project. Thanks for sharing!
Great checklist! I appreciate the detailed breakdown of supplies needed for painting a room. It’s always helpful to have everything organized before starting a project. Thanks for sharing these tips!