
$5 Goodwill Challenge ~ Painted Noel Sign
Do you ever get frustrated with your budget during the holiday season? Do you wish for new decor and fun gifts, but just can’t swing it financially?
The good news is, the answer to your dilemmas just might be sitting in your local thrift store. I was recently asked to join a special $5 Goodwill Challenge, and decided to try out that theory myself.
With only $5 max to spend, I searched through a local thrift store scouting out options for a diy project. I finally settled on this (for only $1!):
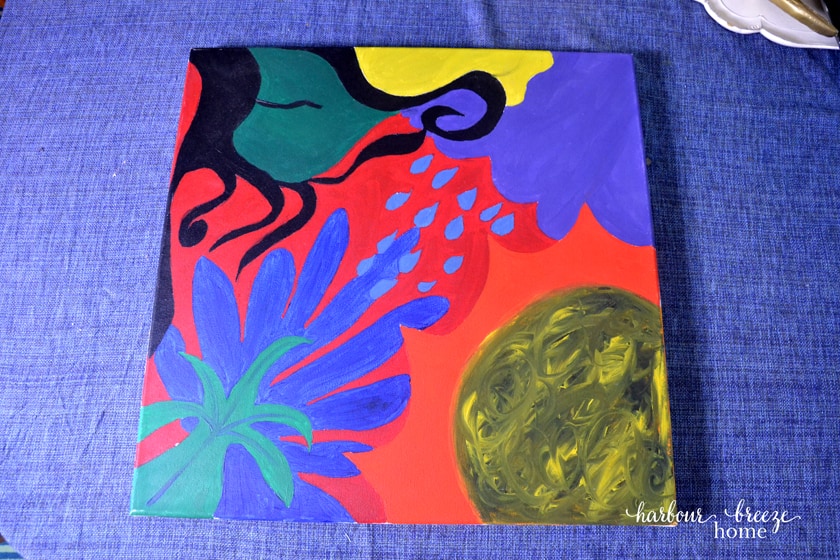
~ an 18 inch canvas (wild painted pattern included!).
I decided to try to repaint it into something that I could use as a gift for an upcoming gift exchange. It ended up being a really fun project.
Here’s how to turn a Wild Patterned Canvas into a Painted Noel Christmas Sign:
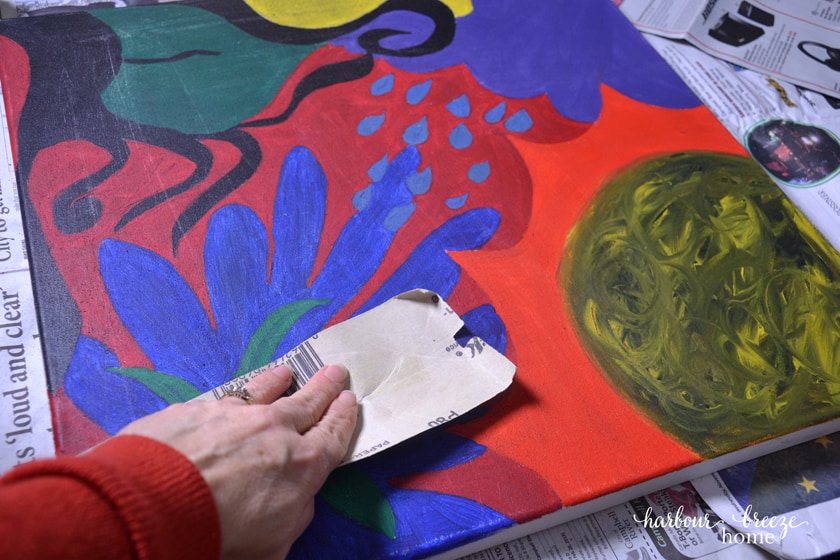
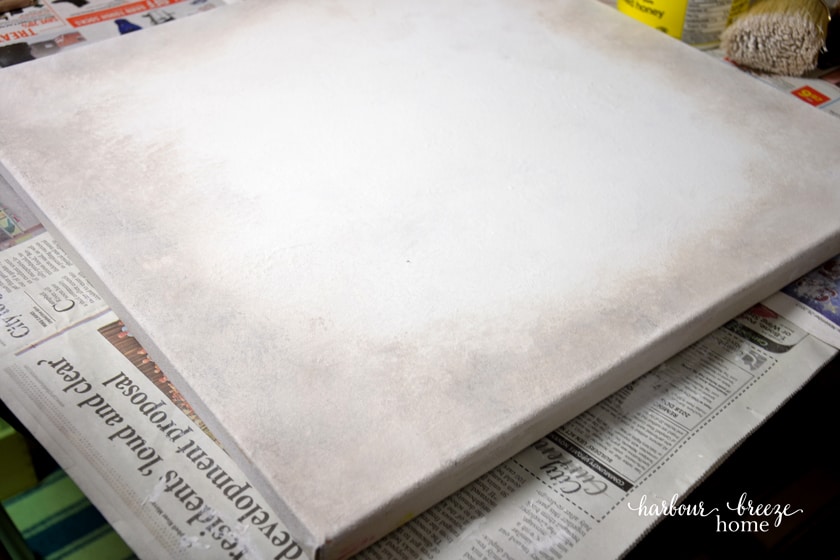
1.Sand the canvas well to knock down the ridges of thick paint.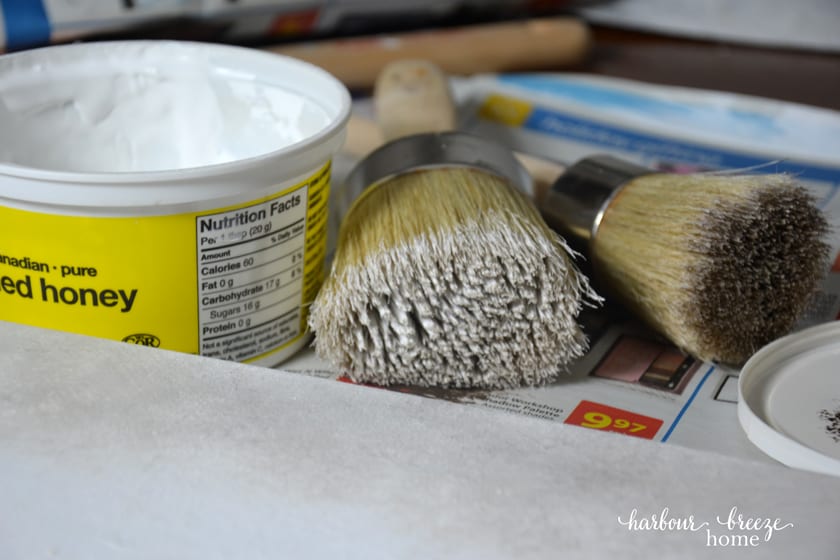
2. Add a new base color and texture by using a 2 step painting technique ~ the “slip-slap” and dapple it on. (I learned this at a painting course I took a few years ago.)
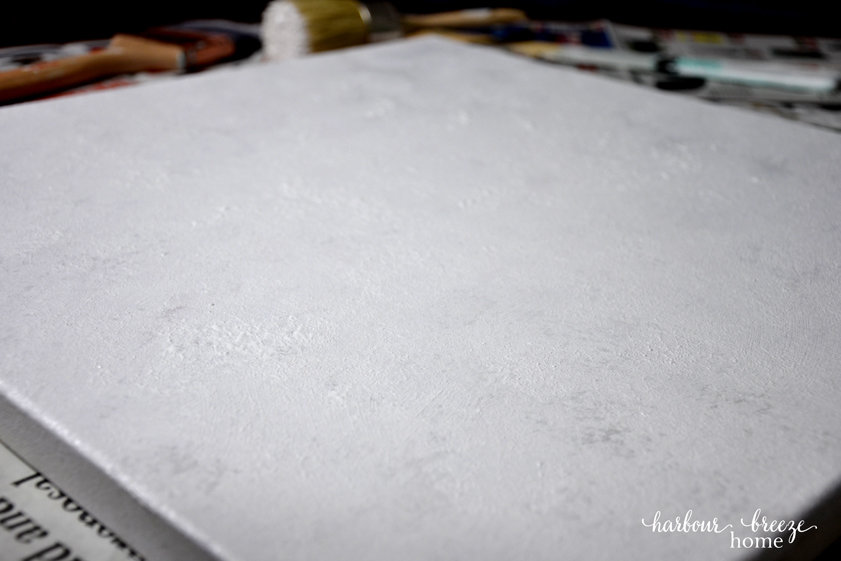
3. Once the main texture and color of the canvas is the way you’d like it, shade around the edges.
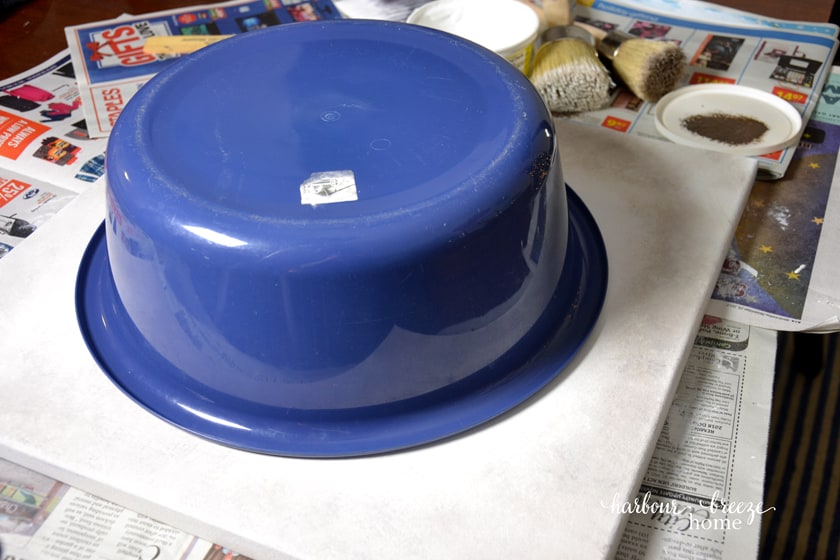
4.When completely dry, use a round object (like a dishpan) and lightly draw around it for the wreath form.
And this is where I totally forgot to take any more pictures of the process!…
Thankfully, I was busy videoing it all, so you can watch it with descriptions below.
If you are just looking for one particular step, I’ve broken it down based on the time in the video:
- How to add texture to a flat surface using a 2-step method -1:04
- How to paint the “Slip Slap” Coat – 1:04
- How to paint the “Dapple” Coat – 1:29
- How to use a blow dryer to speed up drying time – 1:54
- How to shade the edges of a sign – 2:24
- How to draw around a large object – 3:48
- How to paint a wreath form using a paint brush – 4:00
- How to add evergreen boughs with a paint brush – 4:36
- How to add berries using the end of a pencil – 5:20
- How to trace the word “Noel” – 5:42
- How to paint the word “Noel” with a paint brush -6:05
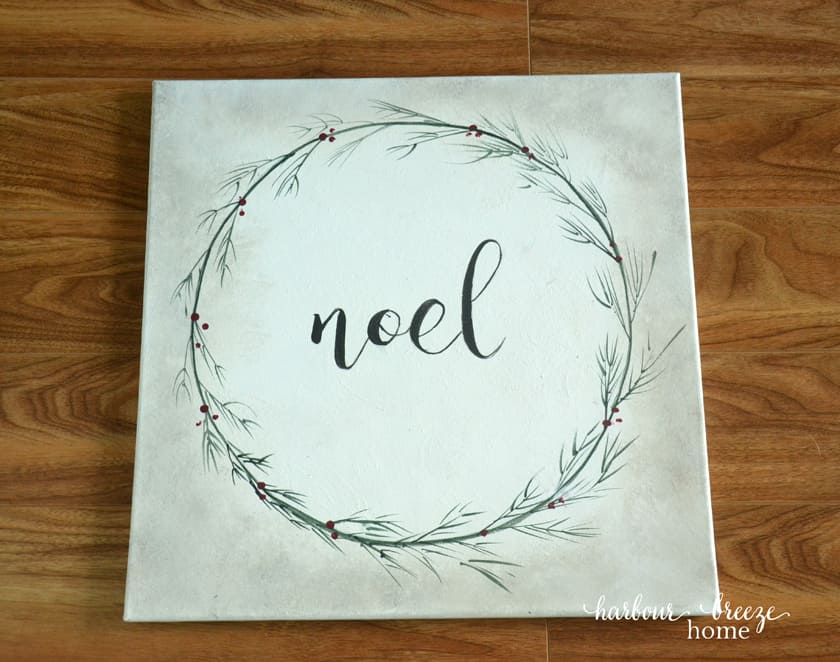
When all was said and done, it went from this:
To this!
If you’re interested in the details, here are the supplies and colors I used:
- base coat – Folk Art Chalk in White Adirondack
- edge shading – Americana Acrylic paint in Raw Sienna
- Wreath & Evergreen – Acrylic paint in Black Green
- Berries – Acrylic paint in Cranberry Wine
- “Noel” – Acrylic paint in Black
- My favorite fat round brush is Miss Mustard Seed’s.
- Small paint brush for all lines was Artist’s Loft #6


Awesome job Rita!!! Love it!