
The {Grand} Tour of the New Entryway!
I’ve been giving you sneak peeks of the Entryway project I’ve been working on. One of the things I love about blogging is the incentive it gives to actually finish projects. It seems like I can fuss and fiddle and start projects galore. But, at what point is something finished and it’s time to move on?
I decided today was the day. So, I’m throwing the door open wide and showing you the whole kit-n-caboodle Entryway.

Come on in!
This whole project started with a bee in my bonnet to make our entryway “grand”.
Not “grand” in a glitzy arrogant kind of way. But, the kind of “grand” that would be happy and welcoming and reflect those of us who live here.

{***Side Note: Yes, I did use rope instead of wood for trim on the stairway …}
I think it’s most fun to start at the very beginning.
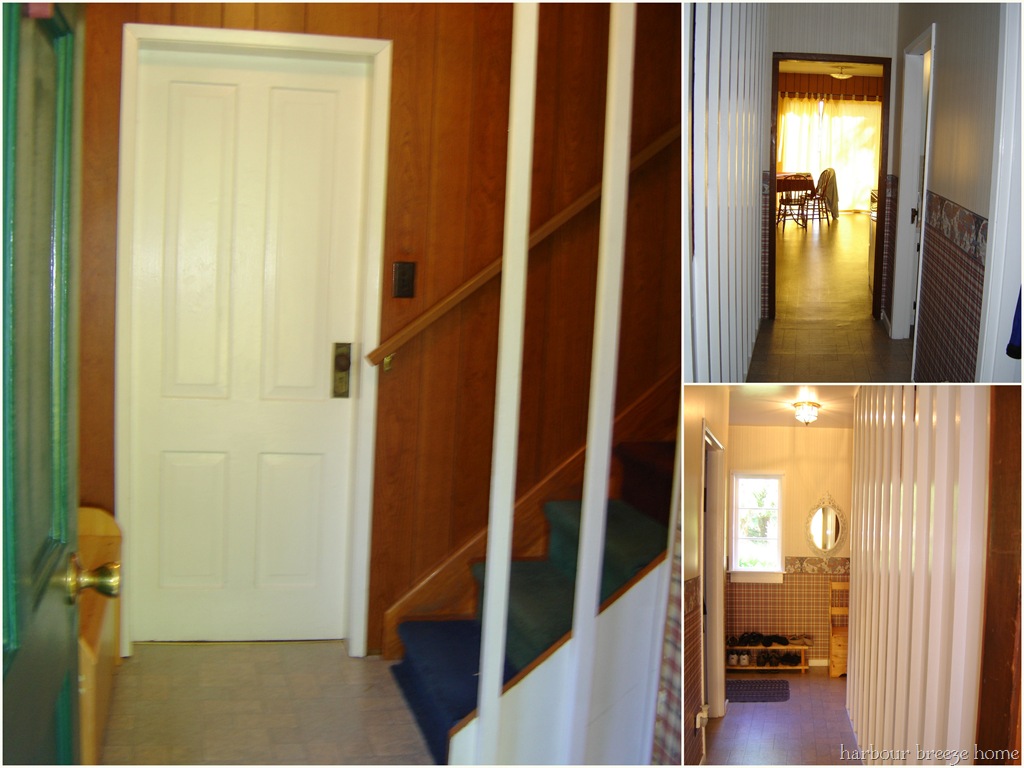
You know, the day we stepped in the door with our boxes and dreams and desire to make this place feel like a home for our little family. Here was that day:
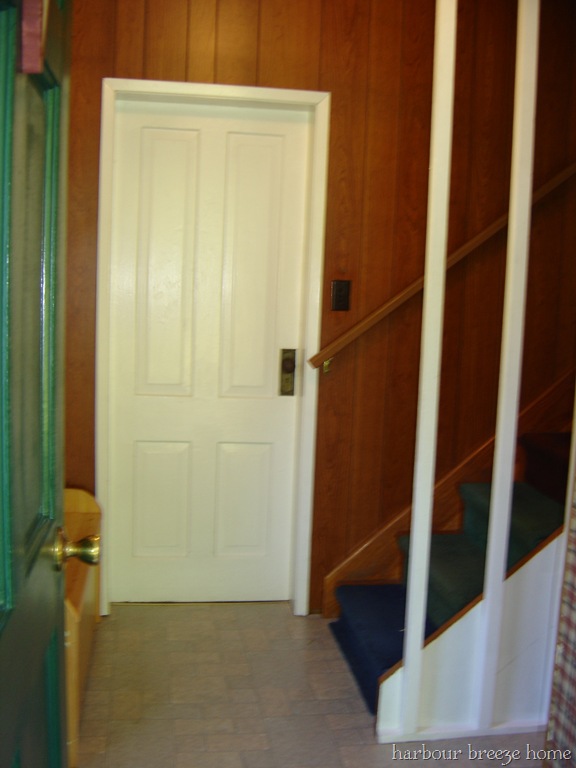
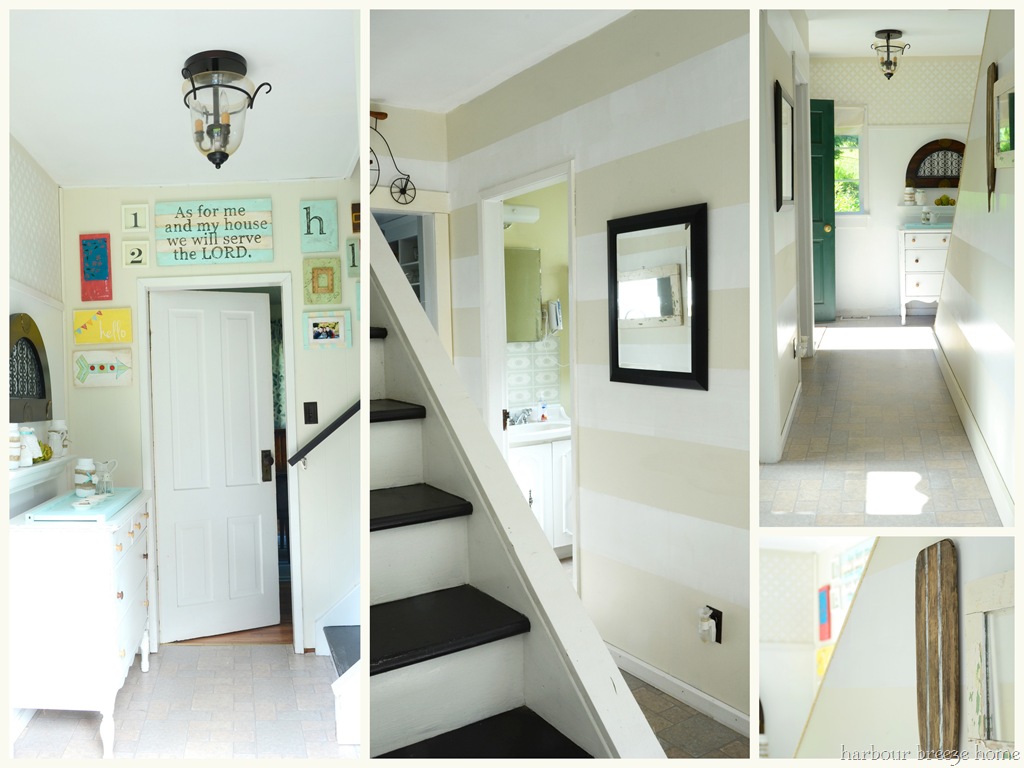
Over the years, the Entryway has had it’s share of spiff ups. This is how it looks this morning:

The narrow little hallway with floor to ceiling railings on one side was just begging to be a little more happy…
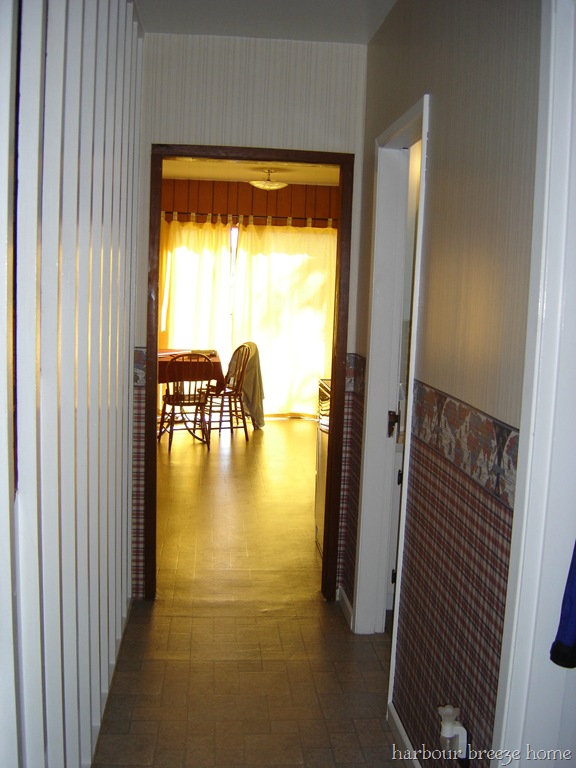
She’s smiling pretty big now…
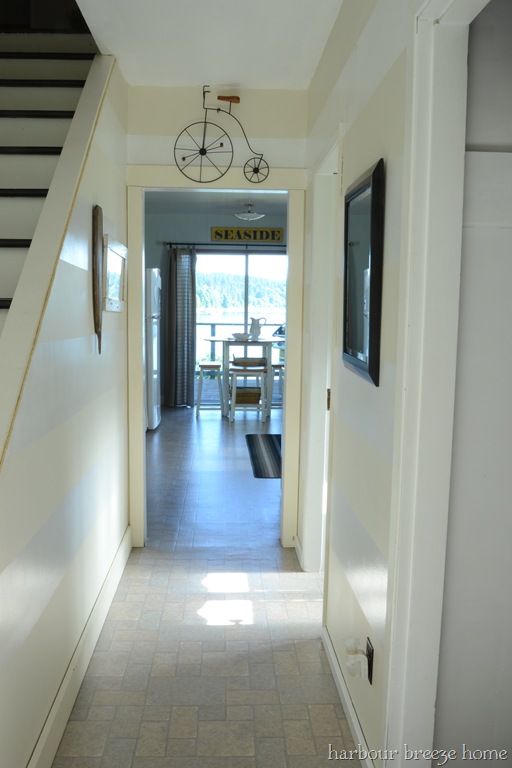
I think the biggest impact on the space (other than paint in general!) is the stripes…
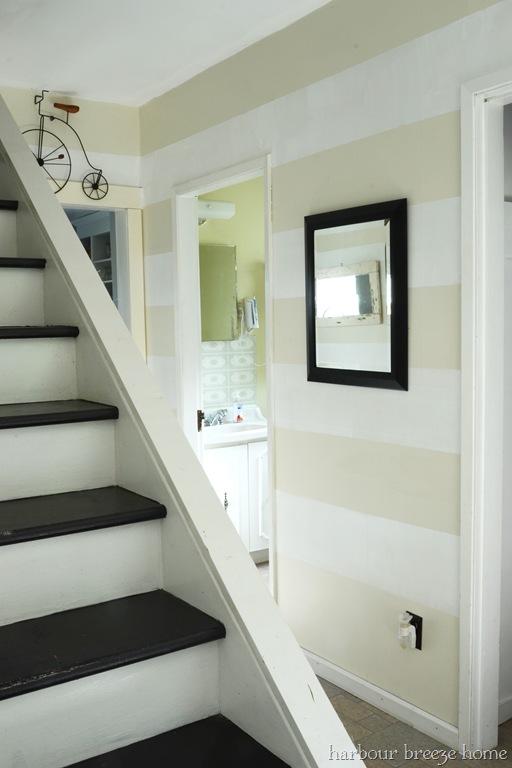
Oh, mercy, those stripes make me happy.
The closet is a close second. The cavernous space with a rod full of hangers, a shoe shelf that things were constantly falling off, and no door drove me wild…

I snapped that picture right before I emptied the whole thing out, and turned it into this:
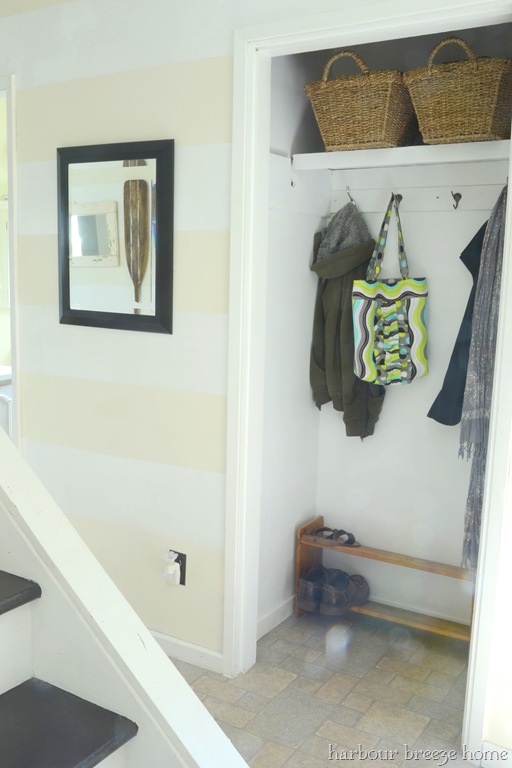
I still have some more work to do in there, but it’s already so much more user friendly!
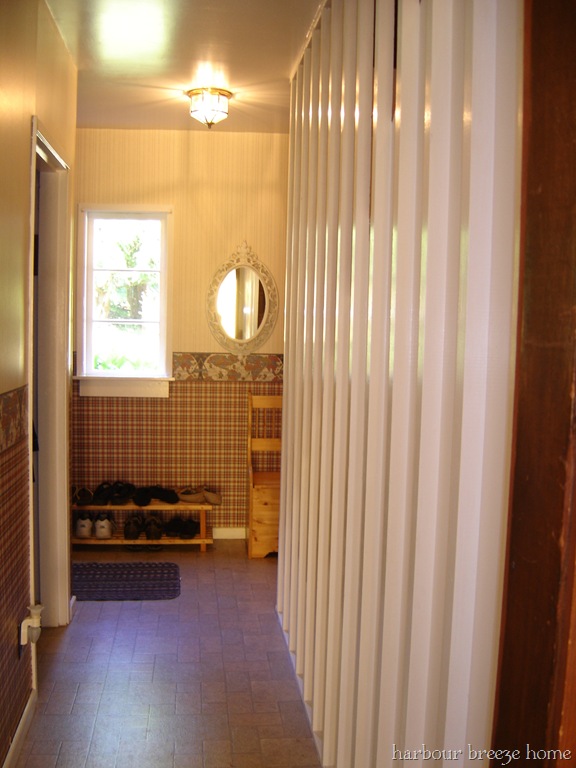
Underneath the wallpaper you see in the above photo is about 6 more layers. I discovered the practicality of painting over wallpaper years ago. Sometimes that’s a good option in strange situations like this one. We actually did the majority of the painting years ago ~ settling on White Down by Benjamin Moore as the main color.
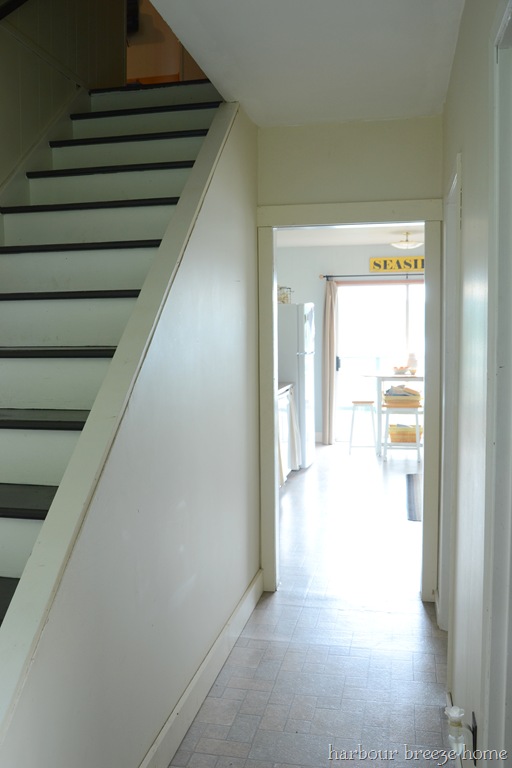
This recent project was just a little {$0} “spiff up”.
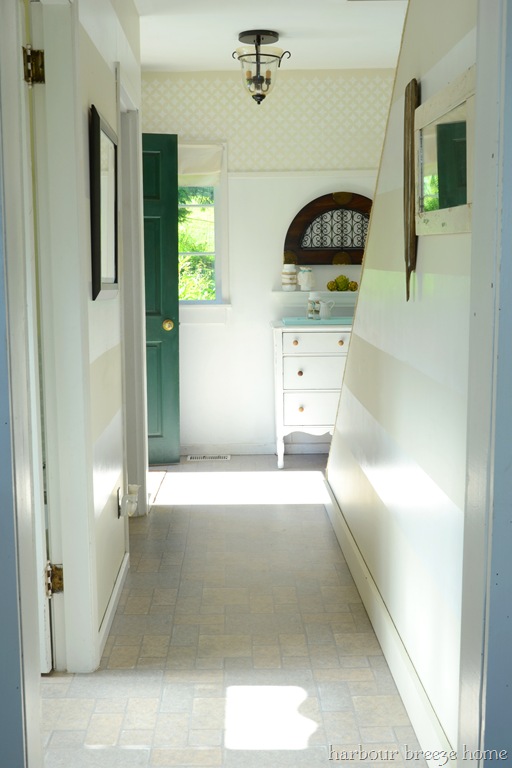
The stairwell gallery wall pictures were all made with scrap wood and leftover house paint.

The other art work was things I already had ~ except this paddle:
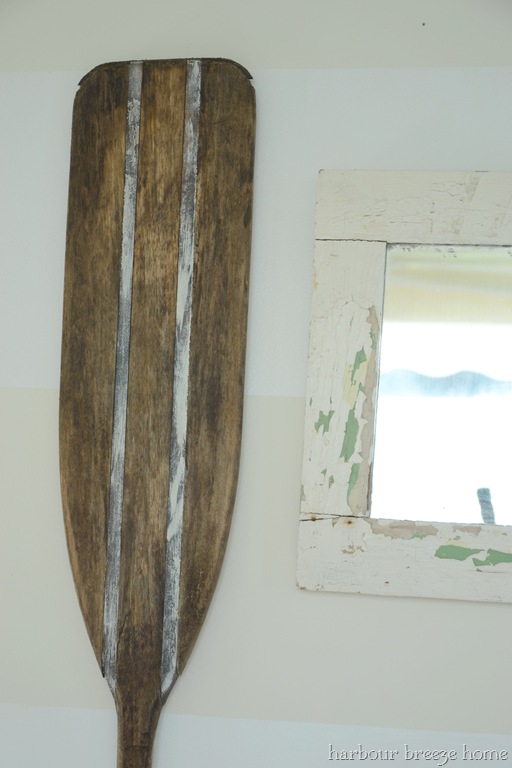
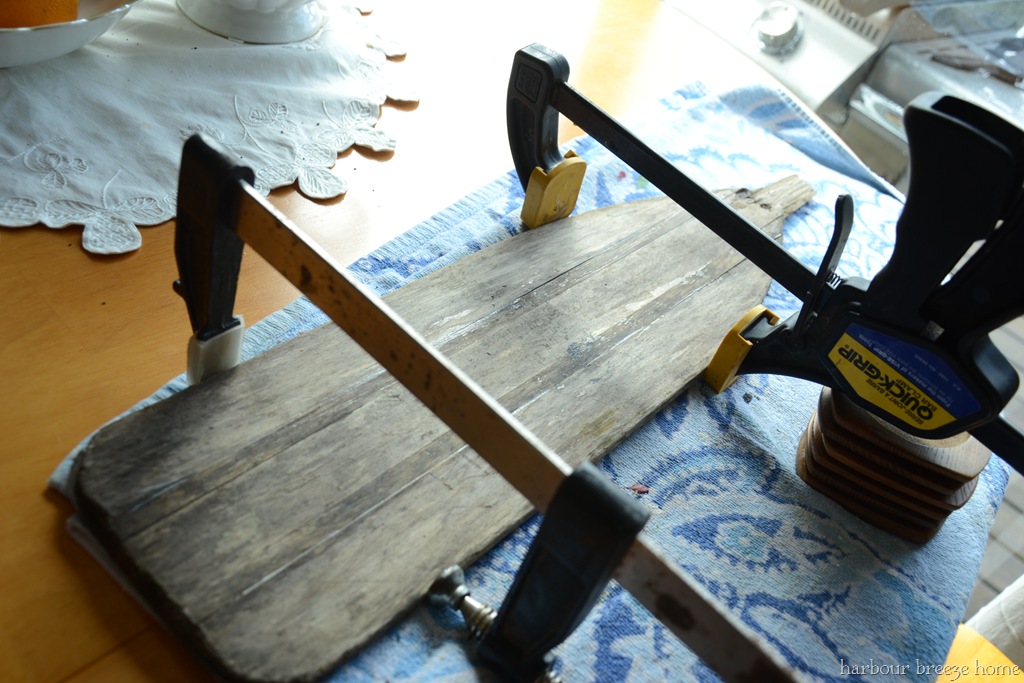
It was in pretty rough shape when I rescued it from the mud…

A little glue and some stain and paint gave it a new life.
I also modified a family command center I made a while ago into this:
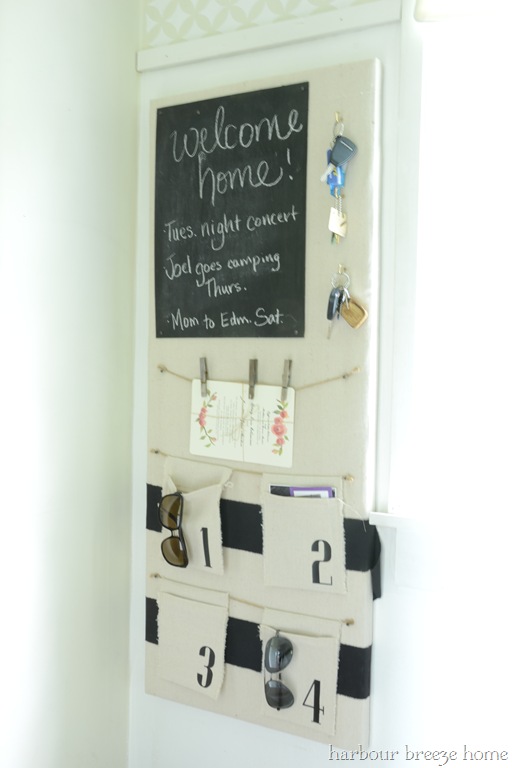
Tucked right behind the front door, we finally have a place to hang our keys (and put our sunglasses!). The chalkboard’s kind of fun, too…
It makes me feel just a teeny tiny bit like a teacher.
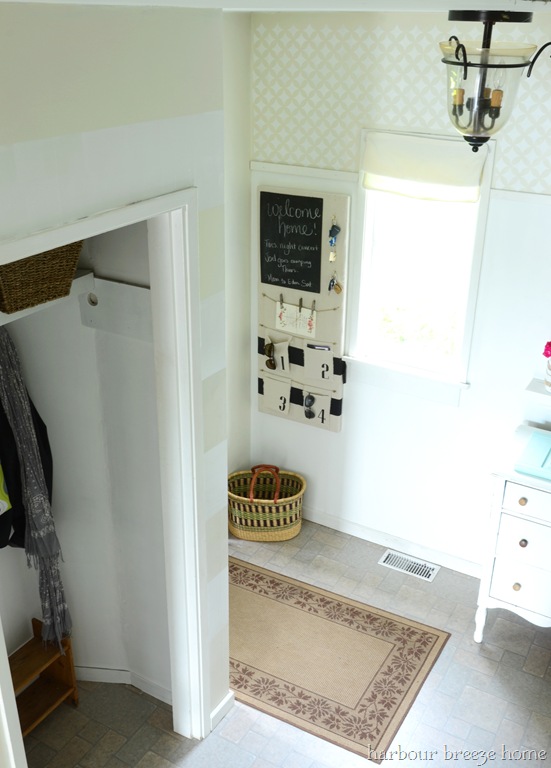
It’s had a few changes to take it from here:
To here:
Have a great week! I’m actually spending a few days visiting a friend in the next province over. So, I’ll chat with you again when I get back…
Linking to: DIY Showoff, Crafty Texas Girls, Craftberry Bush

The transformation of that old paddle you rescued is really something! My mind keeps coming back to rescued it from the mud – that sounds like quite the origin story. Was it a lucky find during an outdoor adventure, or perhaps something you spotted somewhere specific, like an antique fair or market? I’m always amazed by what people can repurpose from unexpected places.
Hi Rita! Can’t wait to see the latest room transformation! You have such great style and taste…a real eye for beauty. I’ll be ‘tuning in’ to see the results. I know I’ll love it!