
DIY Pedicure in 7 Easy Steps
While the sun is shining brightly here today, I just heard that other parts of the country just got a whole bunch of snow! Yikes! I’m so sorry…
But, the good news is, no matter what the weather is outside, you can have Springtime ready-for-sandals feet even if you have to put them in snow boots!:) I personally love to have bold painted toe-nails all year long. The winter time colors of my choice are usually deep reds. But, in the Spring, I bring out the corals.
Although I would love to be able to head off to a spa every few weeks for a professional pedicure, reality is, those appointments are usually up in the “special gifts” category. The rest of the time I just have my own little pedicure routine at home.
Here’s how to do a DIY pedicure in 7 easy steps:
1. Find yourself a cozy, comfortable spot. I usually choose my favorite living room chair while I’m watching a detective show. ( This time I was watching Castle and Beckett solve a big case…)

2. Assemble your supplies and set them close by. This is what I use: Mary Kay’s Extra Emollient Night Cream, Bare Foot Creamy Foot Scrub and lotion, Seacret cuticle oil, a foot file, clippers, nail polish, towels and washcloths.
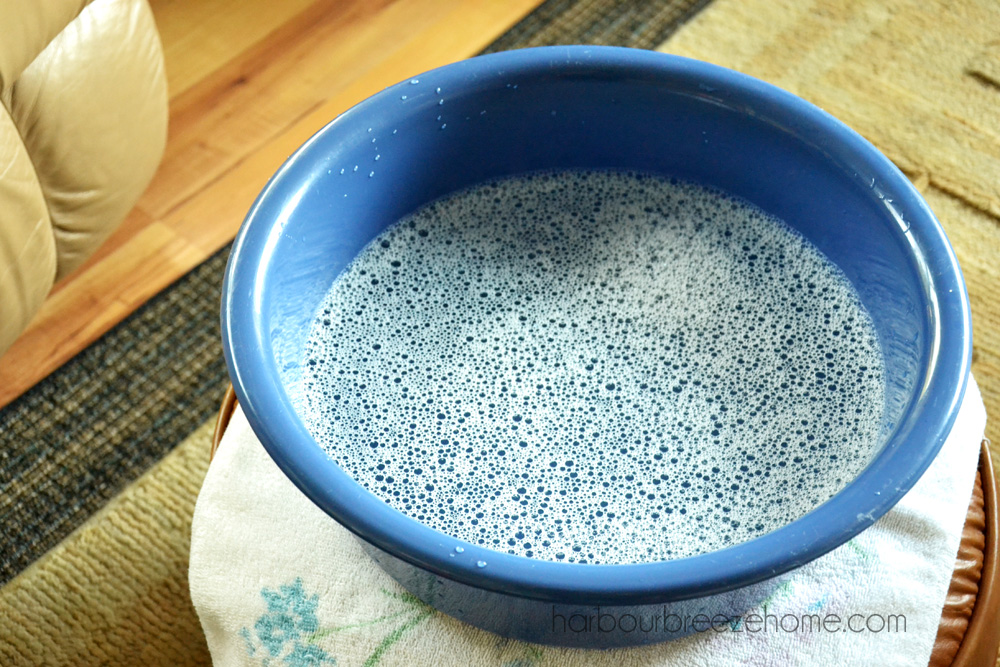
3. Fill up a clean dishpan (this one is JUST for my feet!) with warm water and add some fun bubbles to it. (Any bubbles will do!) Sit down, relax, and soak your feet for a while.
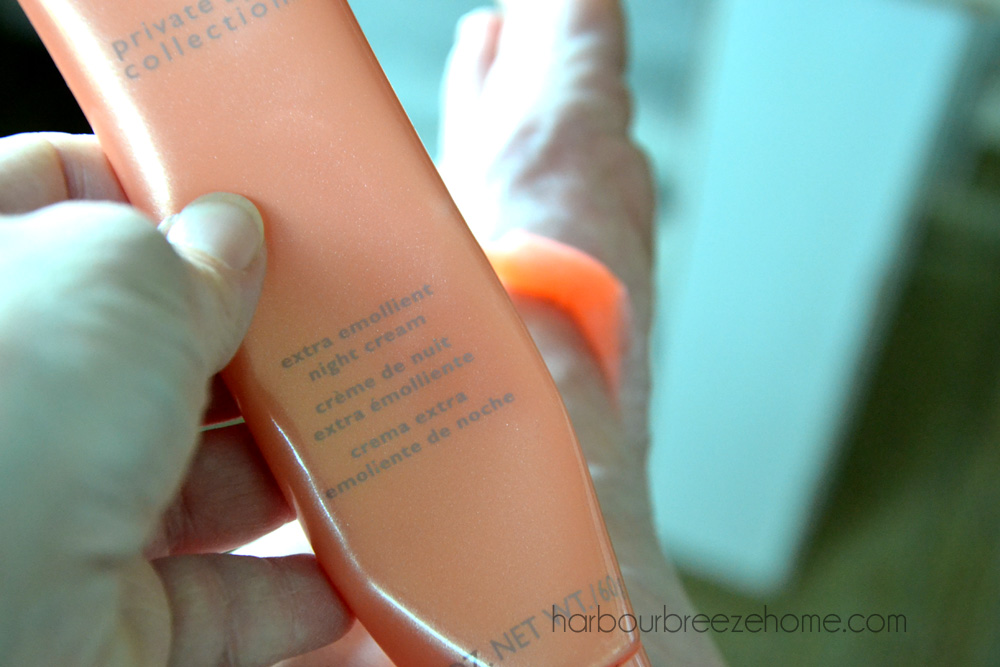
4. While one foot is still soaking, rub in a generous amount of Mary Kay’s Extra Emollient Night Cream. In my opinion, this is the KEY element to an at home pedicure. This stuff is very thick and as it soaks into your skin, it softens up the dry skin so it’s easier to remove it in the next step…
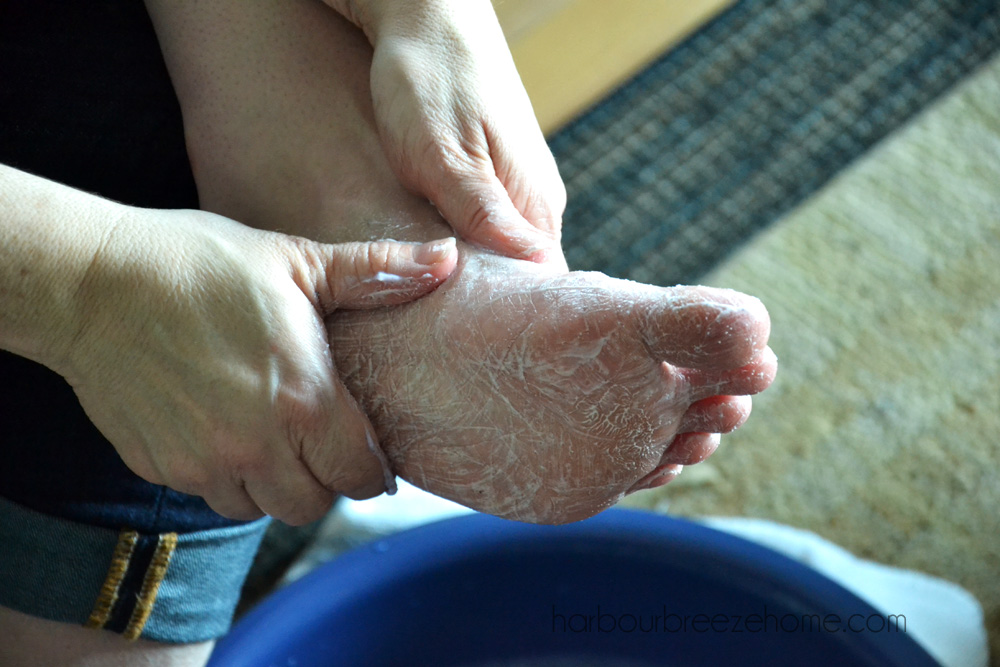
5. After the night cream is rubbed in well, use some of the foot scrub and rub a dub dub. Rinse your foot as needed, and then use the foot file to get rid of all that dry skin. Rinse and repeat until your feet feel nice and soft. Once your feet are all nice and clean, rub in some pretty smelling Peppermint and Plum Lotion. Then, it’s time to take care of those nails. Clip and shape the nails and apply cuticle oil. Once the cuticles have softened, push them down with a Q-tip.

6. Now we’re to the fun step! Paint your nails by first applying an undercoat (I use Stickey), color of your choice (this is OPI Cajun Shrimp), and a clear topcoat.
7. Sit back, relax and let it dry completely before you touch your nails on anything!
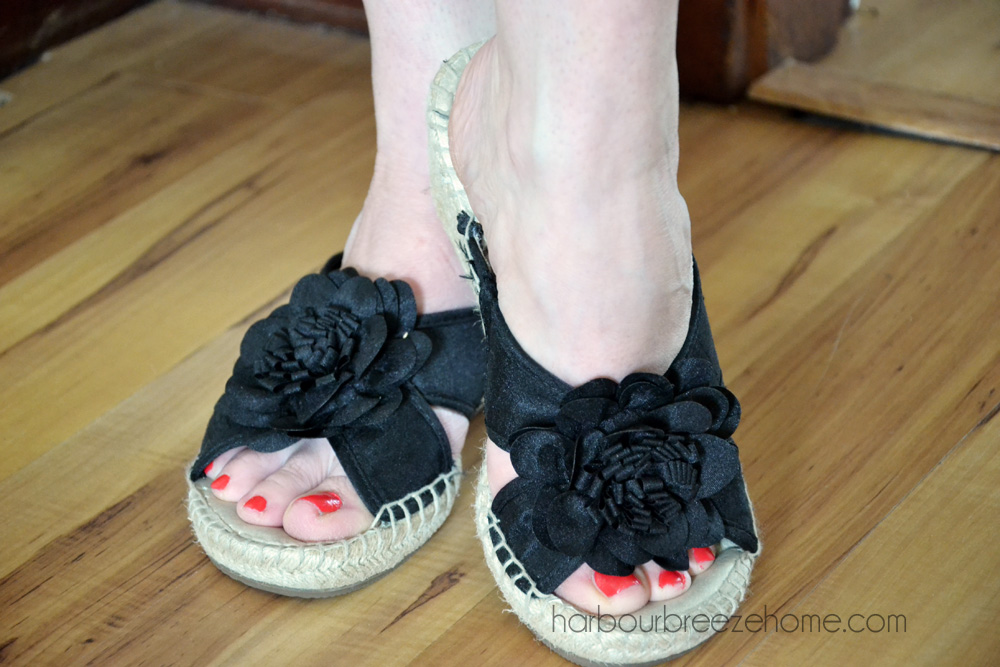
Now your pretty feet are all ready for sandals…
or winter boots!;)
PS. I think nail polish color names are hilarious! What’s your favorite color and name?…I think I might need to invest in a fun, new color…
Linking to: I Feel Pretty


DON’T MISS A THING!
Join my list for more ideas for you and your home…