DIY Fabric Flower
As I searched online for “fabric flower tutorials”, I found a plethora of them. The most comprehensive list I found is here at Kojo Designs. There are a whopping 49 tutorials listed there, so I was confident that I’d find what I was looking for.
Although I checked out every. one. ~ I didn’t. I was dreaming of those flowers on that happy couch, and I couldn’t find anything similar.
So, I decided to try to make a big ol’ fabric flower al a original.
Oh, dear.
I was nervous. I only had 1/2 yard of yellow cotton fabric, so I didn’t want to mess up. {I actually ended up with some left over.} After thinking about it for a while, this is what I did:
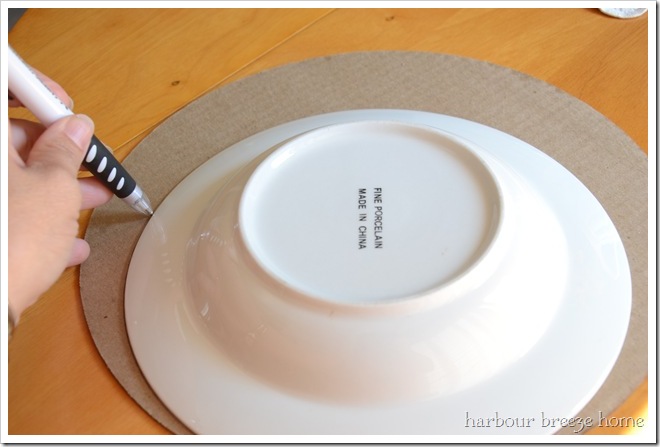
1. Trace the desired size circle onto a piece of medium weight cardboard. A pizza round works great.
This particular circle was 9 inches across.
2. Tear a strip of fabric approximately 5 inches wide. {My fabric was 74” long.}
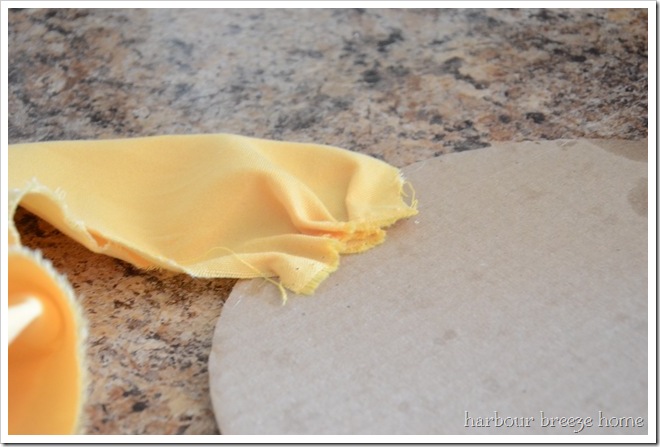
3. On the back side of the cardboard, hot glue down the end.
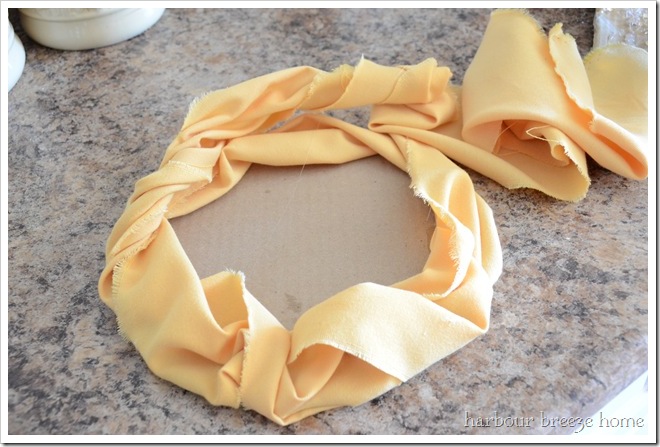
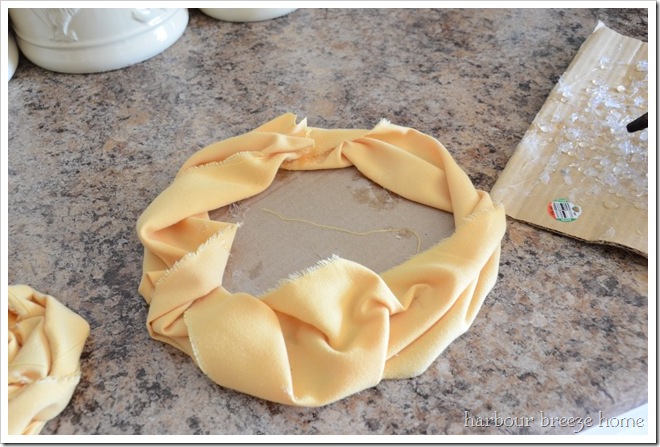
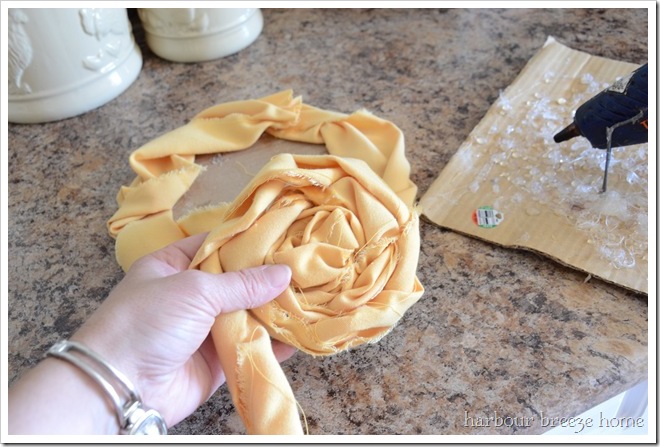
4. Flip the cardboard over. Twist the fabric around once, and glue a little down on the back {to cover the edge of the cardboard} and then the front to hold it in place. Continue twisting and gluing at equal intervals until you’ve made it around the whole circle. This becomes the bottom layer of “petals”.
{In hindsight, I should have continued around the circle with the same strip of fabric, but alas, I trimmed it off…}
5. Tear another strip of fabric 4” wide. Tie a knot in the end and start creating a loosely rolled flower (as demonstrated in this tutorial). Once it gets too big to hold in your hand, place a large amount of glue on the bottom of it, and stick it to the center of the cardboard circle.
6. Then continue rolling and gluing right on to the cardboard. {I kept fiddling with it until I could make my strip of fabric fill in the whole cardboard. If, however, you run out of fabric, you can just tear another strip, glue down the end and keep twisting, rolling, and gluing.} Once you are finished, tuck the end under some petals and glue it down to hide it.
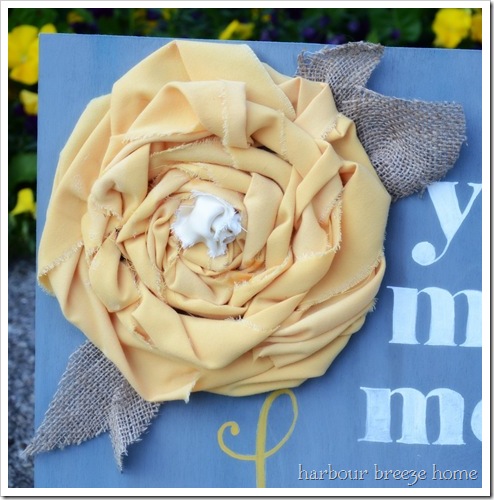
7. Knot a small strip of coordinating fabric and glue to the center.
8. Free hand cut various tear-drop shaped leaves from burlap and glue to the back.
I admit, the small amount of perfectionism I have in me wanted to scream at times over this project. But, I realized that the over all look I wanted was tattered and casual…therefore, “messy” is good. I also find that standing back to look at a project while working on it helps as well.
If you’ve discovered another way to make a huge, tattered fabric flower, please let us know! Perhaps it could be number 50 on the above list of fabric flower tutorials!
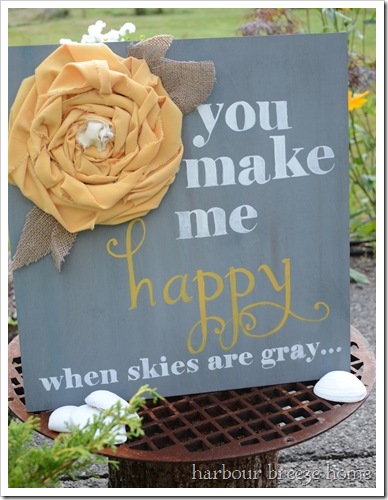
{For instructions on making the sign, click here.}



Love it, Rita! If I ever do have a baby girl, I will make a whole bunch of these in pink to go in the brown and pink bedroom! 🙂