
Transform Your Bookcase with a Pop of Color-How to Paint a Bookcase
Are you ready to unleash your inner creativity and give your bookcase a stunning makeover? Today, I’m here to share with you the ultimate guide on how to paint a bookcase. Get ready to elevate your space with a splash of color and add a touch of personal style that will make your bookcase truly stand out!
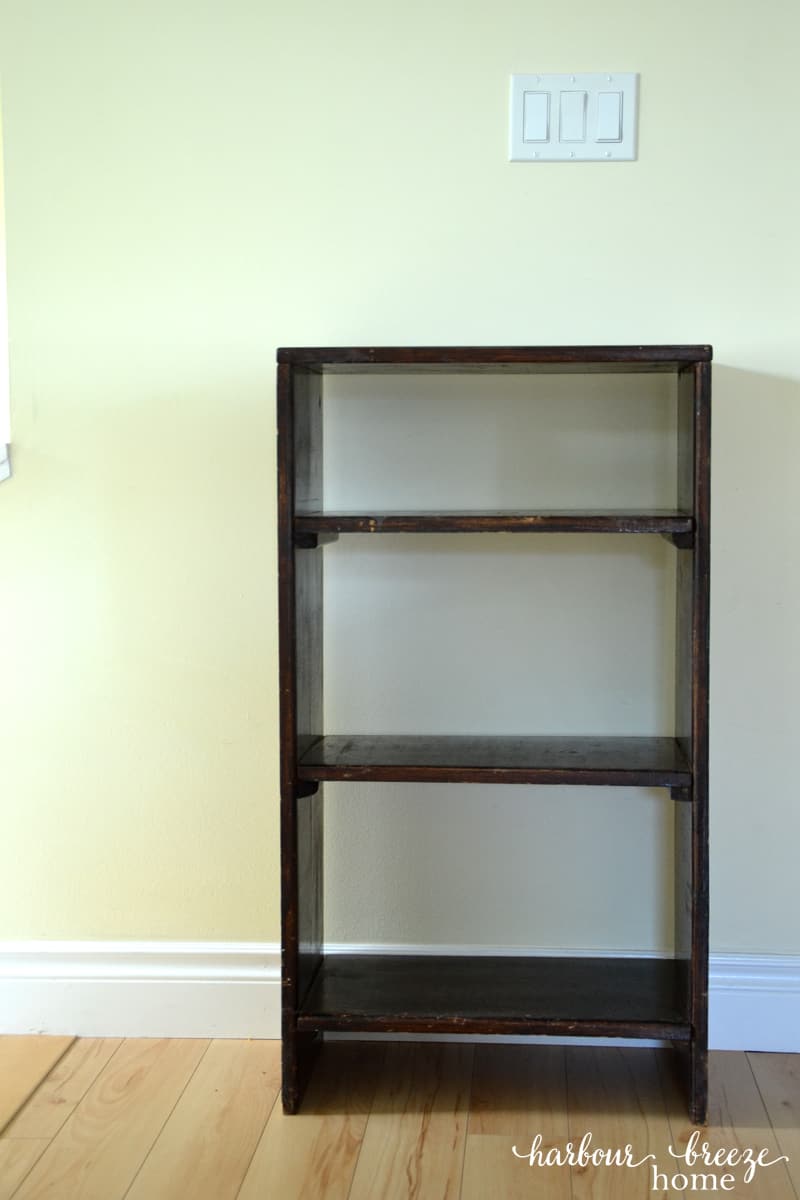
This old bookcase of my Mom’s was the first bookcase I decided to try transforming with paint.
Although it isn’t glamorous, I’ve found it to be the perfect sized piece of furniture for many places in the house. At one time it held all my cookbooks; another time it was a shoe shelf, and it even spent some time in my office holding paper supplies.
So, let’s get started with the supplies you’ll need and the process for how to paint a bookcase.
Preparing Your Wooden Bookcase for Painting
Disclosure: This post may contain affiliate links for your shopping convenience.
Before you dive into the world of paintbrushes and rollers, it’s important to prepare your bookcase properly. I know it sounds boring, but preparation is key and it cannot be skipped. In fact, many times the preparation for painting a bookcase or piece of furniture takes longer than actually painting it! The prep work ensures that your paint adheres well, resulting in a smooth and long-lasting finish. Here are some steps to follow:
1. Clear Out and Clean Up:
Start by clearing out all the books and decorations from your bookcase. Place them in a safe spot where they won’t get damaged during the painting process. Next, give your bookcase a good cleaning. Dust off any debris and wipe it down with a damp cloth or sponge. This will ensure that the paint goes on smoothly and evenly.
2. Remove Hardware and Shelves:
If your bookcase has any removable hardware, such as knobs or handles, take them off before you begin painting. This will not only make it easier to apply paint to those areas but also prevent any accidental drips or smudges. Similarly, if your bookcase has adjustable shelves, consider removing them as well. It allows for better access to all the nooks and crannies, ensuring consistent coverage.
3. Sand the Surface:
Sanding is an essential step when it comes to painting any furniture piece, including wooden bookcases. It helps in creating a rough surface that promotes better paint adhesion. Using a medium-grit sandpaper, gently sand the entire surface of the bookcase. Be sure to focus on any glossy areas or imperfections, as those tend to resist paint. After sanding, wipe away the dust with a clean cloth.
4. Fill in Imperfections:
Now that your bookcase is sanded, it’s time to address any visible imperfections, such as scratches, dents, or nail holes. Use a wood filler to patch up these areas. Apply the filler with a putty knife and smooth it out evenly. Once dried, sand the filled areas lightly to create a seamless surface.
5. Prime Time:
Priming your bookcase is an often overlooked step but don’t make that mistake! Priming helps cover any remaining imperfections, blocks stains, and creates a solid base for your paint. Choose a primer specifically designed for furniture painting and apply it using a brush or roller. Be sure to follow the manufacturer’s instructions for drying time. The exception to this rule is if the paint you are using is specially formulated to not need a primer. If you have any questions about the type of paint to use, be sure to ask the expert at the paint store.
Now that your bookcase is fully prepared, it’s time to move on to the exciting part – adding the paint color! In the next section, we’ll explore some painting techniques and tips to help you achieve a professional-looking finish.
Painting Techniques and Tips
1. Choose the Right Type of Paint:
Selecting the right type of paint for your bookcase is crucial. Water-based latex paints are typically the best option due to their fast-drying nature and ease of use. They also offer excellent coverage and durability. While satin or semi-gloss finishes are popular choices for bookcases, you can also opt for matte or high-gloss depending on your personal preference and the overall style of your room. This article on which sheen of paint should I choose might be helpful.
2. Brush vs. Roller:
Deciding between a brush and a roller depends on the type of finish you desire. Brushes are perfect for smaller areas, intricate designs, or achieving a brushed look. Ensure you choose a high-quality brush with firm bristles to avoid streaks and visible brush marks. On the other hand, rollers are fantastic for larger surfaces and can create a smooth and flawless finish. This paint brush is my absolute favorite.
3. Proper Paint Application:
When it comes to applying your chosen paint, start with the edges and corners of your bookcase using a brush. Then, use a mini roller or a foam brush to cover the larger surface areas efficiently. Apply thin coats of paint, allowing each coat to dry completely before applying the next. This will prevent drips or lumps and ensure an even finish.
With these painting techniques and tips in mind, you’re well on your way to transforming your bookcase into a stunning piece of decor that reflects your personal style
My finished painted bookcase + video of how to paint a bookcase
I decided to use Cottage Paint brand chalk paint for my bookcase makeover. I’ve been pondering trying to paint this bookcase for years, and when I really got around to do it, it only took a few hours to finish! Isn’t that how projects go? The thinking about it is often more time consuming than just doing it.:)
I give all the details and supplies in the video below, but no tutorial is complete without an “after” picture, right? So, here it is:
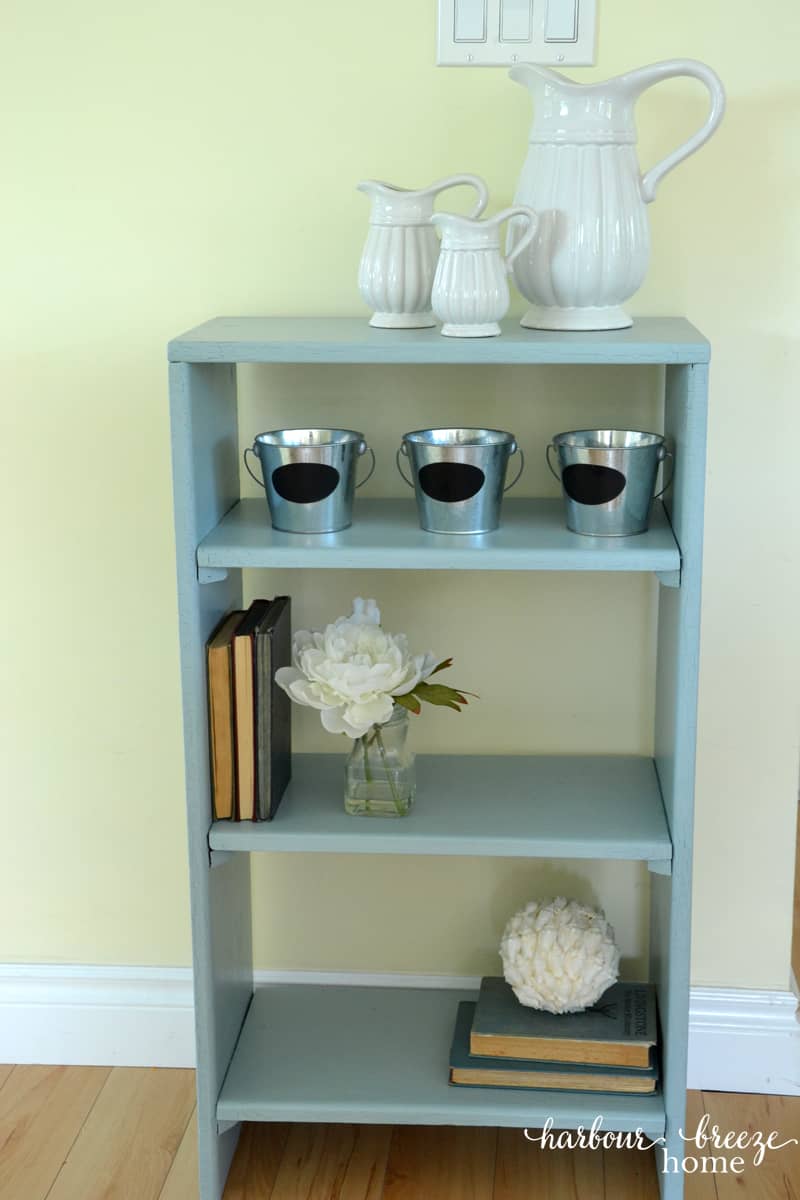
I do love how it turned out ~ despite the “surprise!” turn of events at the end.
Other How to Paint Posts:
- Painted Farmhouse Table before & after
- Painted Electric Fireplace
- Painted Ceramic Lamp
- How to Paint a Dresser
- How to Paint Metal Doors with Plastic Trim
- How to Paint a Room

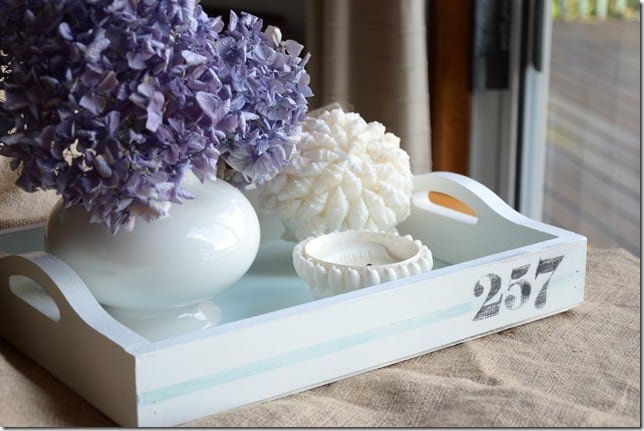
For more DIY projects, check out the projects gallery where you’ll find lots of things like this wooden tray makeover:

Thanks for a good painting lesson. You made it look so do-able. I”m hunting for a bookcase
that size for all my extra books.
Oh, yes…your books! I love your books!:)
Wow, love it! I looked at the after photo and wondered how you got that wonderful crackle effect…love when an unexpected twist is a good thing!
Yes, I love it when the unexpected is a good unexpected!:)
I’m new to your blog. I really enjoyed your tutorial and loved how your shelf turned out. I painted a smaller chair with black chalk paint. I was so pleased with the results that I’ve almost used up the whole bottle doing little projects here and there. I bought some white chalk paint also, but I’ve found it to be a bit trickier for a nice finish. I painted an old towel rack with pegs and hung it on my kitchen wall. I’m trying to decide what I’d like to do next with the white paint. Am I brave enough to do my rocking chair? LOL. I don’t care for the waxing step, either.
Most of my recent projects have been free: rearrange some rooms; rip covers off some books and tie them in stacks with ribbon and garden twine; turn an old top into a shopping bag. I did spend $20 for canvas drop cloths to make a new pair of curtains in my living room. I’m looking forward to exploring more of your blog.
Welcome to the blog! I’m so glad you’ve been using up your chalk paint on fun projects. That’s great!:)
Hi,
Thanks for posting – love the colour your used to paint the bookshelf! What Cottage Paint colour was this?